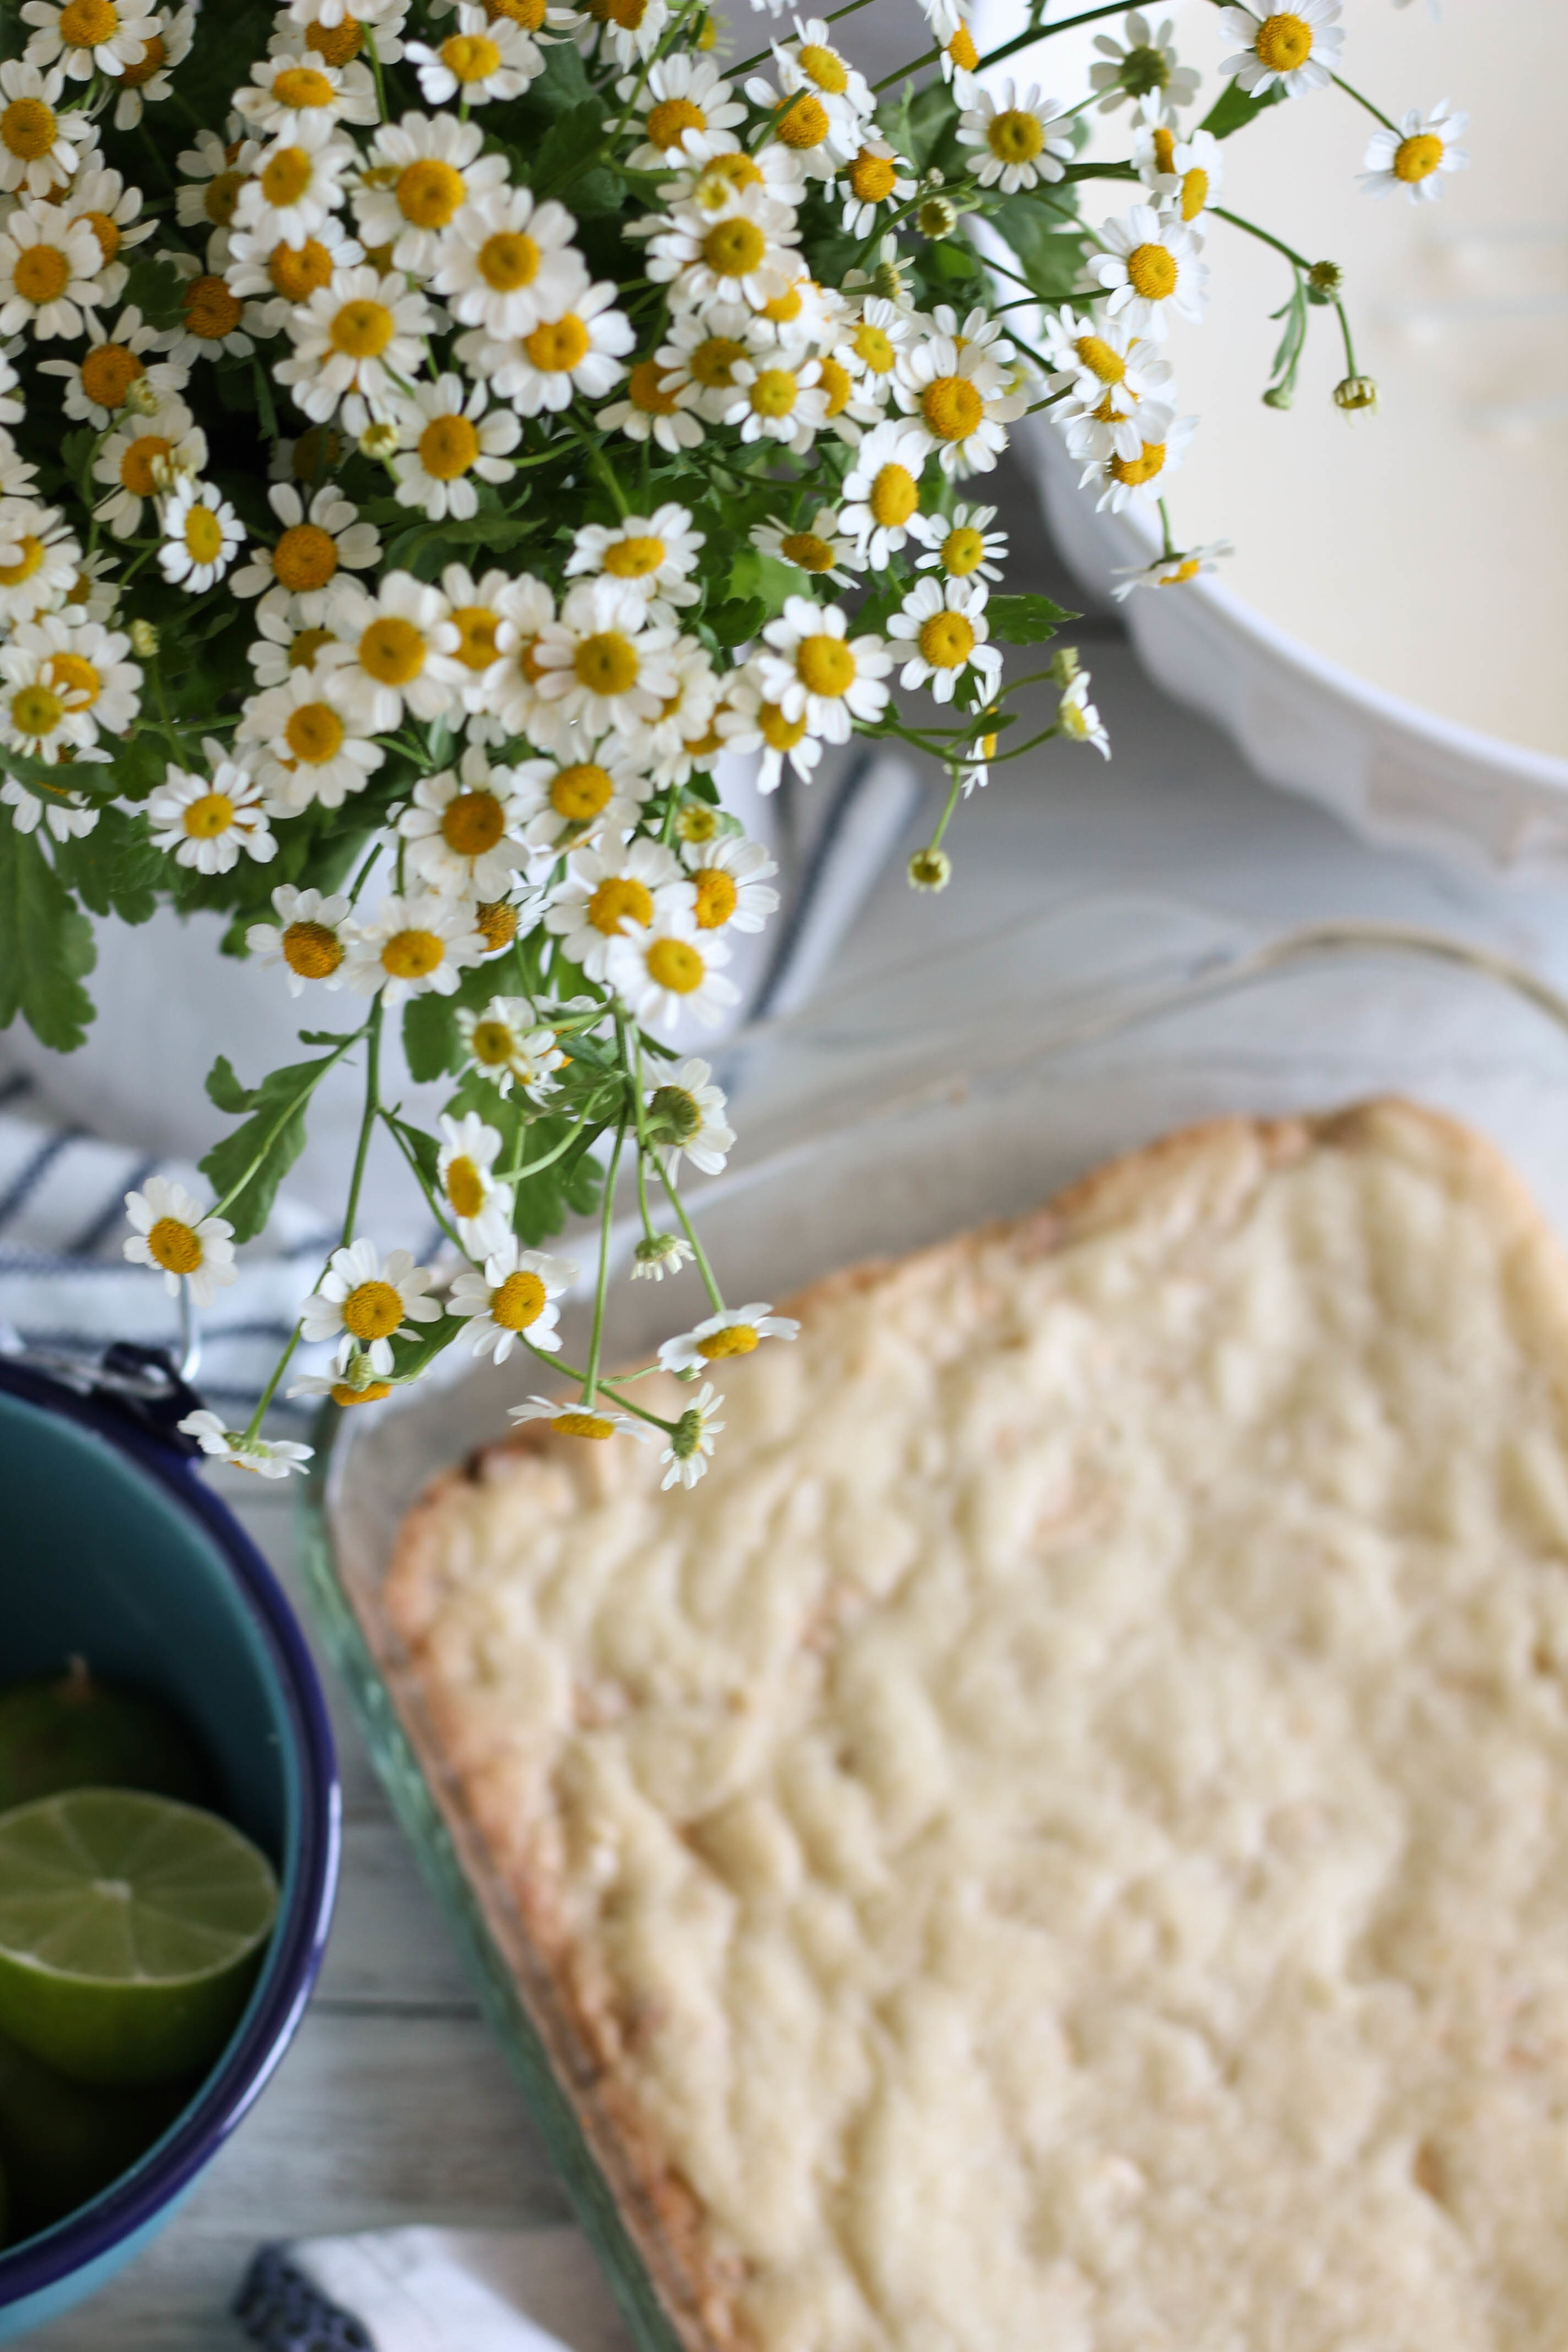
White Chocolate Macadamia Nut Lime Bars

I remember my mother making a pan of sticky, tart, yellow squares one afternoon in our tiny kitchen.  I remember my Aunt Meredith making the very best white chocolate macadamia nut cookies.

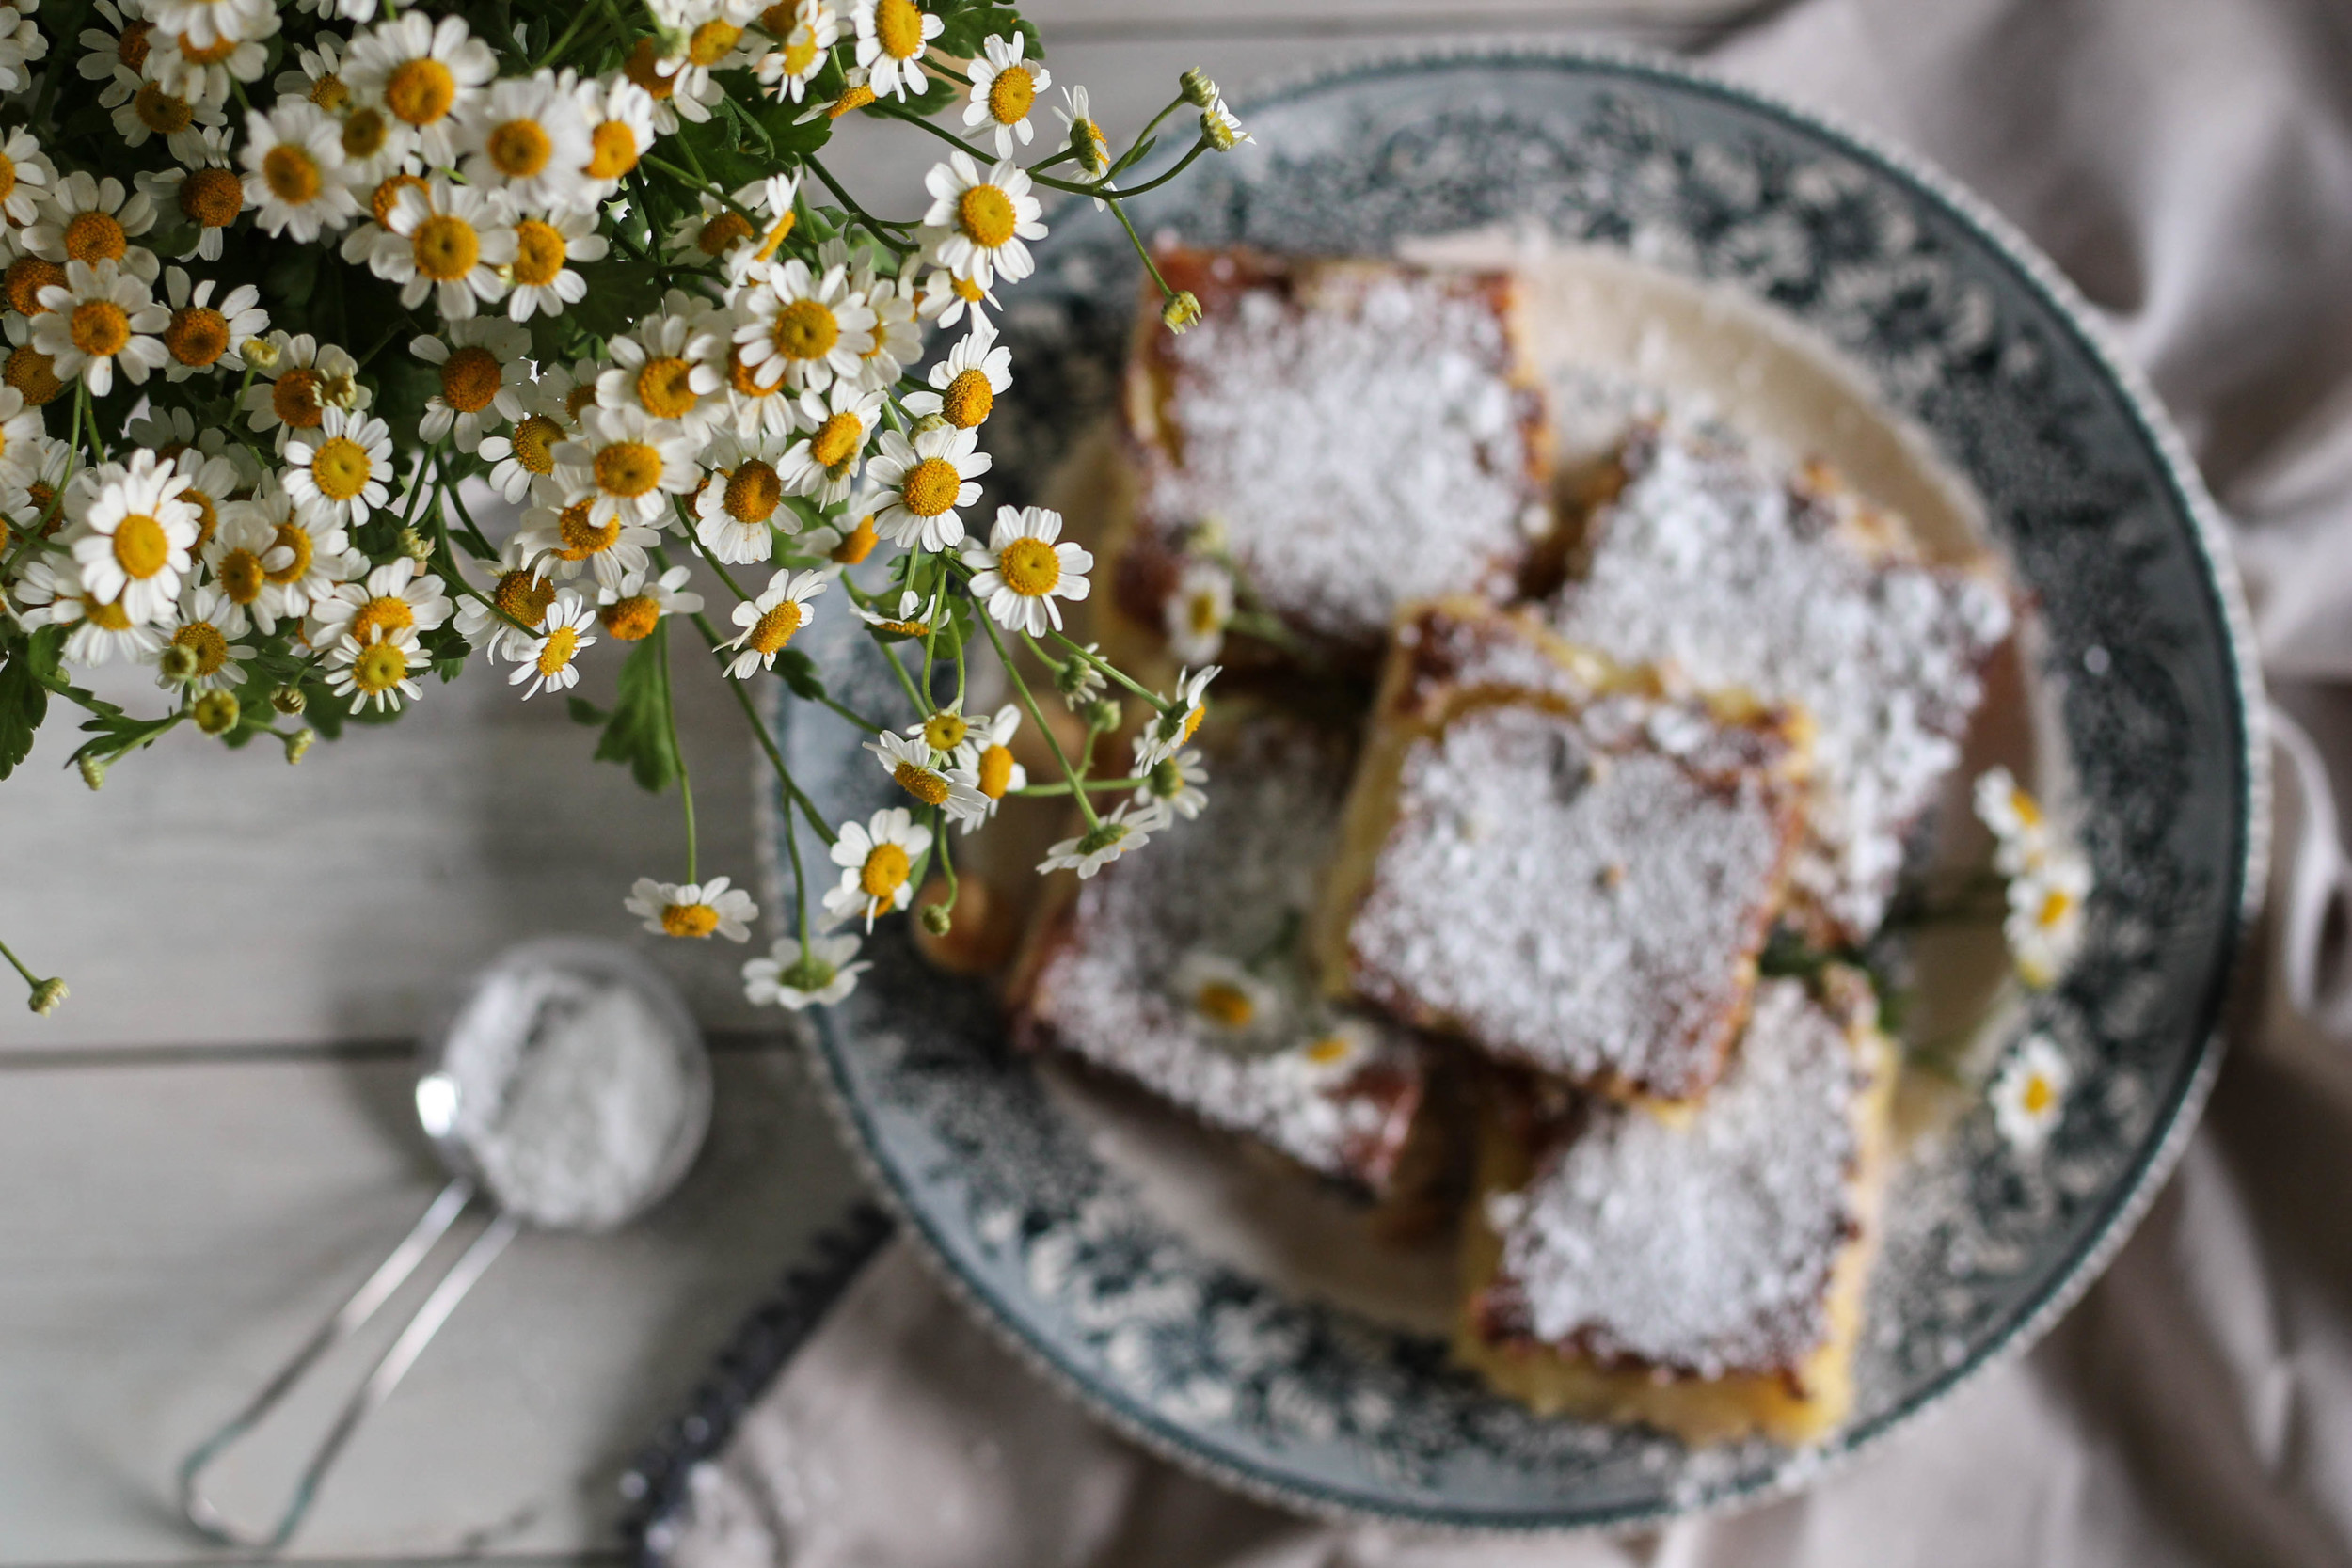
White Chocolate Macadamia Nut Lime Bars {Pedantic Foodie}

Last week, memories collided and danced around a bit in my head, and these lovely little bars were born.  

White Chocolate Macadamia Nut Lime Bars {Pedantic Foodie}

All of our dreams have finally come true, we can now eat white chocolate macadamia nut cookies and lemon (lime, actually) bars at the same time.  Why is that better than enjoying them separately in their pure, unadulterated states, you ask?  Well, it’s not better, it’s just different.  A wonderful kind of different.

It’s kind of like going shopping with two best friends instead of one.  Except these bars would never team up and break your heart by telling you that the dress you adore actually makes your hips look like Jennifer Lopez in a funhouse mirror.  Ouch. 

Let’s make some bars!  

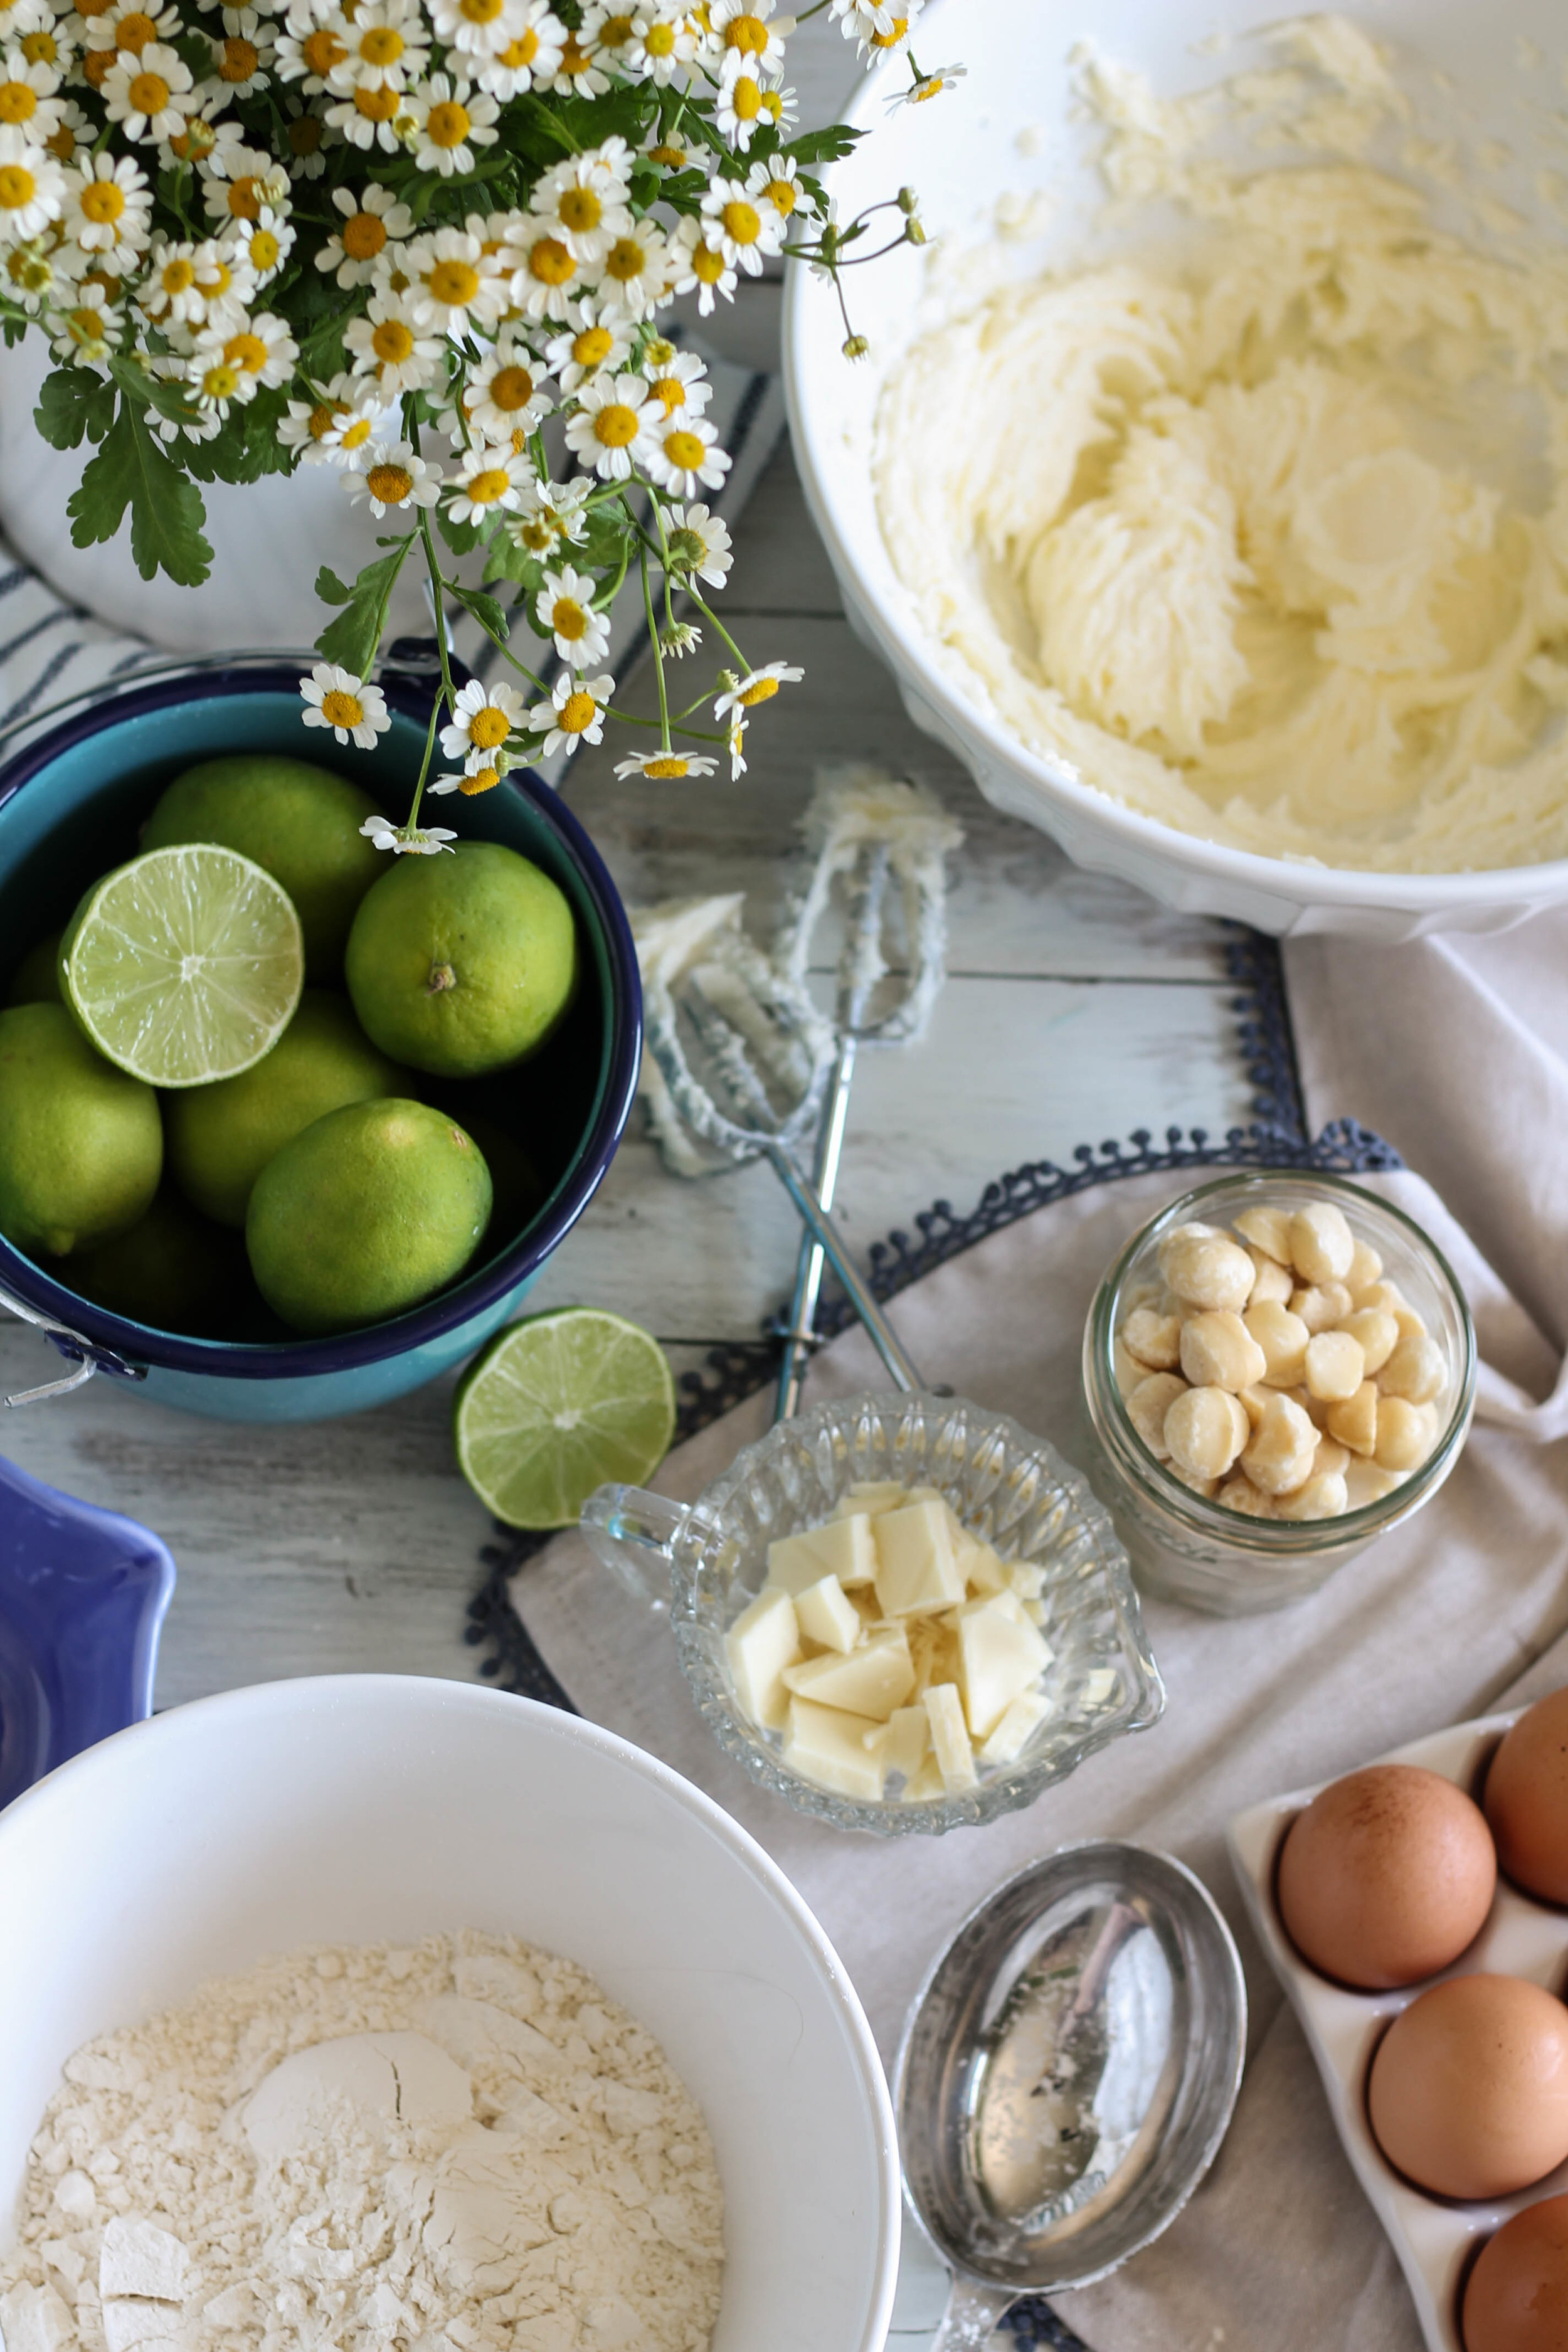
White Chocolate Macadamia Nut Lime Bars {Pedantic Foodie}

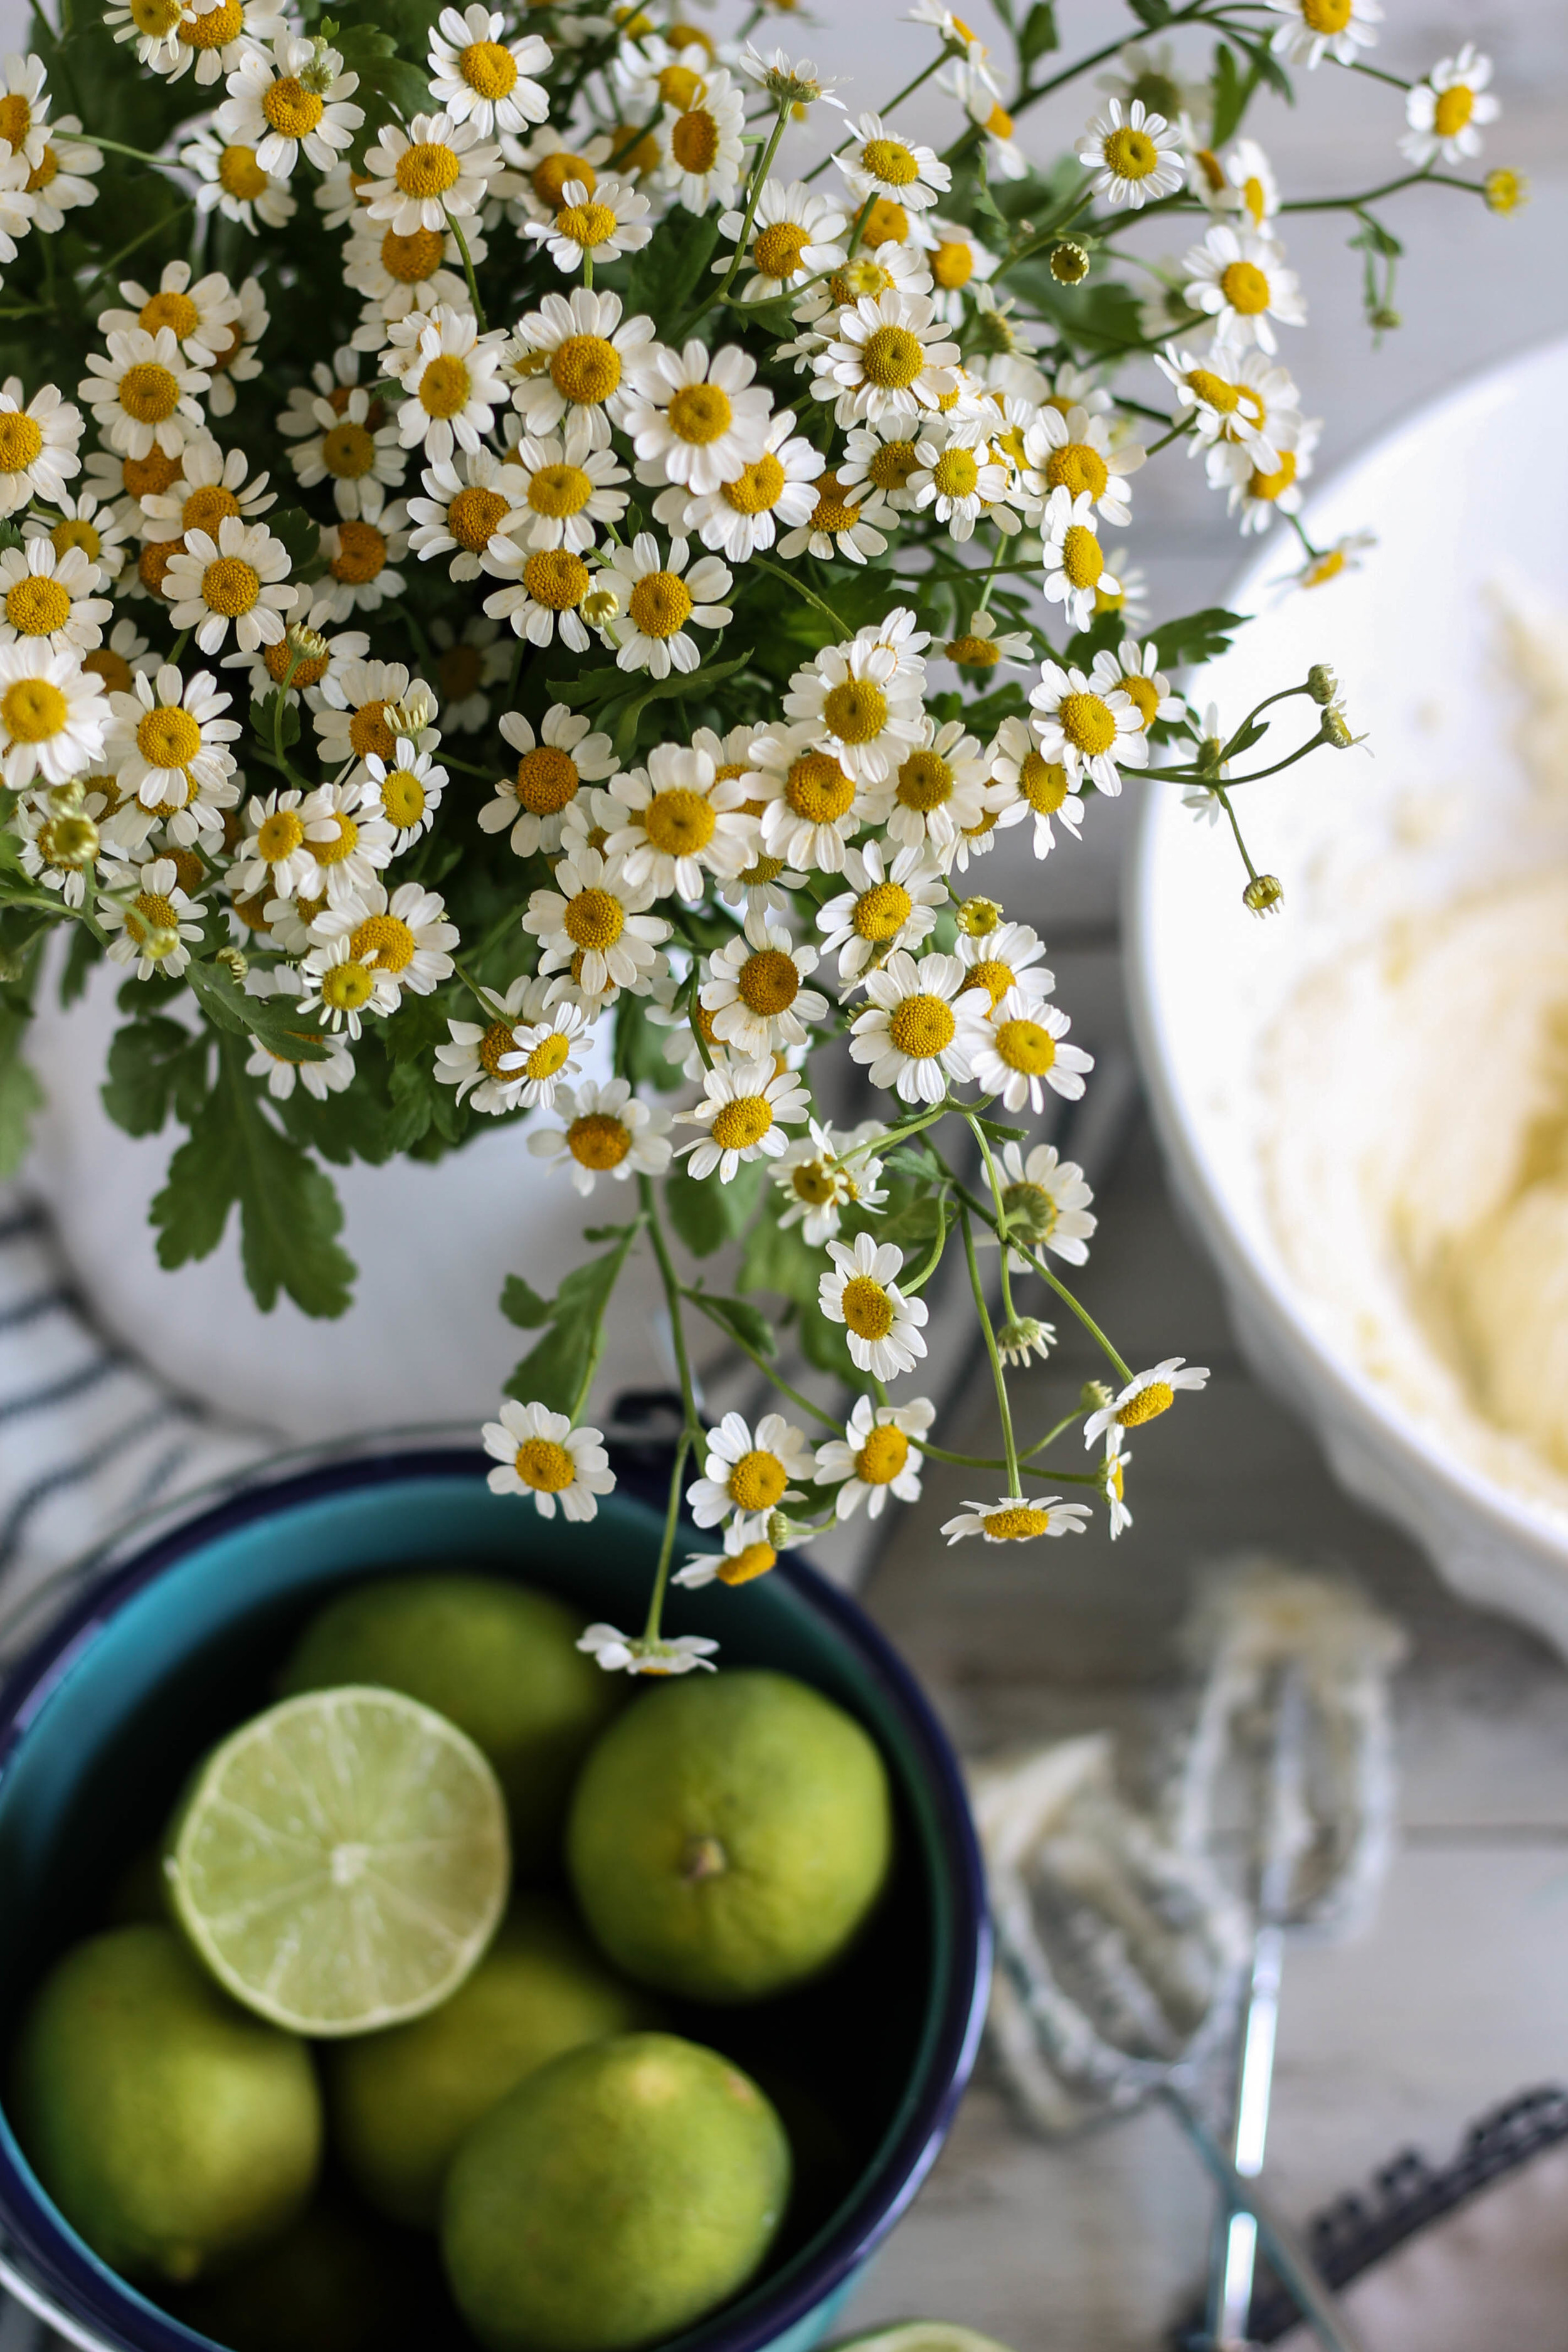
We begin with a buttery, shortbread-like cookie crust.  Butter, sugar, flour, and a pinch of salt form the base of our dough. 

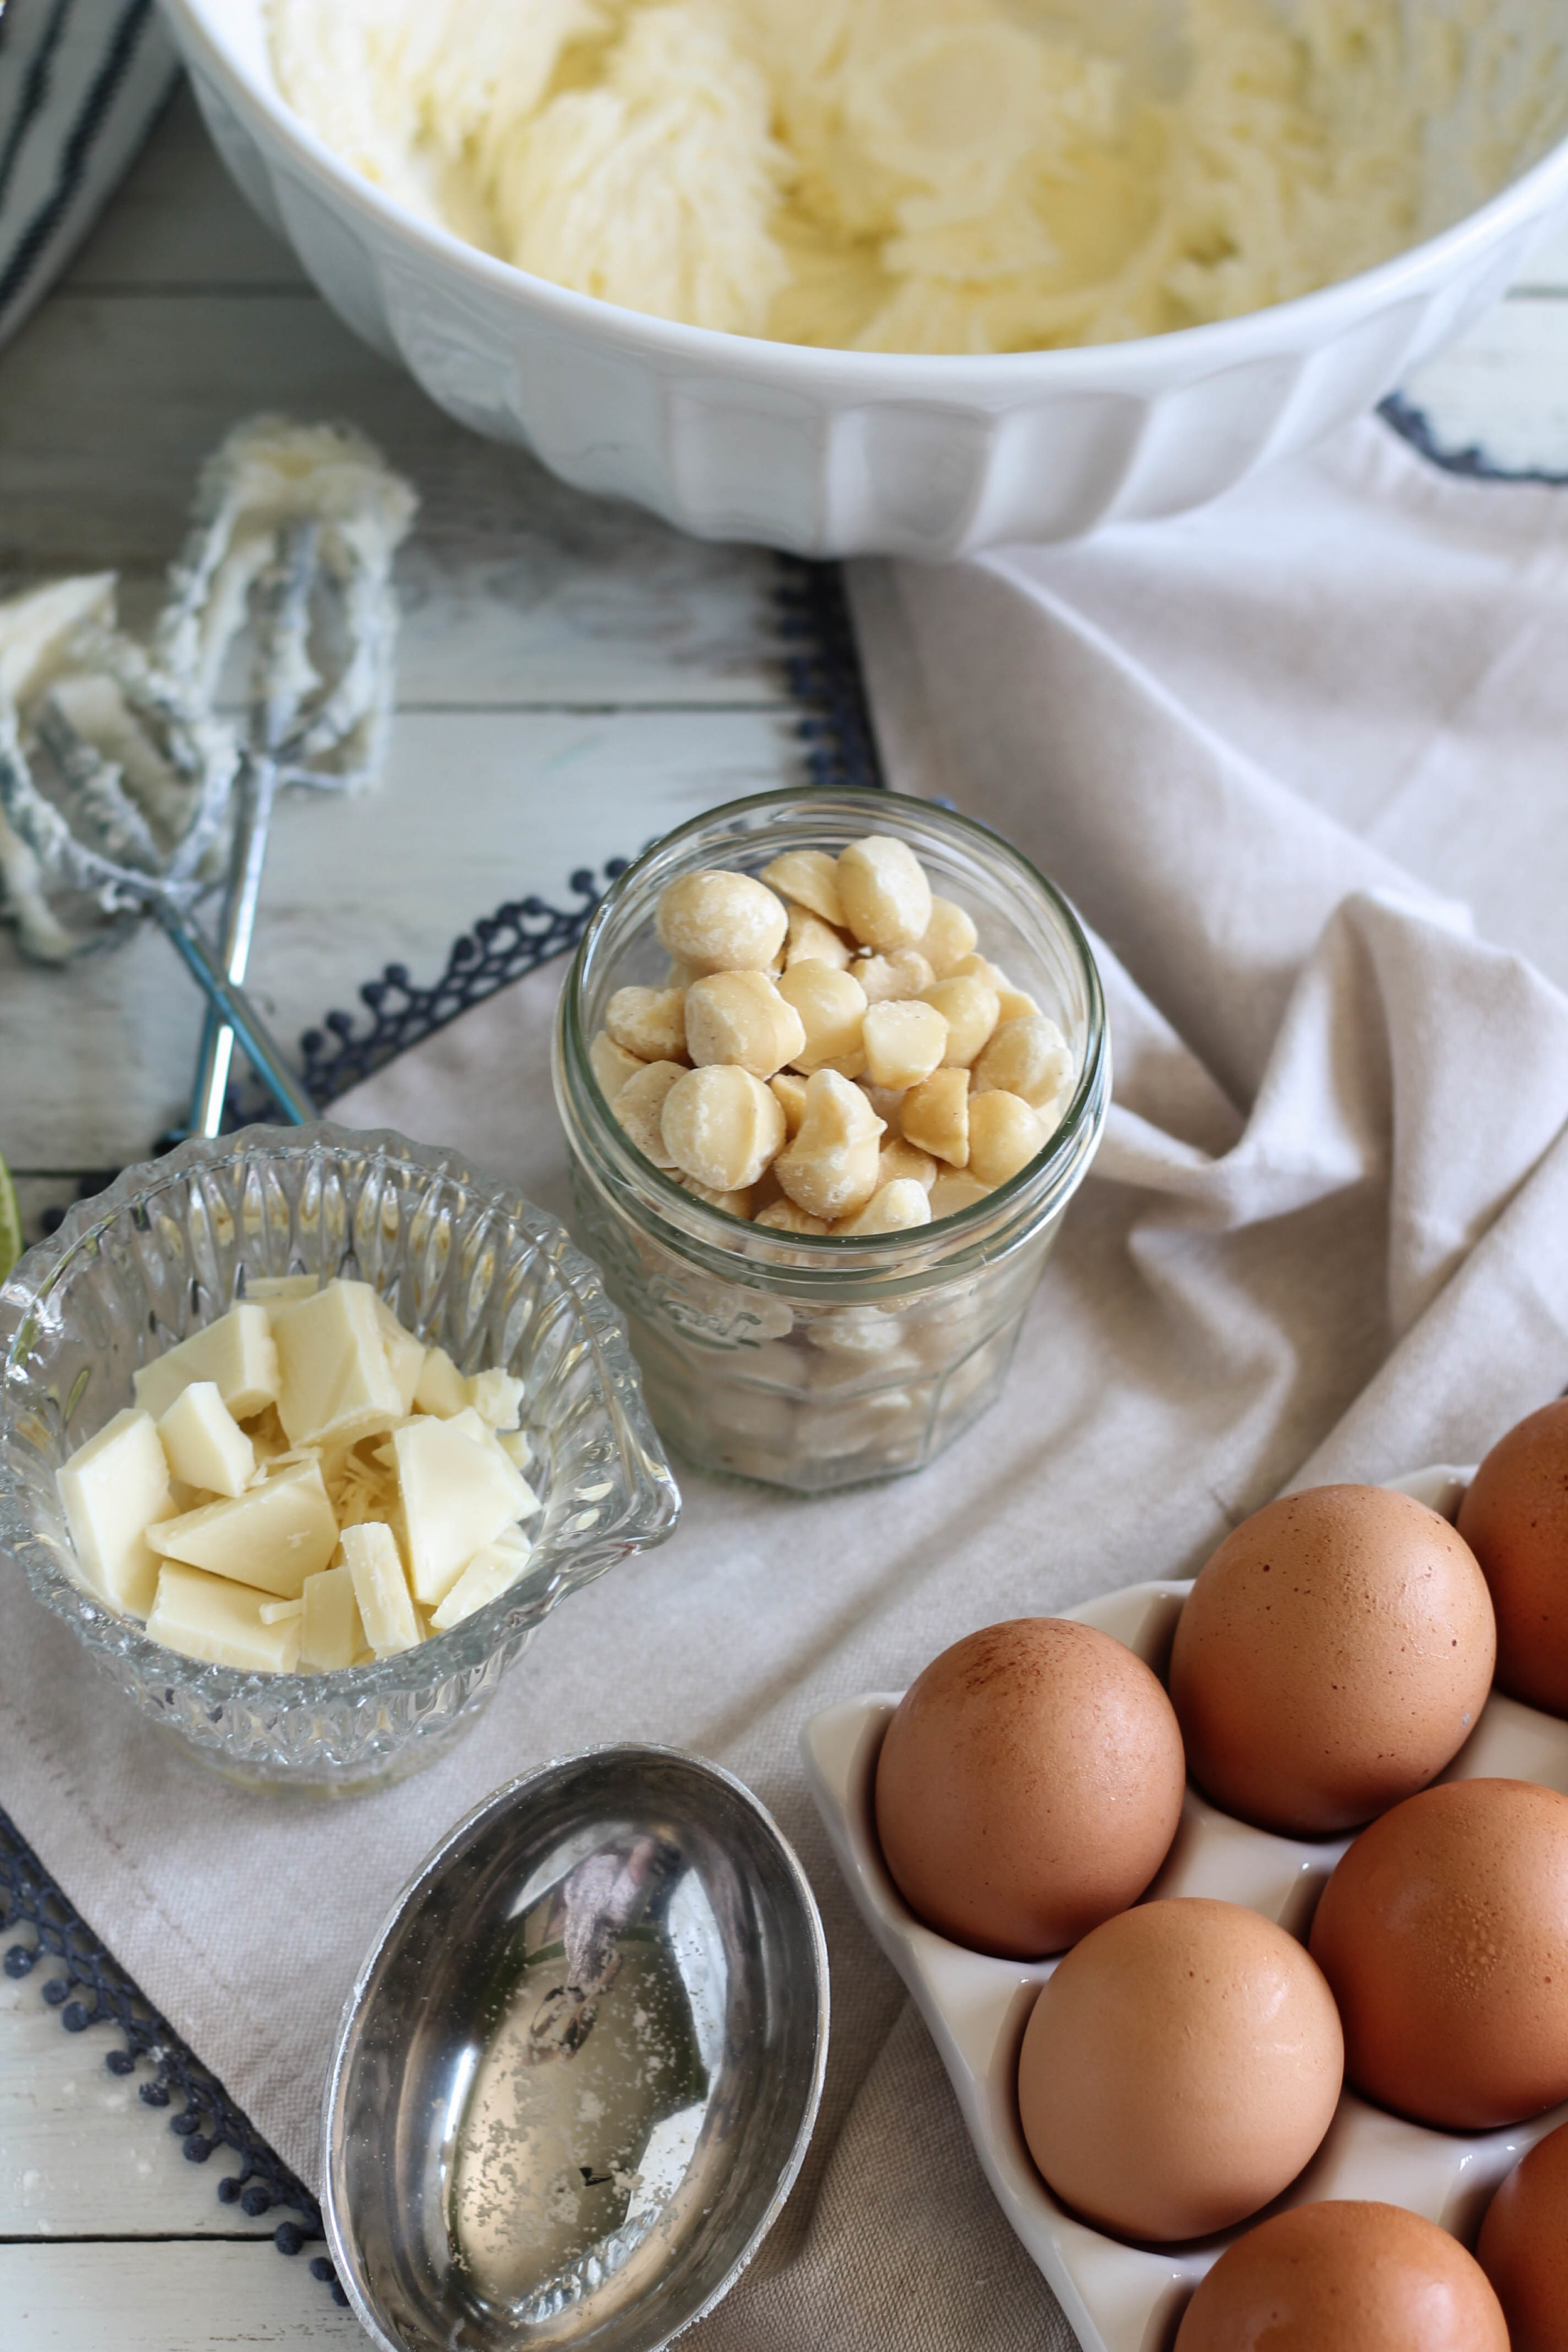
White Chocolate Macadamia Nut Lime Bars {Pedantic Foodie}

After the dough has come together, chopped macadamia nuts and white chocolate are folded in.  I ate at least 1/4 cup of macadamia nuts while I was chopping away.  I cannot get enough, they are just SO buttery.

White Chocolate Macadamia Nut Lime Bars {Pedantic Foodie}

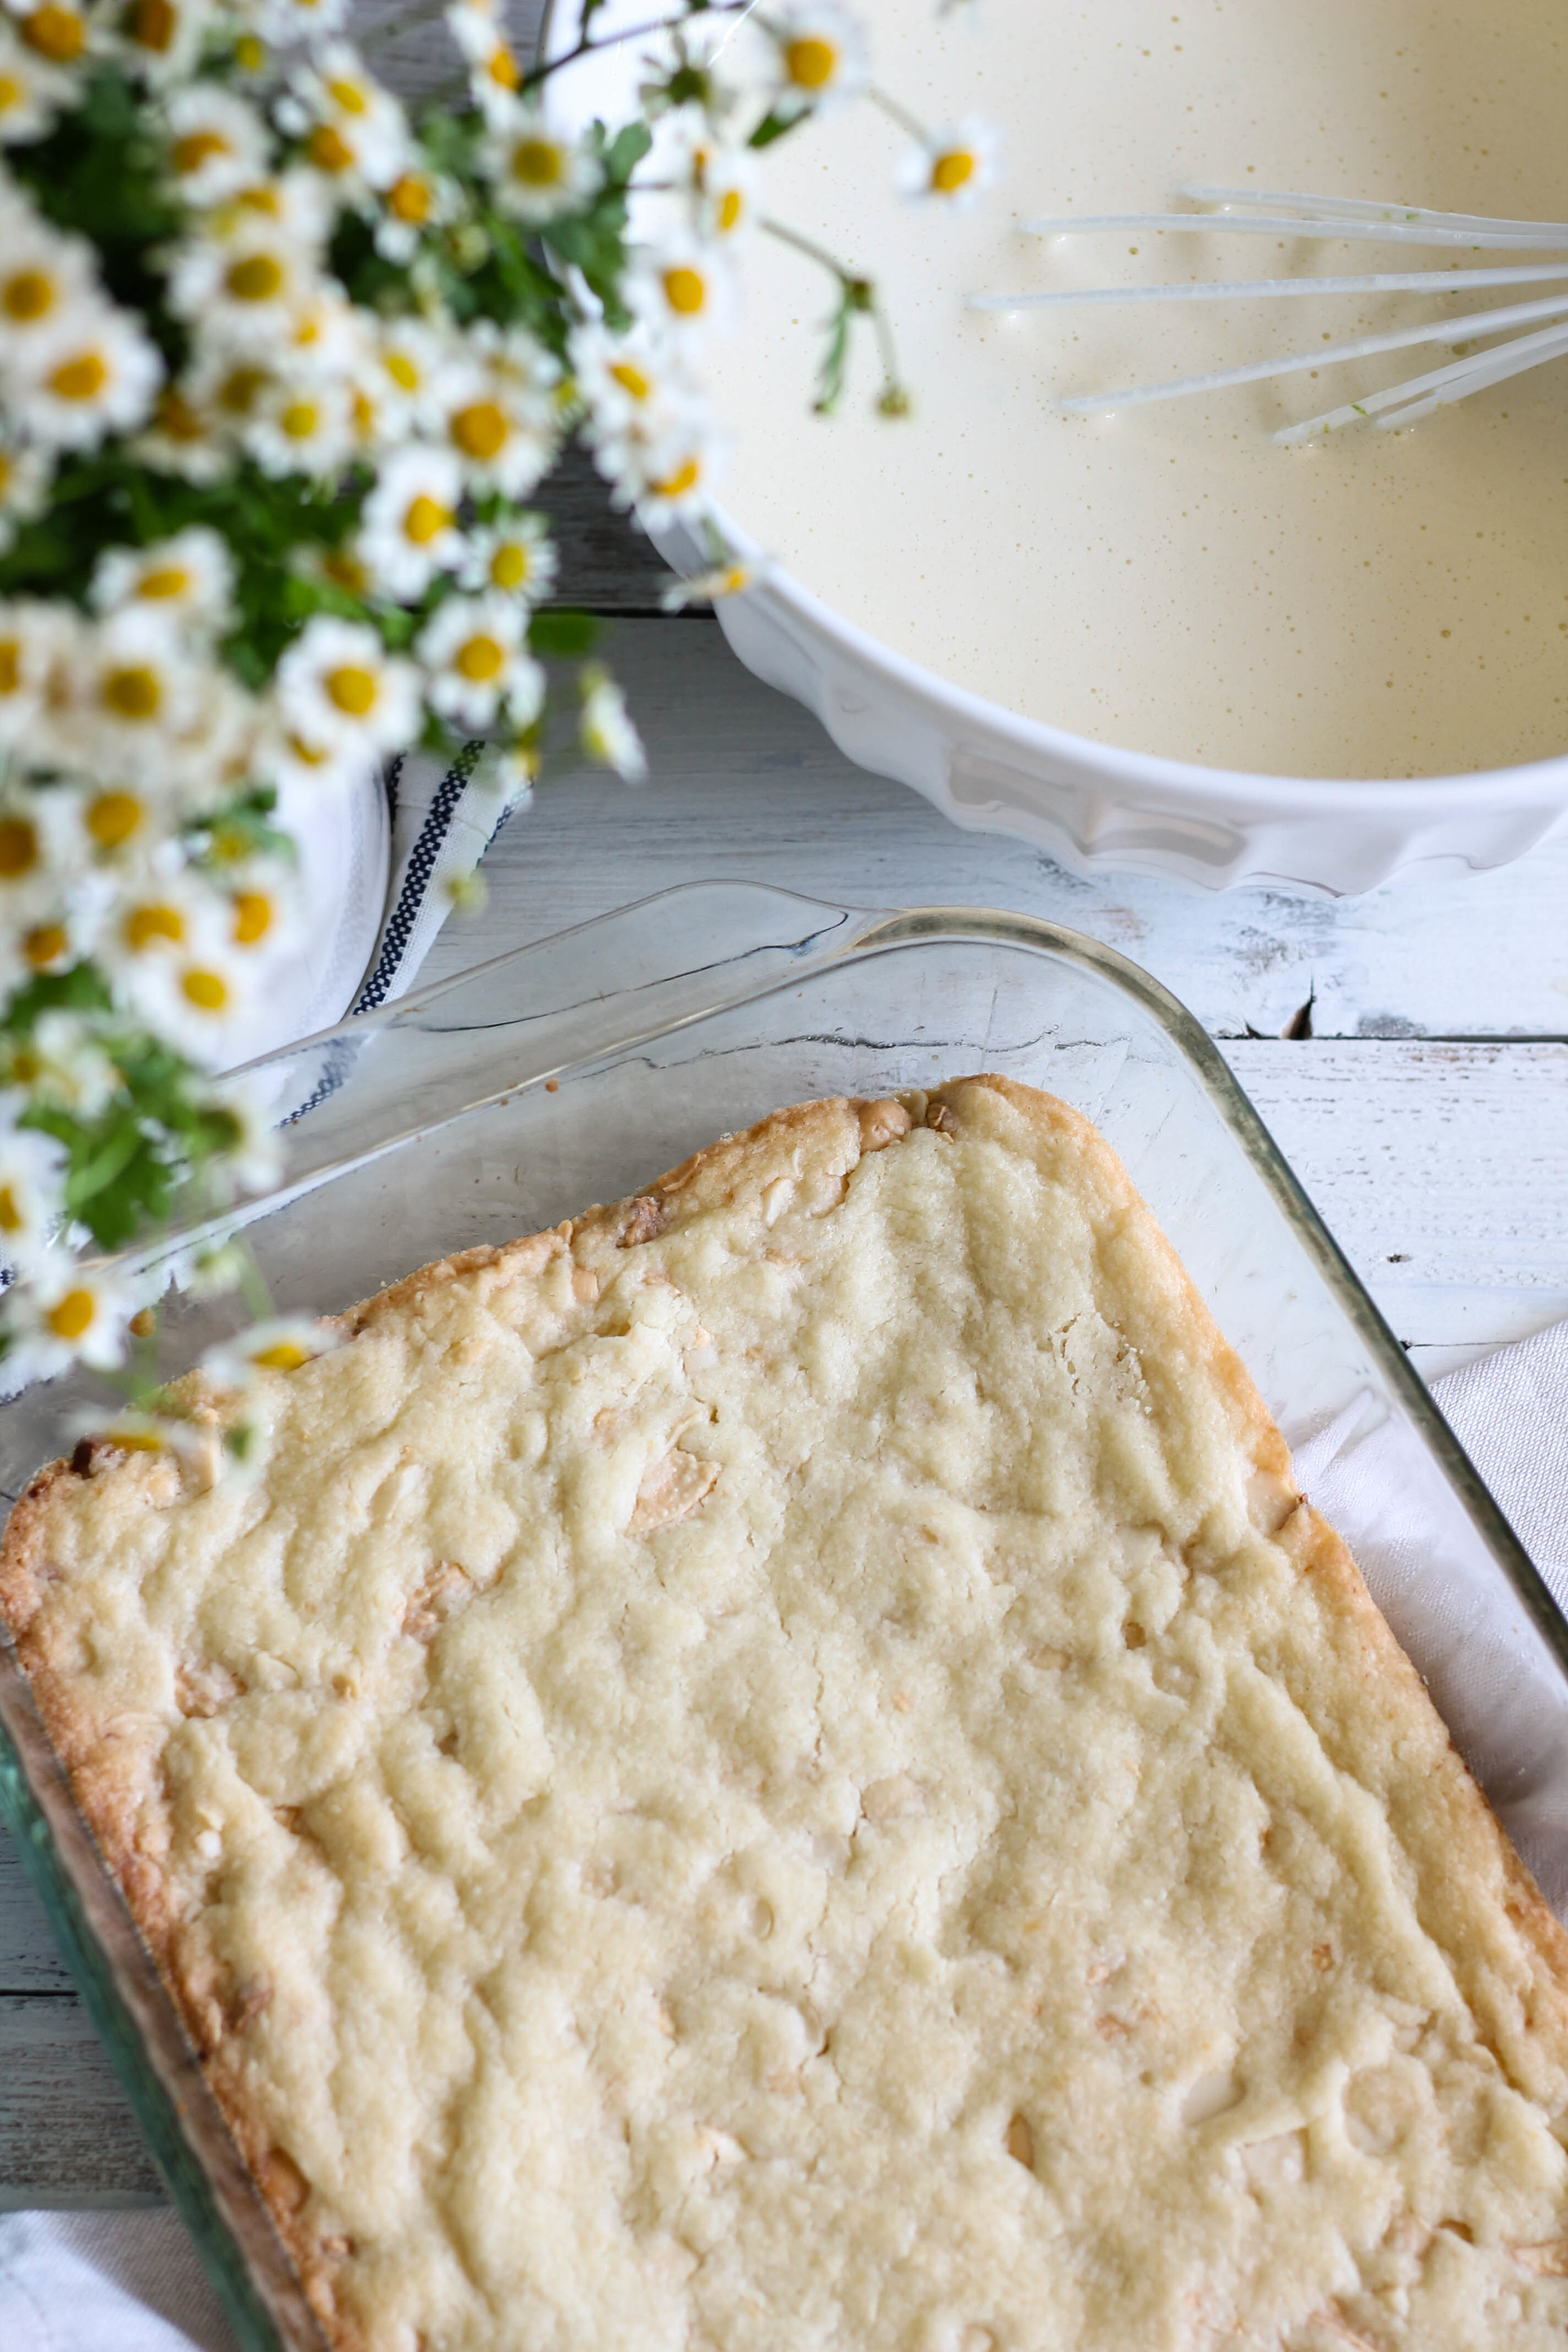
The dough is pressed into a greased, 9x13 pan and then baked until just barely golden.  Those oven-kissed edges will be your favorite if you are a cookie/brownie corner-loving kind of person.  

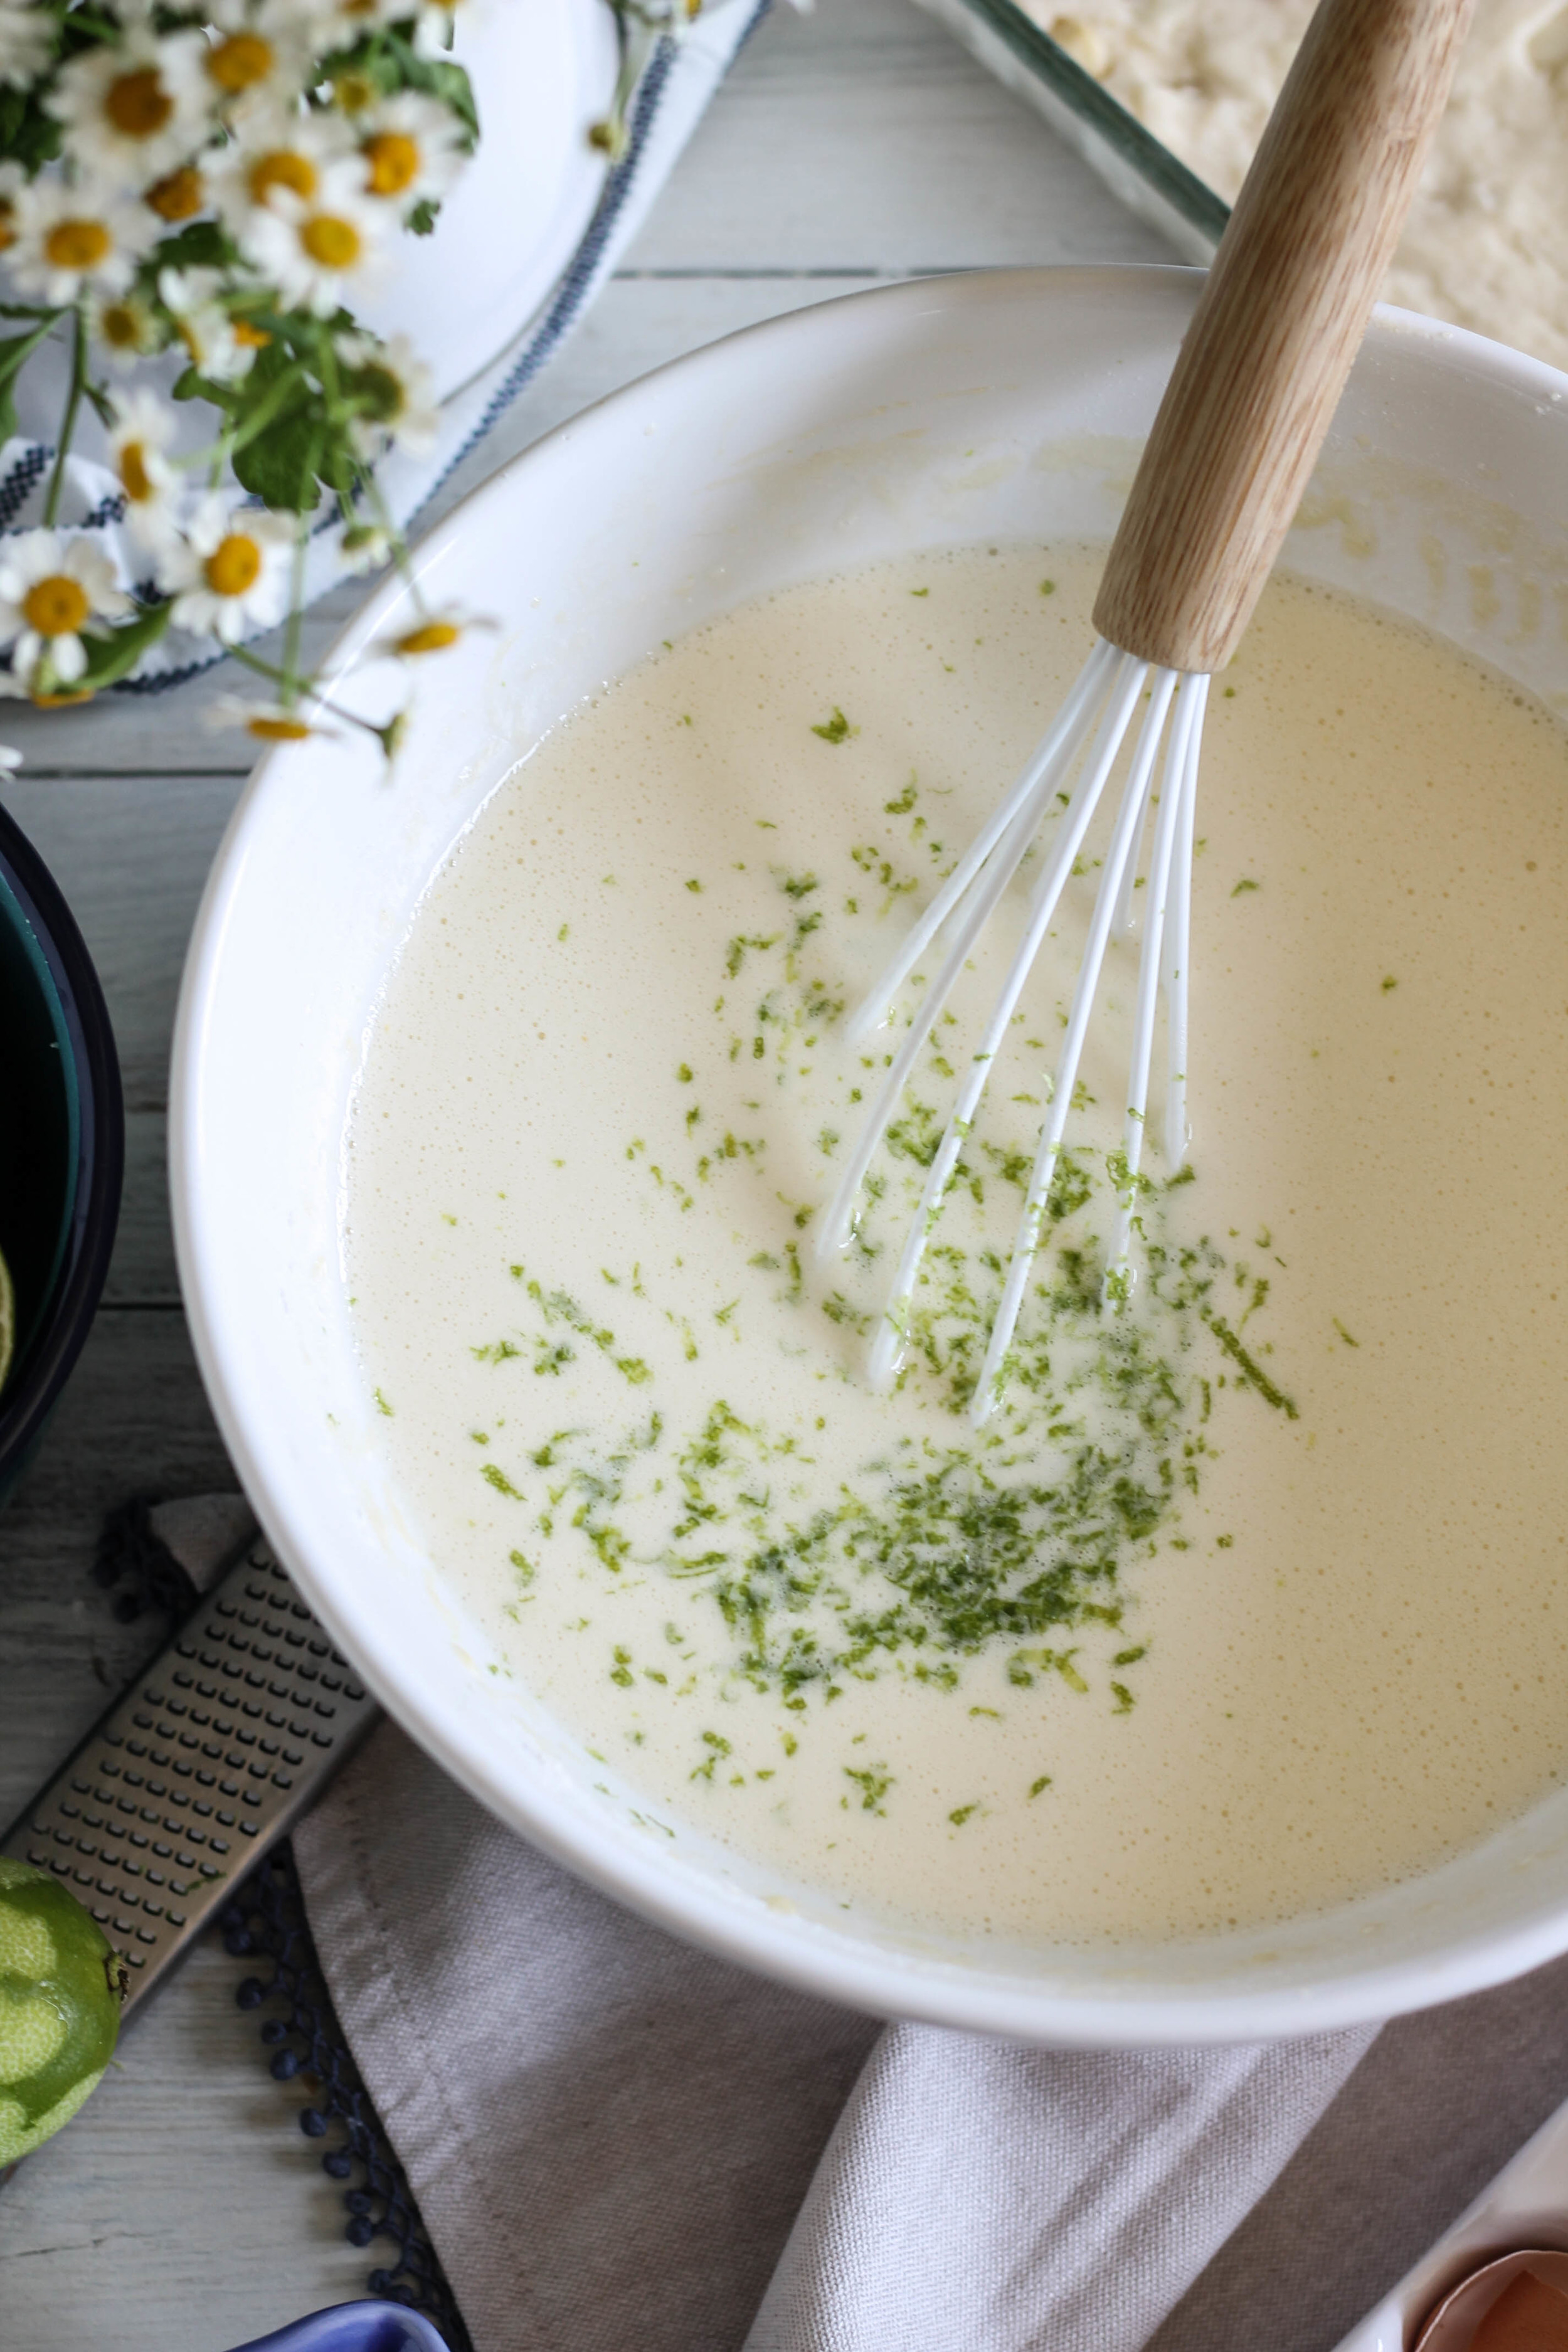
Now for the filling.  This filling is going to look way too thin, but don't panic.  After the bars have baked and cooled, the filling will be the consistency of lemon curd - thick but gooey (I hate that word - new synonyms, please!). 

White Chocolate Macadamia Nut Lime Bars {Pedantic Foodie}

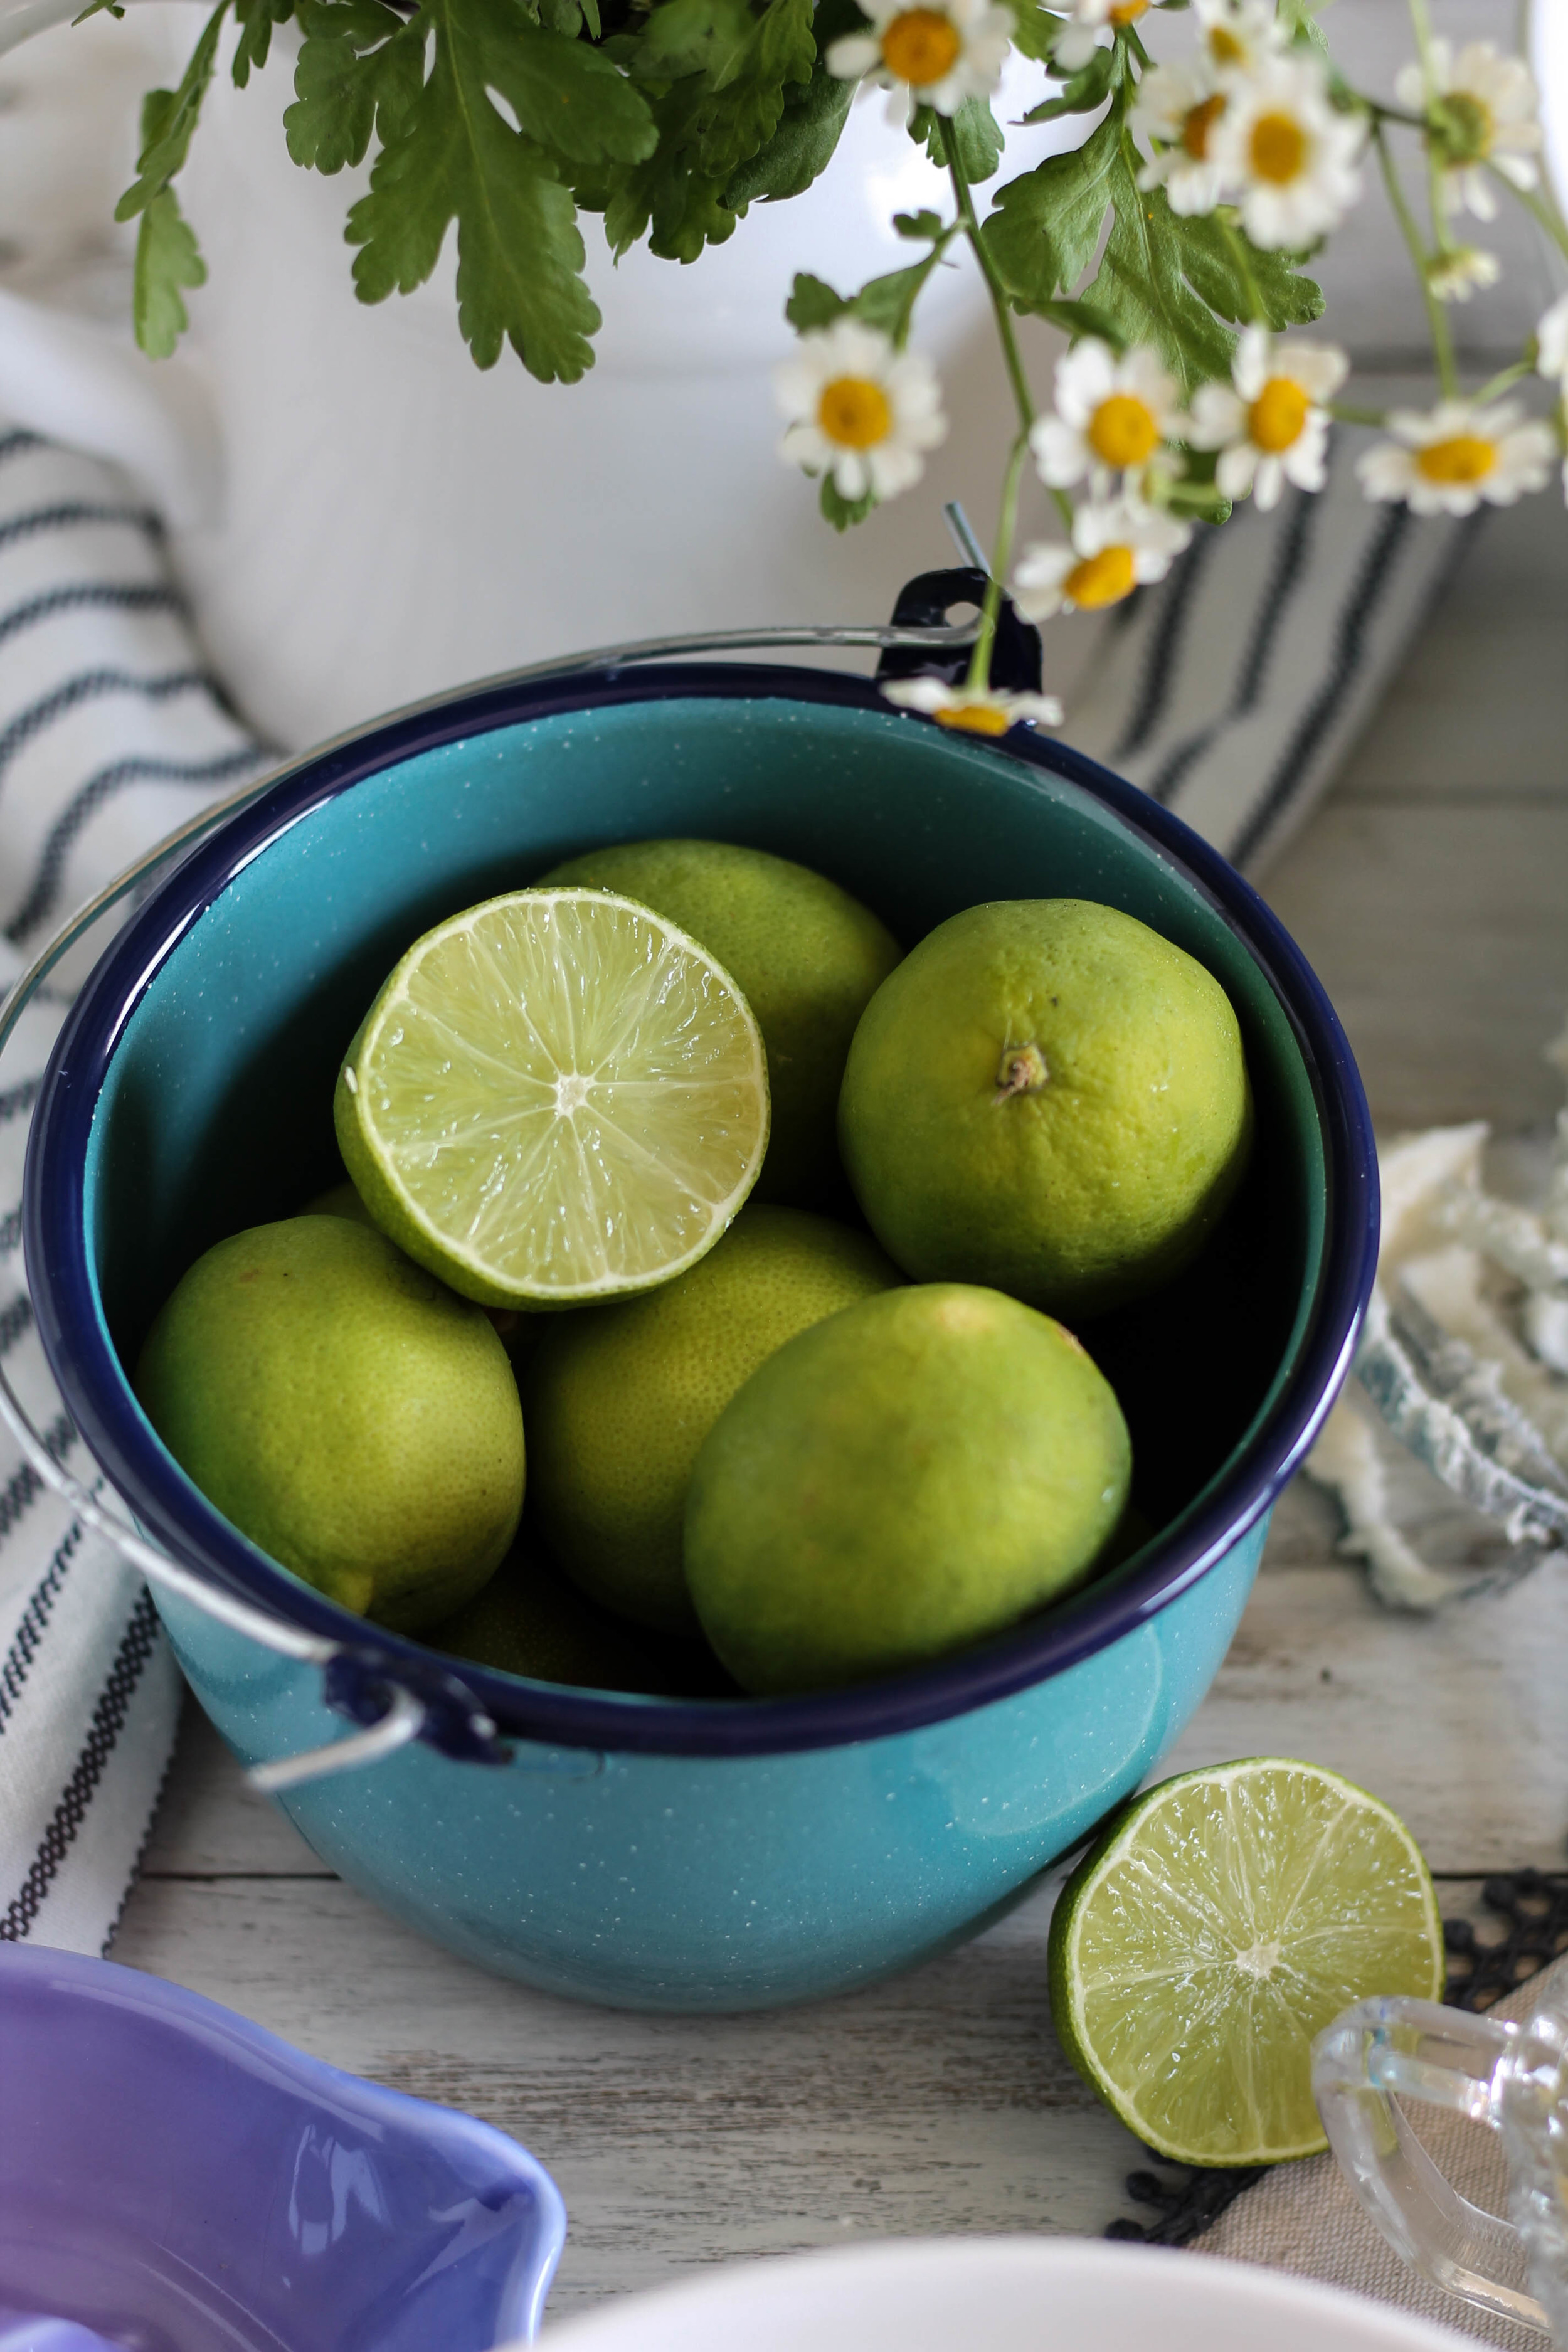
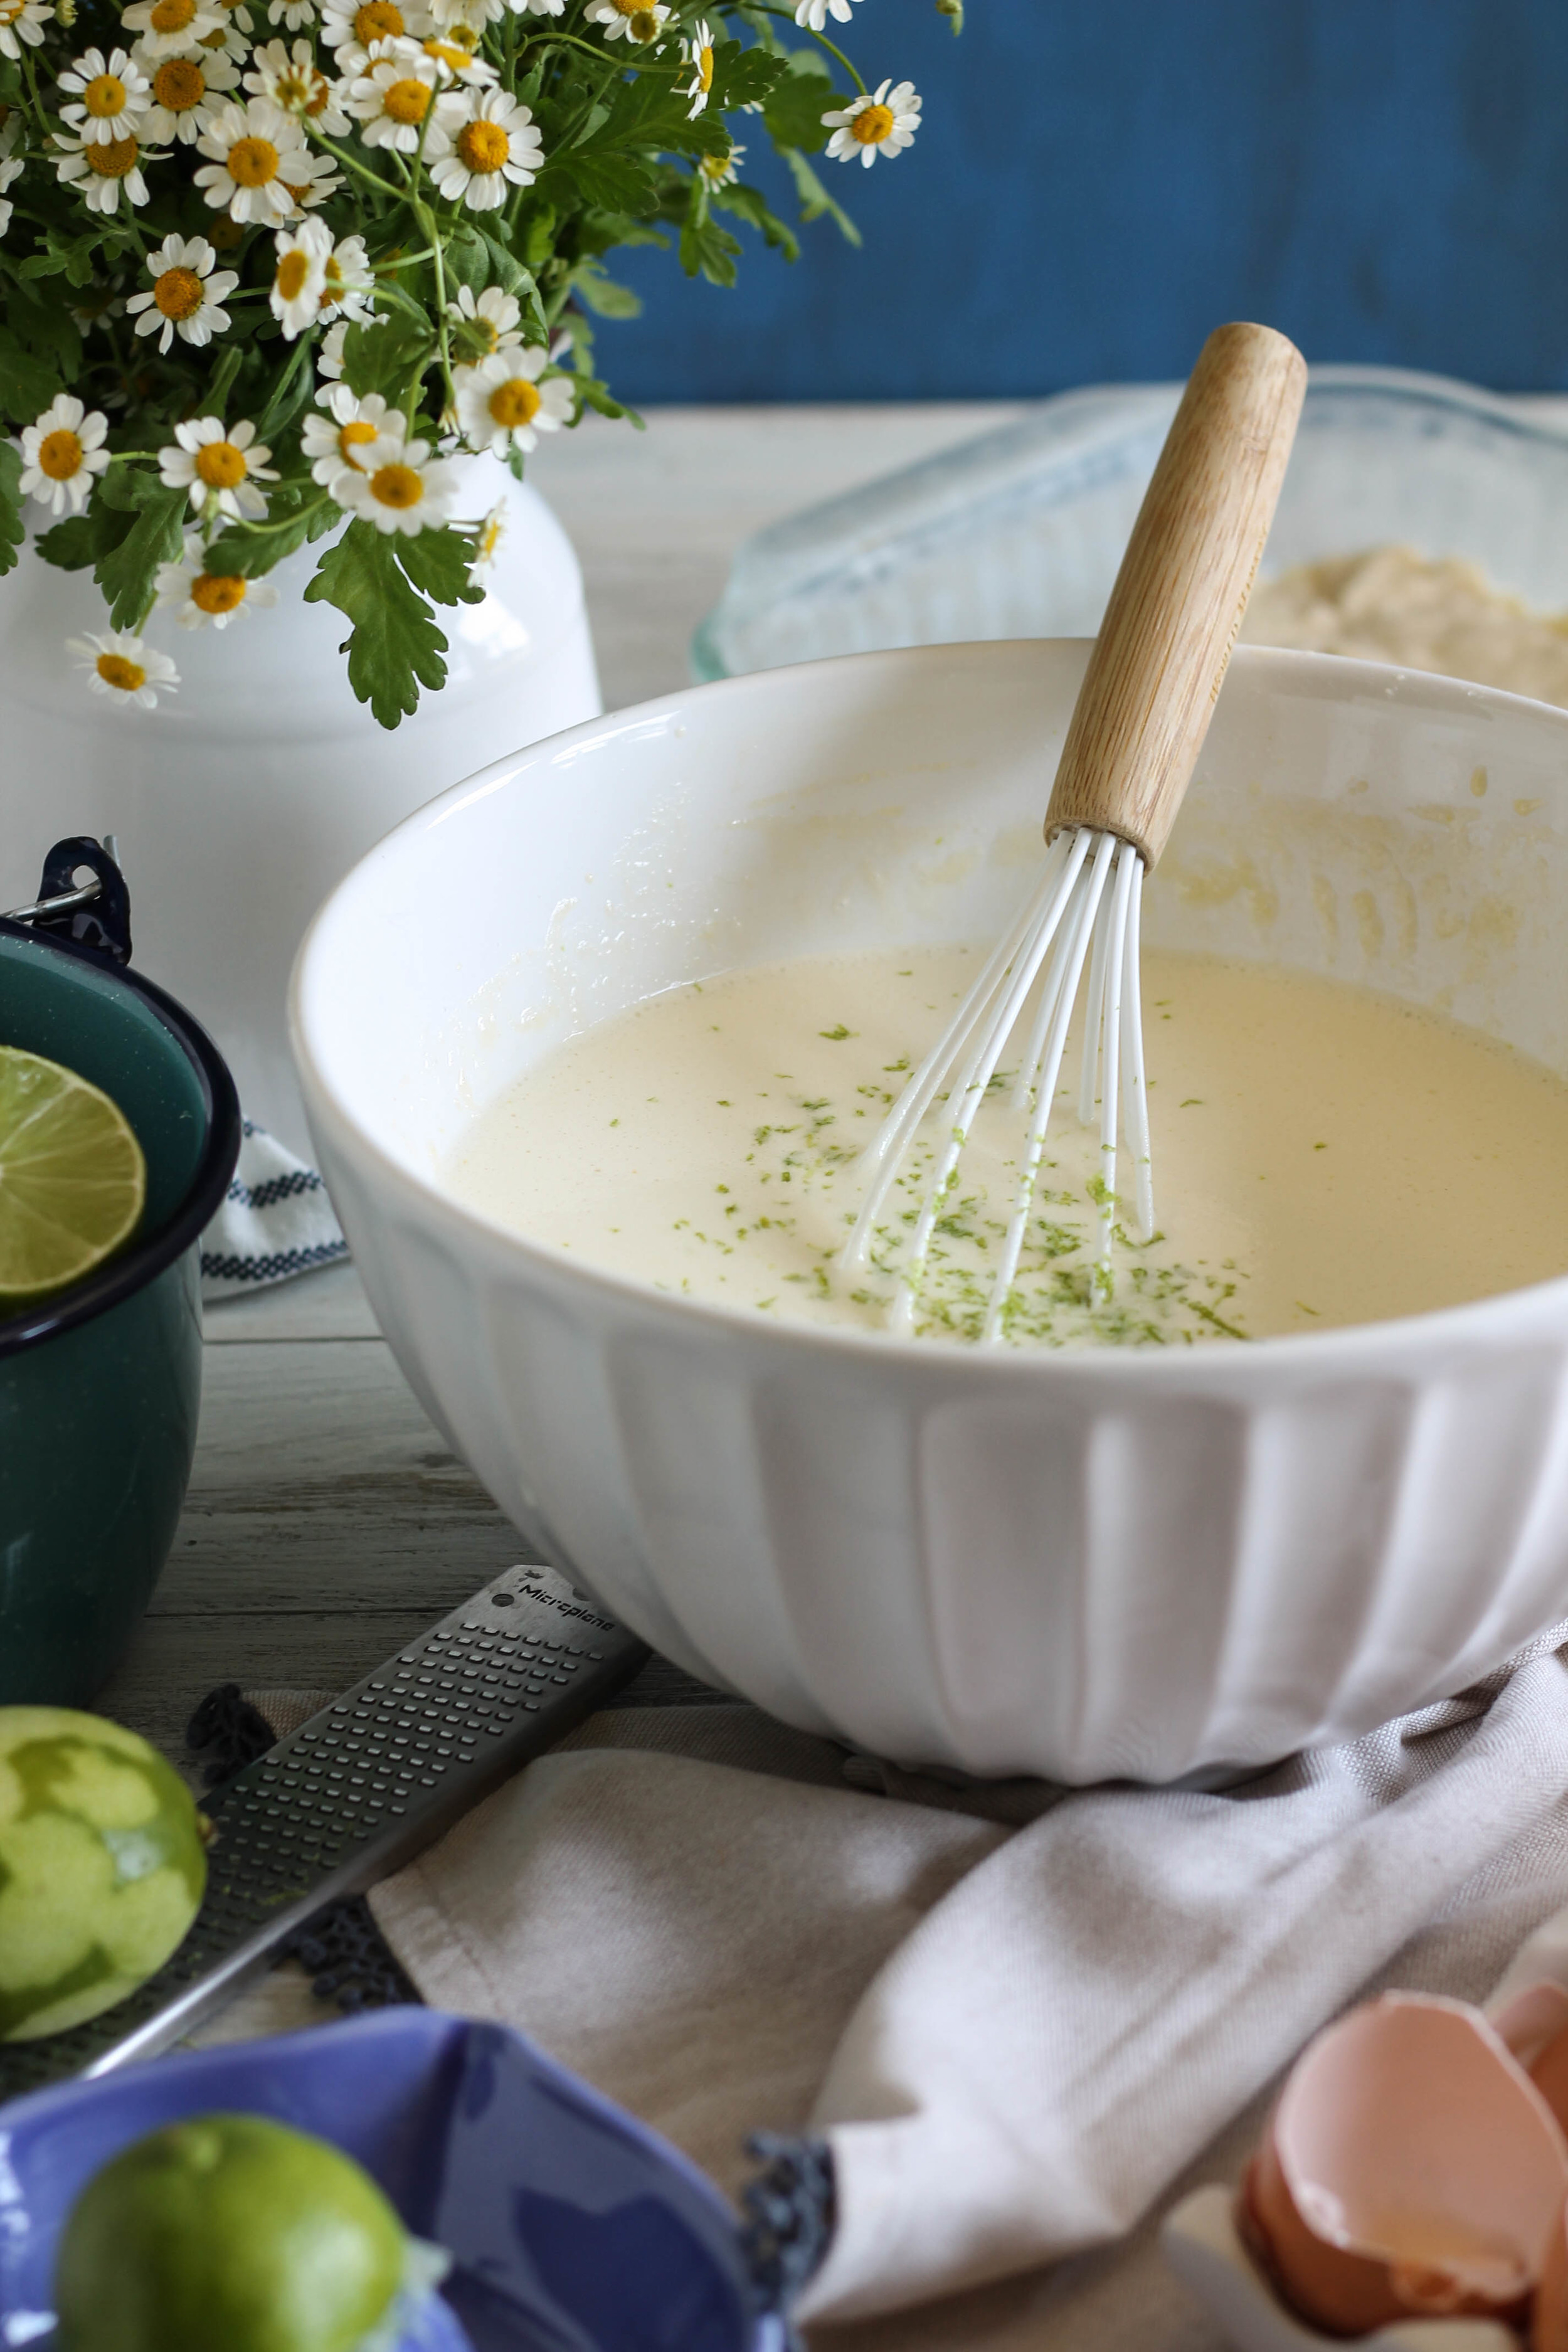
A whole lot of lime zest goes into this filling.  If you prefer your bars on the sweeter side, you may want to reduce the amount.  I like them nice and tart myself. 

I like the kind of tart where you can feel it in the back of your mouth.  Do you know that twinge I'm talking about?  I know you understand, you get me. 

White Chocolate Macadamia Nut Lime Bars {Pedantic Foodie}

Now, while these are fairly tart, they are not sour.  The three cups of sugar makes sure of that. Yes, I said three cups, memories in bar form are not fat free.  

Now for the oven!  These bars bake until the top is deep golden and the filling has set.

White Chocolate Macadamia Nut Lime Bars {Pedantic Foodie}

Then you have to wait for what feels like a lifetime to let them cool.  It's the necessary evil of bar-making. 

White Chocolate Macadamia Nut Lime Bars {Pedantic Foodie}

These are a "with coffee" kind of bar.  Their tart flavor pairs perfectly with a strong, smooth brew. 

White Chocolate Macadamia Nut Lime Bars {Pedantic Foodie}

This reminds me of early morning breakfast dates with my mama. 

White Chocolate Macadamia Nut Lime Bars {Pedantic Foodie}

I like when one memory leads to another. 

Sincerely,

Pedantic Foodie


White Chocolate Macadamia Nut Lime Bars

makes one, 9x13 pan (about 21 bars) / recipe loosely adapted from Ina Garten

for the crust

- 1 cup unsalted butter, softened 

- 1/2 cup granulated sugar 

- 2 cups all-purpose flour 

- 1/4 teaspoon salt

- 1/2 cup white chocolate, roughly chopped

- 1 cup dry roasted, unsalted macadamia nuts, roughly chopped 

Preheat oven to 350 degrees. 

In a large bowl, combine butter and sugar.  Beat with an electric mixer on medium high speed for 1-2 minutes, until the mixture is light and fluffy.  Sift in flour and salt and beat until well combined. Use a spatula to fold in the white chocolate and macadamia nuts.

Press the dough into a greased, 9x13 baking pan.  Cover with plastic wrap and chill in the freezer for 15 minutes.  

Bake the chilled cookie for 15-20 minutes, until the edges are just golden and the cookie has set.  

Place on a cooling rack while you prepare the filling.  Leave the oven set to 350. 

for the filling

- 6 large eggs, room temperature

- 3 cups granulated sugar 

- 1 cup fresh lime juice 

- 1 cup all-purpose flour

- zest of 2-3 limes (mine were small so I used 3)

- 1/2 cup confectioner’s sugar, for dusting 

In a large bowl, whisk eggs and sugar.  Whisk in lime juice, flour, and lime zest.  

Pour the filling over the cooled cookie crust and bake at 350 for 30-35 minutes, until the top is deep golden brown and the filling is set.  Place the pan on a cooling rack and allow to cool to room temperature.  Cover with plastic wrap and place in the refrigerator until cool.  

Cut into 21 even bars and dust liberally with confectioner's sugar.  Store in airtight containers for up to 3 days!  Enjoy! 


You may also like... 

Butterscotch Blondies with Smoked Almonds & Sea Salt

I have a hazy memory of a Saturday afternoon with my father and little sister, standing in line at Dairy Queen.  It’s one of those memories that has a cloudy, golden overlay - the kind that makes it impossible to see the fine details of the day, leaving only the general picture for reminiscing.  I am pretty sure we were wearing bathing suits, which means that a day of fishing had likely taken place beforehand.  There we stood, waiting in line for free ice-cream cones that were being handed out to all of us very hot, dairy-loving Virginians.

Butterscotch Blondies with Smoked Almonds & Sea Salt {Pedantic Foodie}

For some reason, I must have been feeling adventurous that day because I forsook my beloved chocolate-dipped cone for a butterscotch encased cone of fluffy ice cream.

Looking back, I am sure that this once-heavenly cone was not as revolutionary as my eight-year-old mind imagined it to be, but at that time, on that hot day - it was perfect.

Butterscotch Blondies with Smoked Almonds & Sea Salt {Pedantic Foodie}

Aside from its role in that singularly perfect cone and its nostalgic qualities, butterscotch does not often cross my mind.

Butterscotch Blondies with Smoked Almonds & Sea Salt {Pedantic Foodie}

However, after a request from my fiancé, I figured it was time for butterscotch to reenter my life.  

Butterscotch Blondies with Smoked Almonds & Sea Salt {Pedantic Foodie}

Of course, I could have simply poured this sweet butterscotch sauce over vanilla ice cream and called it a day, but this is the weekend and we have time to be a little fancy.

Butterscotch Blondies with Smoked Almonds & Sea Salt {Pedantic Foodie}

Blondies need baking makeup.  Unlike their chocolatey cousin, blondies just don’t do it for me on their own, so I poured a pan of butterscotch and a handful of smokey, salty almonds on top.  It seemed like the right thing to do. 

4-2706.jpg

I’ve been wondering what my eight-year-old self would have thought of smoked almonds.  She likely would have been unimpressed and asked for the honey-glazed peanuts instead.  The things I didn’t know…

Butterscotch Blondies with Smoked Almonds & Sea Salt {Pedantic Foodie}

Something about the combination of smoked almonds and butterscotch is magical.  The geek in me is seriously thinking about trying to smoke cream for a smoked vanilla ice cream that I could pair with this sauce.  Hmm. Definitely putting that one on the list.

Butterscotch Blondies with Smoked Almonds & Sea Salt {Pedantic Foodie}

These blondies are super easy.  Like, you could make them with your five year old, and you should…unless they have tendencies to eat flour like my little cousins used to, then maybe you should just bake during nap time.

What do I know about kids?  Not much.  But, I’m good at feeding them sugary things, which makes up for all other shortcomings -- at least that’s what I tell myself. 

Butterscotch Blondies with Smoked Almonds & Sea Salt {Pedantic Foodie}

Melted butter and brown sugar gives these blondies a rich, buttery foundation that keeps them soft and chewy.  I tested these little darlings twice.  The first time I used baking powder, and bleh.  They were cakey and crumbly and just…really bad.  For the second batch, I used baking soda and they were perfect!  That, my friends, is the powering of leavening. 

Butterscotch Blondies with Smoked Almonds & Sea Salt {Pedantic Foodie}

No beating required, just a wooden spoon and a strong arm. 

Butterscotch Blondies with Smoked Almonds & Sea Salt {Pedantic Foodie}

Drizzled with butterscotch, sprinkled with almonds and we are almost done!  Pour yourself a glass of milk and set the oven timer.  

Butterscotch Blondies with Smoked Almonds & Sea Salt {Pedantic Foodie}

Simple and sophisticated, salty and sweet - and there you have it, blondies have more fun.

Butterscotch Blondies with Smoked Almonds & Sea Salt {Pedantic Foodie}

Bye!

Sincerely, 

Pedantic Foodie


Butterscotch Blondies with Smoked Almonds & Sea Salt

makes 9 / butterscotch recipe adapted from Deb Perelman

for the butterscotch

  • 2 tablespoons unsalted butter
  • 1/4 cup brown sugar 
  • 1/4 teaspoon salt 
  • 1/4 cup heavy cream 
  • 1/2 teaspoon vanilla extract 

Melt butter in a small saucepan over medium heat.

Once the butter has melted, whisk in brown sugar, salt, and heavy cream.  Bring to a slow boil and cook for five minutes.

Remove from heat and stir in vanilla extract.  Allow to cool while you prepare the blondie batter. 

for the blondies

  • 1 large egg 
  • 3/4 cup brown sugar 
  • 1/2 cup unsalted butter, melted 
  • 1 1/4 cup all-purpose flour 
  • 1/2 teaspoon salt 
  • 1/2 teaspoon baking soda 
  • 1/3 cup smoked almonds 
  • sea salt 

Preheat oven to 375 degrees.

In a large bowl, whisk to combine egg and brown sugar.  Whisk in melted butter.  

Sift to combine flour, salt, and baking soda.  Add the dry ingredients to the egg mixture and whisk to combine.

Grease an 8-inch baking pan and spread the batter evenly into the pan.  Drizzle with prepared butterscotch sauce and use a small spatula to swirl the sauce through the top of the batter.  Sprinkle smoked almonds on top of the blondies and press the almonds gently into the batter.  Sprinkle lightly with sea salt.  

Bake for 15-20 minutes, until the edges are golden brown and the center looks almost set, but still slightly underdone.  

Allow the blondies to cool for 15-20 minutes before cutting and serving.  Enjoy!

Peanut Butter and Chocolate Marshmallow Treats

Inspiration has eluded me lately.  My foodie brain that typically swarms with notions of brown butter and roast chicken has been quite unimaginative the past several days.  I wanted to leap into this year and face it head on, but I am already tired and wishing I could take some sick days from life.  Perhaps my lack of inspiration could be explained by the dreariness of these winter days, which are not exactly awe-inspiring.  

My brain was tired this past weekend, so I turned to an old combination that has never let me down. 

Peanut Butter and Chocolate Marshmallow Treats {Pedantic Foodie}

Once upon a time the fair and nutty Peanut Butter and the rich and decadent Chocolate fell in love.  Though each of them was entirely unique from the other, they were the perfect pair.  And it so happened that one day, they stumbled across a gathering of marshmallows and found that the three of them got along splendidly, so they built an entire kingdom out of building materials (which in their world happened to be corn flakes).  The kingdom was a fantastic success because each element complimented the others.  Then one day a very hungry young lady who was not particularly ferocious stumbled upon the kingdom and gobbled it all up because, well, it was really tasty.  The end. 

I believe I just turned a recipe into a very odd fairytale.  I’m sorry.  You’re welcome.

Peanut Butter and Chocolate Marshmallow Treats {Pedantic Foodie}

These bars are easy and ridiculously delicious.  They are pure, uncomplicated, salty-sweet-crunchy goodness. 

Peanut Butter and Chocolate Marshmallow Treats {Pedantic Foodie}

If you are planning on giving away some treats this Valentine’s Day, these bars would be a perfect offering.  Though they may be humble in appearance, a pink ribbon and cellophane will have these little bars prettied up and ready to put a smile on the face of someone you love -- that is, if you can keep them around that long!  These bars lasted exactly 1.5 days in my house. 

Peanut Butter and Chocolate Marshmallow Treats {Pedantic Foodie}

Chocolate, butter, and peanut butter are melted.  Marshmallows and corn flakes are coated in the holy melted triad and the whole bowl is poured into a baking pan to set. 

Peanut Butter and Chocolate Marshmallow Treats {Pedantic Foodie}

I am going to go work on my lack of inspiration and I look forward to sharing with you whatever comes out of this crazy brain next!

Peanut Butter and Chocolate Marshmallow Treats {Pedantic Foodie}

Wishing you all a splendid week!  We can do this.  

Sincerely,

   Pedantic Foodie


Peanut Butter & Chocolate Marshmallow Treats 

makes 9 treats 

  • 1 cup smooth peanut butter 
  • 2 tablespoons unsalted butter, room temperature + extra for greasing
  • 2 cups milk chocolate chips
  • 3 cups marshmallows 
  • 4 cups corn flakes 

Grease an 8x8 baking pan with butter.  Set aside. 

In a large bowl combine peanut butter, butter, and chocolate chips.  Microwave in 30 second increments, stirring after each, until the chocolate is fully melted.  Add marshmallows and microwave for an additional 30 seconds. 

Fold the corn flakes into the chocolate mixture until thoroughly coated and combined.  Spread the mixture into the prepared baking sheet and place in the freezer for 20-30 minutes, until the chocolate has fully set. 

Using a sharp knife, slice the chilled bars into nine squares.  Enjoy immediately or store in an airtight container in a cool, dry place for several days.  Enjoy!