Mexican S'mores // Summer of S'mores Pt. 3

It is Monday, and I am sure we could all use a little chocolate.  Let's get into this!   

Mexican S'mores {Pedantic Foodie}

These s’mores were supposed to come to you last Friday, in time for your weekend… I'm sorry. 

I would like to tell you that I always have my recipes tested on time, photographed perfectly on the first try, and my posts scheduled, but that is just not the case some weeks.  

Mexican S'mores {Pedantic Foodie}

I staged and restaged these s’mores until I finally gave up for the day and set them aside until morning.  Usually such a failure would have ended in tears of defeat and discouragement, but last Thursday, I exchanged the tears for some deep breaths and reminded myself that nothing good could come out of my striving against the Sun. 

Thankfully, Friday morning's light was much more congenial, and s'mores happen to make a mighty fine breakfast. 

Mexican S'mores {Pedantic Foodie}

It is a challenge to let go of my minutely-organized schedule.  To release the fears of losing your gracious-given attention and interest, and to accept the fact that sometimes, no amount of preparation can save me from the occasional blunder. 

Mexican S'mores {Pedantic Foodie}

Though they are late, these s'mores are absolutely superb.  I may not make tacos, or enchiladas, but I do make a pretty fine Mexican s’more.  

Mexican S'mores {Pedantic Foodie}

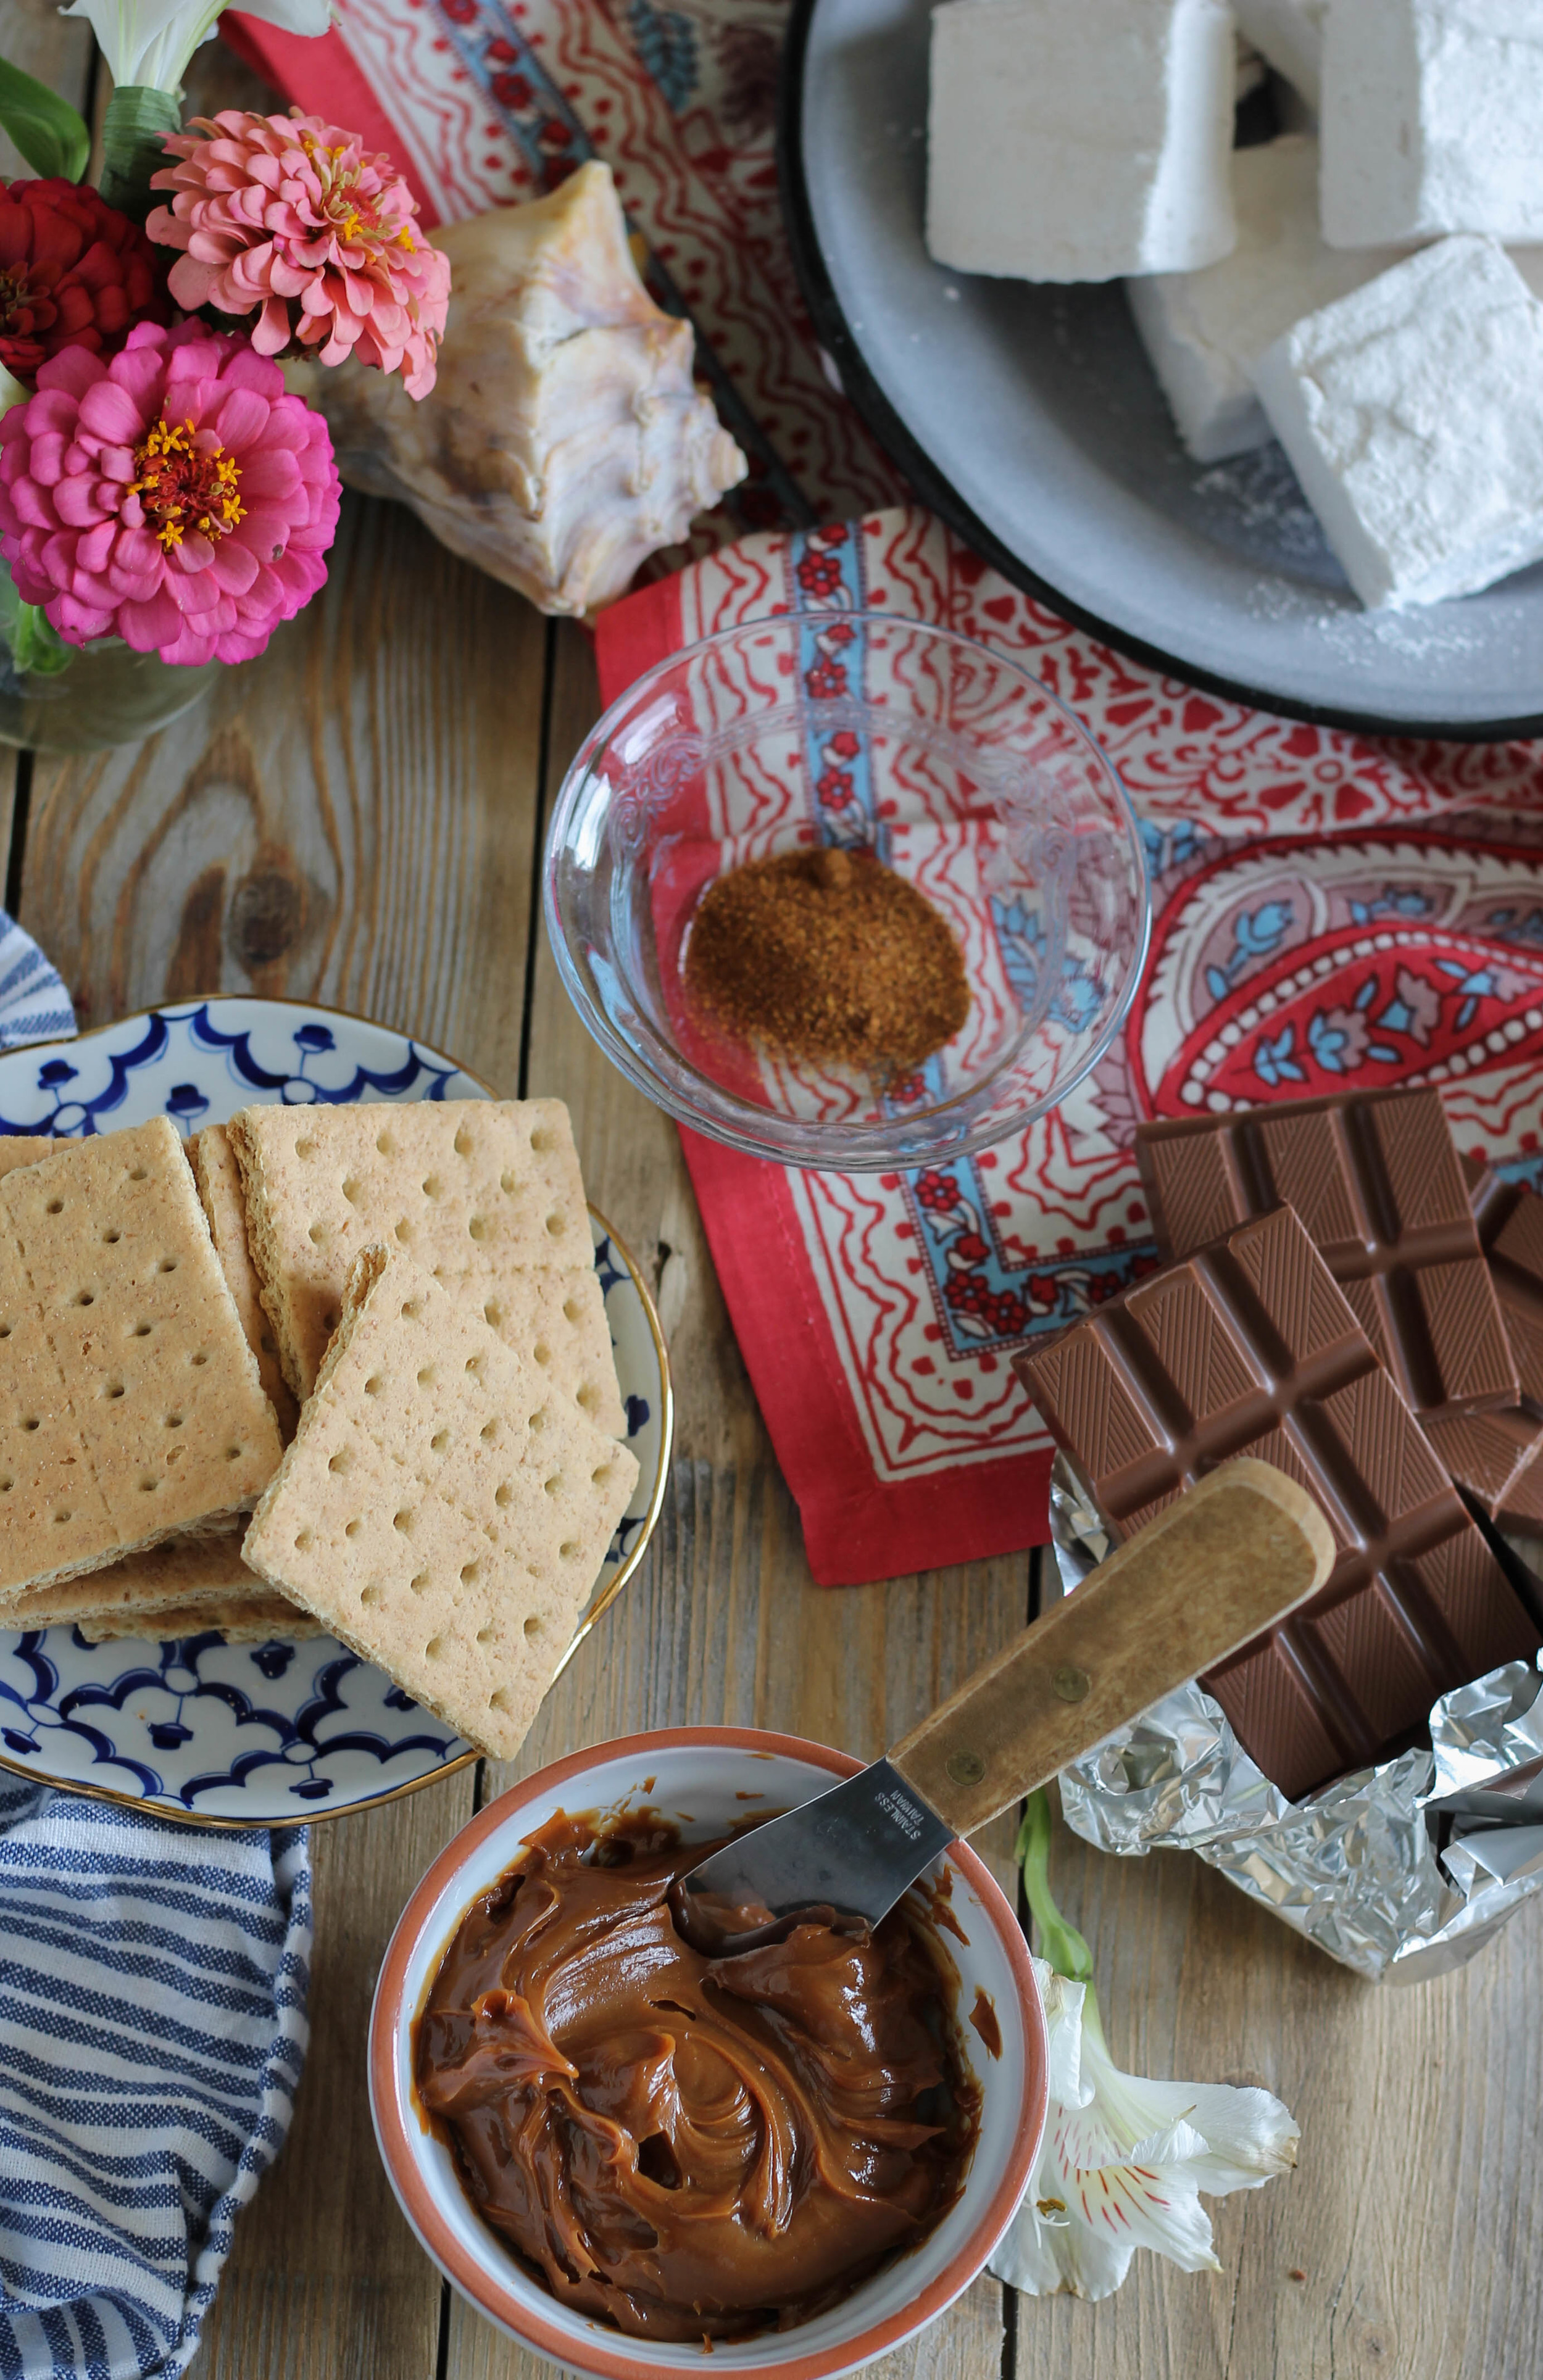
Let’s break this down.  Homemade cinnamon vanilla marshmallows, chocolate spiked with a pinch of cayenne and a hearty dose of ground cinnamon, smooth dulce de leche, and of course, graham crackers.  I really wish I had thought of using cinnamon sugar graham crackers for these s'mores.  Sadly, that little dose of genius just occurred to me two minutes ago, but it's not too late for you.  Go for the cinnamon, spice it up!     

Mexican S'mores {Pedantic Foodie}

Can a s’more be a s’more if you use a cookie in place of the graham crackers?  I don’t think so, but part of me really wants to make a s’more with a gooey, slightly underdone chocolate chip cookie… Let’s come back to that soon, okay?

Mexican S'mores {Pedantic Foodie}

These s’mores can have as much or as little heat as you like.  I like mine on the hotter side, but if you are making them for little ones you could forgo the cayenne altogether. 

Mexican S'mores {Pedantic Foodie}

These s'mores are not exactly mess-free, but I have never known a good s'more that was.  Happy Monday! 

Sincerely, 

Pedantic Foodie


Mexican S’mores

makes 12, but can easily be divided or multiplied

for the s’mores

- 6 ounces milk or dark chocolate, either is delicious 

- 1/4 teaspoon ground cayenne pepper 

- 3/4 teaspoon ground cinnamon

- 12 full graham crackers, broken in half

- 3/4 cup dulce de leche (you could make your own, but I took some help from my trusty friend Trader Joe)

- 12 cinnamon vanilla marshmallows (recipe below)

In a small, microwave-safe bowl, melt chocolate by microwaving at thirty second increments, stirring after each.  Stir in ground spices.  Refrigerate the chocolate for 15-25 minutes, until the chocolate has thickened to a spreadable consistency, but has not hardened. 

To assemble: Spread one tablespoon of dulce de leche on one half of your graham cracker.  Set a marshmallow on top and toast with a kitchen torch.*  Spread about one tablespoon of chocolate on the remaining graham cracker half and place on top of the marshmallow, with the chocolate facing down.  Yeah, you know how to do this. ;) Serve immediately.  Enjoy! 

*Cook’s note:  You can certainly go the traditional route and toast your marshmallows over a campfire, however, I have found that homemade marshmallows tend to melt quicker and more easily over an open flame.  While I would normally suggest popping these under the broiler if you are making them for a group, the high heat does not blend well with the dulce de leche, so I would highly recommend investing in a torch.  I found mine at the hardware store for about fifteen dollars.  You’ll thank yourself.  (It’s way fun to torch things.) 

cinnamon vanilla marshmallows

- 3 packages unflavored gelatin 

- 1 cup ice cold water, divided use

- 1 1/2 cups granulated sugar

- 1 cup light corn syrup

- 1/4 teaspoon kosher salt

- 2 teaspoon vanilla extract 

- 1 teaspoon ground cinnamon

- 1/2 cup confectioner's sugar

Prepare a 9x13 pan by greasing with nonstick spray and dusting liberally with powdered sugar.  

In the work bowl of your stand mixer, fitted with the whisk attachment, add 1/2 cup ice water and sprinkle with gelatin; allow to bloom while you prepare the syrup. 

In a small saucepan, combine remaining 1/2 cup ice water, granulated sugar, kosher salt, and corn syrup.  Place over medium high heat and cover.  Cook for 4 minutes, then uncover and attach a candy thermometer to the side of the pan.  Cook until the mixture reaches 240 degrees F; about 8 minutes.  When syrup has come to temperature remove from the heat immediately.  With the stand mixer on low speed, slowly stream in the syrup.  

When all the syrup has been added, increase the speed to high.  Whip for 13 minutes.  During the last minute of beating, add ground cinnamon and vanilla extract.  Fold the marshmallow into the prepared pan and dust the top liberally with powdered sugar.  Cover the pan and let it set for 4-8 hours, until firm.

Flip the marshmallow out of the pan and unto a surface dusted with confectioner's sugar.  Use a greased pizza cutter to cut into squares.  Toss the cut squares in your remaining powdered sugar and store in an airtight container until ready to use, or up to a week.  Enjoy!


You may also like...

{BURGER BASH WEEK} Caramelized Onion Hamburger Buns

Happy Wednesday friends! I hope you all have been following along with my Burger Bash but if not, so far we have made an incredibly refreshing Papaya Ginger Lemonade Spritzer and Caramelized Onion and Apple Jam.  Now it's time to make one of the most important burger components - the bun.

Caramelized Onion Hamburger Buns {Pedantic Foodie}

Let's talk about hamburger buns for a second.  I'm always heartbroken when an establishment brags about their ridiculously fancy burger and serves it on a subpar bun.  So many times I have been served an incredible burger on a completely inferior bun.  Why would you do that?  If you have something excellent, don't serve it inside a flat, soggy, flavorless wrapper.  Good hamburger buns are hard to come by, and unless you have a good bakery that offers them, I would suggest that you make your own.

It's easy, I promise.

Caramelized Onion Hamburger Buns {Pedantic Foodie}

I used Joy the Baker's recipe as my base and then changed things up just a tiny bit so that this bun would be the perfect addition to my Burger Bash burger.  

Caramelized Onion Hamburger Buns {Pedantic Foodie}

Our simple dough is made with both bread and all-purpose flours, giving these buns the perfect balance of chewiness and softness. 

Caramelized onions are folded in at the very end of the kneading process and the dough is left to rise for a bit.  Pour yourself a glass of sweet tea and read a magazine while you're waiting.  

Caramelized Onion Hamburger Buns {Pedantic Foodie}

Next, our dough is shaped into buns and then left to rise again. 

You should really divide this dough into eight even buns, but I got carried away and made twelve smaller buns.  Real life. 

Caramelized Onion Hamburger Buns {Pedantic Foodie}

After the buns have risen a second time they are brushed with egg wash, which is basically bronzer for baked goods, then sprinkled with salt and sesame seeds.  

Caramelized Onion Hamburger Buns {Pedantic Foodie}

Look at you!  You just made homemade, perfectly imperfect hamburger buns!

I love these buns because their flavor is truly present.  These buns are not just a vehicle to get the burger into our mouths, they are one of the many parts that make this burger something special.  They are soft, yet sturdy, and super easy to make.

Caramelized Onion Hamburger Buns {Pedantic Foodie}

Stay tuned for more Burger Bash fun!  

Sincerely,

  Pedantic Foodie 


Caramelized Onion Burger Buns 

recipe adapted from Joy the Baker / makes 8 burger buns 

for the caramelized onions 

  • 1 1/2 cups diced onions, about 1 1/2 onions 
  • 2 tablespoons unsalted butter 
  • 1 teaspoon salt 

In a small frying pan melt butter over medium high heat.  Add onions and salt and cook, stirring often for 15-20 minutes, until deep golden brown and caramelized.  Allow to cool completely.  

for the buns 

  • 1 cup warm water 
  • 3 tablespoons warm whole milk
  • 2 1/2 tablespoons granulated sugar 
  • 2 1/4 teaspoons active dry yeast (1 package)
  • 3 cups bread flour 
  • 1/3 cup all-purpose flour
  • 1 1/2 teaspoons salt + extra for topping
  • 3 tablespoons unsalted butter, at room temperature 
  • 1 large egg, beaten with 1 teaspoon water 
  • sesame seeds

In the work bowl of your stand mixer combine warm water, milk, granulated sugar, and yeast.  Allow to sit for 5 minutes.  The yeast will be foamy and frothy.  

In a large bowl whisk to combine flours and salt.  Using the tips of your fingers, work softened butter into the flour mixture.  The flour will be slightly crumbly, like the beginnings of a pie dough.  

Add dry ingredients to the yeast mixture in the stand mixer and mix on low speed using the dough hook attachment.  When the ingredients are thoroughly combined, increase speed to medium and knead for 10 minutes.  During the last minute, add cooled, caramelized onions. The dough will be somewhat sticky, but not overly so.  

Turn the dough out unto a floured surface and shape into a ball.  Place the dough in a large bowl greased with nonstick spray and cover loosely with plastic wrap.  Place in a warm place and allow to rise for 1 to 1 1/2 hours, until doubled in size. 

Line a baking sheet with parchment paper and grease lightly with nonstick spray.  Turn the risen dough out unto a floured surface and divide into eight equal pieces.  Roll each piece of dough into a round ball and place on the prepared baking sheet, spacing them about 2 inches apart.

Cover the buns loosely with plastic wrap and allow to rest for 1 hour.  

Preheat oven to 400 degrees.  

In a small bowl prepare egg wash by whisking egg with 1 teaspoon water.  Brush the tops of the risen buns with egg wash and sprinkle with salt and sesame seeds.  

Bake the buns for 12-15 minutes, until golden brown. 

Allow to cool before slicing and serving.  

Enjoy!