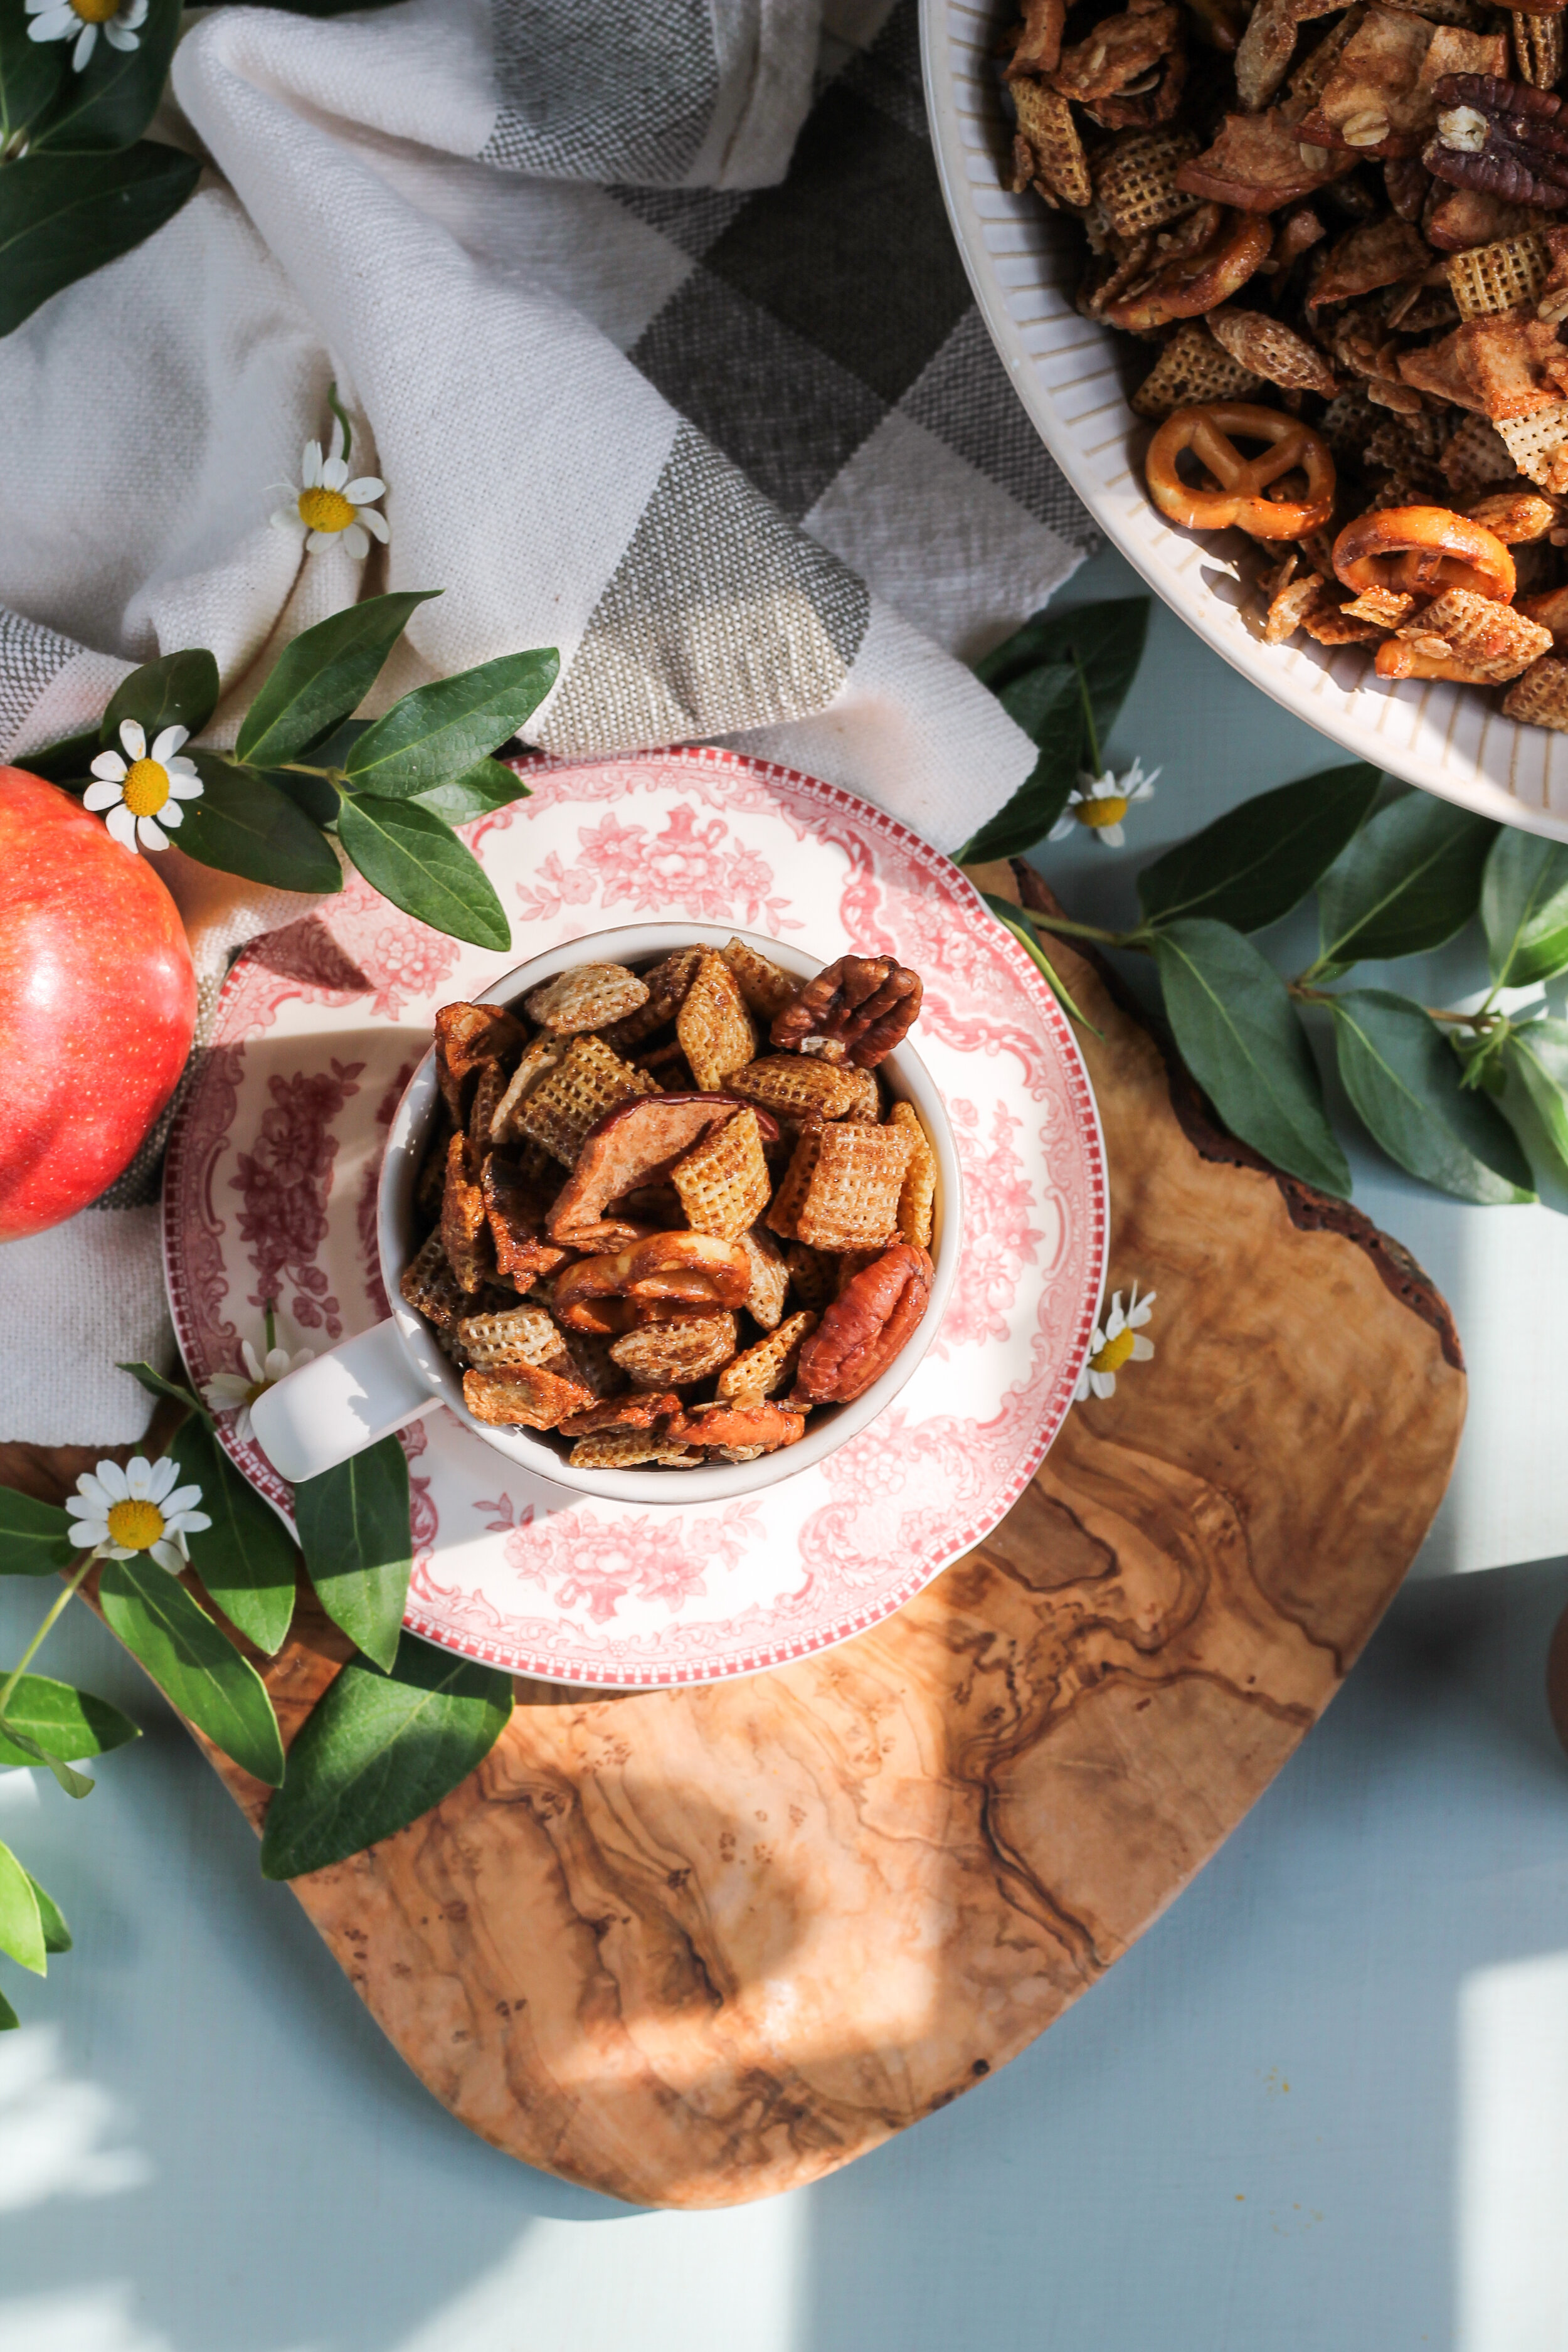
Banana pudding. She's your summer steady. She'll tag along for picnics, she'll make those overly-ornate trifle bowls you got for your wedding shine bright, and she is more than content being tonight's dessert and tomorrow's breakfast.
Read moreSummer Steak Frites // Dining Outdoors with Cost Plus World Market
This post was sponsored by Cost Plus World Market. I feel delighted and privileged to be able to work with brands that I genuinely love. Thank you so much for continuing to support my passions and efforts by being here!
Call your friends, heat up the grill, and let's throw a party together in about 2 1/2 hours! Are you in?
This summer, Cost Plus World Market is helping me encourage myself and others to get more people into our homes or onto our patios by allowing me to share a full outdoor-inspired menu each month! There are so many delicious, summery recipes in the works and I cannot wait to share them with you.
We can all find some very good excuses for not hosting - "It’s expensive," "we don’t have the time,” "our house is too small," or “I do not know how to cook for a crowd.” Often these are more than mere excuses. In fact, most of the time they are probably quite legitimate. Entertaining can be expensive, time-consuming, and a challenge of juggling drink pitchers and baking sheets, but over the course of this summer I’ll be sharing some tips and tricks for bypassing those pitfalls and planning simple, crowd-friendly, and budget-conscious meals that will help us all achieve hostessing success. And, while I cannot put an addition on your home, I work in a 8x10 kitchen, so if I can do it I know you can. Let's use what we have and fill our homes with the people we love, and maybe even a few we are just starting to.
For each meal, I will break down the timeline, costs lists, and throw in a few handy pointers to save us all some anxiety this summer.
My June menu celebrates the official beginning of summer with a fresh take on steak frites. It is all kinds of wonderful for your palate, sanity levels, and wallet. We are feeding six people on $40 - let's get to it.
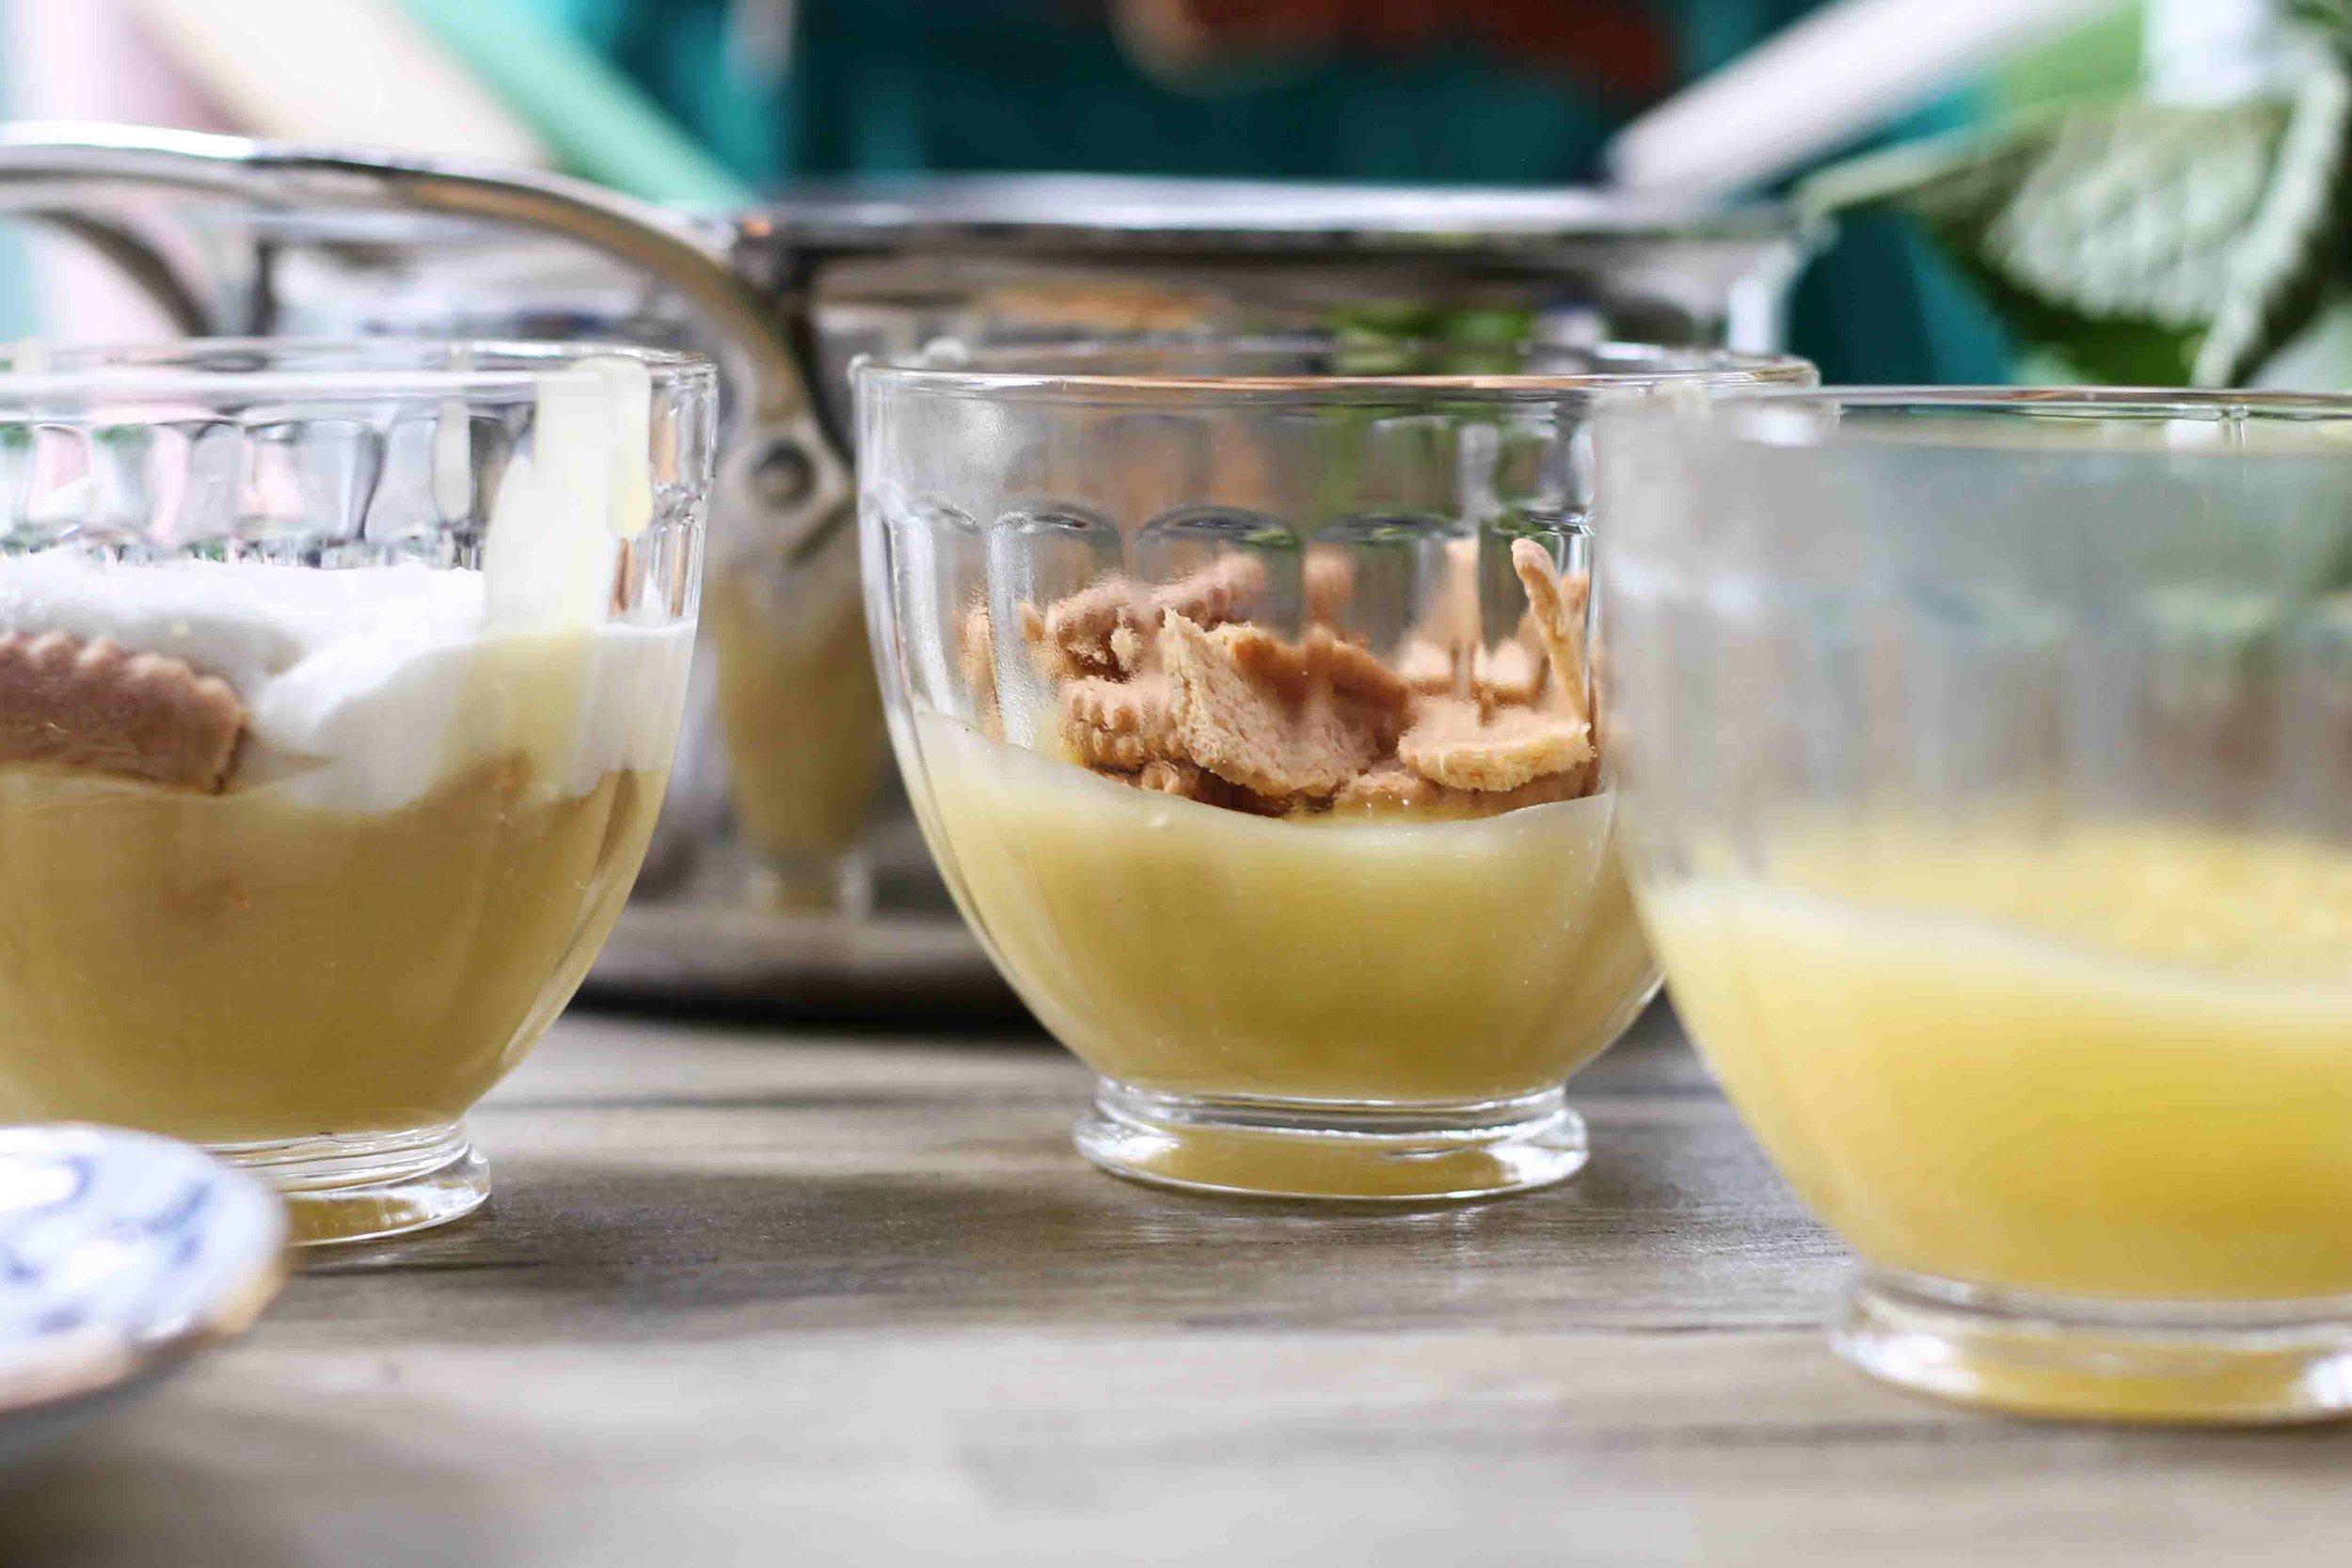
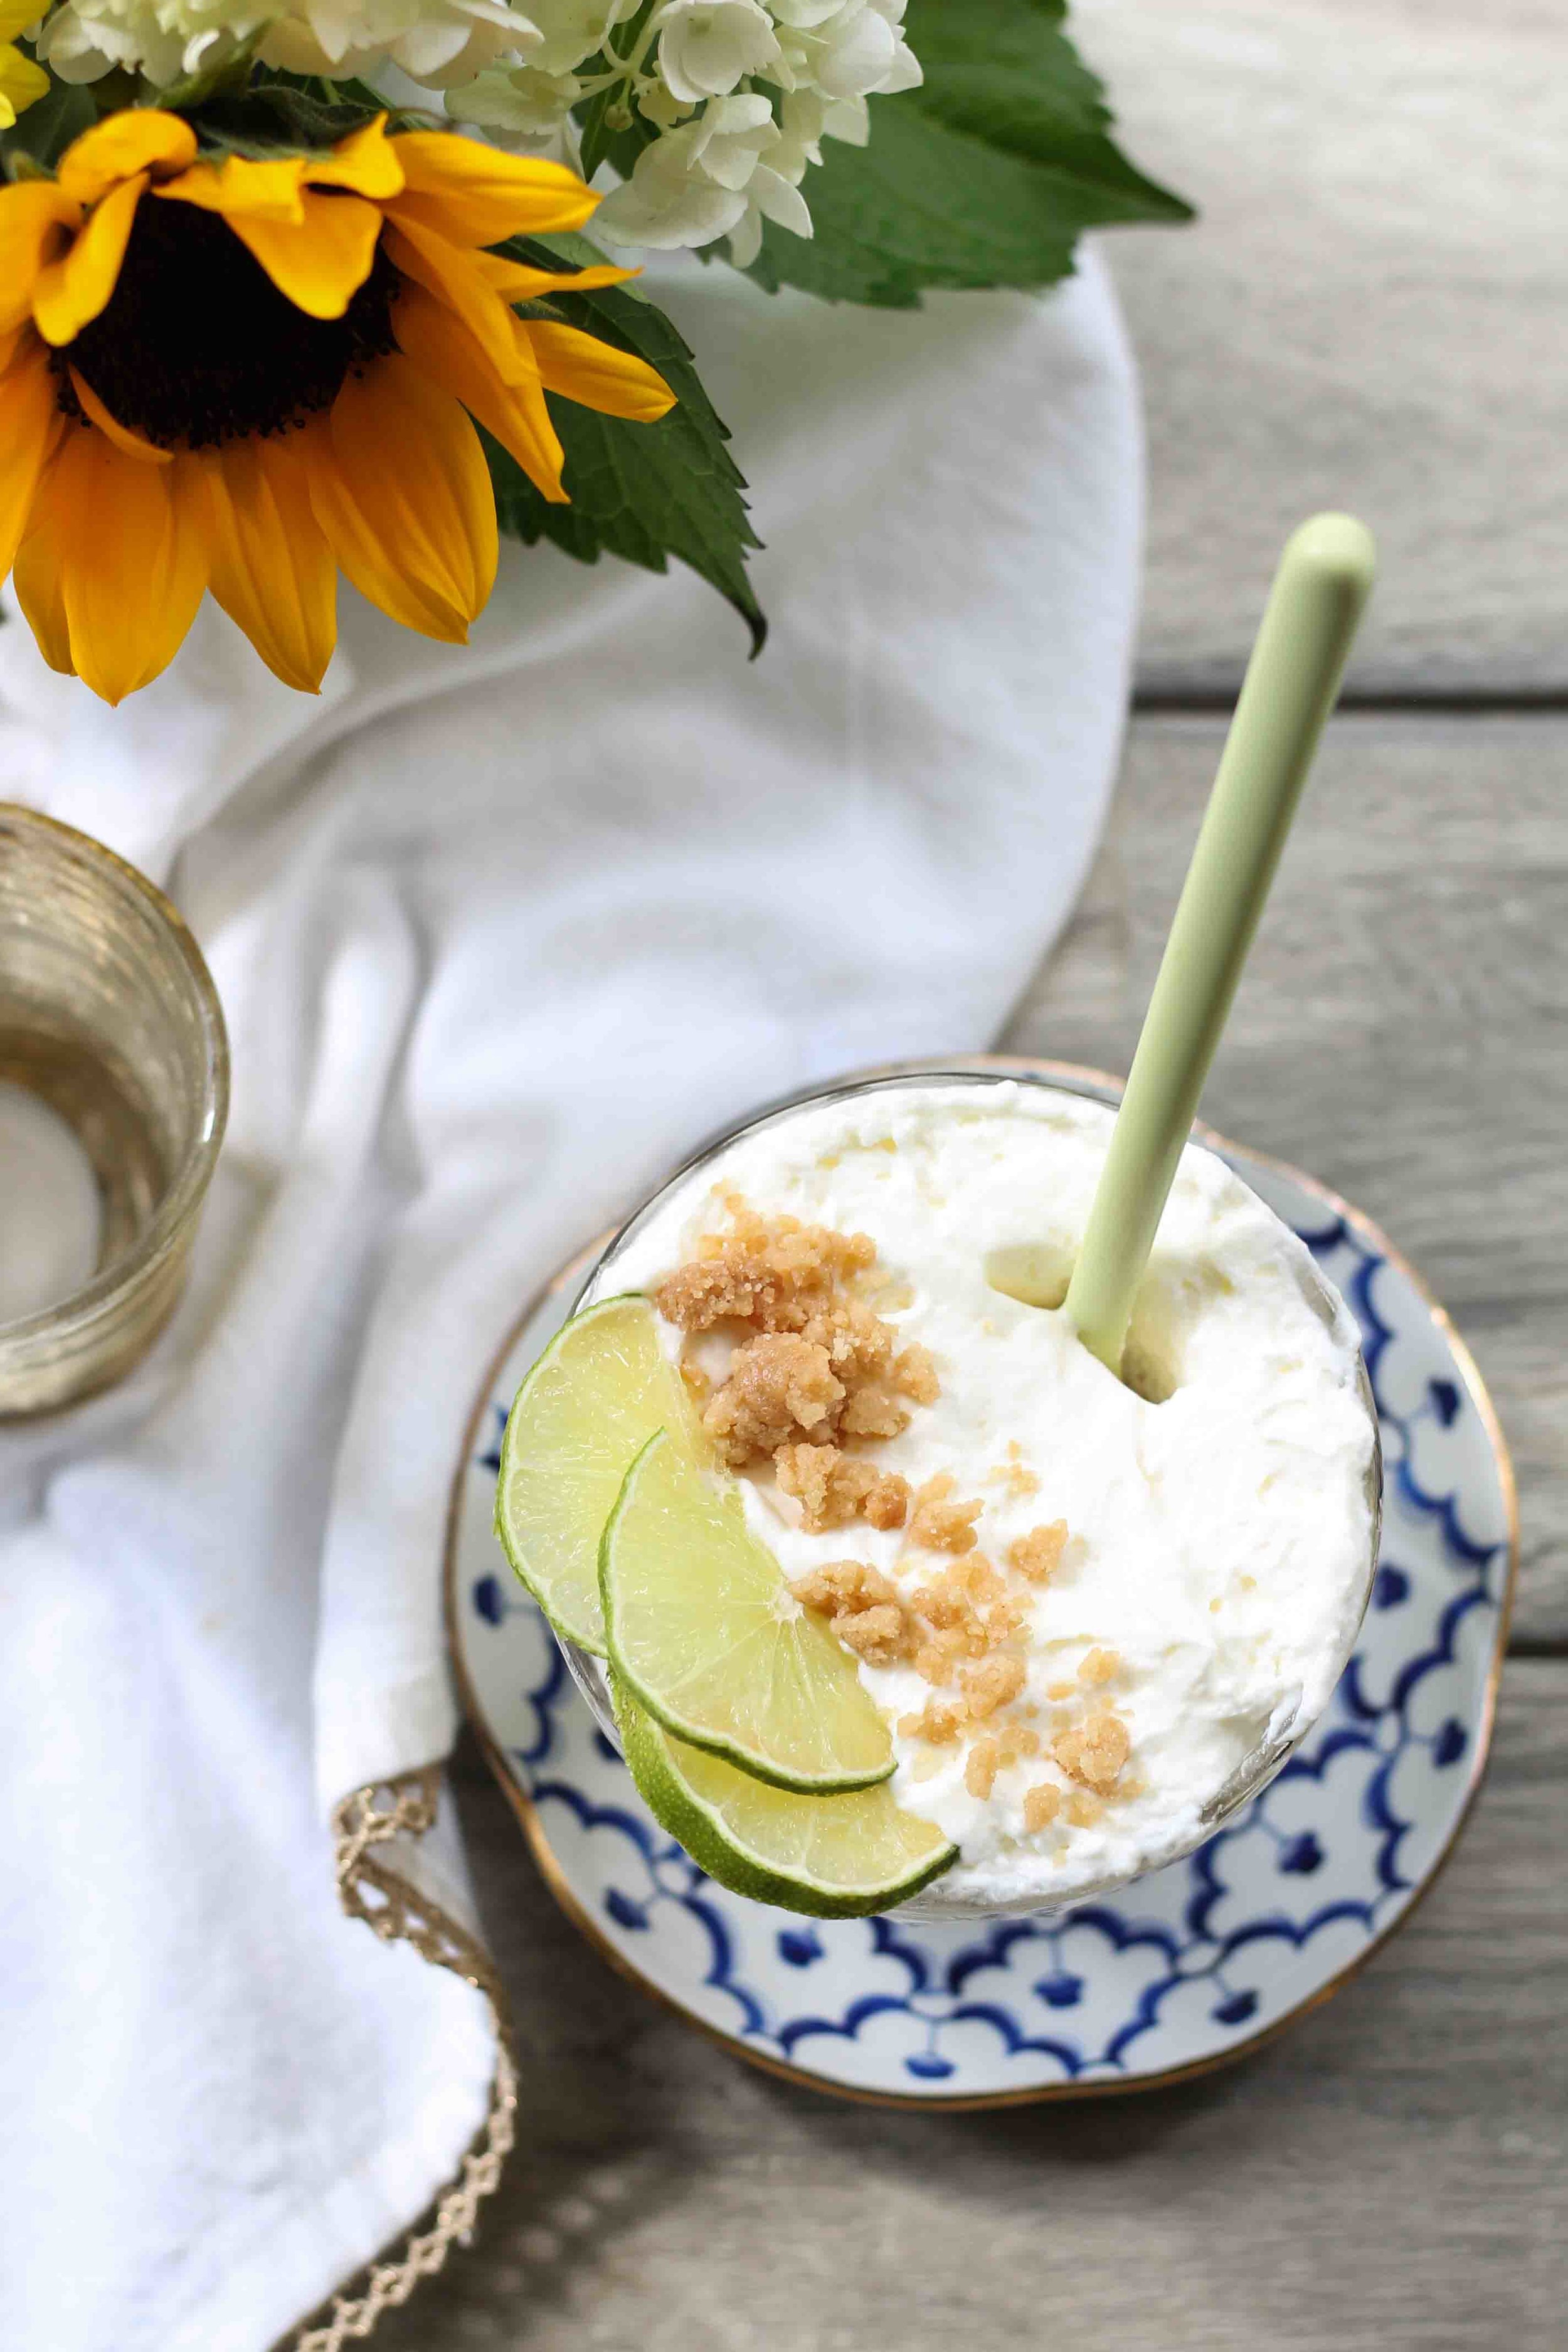
Dessert comes first for this meal. Ideally, you would begin the dessert about 2 1/2 hours before you plan on serving dinner. This simple, lime and coconut trifle benefits from some extra time in the fridge. Trifles are such a fantastic dessert for summer because they can be made in advance and are so refreshing on warm evenings.
This particular trifle features layers of lime custard, coconut whipped cream, and store-bought coconut butter cookies (yep, you do not even have to preheat the oven). I wish I could accurately describe how truly incredible this dessert really is, but all adjectives fall short. It may just be my favorite recipe I have made this year.
Once the custard is cool and the ingredients have been layered, it is time to cover and refrigerate so that the flavors can meld and the cookies can soften to an almost cake-like consistency.
Now, for the fries, or frites, or whatever you would like to call them. Yukon gold potatoes are the way to go because we do not have to worry about pulling out that vegetable peeler. If these fries sound familiar, they are in fact the same fries I shared on Monday sans truffle oil, though you could definitely drizzle in a bit if you're feeling it. Cutting the fries is likely the most time-consuming part of this dinner, so take the opportunity to crank up your favorite Spotify station and take some deep breaths before company time.
Once the fries are cut, we can turn our attention to the steaks. Skirt steak is the hostess’s secret weapon because it feels a bit more elegant than chicken, but is just about as affordable, making it the ultimate choice for a crowd.
Lay the steaks out onto a cooling rack and sprinkle generously with sea salt and freshly ground pepper. Allow the steaks to rest for 20-30 minutes before you take them to the grill. This will give the salt a chance to break down those muscle structures a bit which will, in turn, lead to a juicier steak.
While the steak is grilling (you can bat your eyelashes at the mister to help out with that part), and the fries are baking, prepare the chimichurri.
Chimichurri, also known as the “clean-out-my-herb-drawer sauce" is your summertime best friend. Wondering what to do with that half-used bunch of parsley or overabundant oregano plant? Chimichurri to the rescue. Gather any collection of herbs you like and start chopping.
This uncooked sauce will double as a garnish for our steaks and our heirloom tomato salad.
This time of year tomatoes do not require much fussing. Just dress them with a clove of garlic, some torn basil, a drizzle of your favorite olive oil, and a heavy sprinkling of salt.
Once the steak has rested, slice (against the grain, please), drizzle with your prepared chimichurri, and toss those fries with a bit of parmesan and a good dose of black pepper.
Cocktails are not always in the budget, so fancy up that pitcher of water with some slices of cucumber, lime, and a handful of fresh mint.
Dinner is served.
Sincerely,
Pedantic Foodie
(All the recipes and the cost breakdown can be found at the bottom of this post!)
shop this post...
Cost Breakdown
shopping list
- 2 1/2 lbs skirt steak $16.30
- yukon gold potatoes (5lb bag) $3.58
- heirloom tomatoes $4.09
- parmesan $4.12
- fresh herbs (3 of your choice) $3.07
- lemon $0.50
- coconut cream $2.04
- limes $2.04
- heavy cream $1.73
- cookies $4.09
Total = $41.56 - Pretty close to our $40 goal.
assumed pantry items
- salt & pepper
- olive oil
- garlic
- cornstarch
- sugar
- butter
Skirt Steak with Chimichurri
serves 6
for the steaks
- 2 1/2 lbs skirt steak
- sea salt
- freshly ground pepper
Lay your steak or steaks out onto a cooling rack and sprinkle liberally with sea salt and ground pepper. Allow the steaks to rest for 20-30 minutes before you take them to the grill. This will give the salt a chance to break down those muscle structures a bit which will, in turn, lead to a juicier steak.
Pat the steaks dry and sprinkle each side with additional salt and pepper.
Set your grill on high heat and grill the steaks for 3-4 minutes on each side, until the outside is crisp and the internal temperature reads between 135-140 degrees. Allow the steaks to rest for 10 minutes before slicing into strips.
for the chimichurri
Cook's Note: You can use any selection of herbs you like. My favorite combination right now is oregano, basil, and thyme.
- 1 heaping cup fresh herbs (about 1/4 cup once chopped finely)
- 2 cloves garlic, minced
- 1/2 teaspoon kosher salt
- 1/4 cup olive oil
- 1 tablespoon fresh lemon juice
In a small measuring cup or pitcher, combine finely chopped herbs, garlic, and salt. Use a fork to slowly whisk in the olive oil and lemon juice. Cover and refrigerate until ready to serve. Stir just before serving.
Drizzle the chimichurri over warm steak and tomato salad.
Parmesan Oven Frites
serves 6
Cook’s Note: I love using yukon gold potatoes because they are just slightly sweet and we do not have to bother about peeling!
- 4 lbs yukon gold potatoes, washed well
- 1/2 cup extra virgin olive oil
- sea salt
- 1/2 cup finely grated good quality parmesan
- freshly ground pepper
Preheat oven to 400 degrees. Line two baking sheets with parchment paper.
Cut potatoes into thin sticks. We are aiming for 1/4-inch in thickness.
Rinse the fries under cold water and pat dry with a tea towel, removing as much water as you can.
Place the fries evenly onto two baking sheets, allowing a bit of space between each fry so that the edges can brown. Drizzle each pan with 2 tablespoons of olive oil and salt liberally.
Cook’s Note: If you cannot fit both baking sheets in your oven side-by-side, just place one pan on the lower rack and rotate the pans every 10 minutes or so.
Bake on the top rack of your oven for 25-30 minutes, or until the fries are evenly browned and crisp. Transfer the fries to a large bowl and toss with parmesan and black pepper. Serve immediately. Enjoy!
Heirloom Tomato Salad
serves 6
- 1 lb miniature heirloom tomatoes, quartered
- 2 tablespoons extra virgin olive oil
- 1 clove minced garlic
- 1 teaspoon kosher salt
- 3-4 leaves fresh basil, roughly torn
In a small bowl, toss tomatoes with olive oil, garlic, kosher salt, and basil. Cover with plastic wrap and refrigerate for at least 15 minutes.
Lime & Coconut Trifles
makes 6, 7oz servings
for the lime custard
- 4 egg yolks
- 1/3 cup cornstarch
- 1 1/3 cups granulated sugar
- 1 1/2 cups water
- 1/4 teaspoon kosher salt
- 1/2 cup freshly squeezed lime juice
- 3 tablespoons unsalted butter, room temperature
Place egg yolks in a medium measuring cup, and whisk until thick and slightly lightened in color.
In a heavy bottomed 3-quart saucepan combine cornstarch, sugar, water, and kosher salt. Place the pan over medium heat and cook, stirring often, until the mixture comes to a boil. Remove the pan from the heat and slowly whisk in 1/4 cup spoonfuls of the cornstarch mixture into the egg yolks until about half of the mixture has been added. Then, add the tempered egg yolks to the pan and return to heat and cook, whisking constantly, for 1-2 minutes more; until thick.
Remove the pan from the heat and strain the mixture through a fine mesh strainer. Whisk in the lime juice and butter and allow to cool until just warm. While the custard cools, prepare the whipped cream.
for the coconut cream
- 1 cup heavy whipping cream
- 2/3 cup coconut cream
- 2/3 cup confectioner’s sugar
Place heavy cream in a large bowl and use an electric mixer to beat on high speed until soft peaks form. Add coconut cream and confectioner's sugar and beat slowly until well combined. Refrigerate until the custard has completely cooled.
assembly
- 36 thin coconut butter cookies*
- (optional) lime slices and crumbled cookies for garnish
Cook's Note: I used the Coconut Thins from Trader Joe's for this recipe, but you could substitute any wafer-like cookie you like.
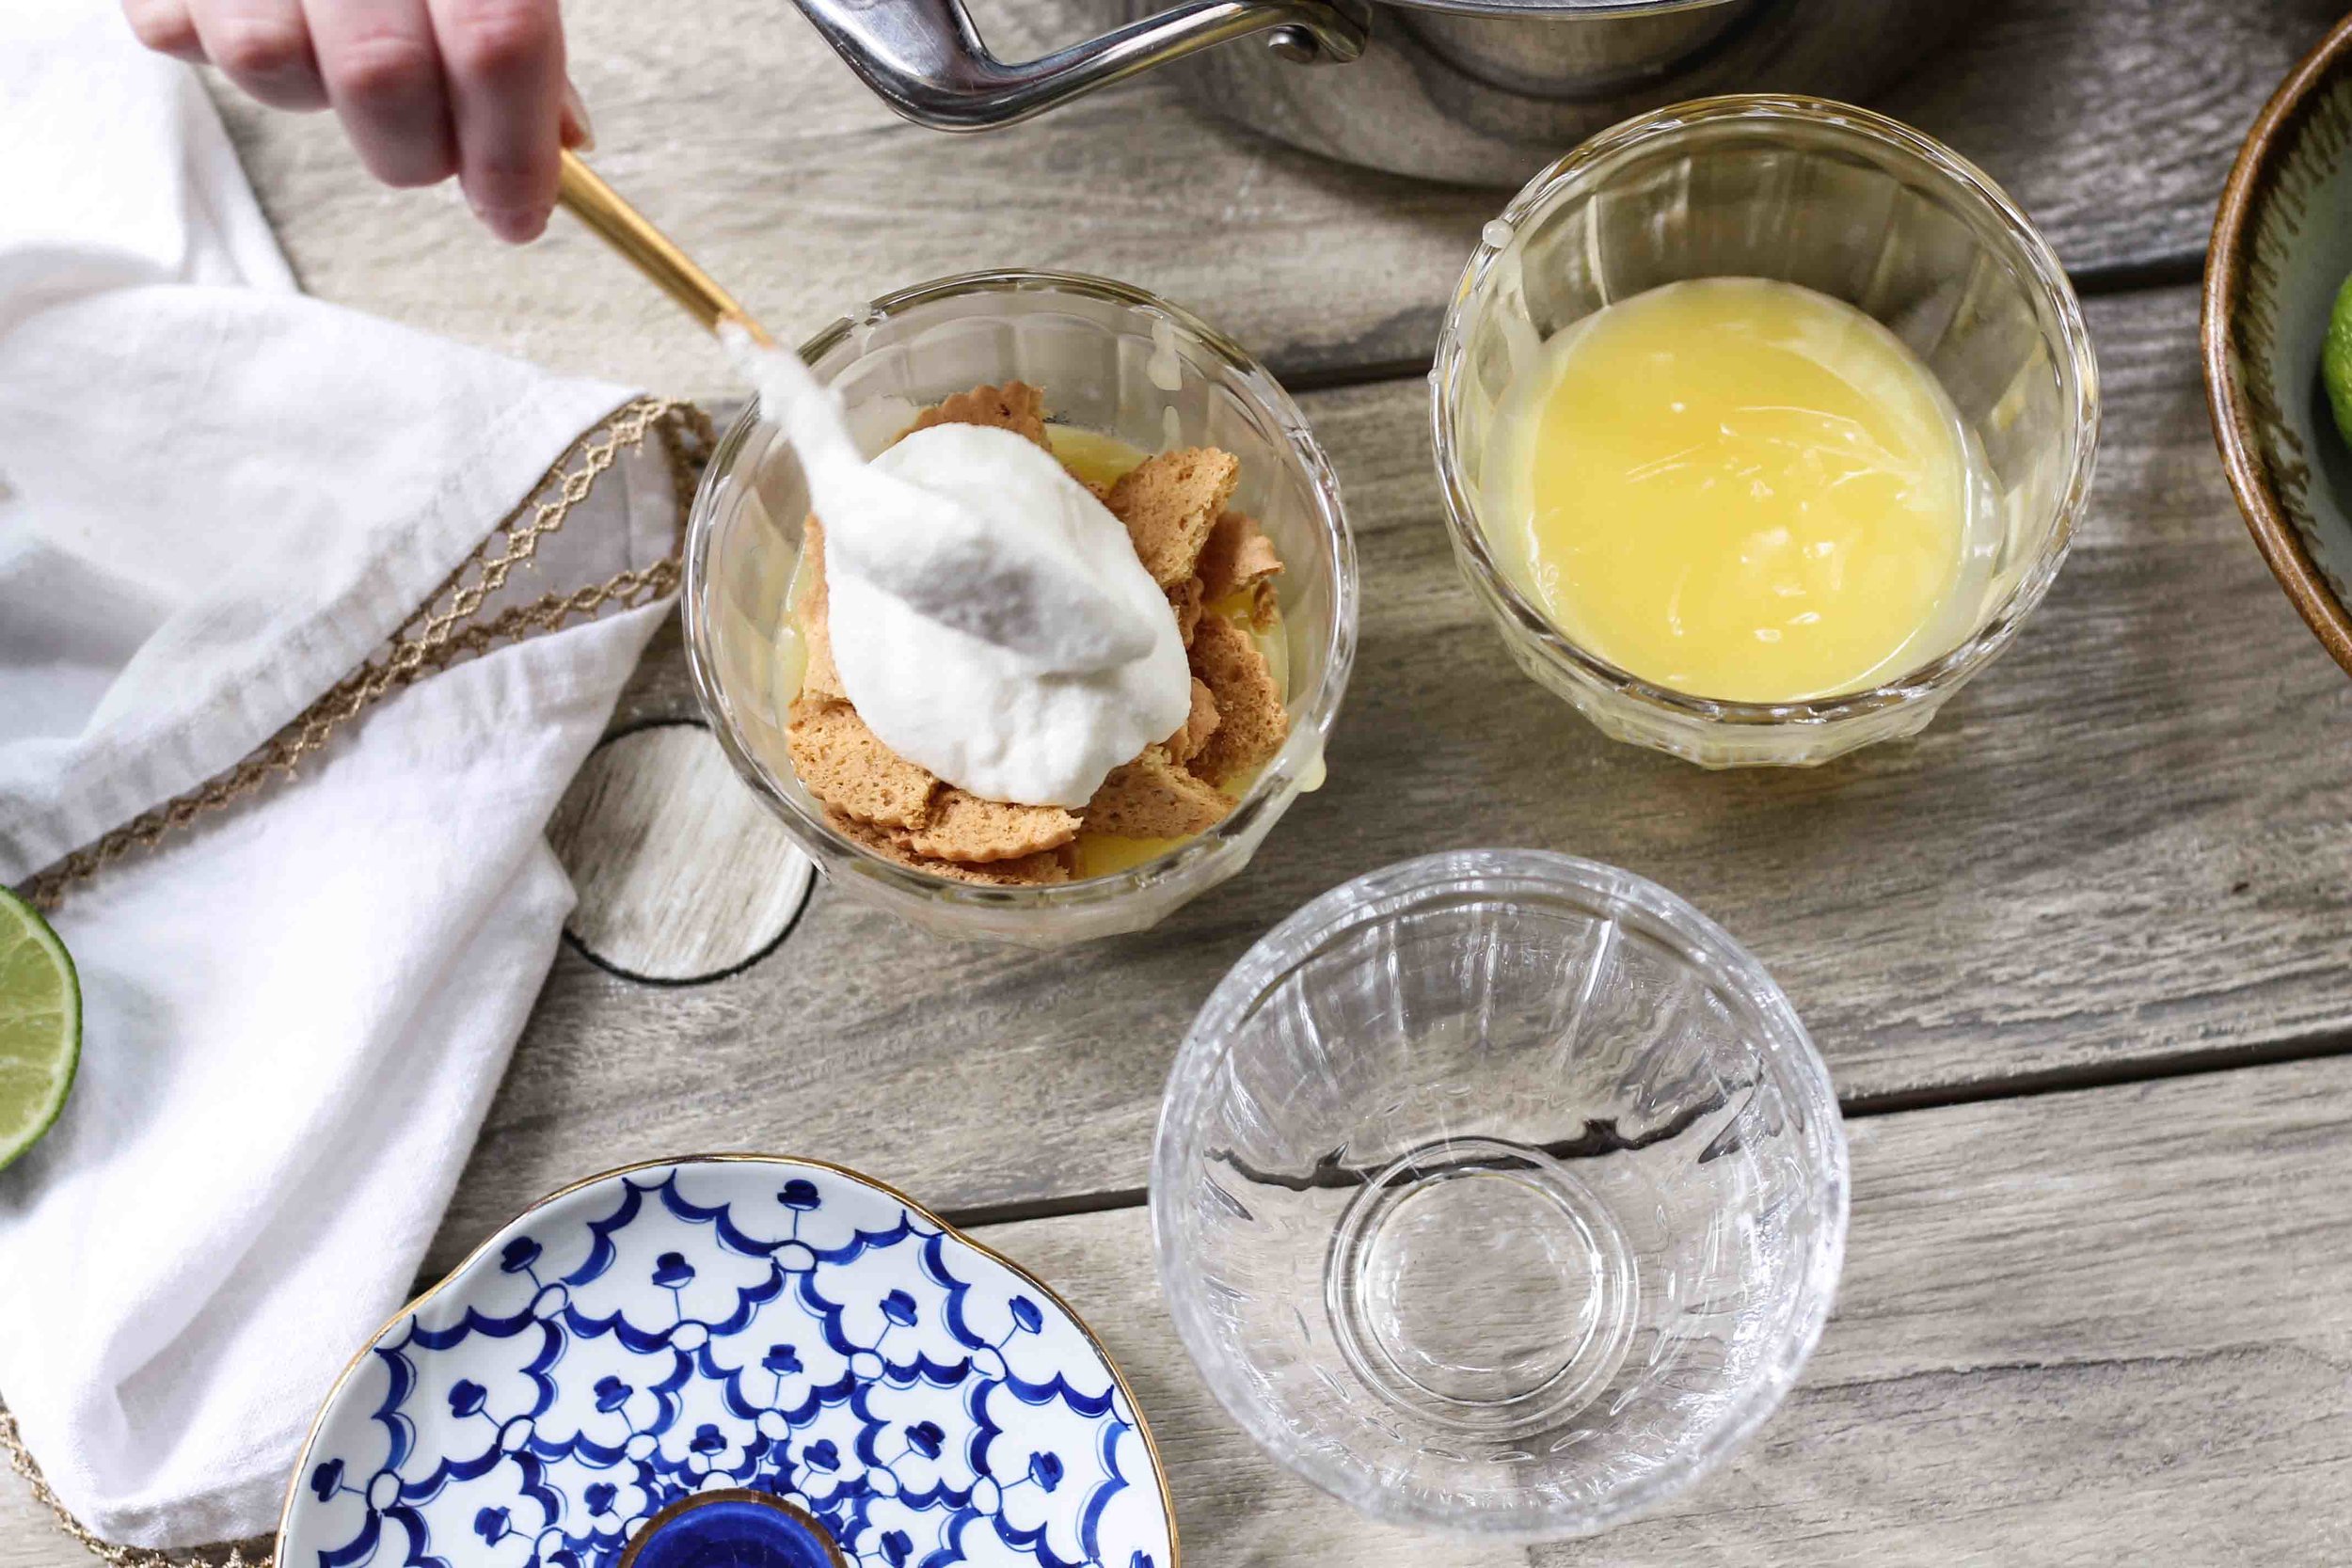
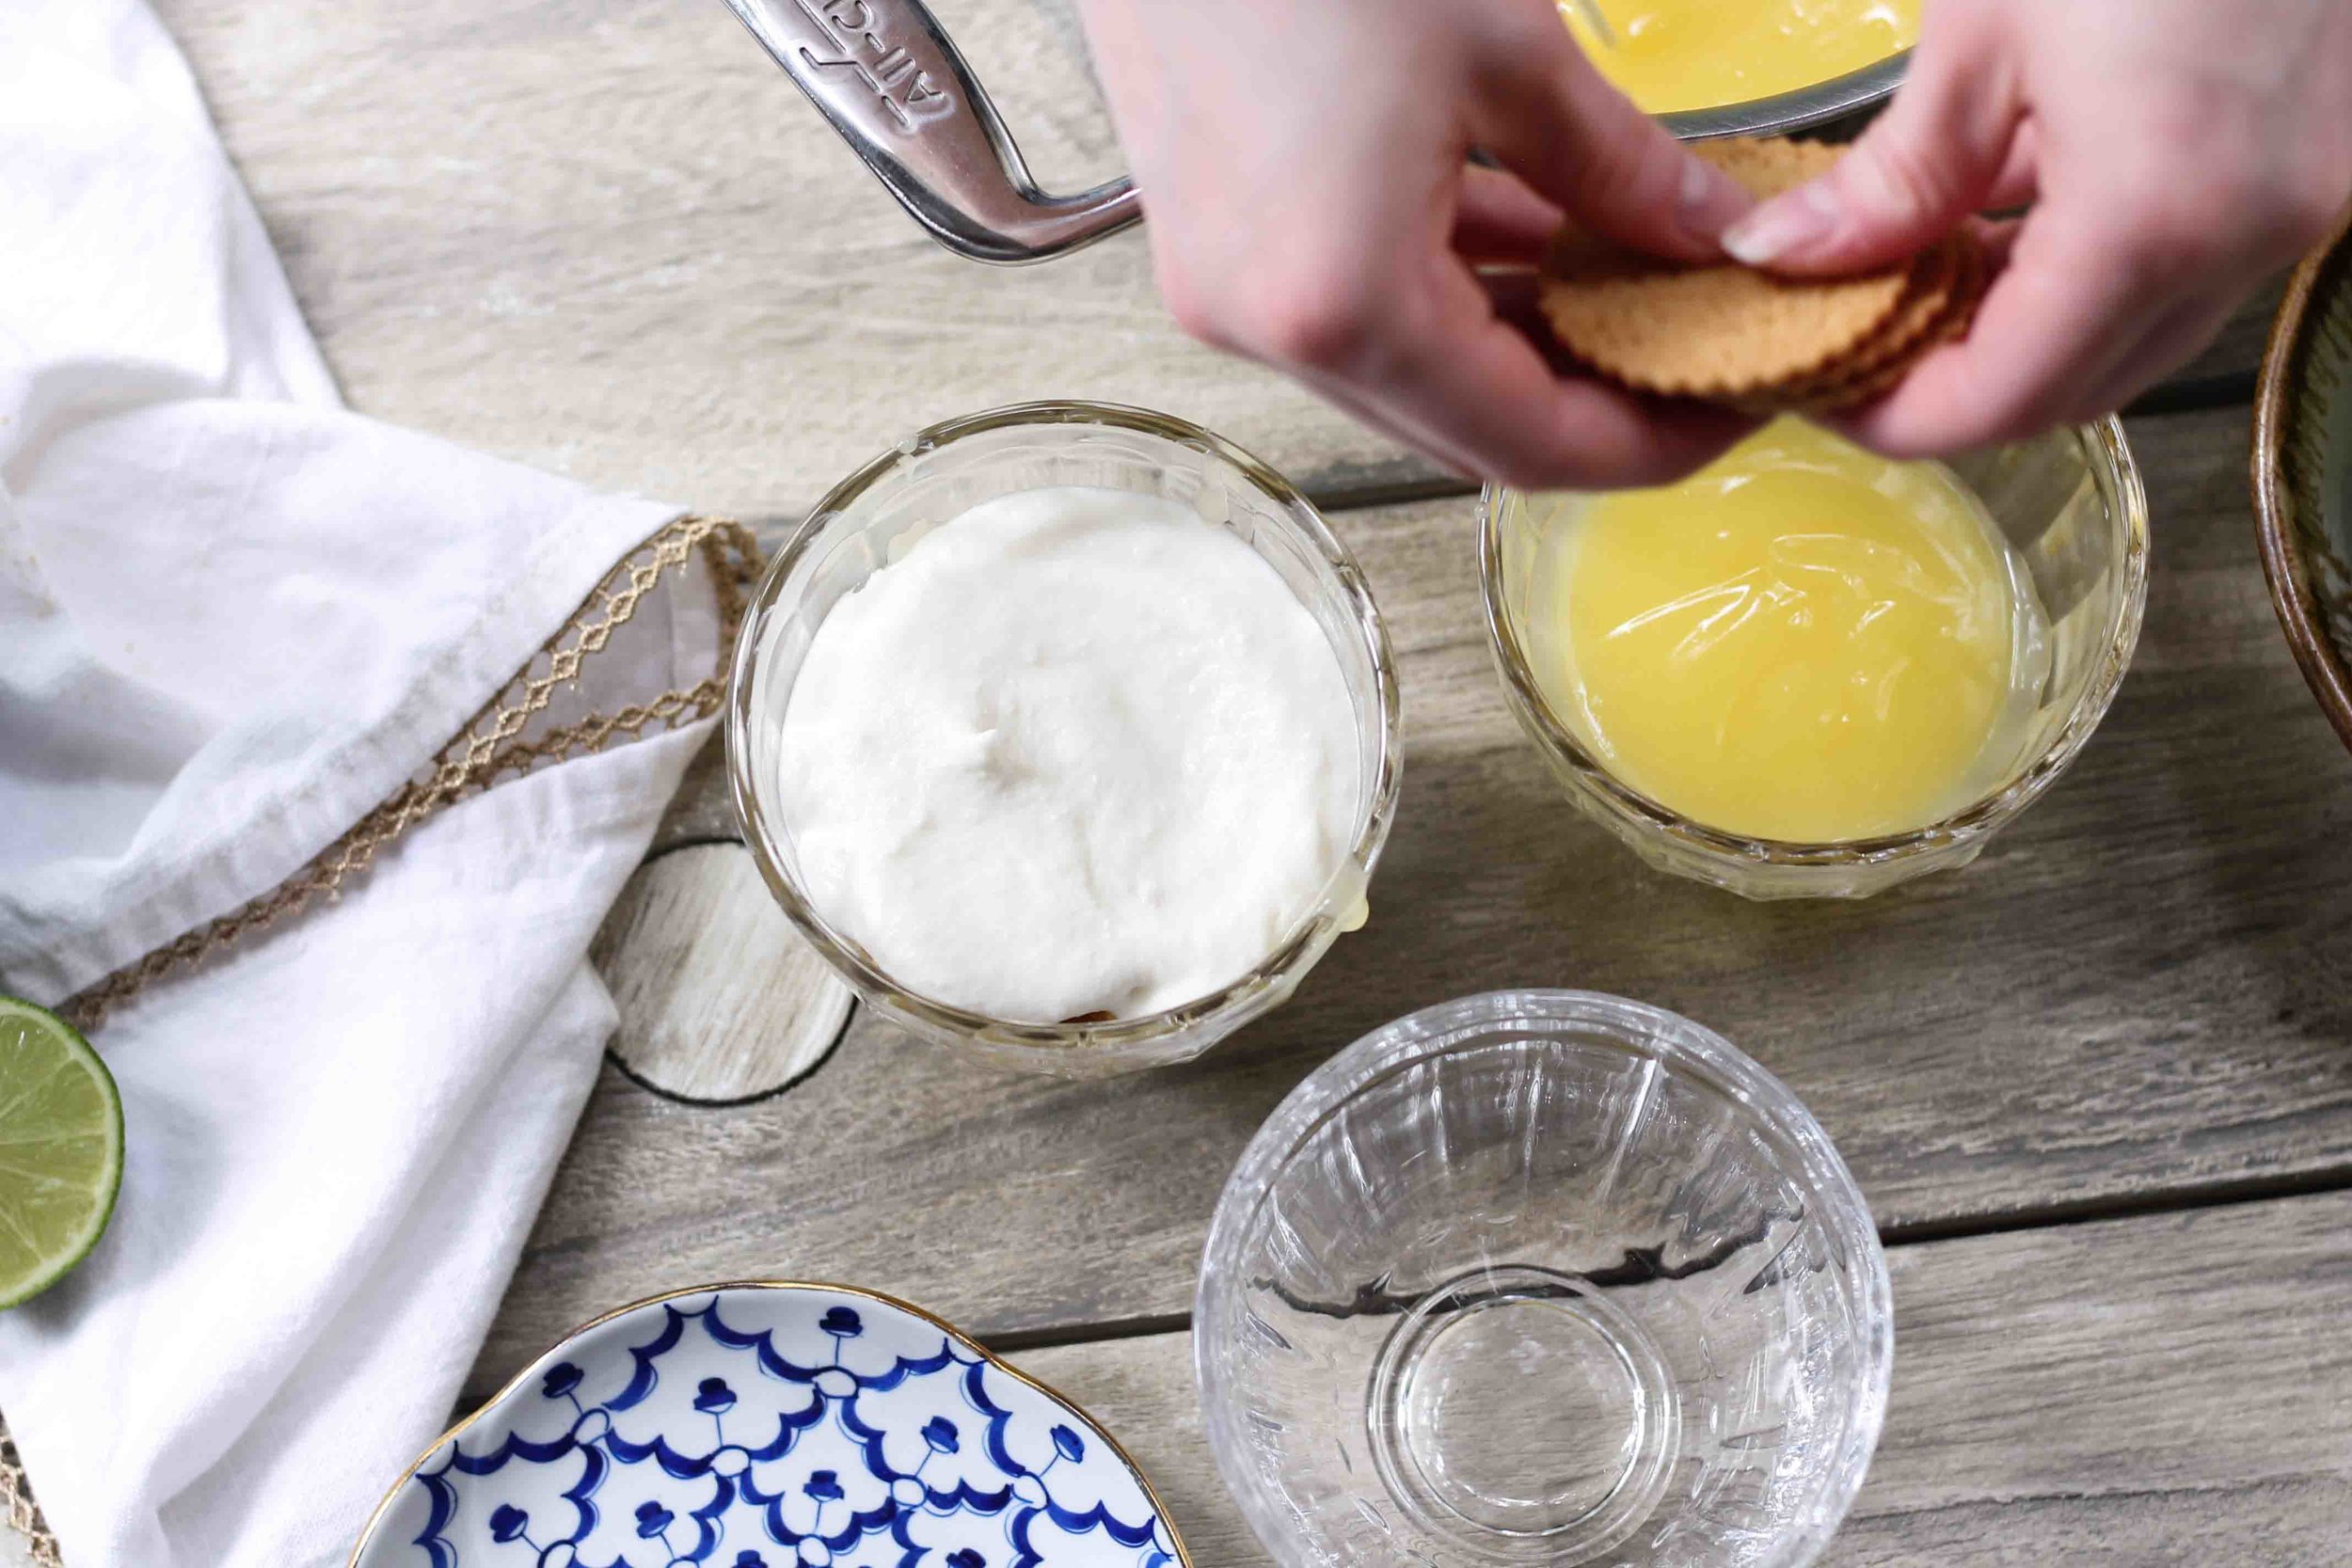
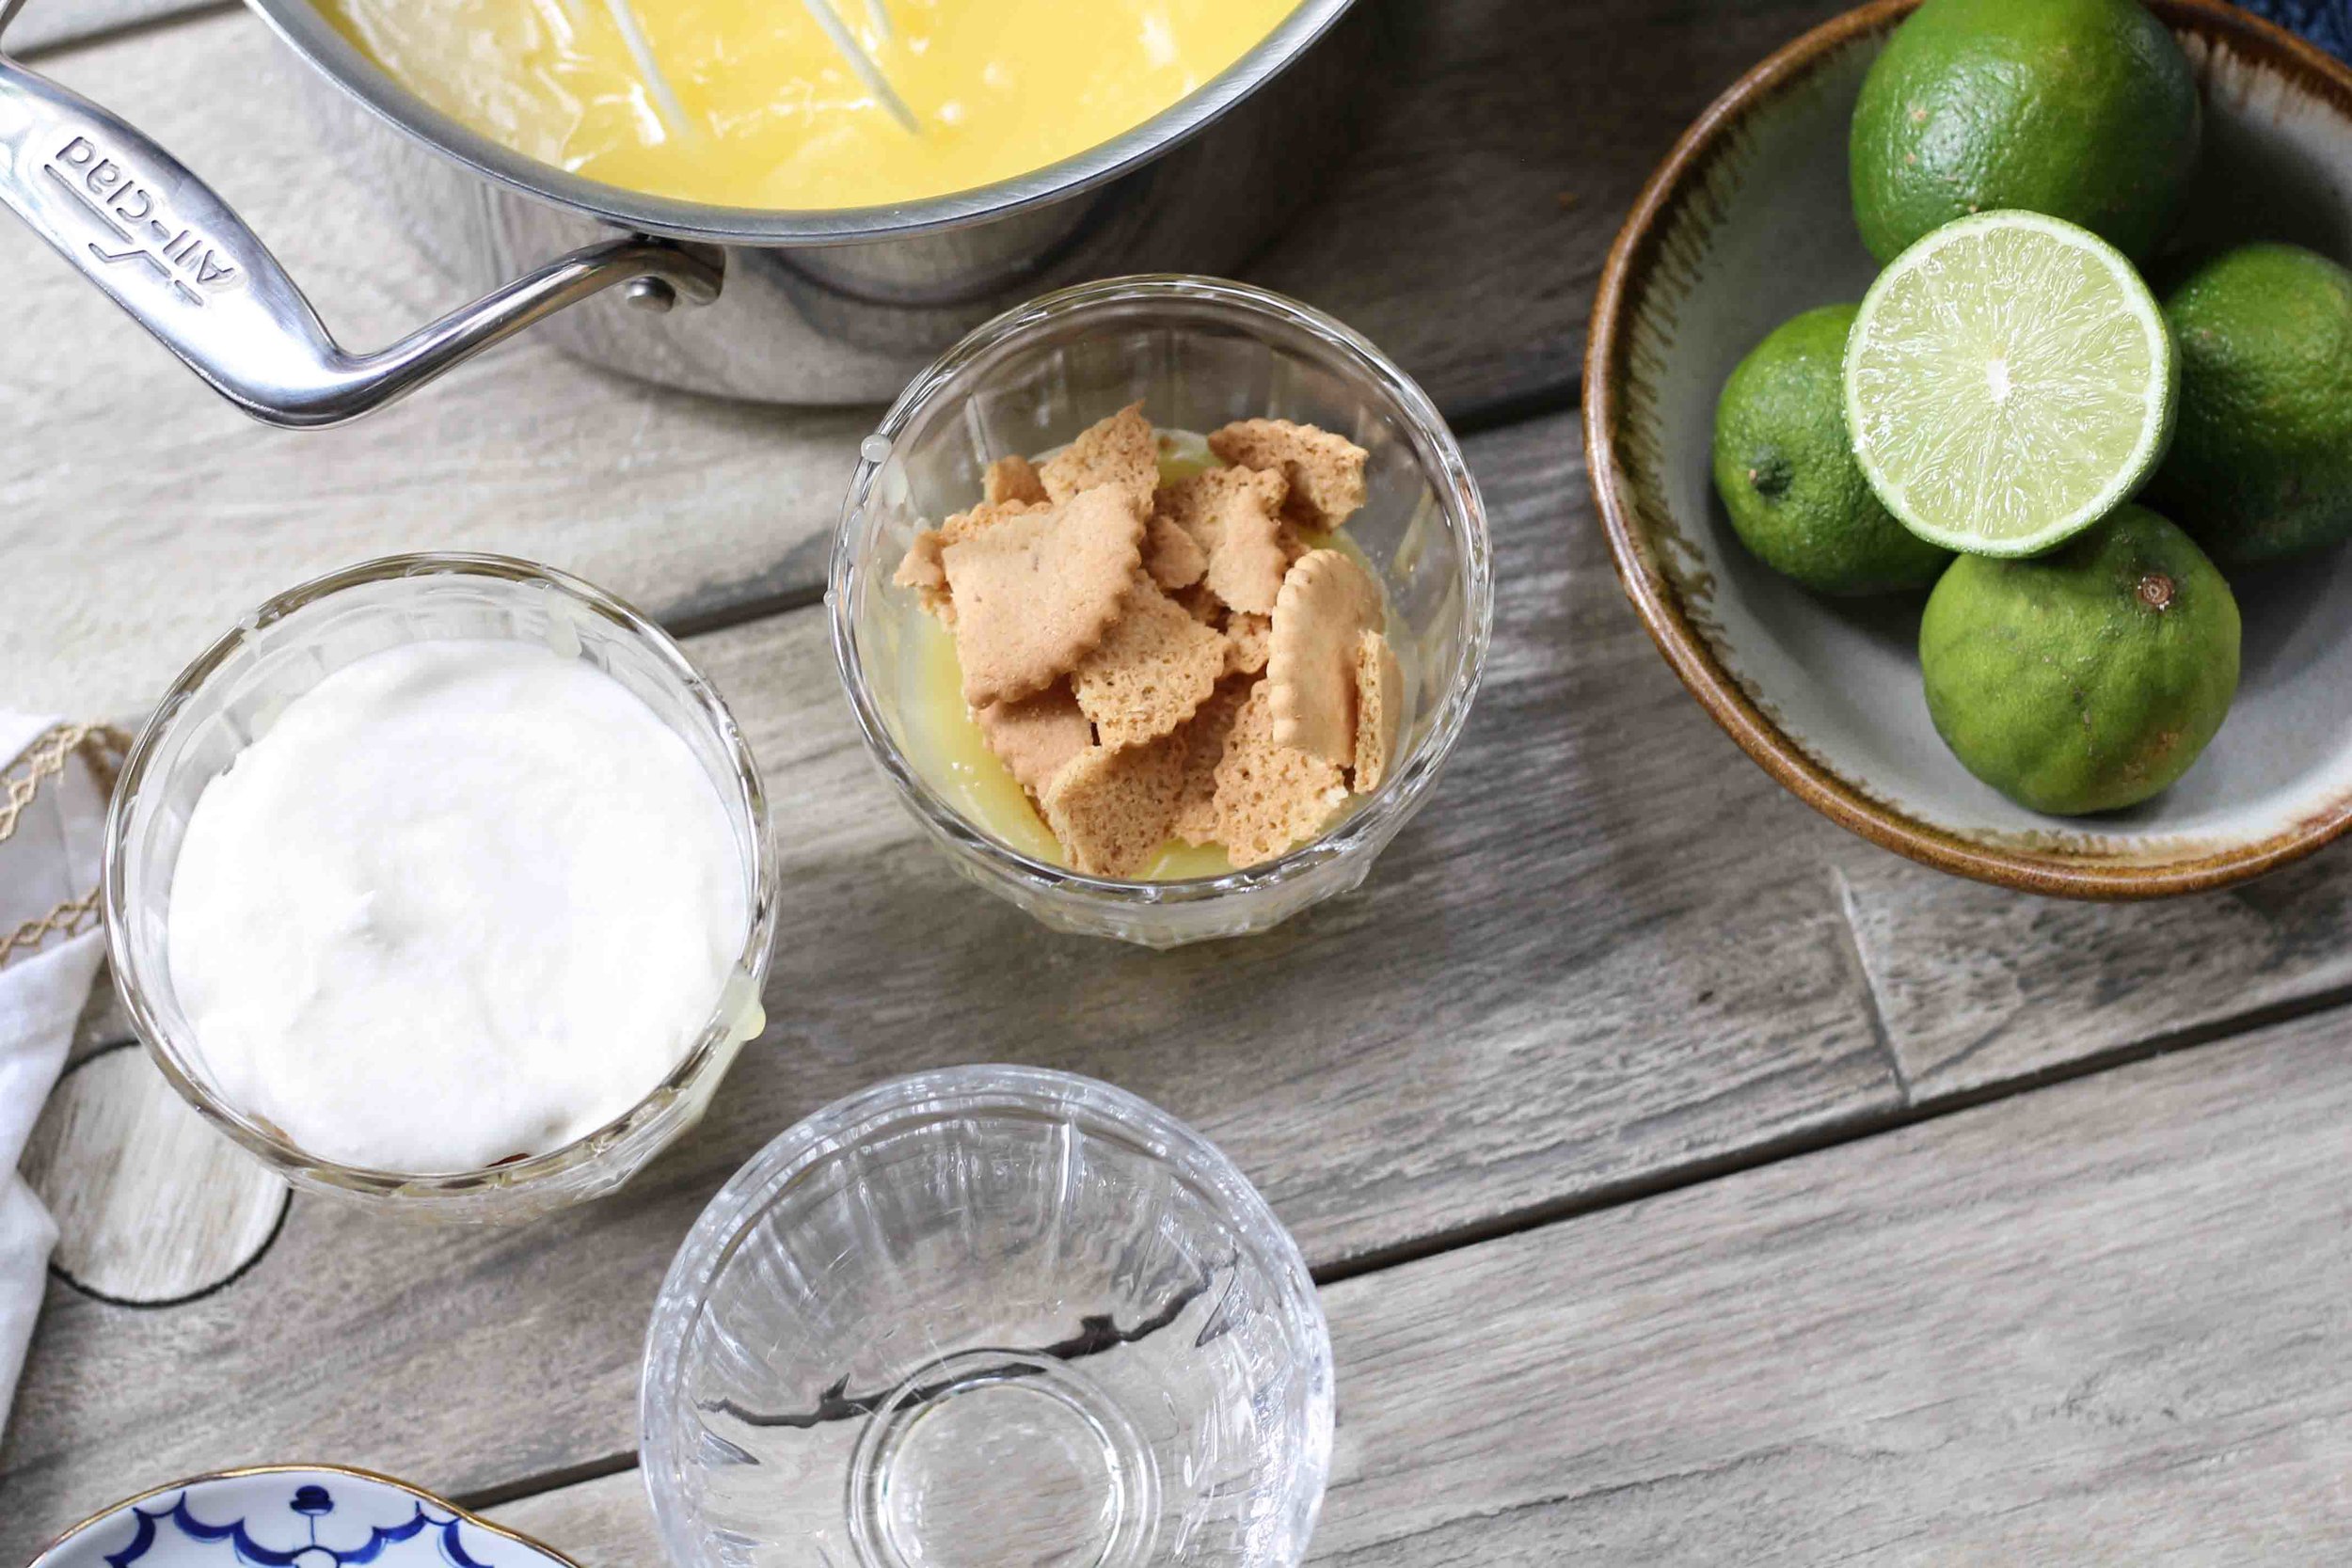
Gather six 7-ounce juice glasses and add a heaping spoonful of the lime custard to the bottom of each glass. Roughly crush three cookies and sprinkle over the custard layer; repeat with each glass. Cover with a spoonful of whipped cream. Repeat these layers so that you have two layers of each element in each glass. Cover with plastic wrap and refrigerate for 2-3 hours.
Serve cold. Enjoy!
Boston Cream S'mores Trifle // Summer of S'mores Pt. 2
This is one of those times where my cravings have driven me to do absurd and wonderful things.
In the past two years I have gone from ambivalently ignoring doughnuts, to deeply and passionately adoring them. My doughnut of choice? The Boston Cream.
A little shop opened near me not too long ago, and they make the most perfect Boston Cream doughnut I have ever had. It is not overly sweet, the custard is evenly distributed, and the chocolate icing is simple, but rich. I love, love, love this doughnut.
Oh, if only I did not have a fancy and expensive white dress to fit into in 98 days...
I think about that doughnut often. In fact, this entire Summer of S'mores series began as a single scribbling in my notebook - "Boston Cream S'more."
I wanted (read: needed) to find a way to incorporate the flavors of that prized pastry into another one of my favorite things: the s'more.
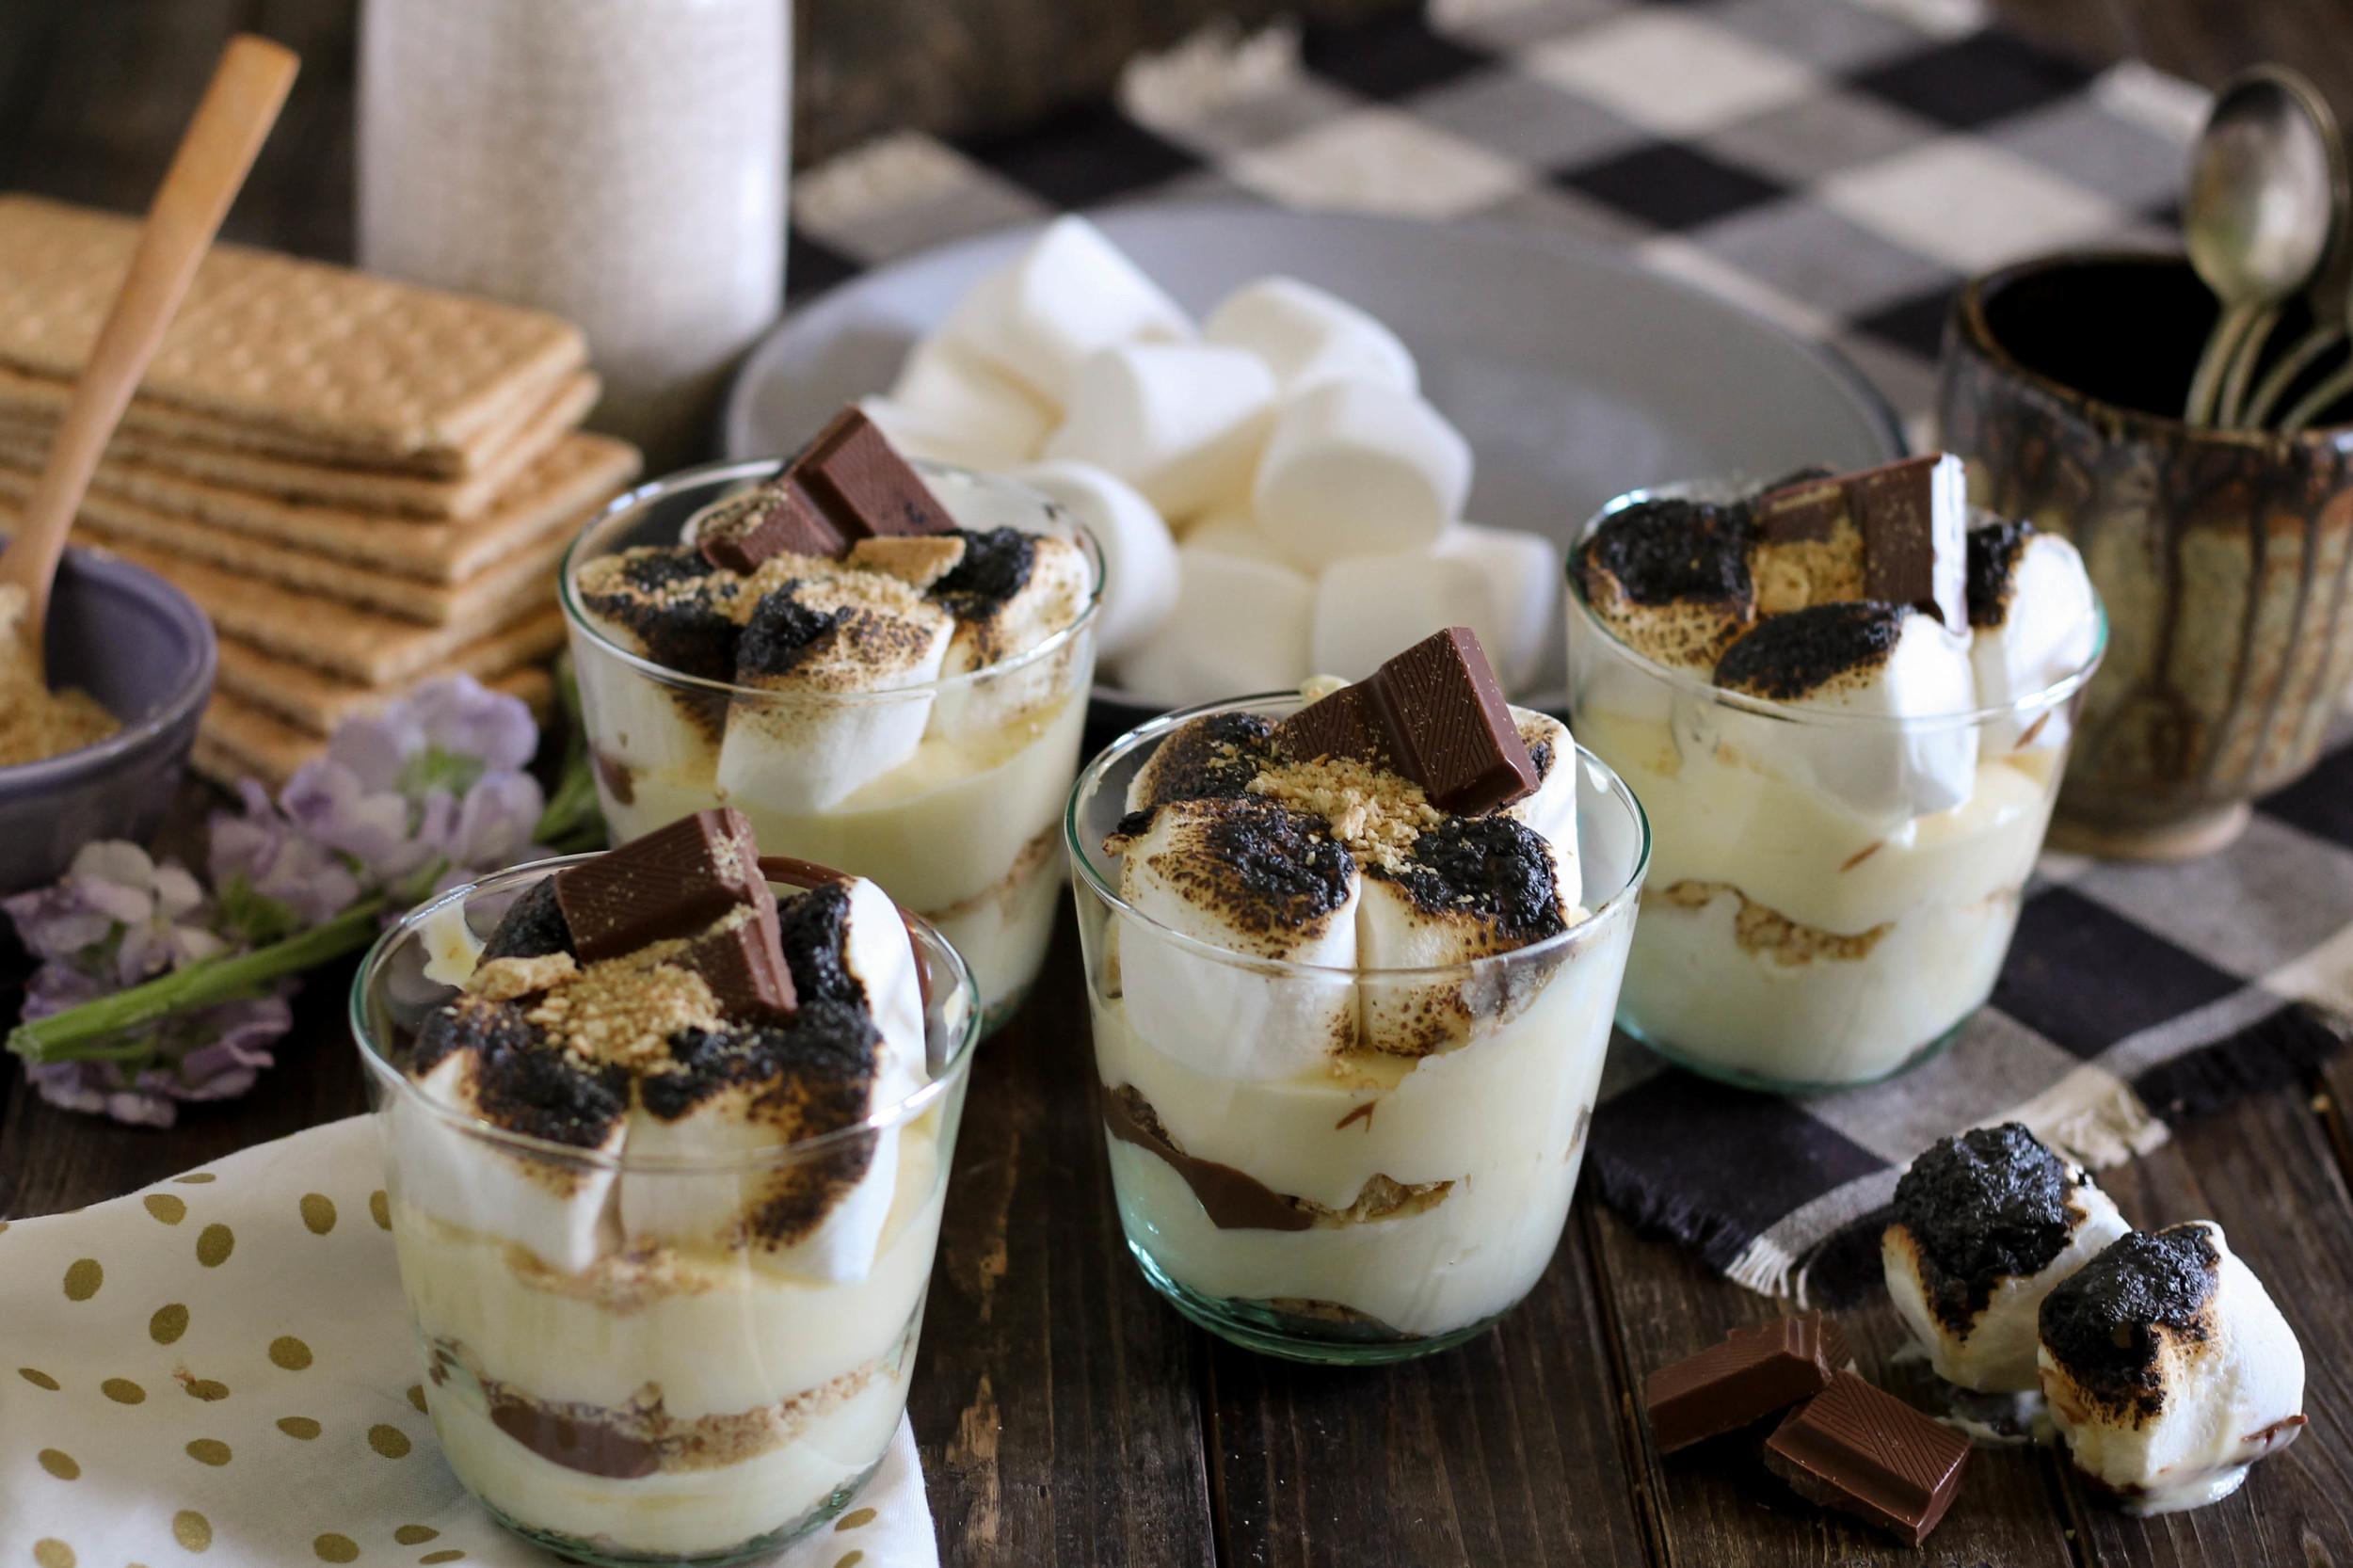
Now you might argue that this is not technically a s'more, and I would agree, but the Summer of S'mores is a celebration of flavors. All of the attributes of a classic s'more are present in this idyllic stratification, along with one very special guest. Welcome, vanilla custard. Also known as, the best part of any truly good Boston Cream Doughnut.
I can see that I have already lost you because I am asking you to make custard for s'mores. But, wait! Custard is easy, I promise. And just think about how much fun you're going to have licking the spoon when you are done.
Whew. I'm glad you came back.
Oh yeah...I also decided my custard needed more fat and sugar, so I folded in some whipped cream. My "oops" = a little extra happiness.
At this point, you could just decide that you have worked hard enough for one day and eat this custard just as it is. That would certainly not be a bad idea, but it would also not be the best either.
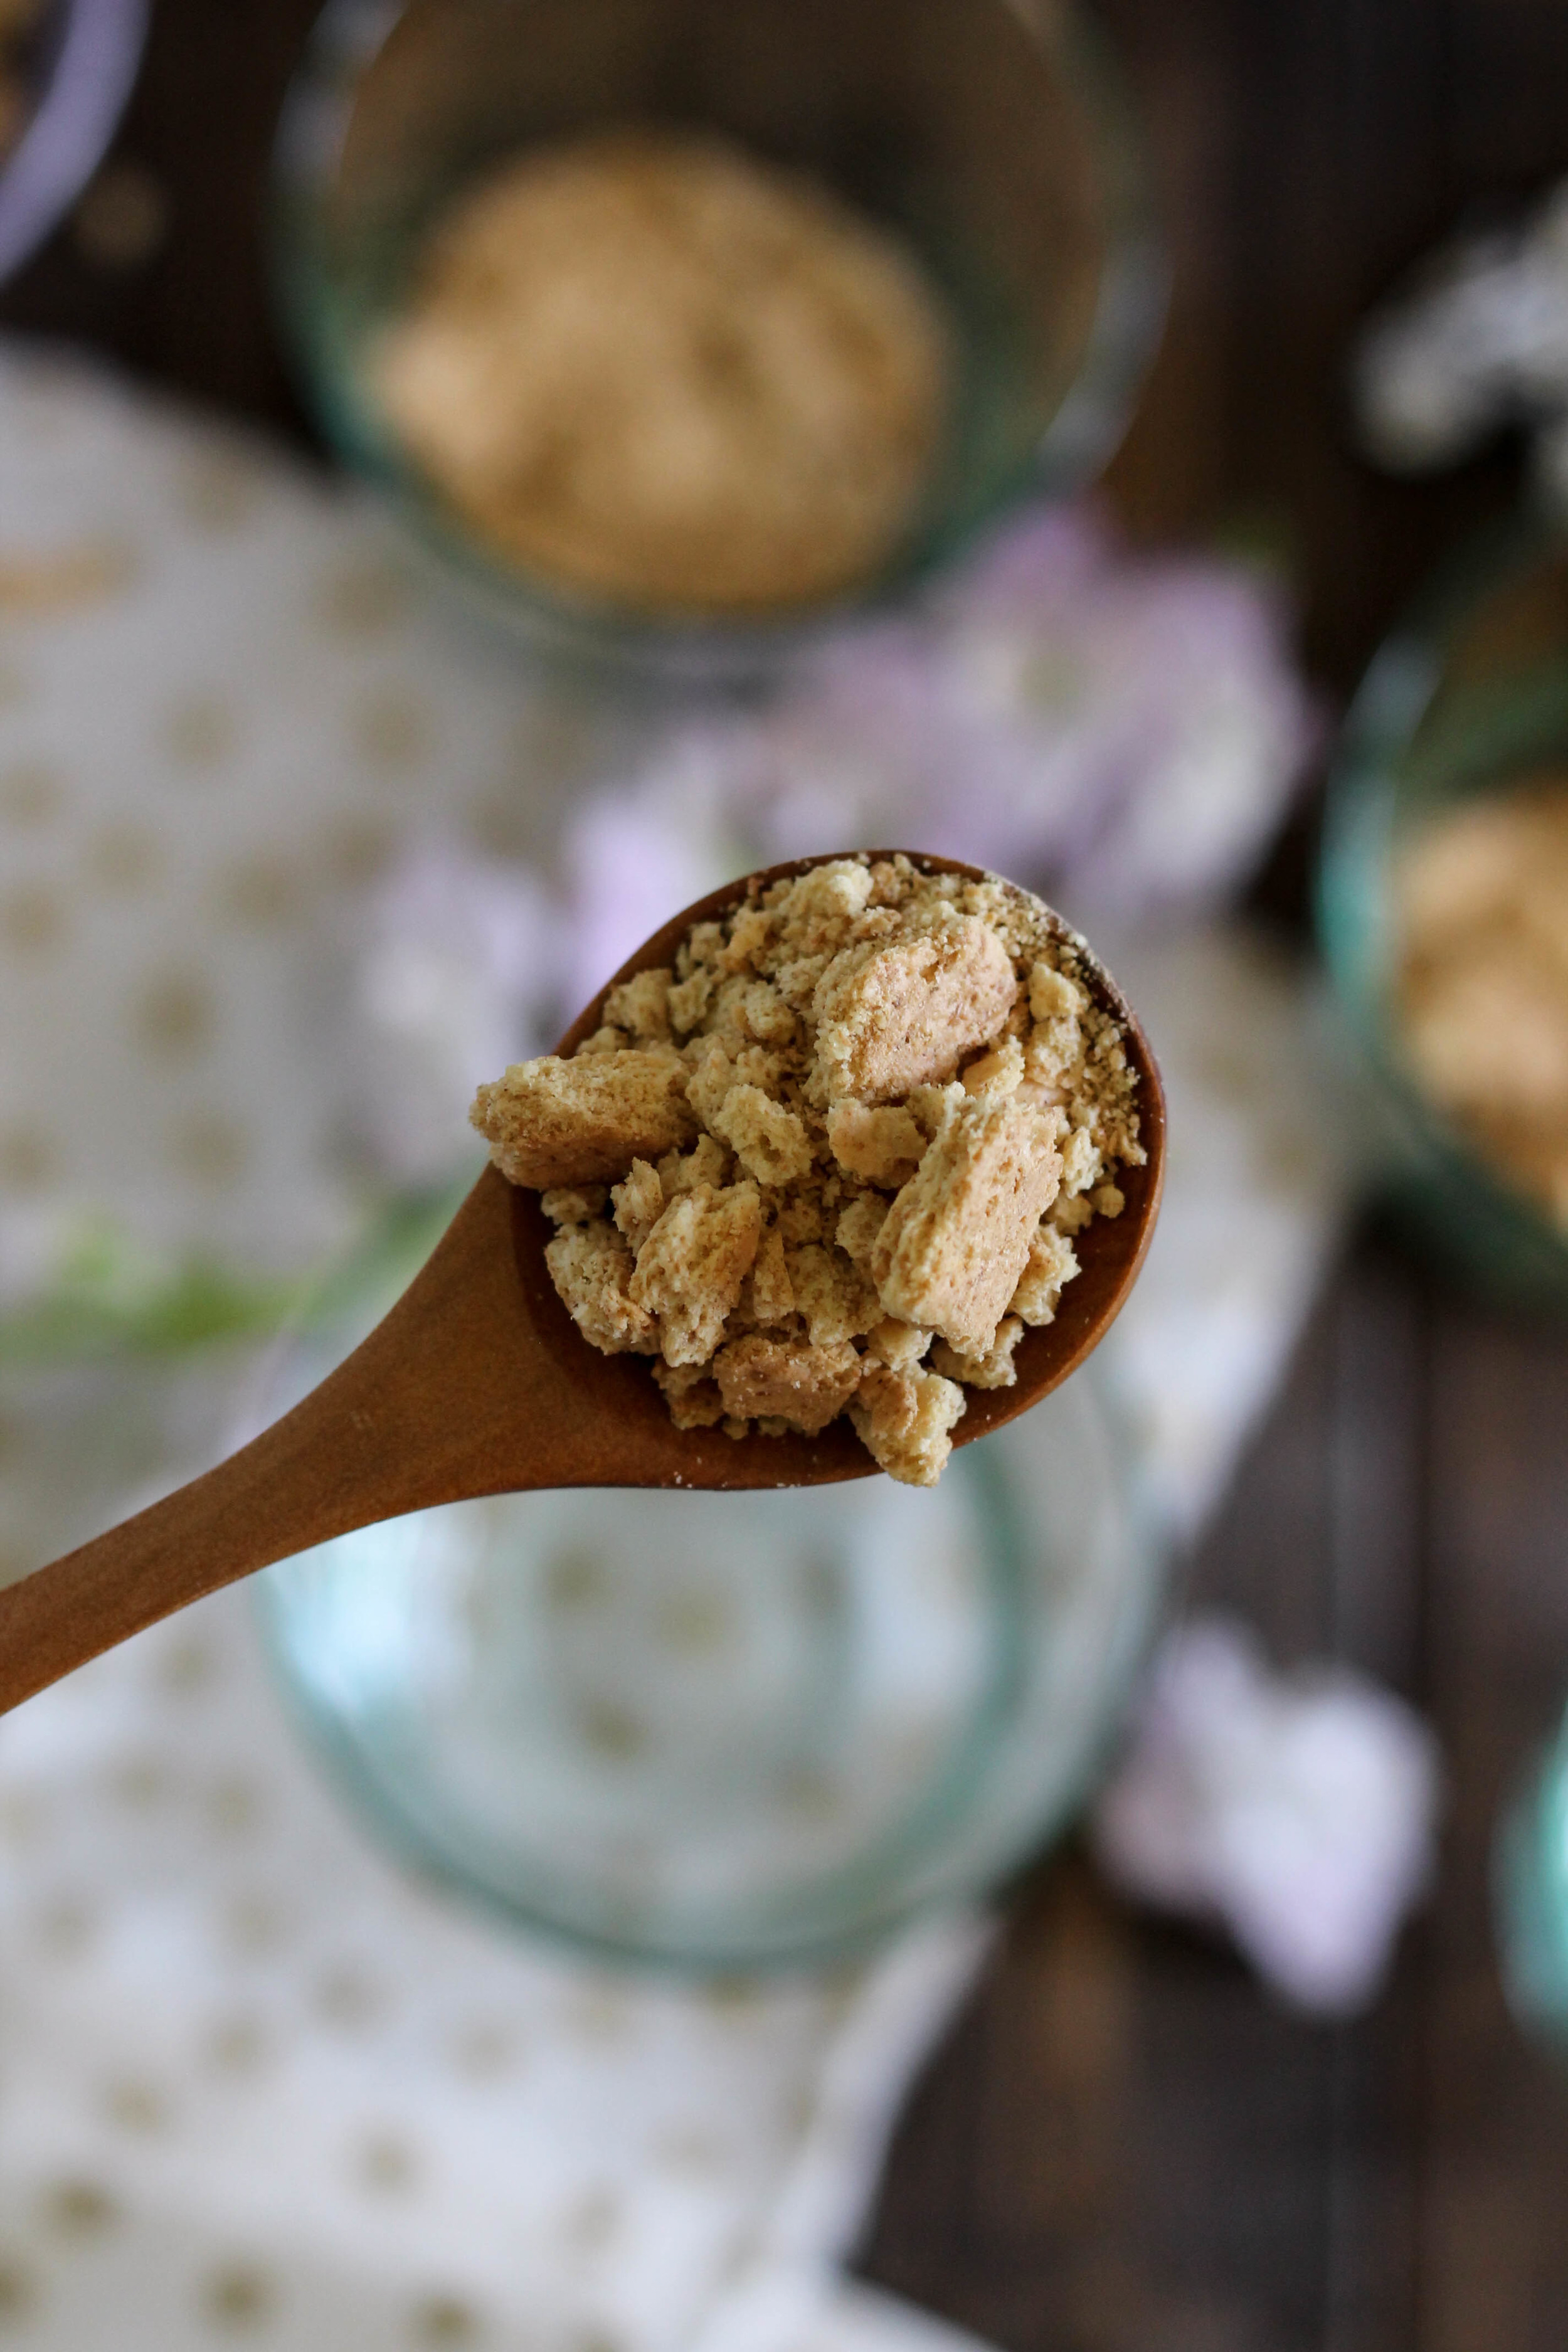
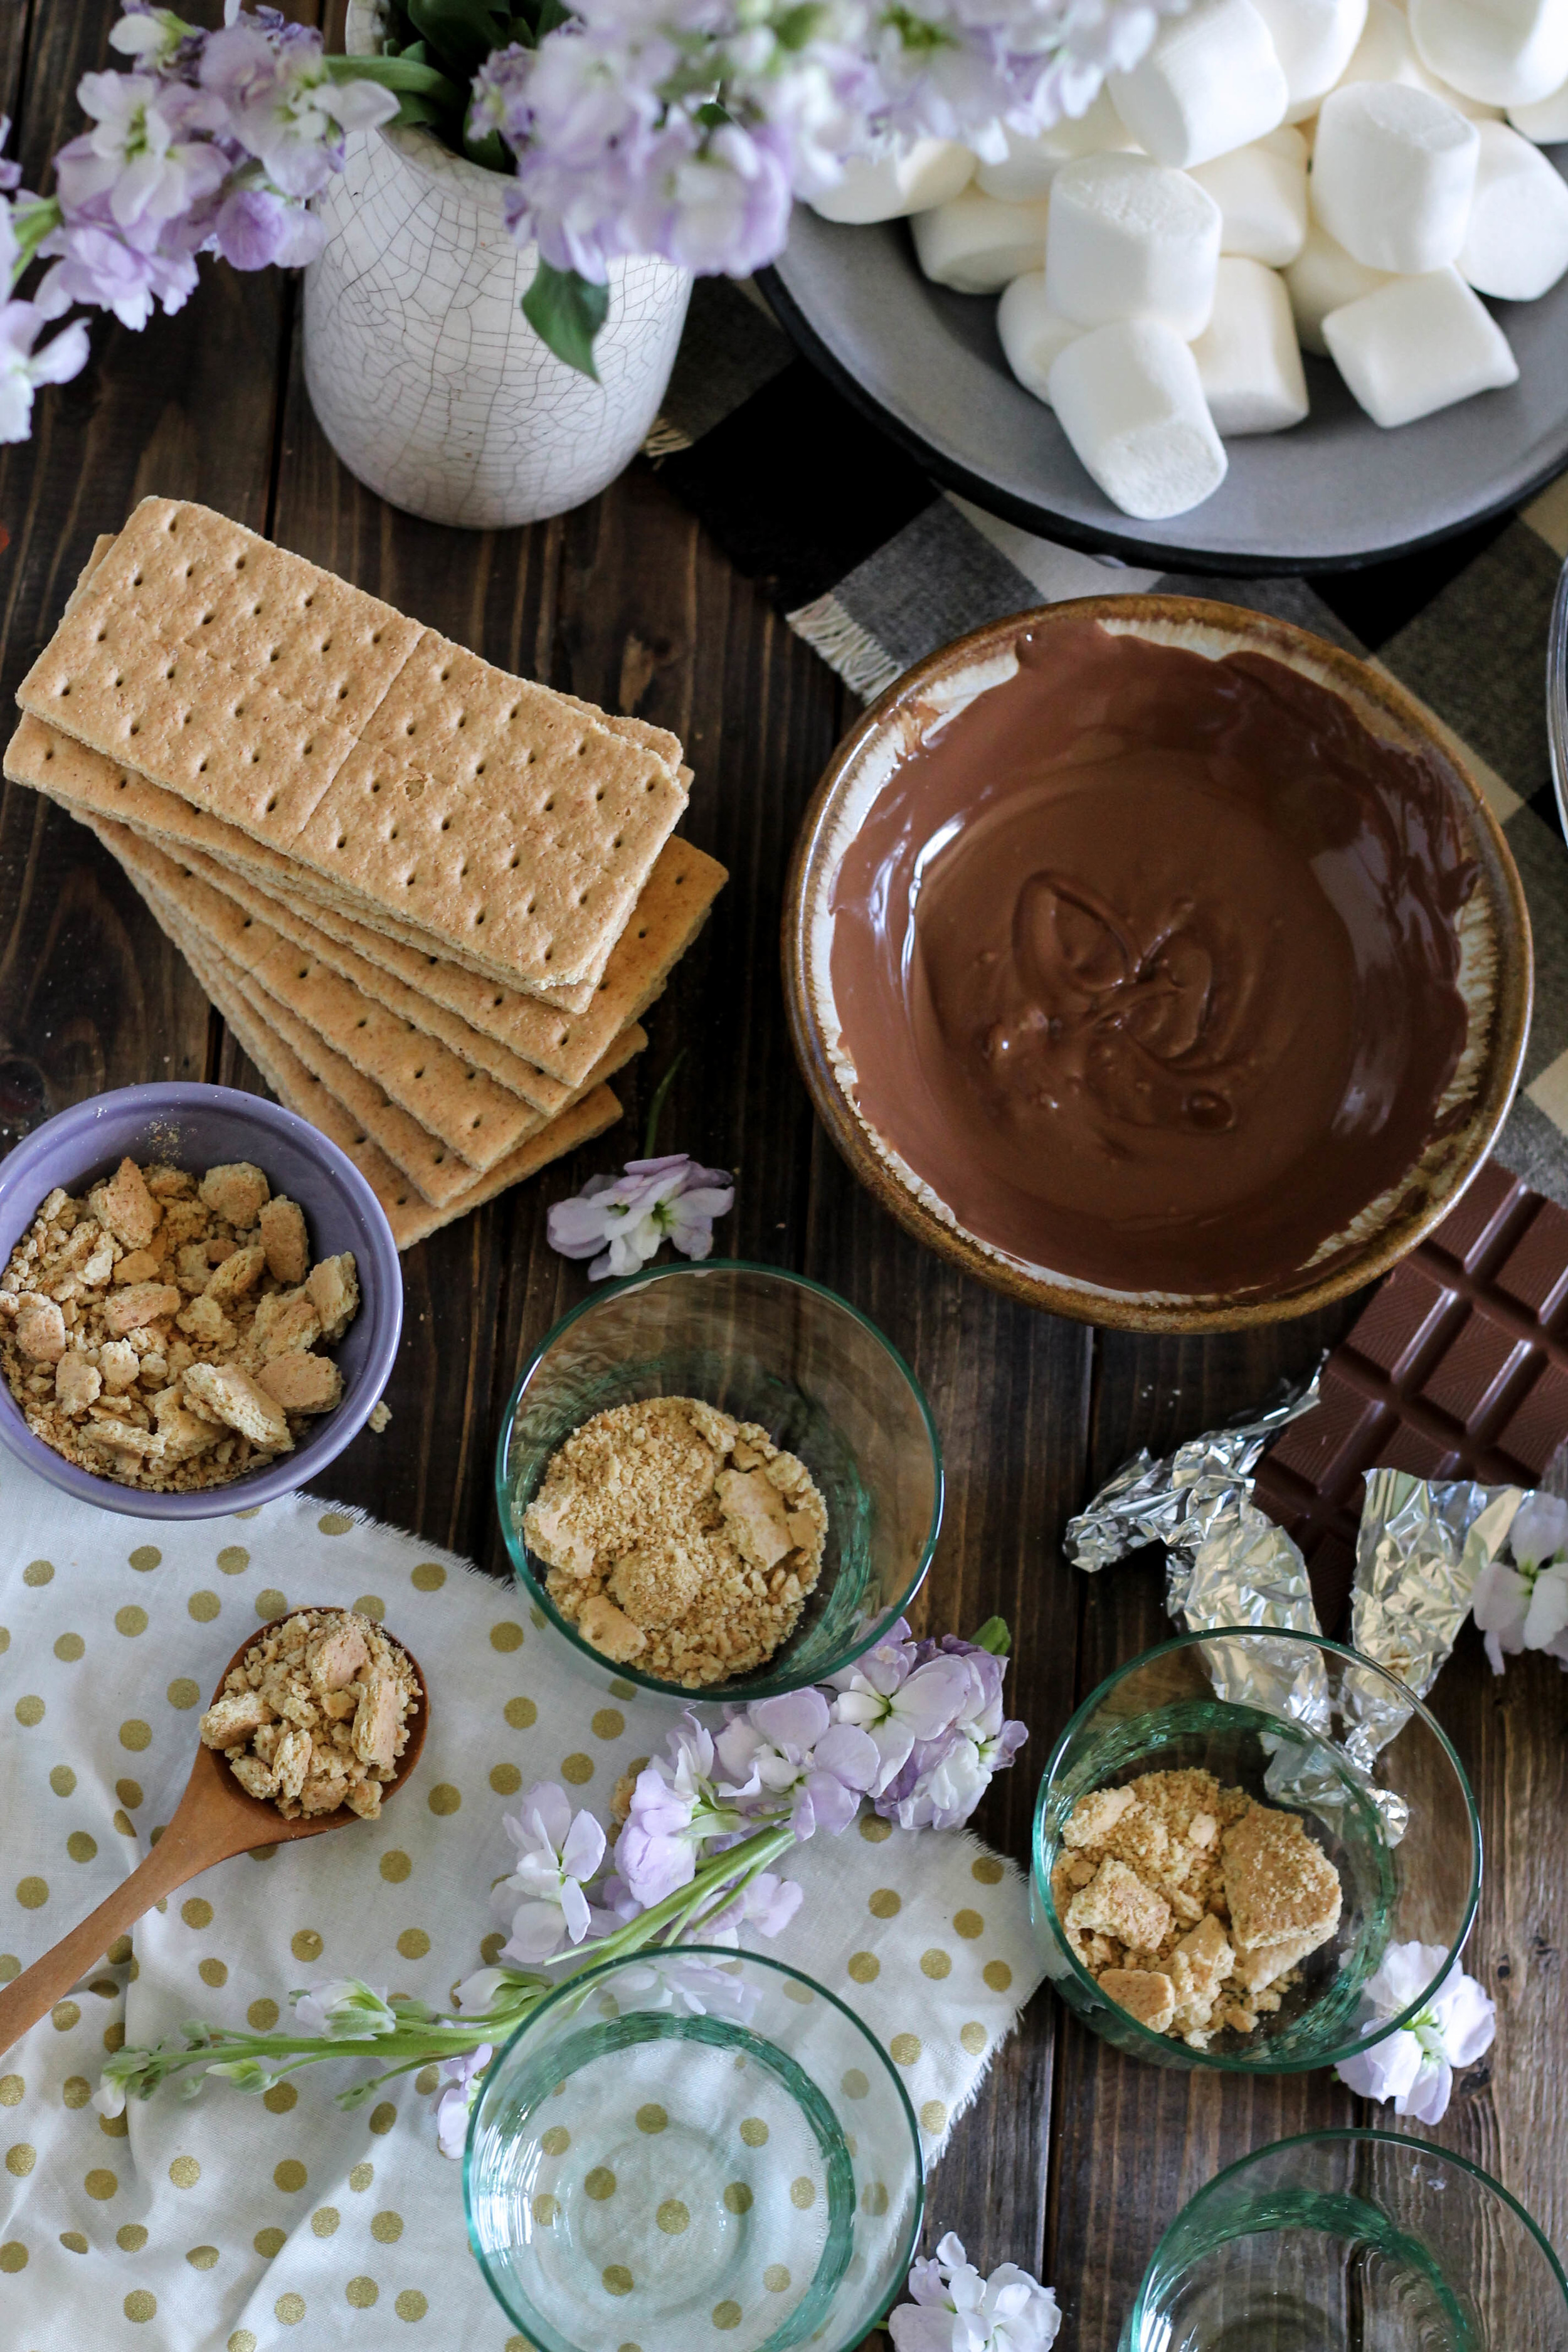
The best idea involves using all the internalized hostility you now have for me (because I made you stand over a hot stove and make custard in July), to demolish some graham crackers. Hulk smash those things.
Actually, be civilized and use the handle of a butterknife. The first option sounds fun until you start finding graham cracker crumbs in random places days later.
Now we get to make everything look pretty. Yay for edible stripes!
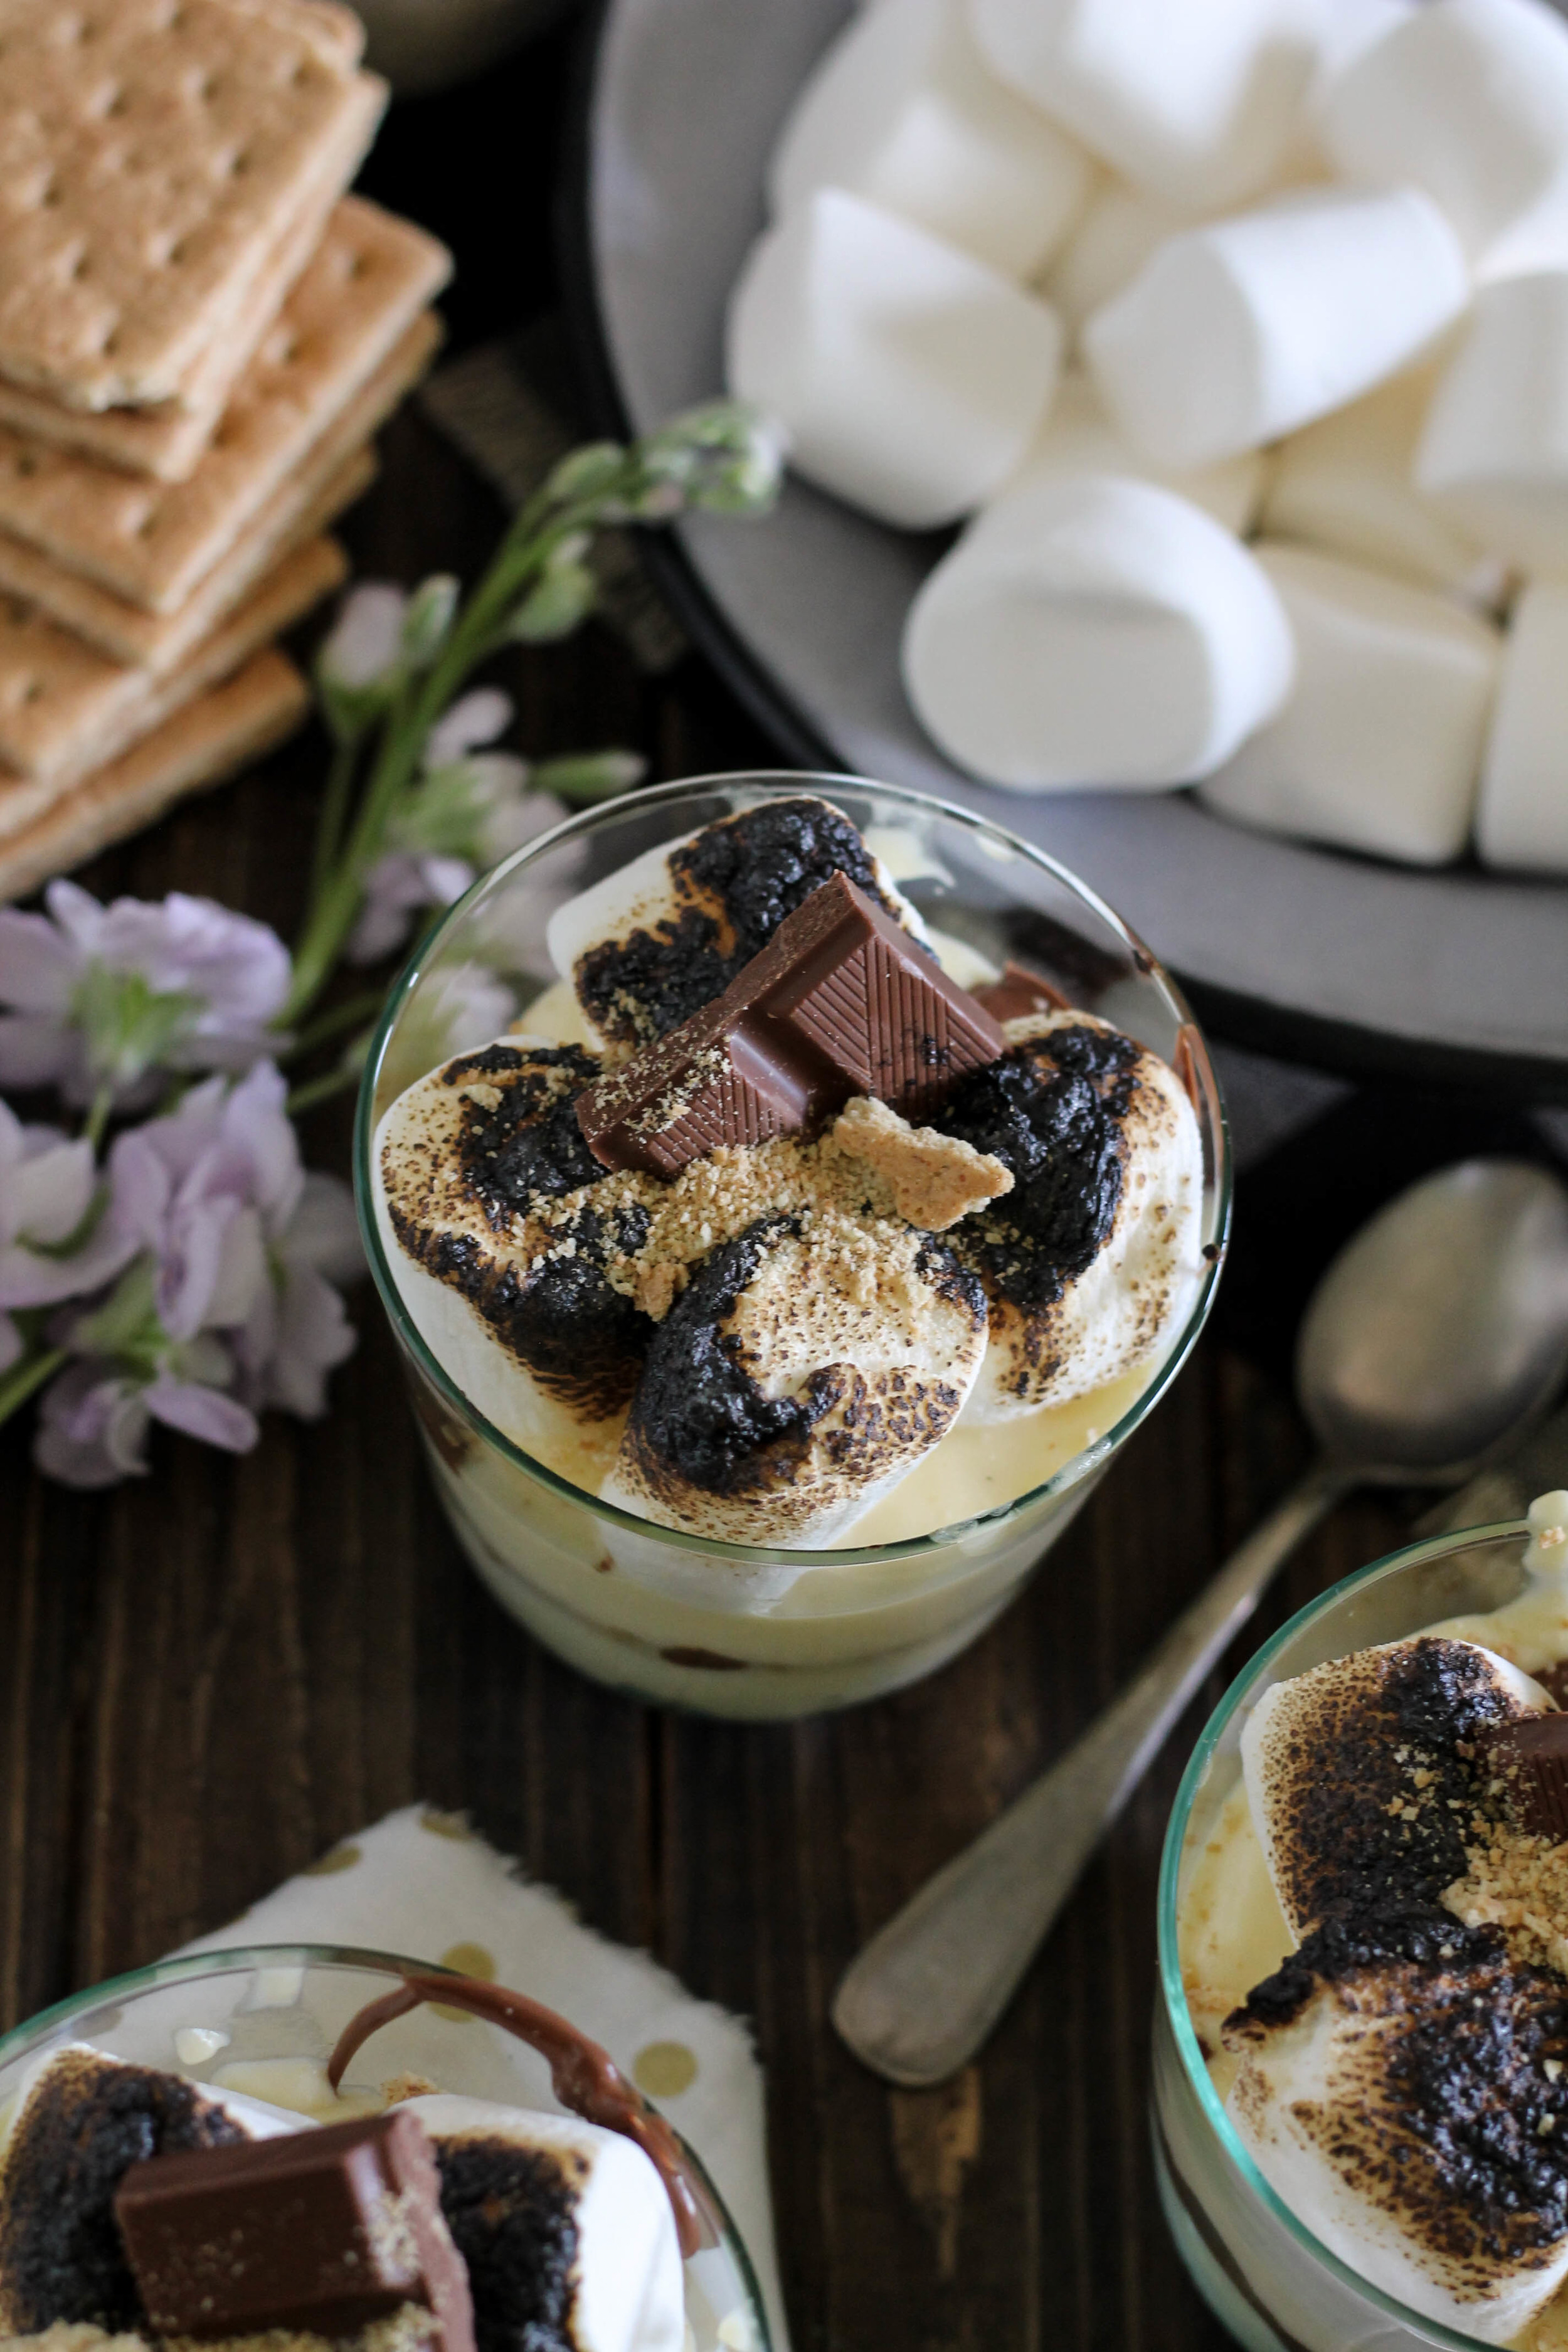
Graham crackers + custard + chocolate. Repeat.
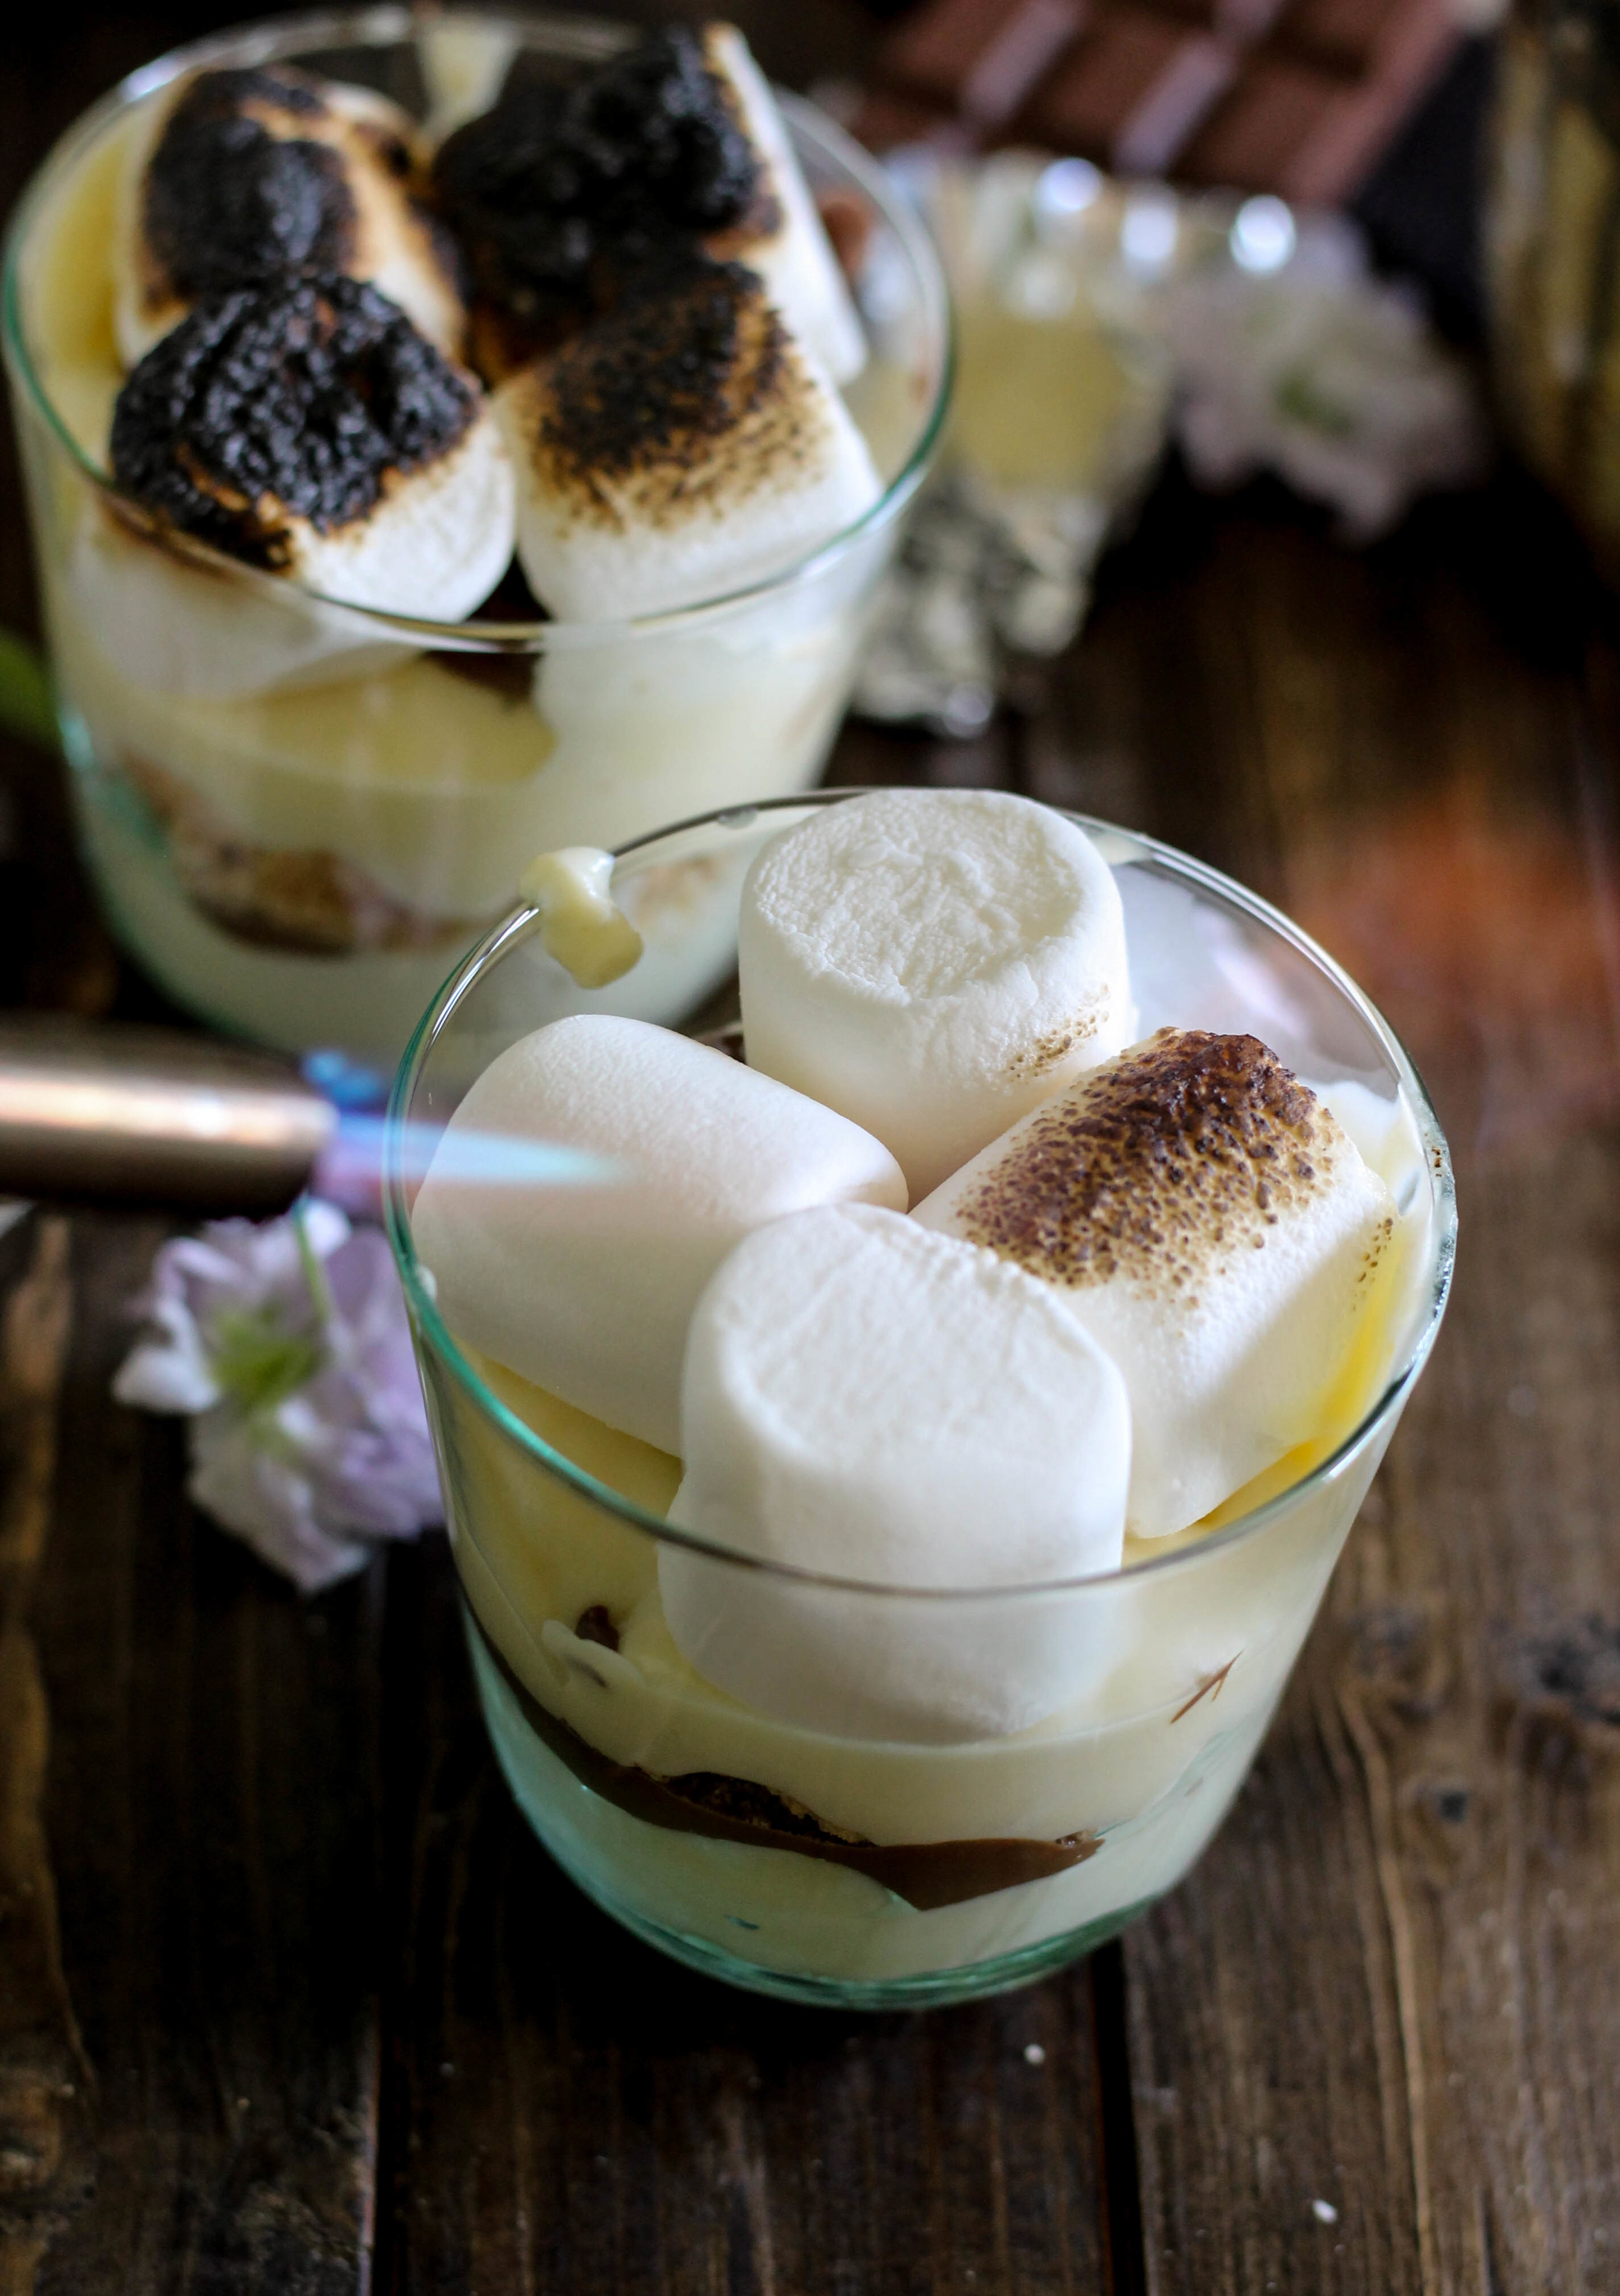
Do you have a blow torch? I hope so, because this is a really fun way to use it!
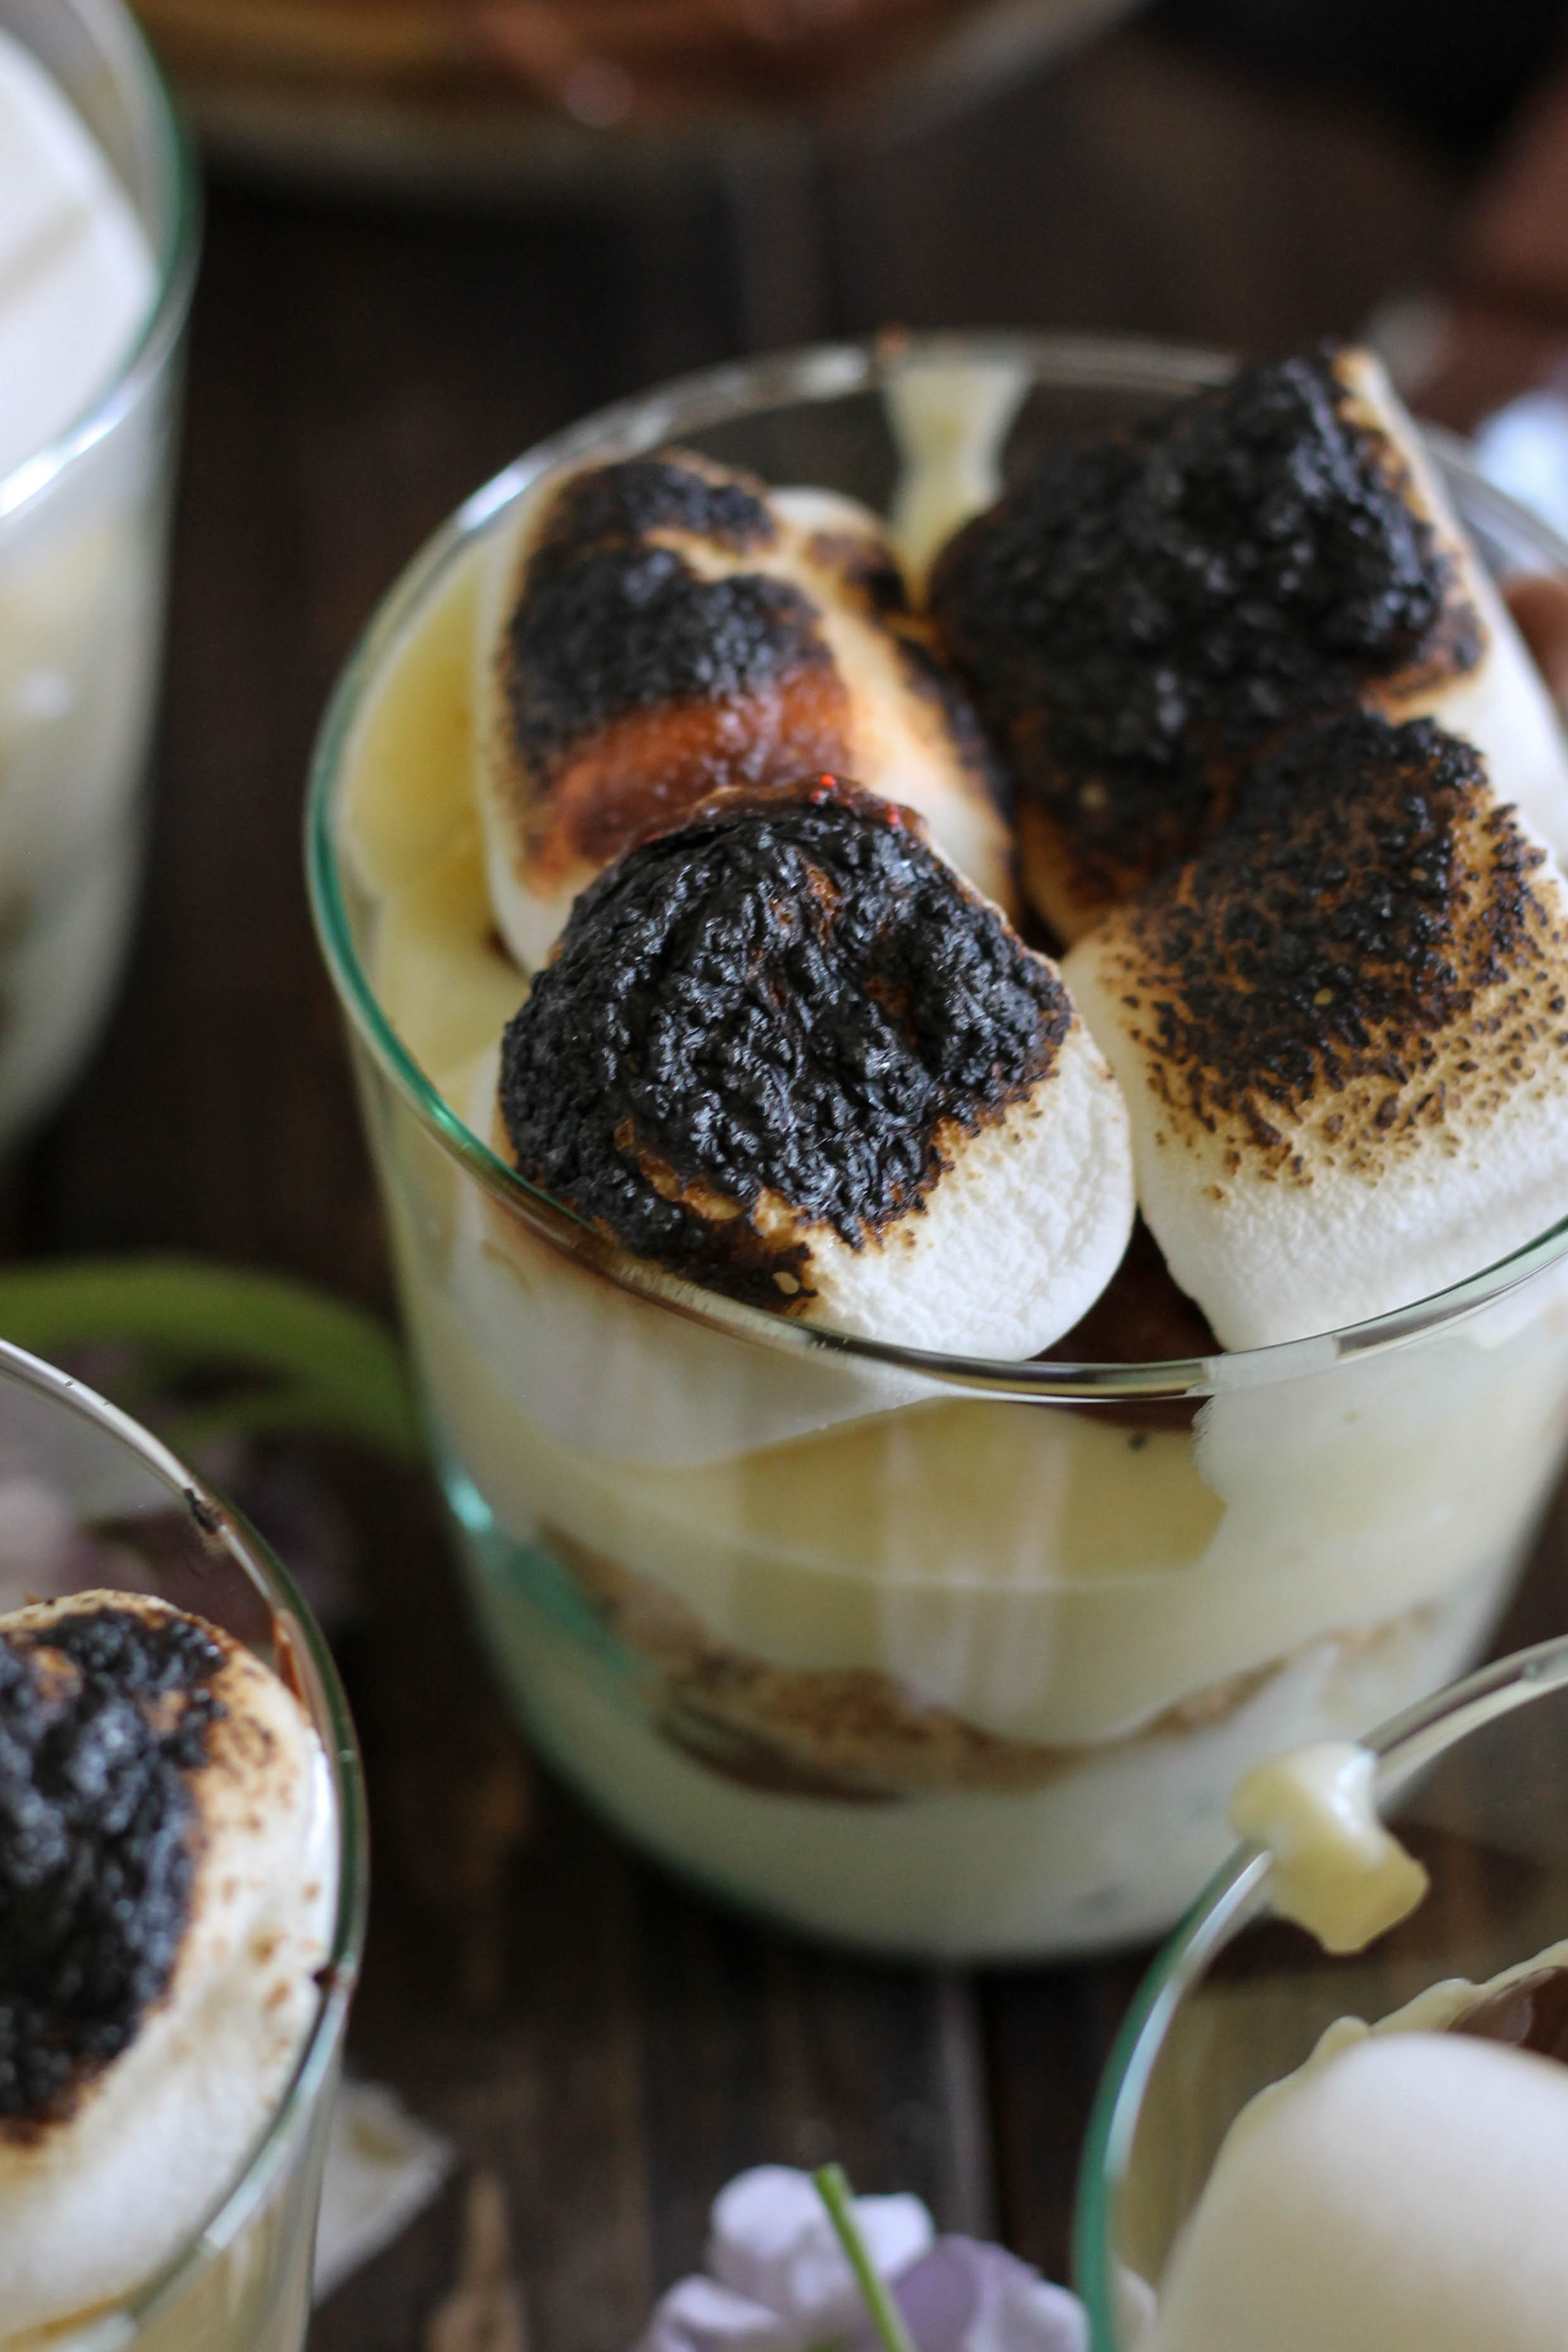
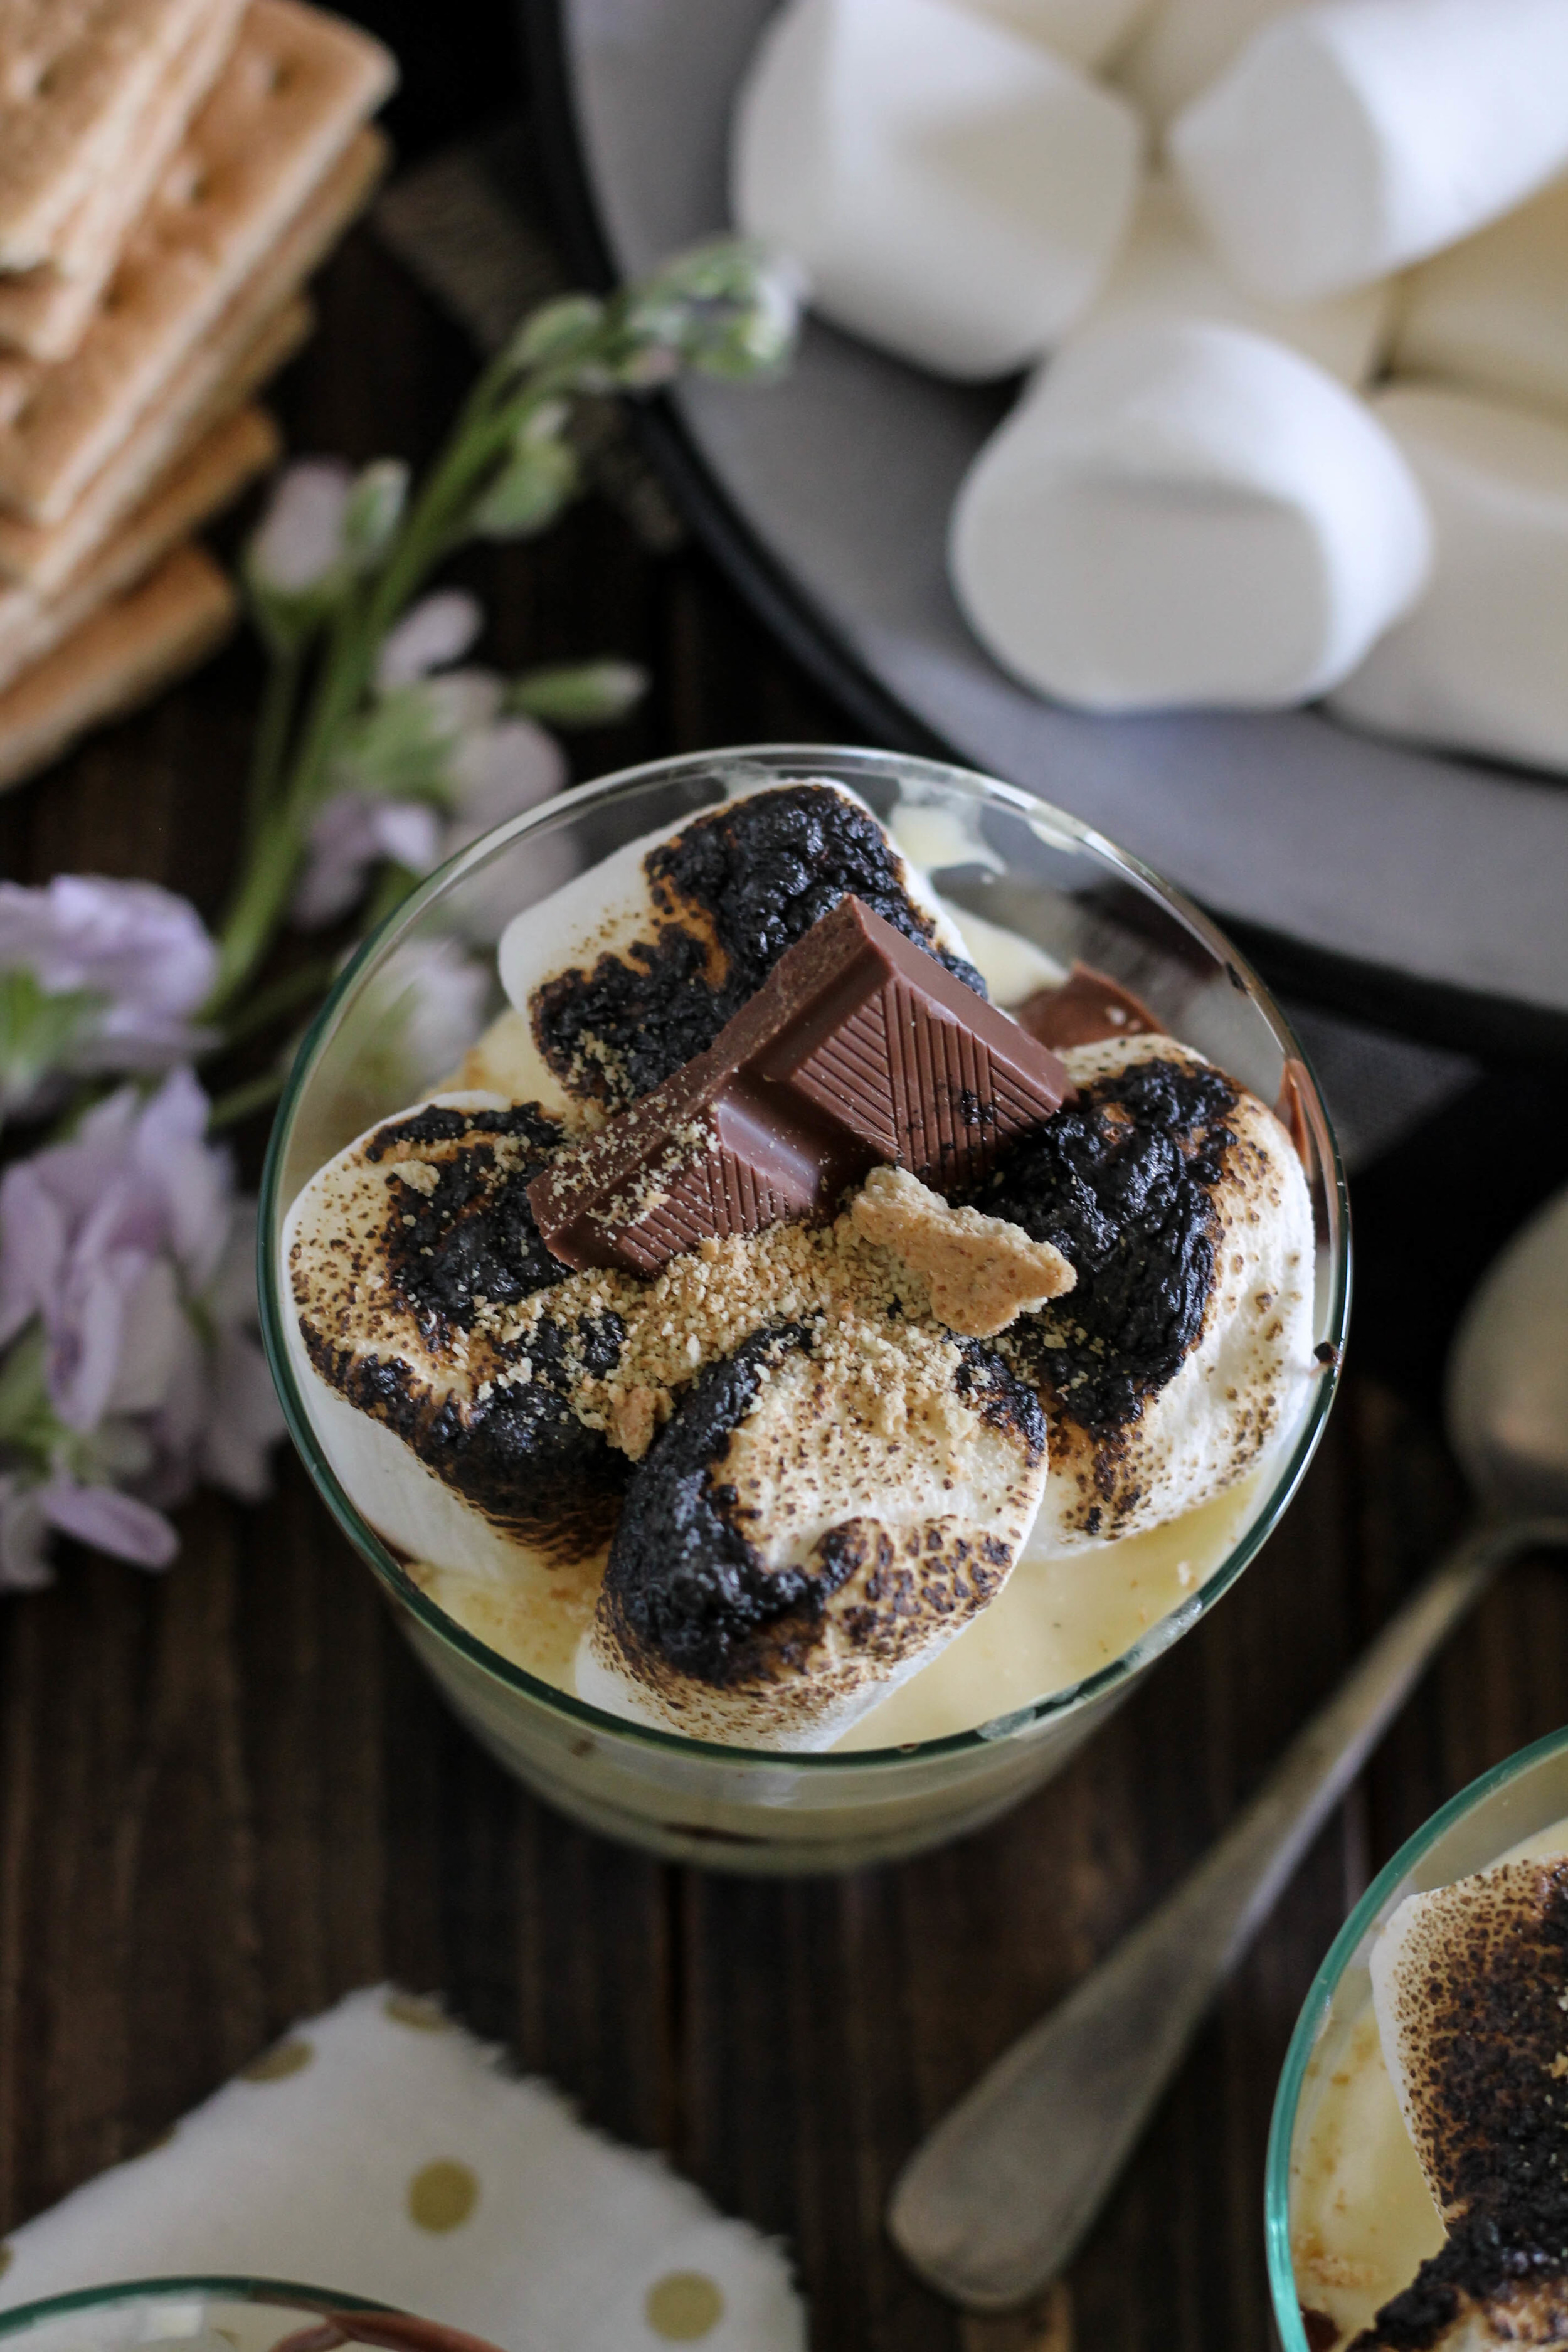
I plopped a couple of marshmallows atop my trifles and then torched them with my kitchen torch. This kept the custard cool, while still achieving that melted-mashmallowy layer that I love so much in a classic s'more.
While these trifles are definitely indulgent, they are not overly rich. Not in the sense that you instantly regret eating one - I hate that.
Because the custard is not overly sweet, it brings balance to the more sugary chocolate and marshmallow elements.
Oh, and if, for some strange reason, you do not end up devouring every single one of these immediately, they will need to be refrigerated. Unfortunately, this will cause the chocolate to harden and the marshmallows to stiffen, BUT, they are actually very good reheated for a quick 20-30 seconds in the microwave. The goal is to re-melt the marshmallow and chocolate, without heating up the entire trifle.
Then again, who in their right mind is leaving leftovers here?
Sincerely,
Pedantic Foodie
Boston Cream S’mores Trifle
makes 4 / custard recipe slightly adapted from Food Network
for the custard
- 1 1/2 cups whole milk
- 4 egg yolks
- 6 tablespoons granulated sugar
- 3 tablespoons cornstarch
- 1 tablespoon unsalted butter
- 1 teaspoon vanilla extract
- 1/2 cup heavy whipping cream
- 1/8 cup confectioner’s sugar
In a medium bowl, combine egg yolks and sugar. Whisk vigorously, until the yolks have greatly lightened in color and have reached the ribbon stage.* Whisk in cornstarch.
*The ribbon stage is signified by the behavior of the mixture. If you dip the whisk into the batter and hold it above the bowl, the mixture should fall like ribbons and should hold its shape for a minute or two.
Pour the milk into a medium, heavy-bottomed saucepan and place over medium-high heat. Scald the milk by cooking until it reaches 210 degrees, or just below the boiling point. Remove from heat.
Quickly whisk one-third of the scalded milk into the egg yolk mixture. Pour the tempered egg yolks into the saucepan and place over medium heat. While whisking constantly, bring the mixture to a boil. Reduce heat, and allow to boil for thirty seconds, while continuing to whisk constantly. Remove from heat and stir in the butter and vanilla extract.
Pour the custard into a glass bowl and lay a sheet of plastic wrap over the surface. This will prevent a film from forming.
Place in the refrigerator and allow to chill until cool, about 2 hours, or up to two days.
In a small bowl, combine heavy cream and confectioner’s sugar. Beat on high speed with an electric mixer until soft peaks form.
Gently fold the whipped cream into the chilled custard. Prepare the trifles.
assembly
- 1 recipe pastry cream
- 6 ounces milk chocolate, roughly chopped
- 9 whole graham crackers, roughly crushed
- 16 marshmallows
- 4, 6-ounce glasses
Place milk chocolate in a small, microwave-safe bowl and microwave for thirty seconds. Stir and then microwave for an additional thirty seconds. Repeat until the chocolate is smooth and completely melted.
Fill the bottom of four glasses with 1 1/2 tablespoons of crushed graham crackers. Cover with 1/4 cup of pastry cream. Spoon several tablespoons of the melted chocolate over the cream. Repeat until you have two layers of each element and then top with marshmallows.
Use a kitchen torch to toast the marshmallows and serve immediately.* Enjoy!
*You can prepare the custard 1-2 days in advance, but I do not recommend assembling the trifles until just before you want to serve them as the chocolate and marshmallows will be come hard in the refrigerator.
You may also like...

![Rum & Hazelnut Banana Pudding Trifles [ WWW.PEDANTICFOODIE.COM ]](https://images.squarespace-cdn.com/content/v1/5150ff2ae4b07a397217c428/1527609300051-JIYCRQ9K7KCBKIVAD0MC/Rum+%26+Hazelnut+Banana+Pudding+Trifles+%5B+WWW.PEDANTICFOODIE.COM+%5D)

















![This fresh and simple roasted pineapple sorbet is the perfect summer treat! [ www.pedanticfoodie.com ]](https://images.squarespace-cdn.com/content/v1/5150ff2ae4b07a397217c428/1555531706838-QHK0MW8K46H6ELUJDDYU/This+fresh+and+simple+roasted+pineapple+sorbet+is+the+perfect+summer+treat%21+%5B+www.pedanticfoodie.com+%5D)

