Spring Onion Buttermilk Ranch Dip [ Farmer's Market Treasures ]

Last Saturday morning presented me with two options; unproductively thinking about wedding things I cannot fix, or moseying down to the Farmer's Market.  The choice was clear. 

Spring Onion Buttermilk Ranch Dip {Pedantic Foodie}

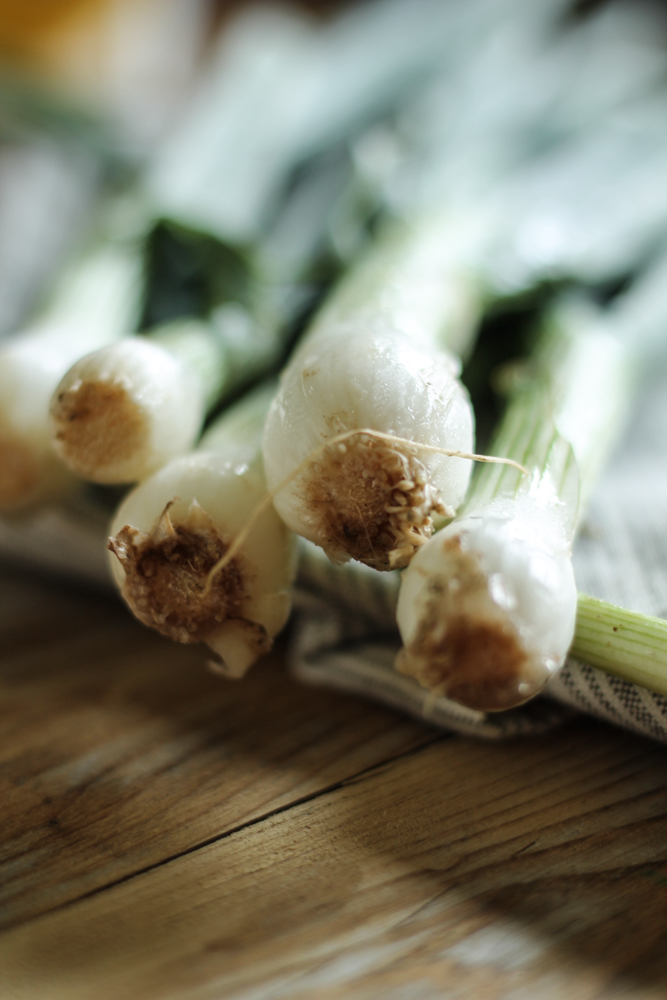
Amidst the stalls of fresh goat cheese, local honey, and over-priced asparagus, these jewel-like globes immediately captured my gaze. 

Spring Onion Buttermilk Ranch Dip {Pedantic Foodie}

Papa, my maternal grandfather, taught me how to eat radishes - quickly, with unreserved crunching and an ample sprinkling of salt.  

That is all. 

Spring Onion Buttermilk Ranch Dip {Pedantic Foodie}

While that simplistic and familiar option will always be satisfying, I am a very fickle lady, and this time, I really wanted something fresh and creamy, that would exquisitely accent my peppery red globes. 

Spring Onion Buttermilk Ranch Dip {Pedantic Foodie}

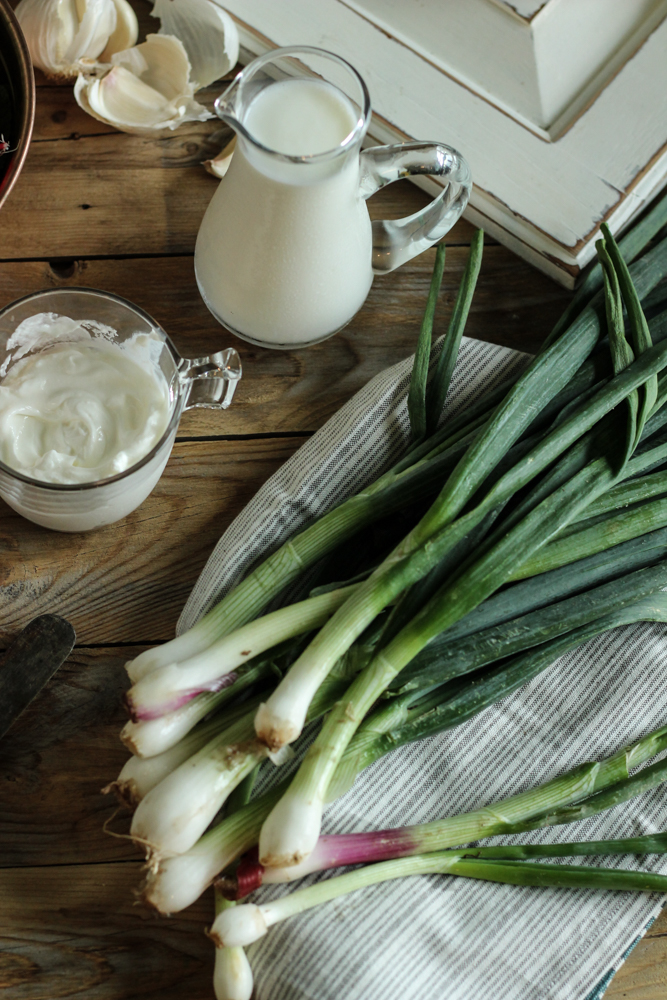
I also had a handful of spring onions that I simply could not resist, and they begged to be included in the fun.  

And by fun, I mean buttermilk.  

I get really, really excited about vegetables this time of year.  I love coming home from the market with a straw bag filled to the brim, and bursting with more color than the hardware store's paint department.

Spring onions are a particular favorite of mine.  Their resplendent ombre palette is almost as delicious as their subtle flavor. 

Spring Onion Buttermilk Ranch Dip {Pedantic Foodie}

Before preparing my dip, I trimmed and washed my radishes - those leaves tend to hold lots of sand and dirt that you certainly do not want to bite down on, and then I soaked them in cool, salted water for about thirty minutes.  

Spring Onion Buttermilk Ranch Dip {Pedantic Foodie}

Keeping the radishes cool, preserves their crisp, crunchy texture that my Papa and I so adore. 

While the radishes chill in the refrigerator, we can prepare the dip. 

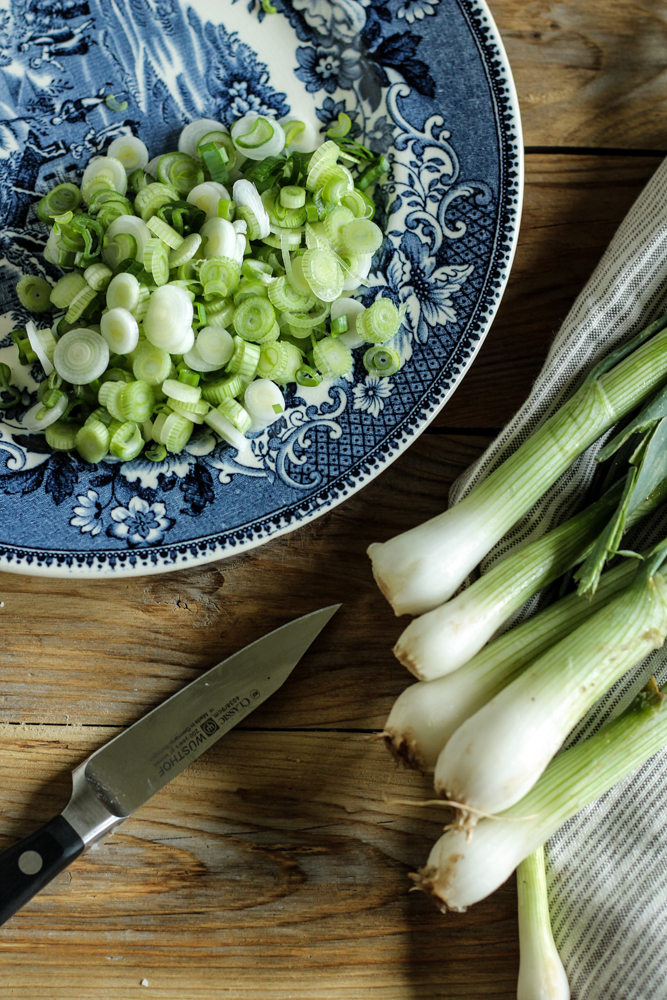
Onions are sliced thin, and everything is swiftly dumped into that magic blender of all things delicious - the food processor.  

Spring Onion Buttermilk Ranch Dip {Pedantic Foodie}

You will likely want to use smaller, young garlic cloves in this recipe, since it will not be cooked at all.  The larger cloves tend to be a bit spicier and can sometimes overwhelm the other flavors.  

Spring Onion Buttermilk Ranch Dip {Pedantic Foodie}

In about two minutes, we will have created a rich, creamy, onion-scented dressing, perfect for dipping.  

Spring Onion Buttermilk Ranch Dip {Pedantic Foodie}

While salt alone was always a good option, I think this may actually be a better one.

Spring Onion Buttermilk Ranch Dip {Pedantic Foodie}

I think Papa would approve. 

Spring Onion Buttermilk Ranch Dip {Pedantic Foodie}

If you're a mama, I hope your weekend is filled with all kinds of pampering.  If you are an offspring, then you better get your act together and buy some flowers.  Dip is extra credit, cupcakes are even better. 

Sincerely, 

Pedantic Foodie


Spring Onion Buttermilk Ranch Dip

makes about 1 1/2 cups

- 3/4 cup whole milk sour cream

- 3/4 cup buttermilk

- 2/3 cup finely sliced spring onion, about 4

- 1 1/2 tablespoons fresh lemon juice

- 2 cloves garlic, minced

- 1 1/2 teaspoons kosher salt

- freshly ground pepper, to taste

- 2-3 teaspoons of sugar, depending on your taste

Combine sour cream, buttermilk, onions, lemon juice, garlic, and salt in the work bowl of your food processor.  Pulse until smooth, about 1 minute. 

Add pepper and sugar to taste, and pulse until well combined. 

Refrigerate until ready to use.  Serve with fresh vegetables or over salad greens.  Enjoy! 


You may also like...

Chocolate Salami from Olympic Provisions

Have you ordered your Valentines?  Is your house covered in pink construction paper hearts?  I hope so. 

Chocolate Salami from Olympic Provisions {Pedantic Foodie}

Valentine’s Day is February’s gift to us.  It’s our excuse to cheer ourselves up with chocolate and pretty flowers as we trudge through the grey, rainy days of winter. 

Maybe chocolate salami does not scream romance to you, but allow me to share my logic.  Men like robust, cured meats and ladies like chocolate; those two come together and make chocolate salami.  Still weird?  Just bear with me.

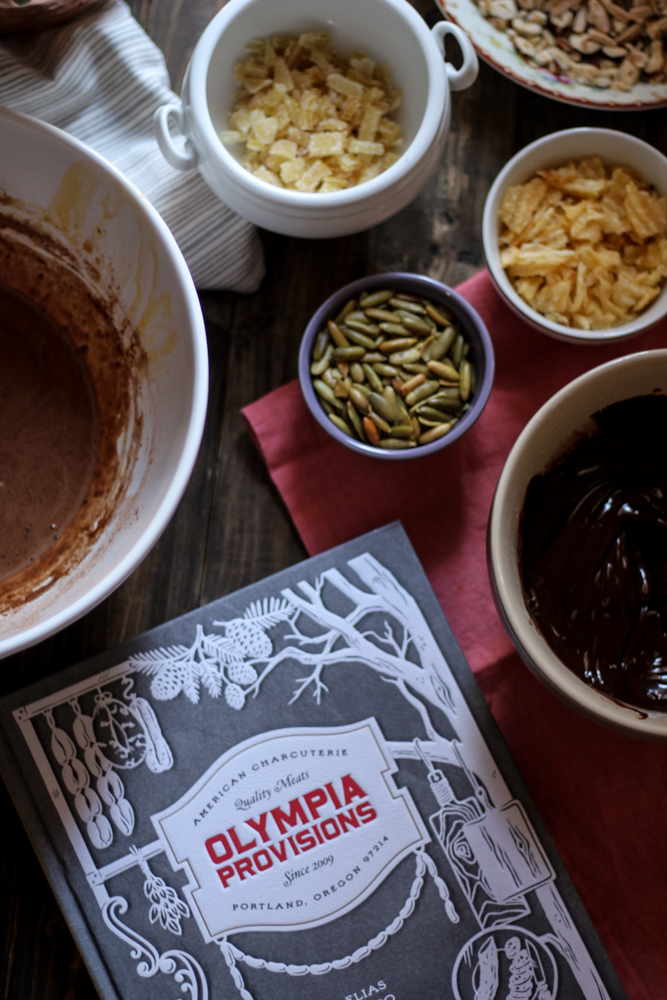
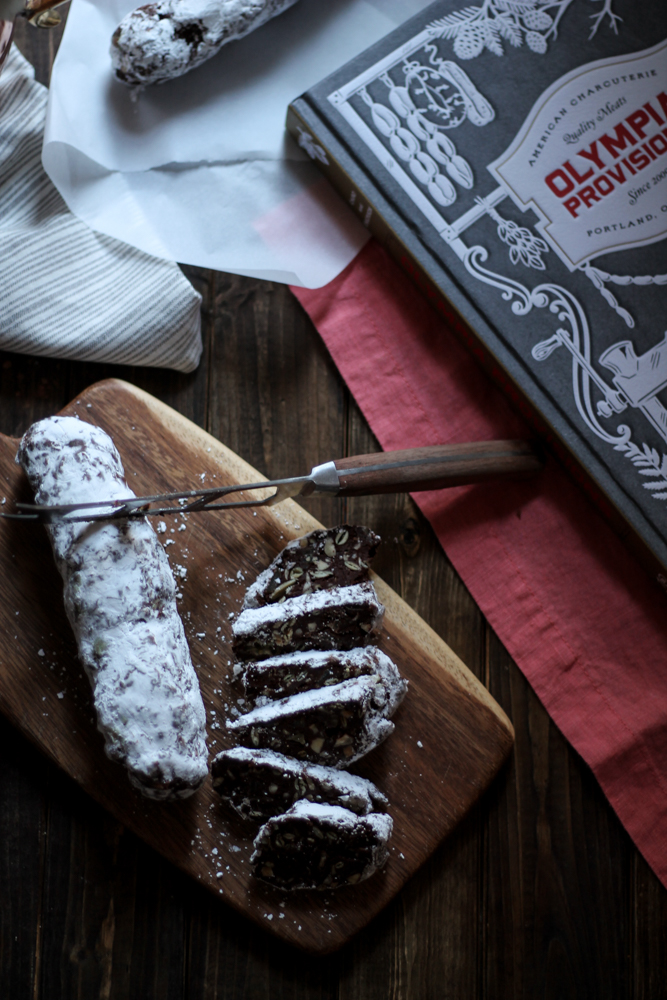
When this beautiful, canvas-bound book arrived in the mail I immediately dove into Elias Cairo's story and fell in love.  Witty, charming, and surprisingly humorous, this book does not take itself too seriously, even if it does talk about food safety and, you know, processing meat.

Chocolate Salami from Olympic Provisions {Pedantic Foodie}

It's chocked full of solid, inspiring recipes, and will have you making your own pate and sausage in no time, but it’s never a bad idea to begin with dessert.

Chocolate Salami from Olympic Provisions {Pedantic Foodie}

I should preface this recipe by saying that yes, it does have egg yolks, and no, it does not come into contact with the stove.  However, the yolks will eventually be muddled with hot, melted chocolate which will make them just as safe for consumption as a poached egg.  

Chocolate Salami from Olympic Provisions {Pedantic Foodie}

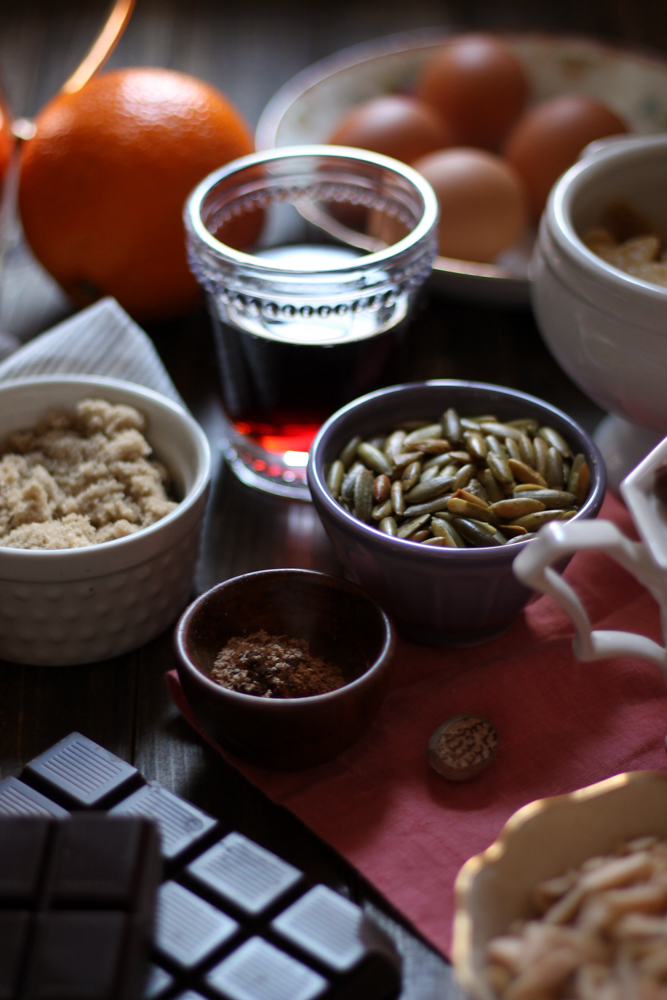
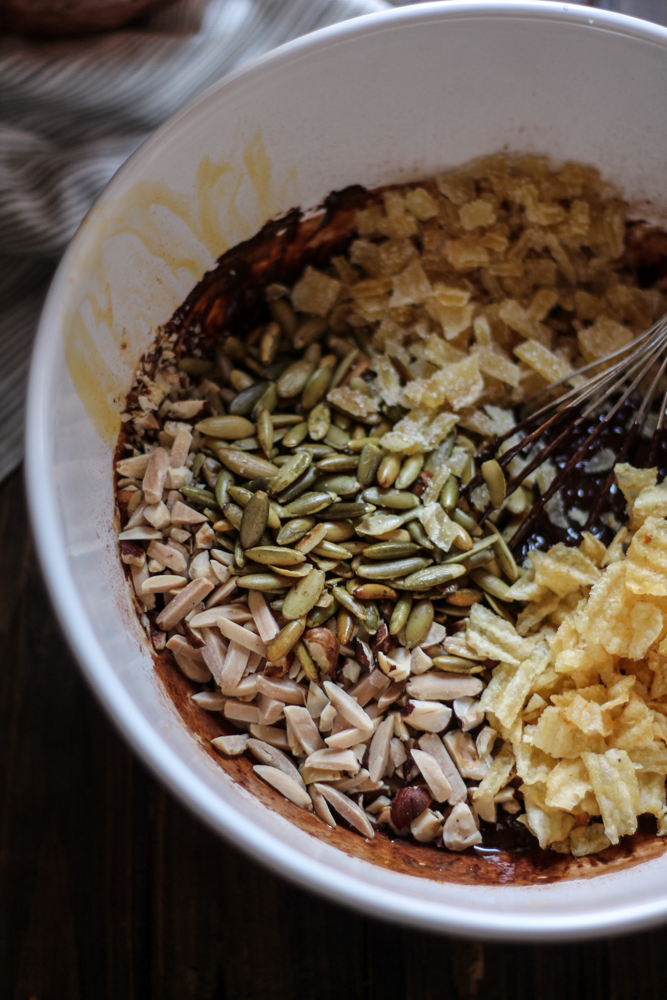
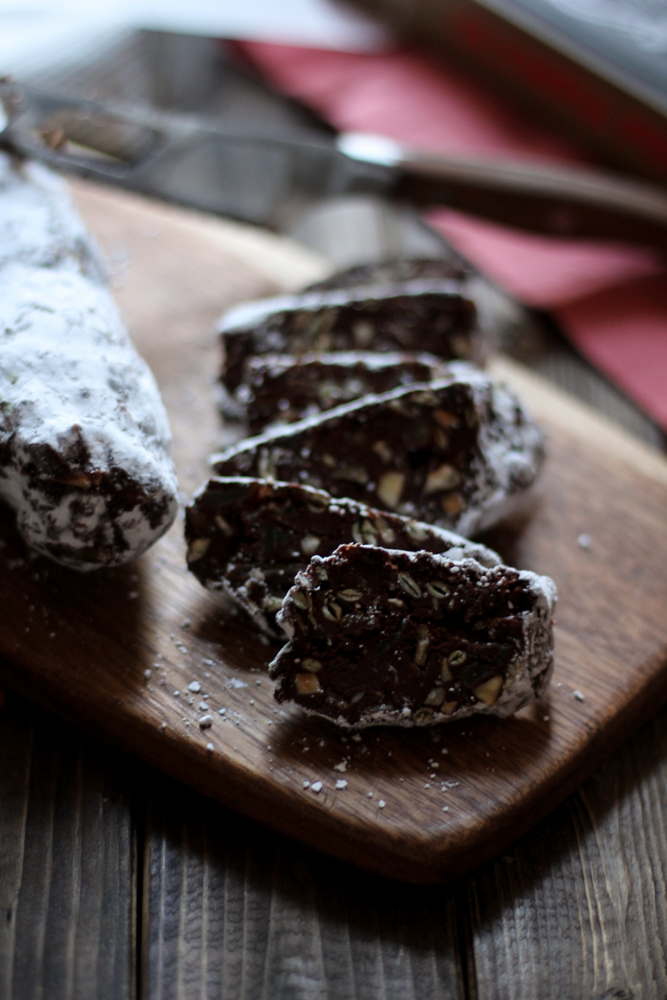
Just take a moment to appreciate this with me.  Meat mongers dreamed up a dessert where rich, wine-scented, spiced chocolate meets toasted nuts, ginger, and oh yes, crushed potato chips.  You cannot go wrong here. 

Ben and Jerry are likely already working on turning this into an ice cream flavor. 

I would not boast that this creation has a “best part,” but one of my favorite parts is the fact that as it goes under the guise of “salami,” we can easily serve it as an appetizer.  That means we can sneakily have two courses of chocolate rather than one.  

And, because the chocolate flavor is tempered by the additions of salty nuts and rich wine, this can truly pass as a savory offering.  

The salami can be made a couple days in advance and stowed away in the freezer to save you a bit of prep time on the special day.  Just be sure to pull it out about twenty minutes before you intend on serving it, so that it is sliceable.

Chocolate Salami from Olympic Provisions {Pedantic Foodie}

I know, this is not red velvet, or pink, or anything like the numerous cutesy treats that are currently dominating your Pinterest feed, but it is truly superb, and something I believe your sweetheart will find surprising and delightful.

Chocolate Salami from Olympic Provisions {Pedantic Foodie}

Let's treat our sweethearts to something new this year.  

Sincerely, 

Pedantic Foodie

This post was in partnership with Blogging for Books.  As always, all opinions are my own.  


Chocolate Salami

makes three, 10-inch logs / adapted slightly from Olympic Provisions

  • 1/2 cup hulled pumpkin seeds 
  • 1/2 cup chopped hazelnuts 
  • 1/4 cup slivered almonds 
  • 4 tablespoons unsalted butter
  • 8 ounces dark chocolate, 70%
  • 4 egg yolks 
  • 1/2 cup brown sugar 
  • 1/4 cup cocoa powder 
  • 1 teaspoon orange zest 
  • 1/2 cup red wine, such as Merlot or Cabernet 
  • 1 teaspoon ground cinnamon 
  • 1/8 teaspoon ground cloves
  • 1/8 teaspoon round nutmeg 
  • 1/2 cup candied ginger, diced finely 
  • 1/2 cup thick potato chips, crushed finely
  • confectioner’s sugar 

Preheat oven to 350 degrees.  Prepare an 8x8 baking pan by greasing it with nonstick spray.

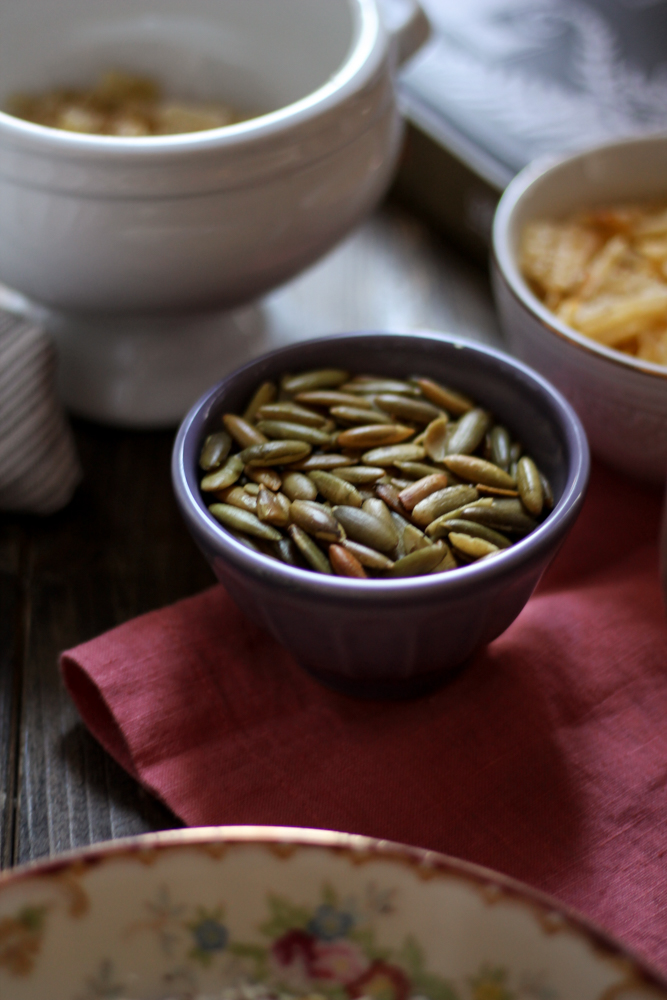
Line a baking sheet with parchment and arrange the nuts and pumpkin seeds in a single, even layer on the sheet.  Bake until lightly toasted and fragrant, about 12 minutes.  Set aside. 

Combine chocolate and butter in a microwave-safe bowl and microwave at thirty second increments, stirring after each, until melted.  Set aside.

In a large bowl, whisk egg yolks and brown sugar thoroughly until the yolks have thickened slightly and the mixture looks uniform.  Whisk in cocoa powder, orange zest, wine, and spices.  

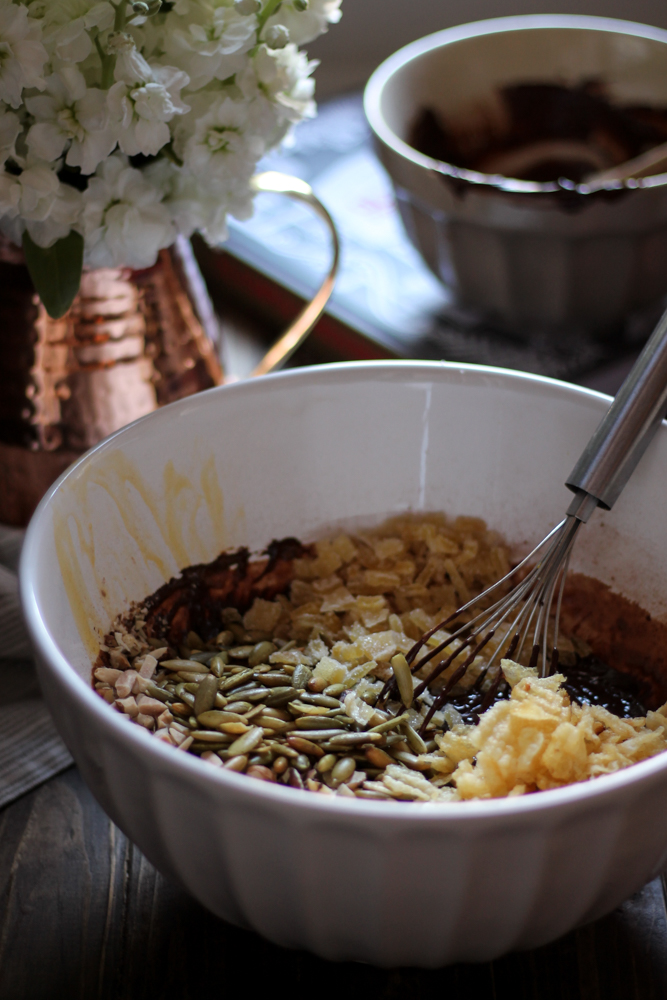
Fold in melted chocolate and whisk quickly, so that the chocolate does not cause the eggs to separate.  Add toasted nuts, candied ginger, and potato chips and fold together until the mixture is well combined. 

Fold the mixture into the prepared baking sheet and use a spatula to spread it out evenly.  Cover with plastic wrap and place in the freezer for 30 minutes, until firm.  

Cut the firmed chocolate mixture into three equal pieces.  Dust a work surface lightly with confectioner’s sugar and roll each piece into a 10-inch log.  Wrap the logs in parchment paper and freeze for five minutes before serving, or until ready to use.  Slice at an angle, into 1/4-inch slices.  Enjoy!


You may also like...
Thanksgiving Leftovers Become Roasted Pumpkin Soup

The Christmas decorations are up, the leftover turkey is (sadly) almost finished, and you are left with the remnants of your Autumnal adornments.  All those lovely pumpkins have been exchanged for shiny tinsel and dazzling glass orbs.

Roasted Pumpkin Soup {Pedantic Foodie}

Although those gourdeous (heehee, see what I did there?) adornments are behind us, that is not to say that they have lost their usefulness.   

The solution to most of life's problems is cookies.  The solution to the rest of them is soup.

Roasted Pumpkin Soup {Pedantic Foodie}

For some time now I have had this pumpkin soup recipe on my ever-growing recipes-to-try list.  It peaked my interest, because unlike most gourd-based soup recipes, this soup is actually baked inside the pumpkin.

Roasted Pumpkin Soup {Pedantic Foodie}

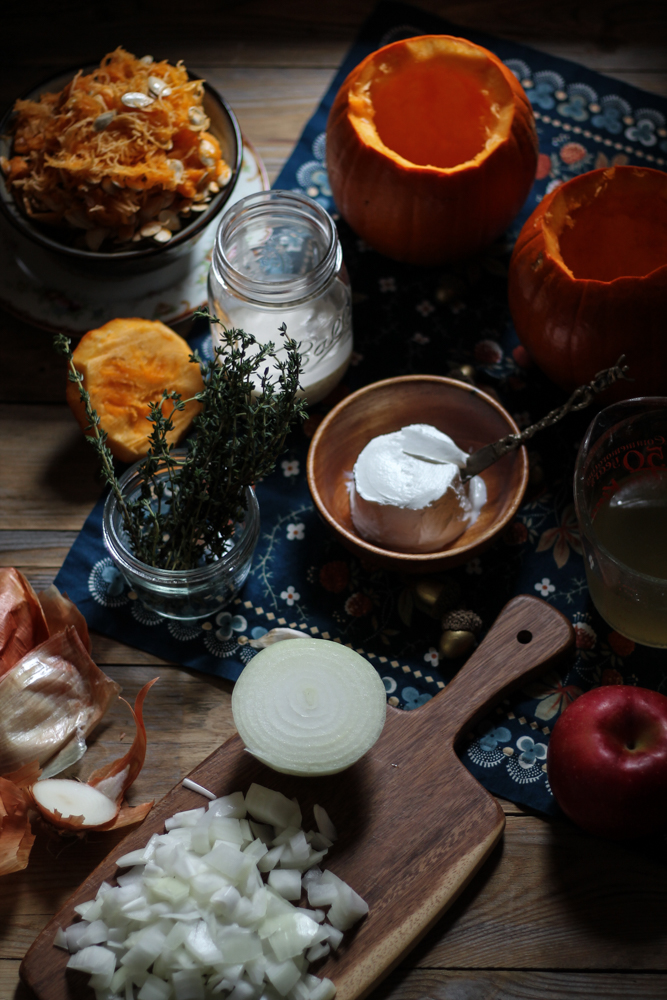
Our pumpkins need to be cleaned and gutted before we fill them with all sorts of deliciousness.  Creamy goat cheese, crisp apples, fresh thyme, onions, salt, chicken broth, butter and cream combine to form the base of this rich bisque. 

Roasted Pumpkin Soup {Pedantic Foodie}

The pumpkins are baked until the flesh is tender, then the sides are gently scraped to remove the soft, flavorful meat.  An immersion blender is very helpful at this point because it allows us to puree the pumpkin directly into that rich, flavorful broth we have created. 

Roasted Pumpkin Soup {Pedantic Foodie}

You may choose to ladle the soup into individual bowls, or serve it in its more natural vessel.  Either way, the flavors of the season will fill your senses.  

Roasted Pumpkin Soup {Pedantic Foodie}

This is the last stand for these final fruits of autumn, and it’s a beautifully flavorful one.

Sincerely, 

Pedantic Foodie


Roasted Pumpkin Soup

recipe slightly adapted from Alton Brown / serves 4

  • 1 whole medium pumpkin (4 lbs) or two smaller pumpkins (1.5-2 lbs)
  • 2 teaspoons olive oil 
  • 1 tablespoon unsalted butter
  • 1/2 small sweet onion, diced 
  • 1 teaspoon salt 
  • 1 clove garlic, minced
  • 1 small apple (any crisp, sweet variety will do) peeled, cored, and cut into 1/4 inch cubes 
  • 1 cup chicken broth 
  • 1/2 cup heavy cream
  • 2 ounces chevre 
  • 1 teaspoon fresh thyme leaves

Preheat oven to 375 degrees. 

Use a sharp knife to cut a lid out of your pumpkin(s).  Cut around the stem at an angle to form an opening several inches wide.  Use a heavy spoon to scrape away the seeds and fibers from the inside of the pumpkin.  Be thorough with this step, as you do not want stringy pumpkin floating around in your soup.  Grease a large, high-sided, oven-safe dish with olive oil and place pumpkins inside. 

Fill the pumpkin(s) with butter, diced onion, salt, garlic, apples, chicken broth and heavy cream.  If you are working with two pumpkins, divide the ingredients evenly between the two.  Cap each pumpkin with its lid and brush with olive oil.  Bake for 1-1/2 hours, depending on the size of your pumpkin(s).  Remove when the skin has begun to deepen in color and the flesh is fairly tender when poked with a fork, but not fully cooked. 

Remove the lid(s) and add thyme and chèvre.  Return to the oven and bake for an additional 30 minutes, then allow to cool for 10-15 minutes.  

Use a large spoon to gently scrape some of the pumpkin flesh into the soup mixture.  Be careful here!  You want the walls of the pumpkin to stay intact.  Do not scrape away all of the flesh, otherwise the pumpkin could collapse.  Use an immersion blender to puree the soup until smooth, being careful to not blend too close to the sides or bottom of the pumpkin, as the blender could tear the skin. 

Serve immediately.  Enjoy! 

*Unfortunately, not every pumpkin on your mantle or dinning room table will make for a toothsome soup.  The large, tough pumpkins you would use for carving are not ideal for cooking.  However, Sugar Pie pumpkins or even Cinderella pumpkins are both just as appealing to the eye as they are to the palate.