White Chocolate Cheesecake with Banana & Macadamia Nuts

Cheesecake is the best dessert ever invented.  Amen. 

White Chocolate Cheesecake with Banana & Macadamia Nuts {Pedantic Foodie}

My dad has been taking me on dates ever since I could talk, which considering that I was talking at five months (I know, my poor parents...), is a pretty long time.  

White Chocolate Cheesecake with Banana & Macadamia Nuts {Pedantic Foodie}

Over the years, our date locals of choice have changed, but some of my fondest "dad date" memories take place in a busy mall food court where we would order either caramel sundays or, my very favorite - cheesecake with blueberries. 

White Chocolate Cheesecake with Banana & Macadamia Nuts {Pedantic Foodie}

I happen to know that that particular fast food chain no longer serves cheesecake, and I am sure that if I tasted it now, having grown up a bit, I might be less than impressed.  However, to my seven-year-old palate it was everything wonderful in the world in one creamy slice. 

White Chocolate Cheesecake with Banana & Macadamia Nuts {Pedantic Foodie}

While I hate to admit it, I also went pretty bonkers over those retro cheesecake cups covered in that gluey cherry pie filling.  Honestly, I could probably still down half a dozen of them if given the chance.  Why are they so good??? 

Cheesecake is my very favorite dessert.  Hands down, no argument, it is the be-all end-all of the sweets world. 

White Chocolate Cheesecake with Banana & Macadamia Nuts {Pedantic Foodie}

It's also pretty dreamy to make, considering that there is no fussy buttercream, crumb-coating or oh-help-me - layering, to fret over. 

White Chocolate Cheesecake with Banana & Macadamia Nuts {Pedantic Foodie}

But! You can still make it look pretty darn fancy with the help of a star-tip and a bit of whipped cream. 

White Chocolate Cheesecake with Banana & Macadamia Nuts {Pedantic Foodie}

Also, your senses will experience the incredible aroma of cream cheese and sugar being beaten together, which is, incidentally, the best smell in the entire world.  Truly, I just googled it for you and it is fact!  ....I'm lying. 

White Chocolate Cheesecake with Banana & Macadamia Nuts {Pedantic Foodie}

But really, we all know it's true. 

White Chocolate Cheesecake with Banana & Macadamia Nuts {Pedantic Foodie}

I had this strange misconception/fear about white chocolate cheesecake.  I felt like the melted white chocolate would harden up into a bunch of annoying little bits as soon as it met with the cool cream cheese mixture.  However, that is not the case.  This cheesecake is as smooth as it can be and the subtle, yet unmistakable white chocolate is perfection. 

White Chocolate Cheesecake with Banana & Macadamia Nuts {Pedantic Foodie}

After the cheesecake had time to rest and become the ultra creamy edible vacation that it is, I sliced some bananas, toasted a handful of macadamia nuts, and whipped up a coconut cream whipped cream.  

Clearly, this cheesecake is all about the toppings. 

White Chocolate Cheesecake with Banana & Macadamia Nuts {Pedantic Foodie}

Upon "testing" I realized that there was some disparity between the banana slices required for maximum enjoyment, and the number you are allowed to pile on top without it looking less than pretty.  So, the solution is to use just enough when decorating your cake, and then slice up another quarter of a banana when you actually get it on your plate.  Cheesecake science. 

White Chocolate Cheesecake with Banana & Macadamia Nuts {Pedantic Foodie}

This is one of those moments where you need to stop listening to your fitness coach and make an emergency run to Trader Joe's for some cream cheese. 

Sincerely, 

Pedantic Foodie


White Chocolate Cheesecake with Bananas & Macadamia Nuts

makes one, 10-inch cheesecake, about 16 servings / recipe adapted from Ina Garten

for the crust

  • 1 1/2 cups graham cracker crumbs (about 10 crackers)
  • 1 tablespoon granulated sugar
  • pinch of kosher salt 
  • 6 tablespoons unsalted butter, melted

Preheat oven to 350 degrees F. 

Cut a circle of parchment paper and lay in the bottom of a greased 10-inch springform pan.  

In the work bowl of your food processor pulse graham crackers until roughly the consistency of cornmeal.   Add melted butter and granulated sugar and pulse to combine.  Pour the crust into the pan and press it down tightly with your fingertips.  Bake for 8-10 minutes; until the edges are golden brown.  Allow the crust to cool while you prepare the filling. 

for the cheesecake

  • 2 1/2 pounds cream cheese, at room temperature 
  • 1 1/2 cups granulated sugar
  • 5 whole large eggs, at room temperature 
  • 2 large egg yolks, at room temperature 
  • 1/4 cup coconut cream,  at room temperature 
  • 1 cup white chocolate chips (The best you can find!) 
  • 1 1/2 teaspoons vanilla extract 

Increase the oven temperature to 450 degrees F.  

Melt white chocolate by microwaving at thirty-second increments, stirring after each, until the chocolate is smooth. 

In the bowl of your stand mixer, fitted with the paddle attachment, combine cream cheese and sugar. Beat on medium-high speed until fluffy; about 5 minutes.  Reduce the speed and add eggs and egg yolks, 2 at a time, scraping down the bowl as needed.  Beat in the coconut cream and vanilla extract, then slowly mix in the melted white chocolate.  Pour the filling into your cooled crust.  

Bake for 15 minutes then reduce the oven temperature to 225 degrees F and bake for an additional 1 hour and 15 minutes.  

Turn off the oven and prop open the door.  Allow the cake to cool in the open oven for 30 minutes, then transfer to your countertop and allow the cake to sit for 3 hours at room temperature before wrapping in plastic and transferring to the refrigerator for at least 8 hours, preferably overnight.  

Remove the cake from the springform pan by running a knife that has been dipped in warm water along the edge of the cheesecake.  Carefully lift the cake from the bottom of the springform pan (leaving the parchment attached to the crust) and transfer to a cake stand.  

for the whipped cream & toppings

  • 1/3 cup macadamia nuts, roughly chopped
  • 1/3 cup confectioner’s sugar
  • 1 cup heavy cream
  • 1/3 cup coconut cream 
  • 1 teaspoon vanilla
  • 2 medium bananas, sliced diagonally 

Transfer nuts to a small, nonstick frying pan and place over medium heat.  Cook, moving the pan back and forth often, until the nuts are slightly toasted on the edges and have become fragrant. 

In the work bowl of your stand mixer combine confectioner’s sugar and heavy cream.  Beat on high speed until stiff peaks form; beat in coconut cream. 

Transfer the cream to a piping bag fitted with a star tip and pipe whipped cream along the edges and top of the cheesecake.  Decorate with bananas and toasted nuts.  Enjoy! 

The cheesecake will last 5-7 days in the refrigerator, the bananas, however, may need refreshing. 


Mama's Pumpkin Roll

There is one smell that is better than any other smell on earth, and that is the fragrance of a homemade pumpkin roll. 

Mama's Pumpkin Roll {Pedantic Foodie}

My mama and her sisters have always been industrious.  They are three of the most crafty, artistically-talented people you will ever meet.  Each of their homes is uniquely beautiful, and our family events are characterized by incredible food and the most Pinterest-worthy of decorations.

Mama's Pumpkin Roll {Pedantic Foodie}

Not one of them was ever what you would call a "career woman," but they helped to provide for their young families by using their innate talents.

Mama's Pumpkin Roll {Pedantic Foodie}

When I was a very eager-to-help, little girl, my mother and her sisters would make literally hundreds of pumpkin rolls.  Like, we are talking six hundred pumpkin rolls.  

There were so many wonderful parts about living in a pumpkin roll factory - the smells, the dabs of cream cheese frosting here and there, but, the very best part was undoubtably the ends. 

The ends of even the best-baked pumpkin roll always look a little on the shriveled side, but their deliciousness is by no means compromised.  For quality control purposes, the three sisters would always lop off these ends, leaving them for me and my father to tirelessly taste-test.  It was rough. 

They would carry their coolers full of these autumn pinwheels to the local high schools during the early hours of a November Saturday, and would be hanging their "sold out" sign before the craft show had come to a close. 

Mama's Pumpkin Roll {Pedantic Foodie}

These days, their children are older and they no longer make hundreds of pumpkin rolls, but the occasional, orange, roll will still appear at a family dinner or birthday now and then.  

Mama's Pumpkin Roll {Pedantic Foodie}

While I tried to keep my hands out of the food preparations for my recent wedding, I coaxed my mother into making pumpkin rolls with me for the big day.  

One of the best parts about pumpkin rolls is that they freeze incredibly well.  After our day of baking, there were stacks of these rolls in my mother's freezer and it was like having a glimpse into the past. 

Mama's Pumpkin Roll {Pedantic Foodie}

Though they are, without a doubt, one of my favorite desserts, I had never made a pumpkin roll before. 

I asked my mother to pull out that one familiar cookbook and teach me the ins and outs of pumpkin roll-baking. 

Mama's Pumpkin Roll {Pedantic Foodie}

Here is what I learned.

1. My mother breaks a lot of baking rules.  

Mama's Pumpkin Roll {Pedantic Foodie}

2. Her rolls seem to turn out anyways.  How, I do not know, but she manages to turn out a very solid pumpkin roll, time after time. 

Mama's Pumpkin Roll {Pedantic Foodie}

3. Greasing is nonnegotiable.  You must lubricate your pan before the batter is poured. 

Mama's Pumpkin Roll {Pedantic Foodie}

4.  Rolling the pumpkin roll while it is still hot and malleable will keep it from cracking when the time comes for frosting. 

5. Cream cheese frosting is the best.  

Just kidding, I had already learned that long ago. 

Mama's Pumpkin Roll {Pedantic Foodie}

As I helped my mother bake, carefully noting and documenting her techniques, Lady (my parent's newest addition to the family) watched patiently by, waiting for scraps.  I understood her agony all too well. 
Mama's Pumpkin Roll {Pedantic Foodie}

Though it be a classic, and rather foreseeable move, in my mind, a pumpkin roll is not a pumpkin roll without a heavy sprinkling of confectioner's sugar.

Mama's Pumpkin Roll {Pedantic Foodie}

The kitchen was filled with the fragrance of something delicious that afternoon, but something far sweeter wafted from its walls - the remembrance of happy times gone by.

Sincerely, 

Pedantic Foodie


Mama’s Pumpkin Roll

makes 1 large pumpkin roll / recipe adapted from my Mama’s very old copy of Pioneer Potpourri

for the pumpkin roll

- 3 eggs 

- 1 cup granulated sugar

- 2/3 cup pumpkin puree

- 3/4 cup all-purpose flour

- 1 teaspoon baking powder

- 2 teaspoons ground cinnamon 

 - 1/2 teaspoon salt

Preheat oven to 375 degrees. 

Sift to combine flour, baking powder, ground cinnamon, and salt. 

In a very clean bowl, beat eggs with an electric mixer on high speed for 5 minutes.  While continuing to mix, slowly incorporate sugar and pumpkin. 

Gently fold the sifted flour into the pumpkin mixture.  Mix well, being watchful to fully incorporate all of the flour mixture. 

Line a 10x15-inch baking sheet with aluminum foil and grease liberally with nonstick spray.

Pour the batter onto the baking sheet and bake for 15 minutes.  The edges should be golden brown.  While the roll is baking, line your countertop with paper towels. 

Flip the hot pumpkin roll out onto the paper towels and roll up into a spiral, working lengthwise.  This will conform the cake to the proper shape and prevent it from cracking later on. 

Allow the roll to cool completely while you prepare the frosting.

for the cream cheese frosting

- 4 tablespoons unsalted butter

- 6 ounces cream cheese, softened

- 1 cup confectioner’s sugar, plus extra for serving

- 1/2 teaspoon vanilla

In the work bowl of your stand mixer, combine butter and cream cheese.  Whip on medium high speed for 1 minute; until fluffy.  Reduce the speed to low and slowly sift in the confectioner’s sugar. 

When all the sugar has been incorporated, add the vanilla. 

Unroll the cooled pumpkin roll and spread the cream cheese frosting evenly over the face of the roll.  

Re-roll the cake, in the same direction as before.

At this point, you may cut the roll into slices or cover in plastic wrap and refrigerate until ready to serve.  Personally, I think they are best when served cold.  Just before serving, dust with confectioner’s sugar.  Enjoy! 

Alternatively, you may wrap the roll in plastic wrap, then cover with a layer of wax paper, and freeze for up to three months. 


My Favorite Key Lime Pie

You know that sweatshirt that you just loooove?

The one you found on clearance at Target and were seduced by its soft, cotton charm.  The one you have had for about a decade and have worn more than anything else in your closet but still cannot muster up the courage to throw away, because, with a messy bun and some sparkly earrings it's still one of your favorite stylings. 

My Favorite Key Lime Pie {Pedantic Foodie}

This pie is that sweatshirt.

Wait!  The metaphor works, give me a chance. 

My Favorite Key Lime Pie {Pedantic Foodie}

There is nothing special about this pie, but then again, there is everything special about this pie. 

This is the pie I'll bring you if you just had a tiny human leave your body.  You worked hard, eat some pie.

This is the pie I'll make on a Monday night and eat for lunch on Tuesday afternoon. 

This is the pie I can whip up with no rolling or cold butter coercing required.  

This is my favorite key lime pie and it's about to become yours.

My Favorite Key Lime Pie {Pedantic Foodie}

I have loved this pie recipe ever since I first dipped my toes into the warm, sugary ocean of baking. 

My Favorite Key Lime Pie {Pedantic Foodie}

It's flavors are familiar and bold, and it's construction is simple. 

So simple, in fact, that I felt silly sharing it here.  For four and a half years I have resisted, but I recently realized that this pie is one of my favorite things to bake and there was absolutely no excuse for not letting it have its fair share of time in the spotlight. 

My Favorite Key Lime Pie {Pedantic Foodie}

Besides, isn't simple what everyone wants anyways?

My Favorite Key Lime Pie {Pedantic Foodie}

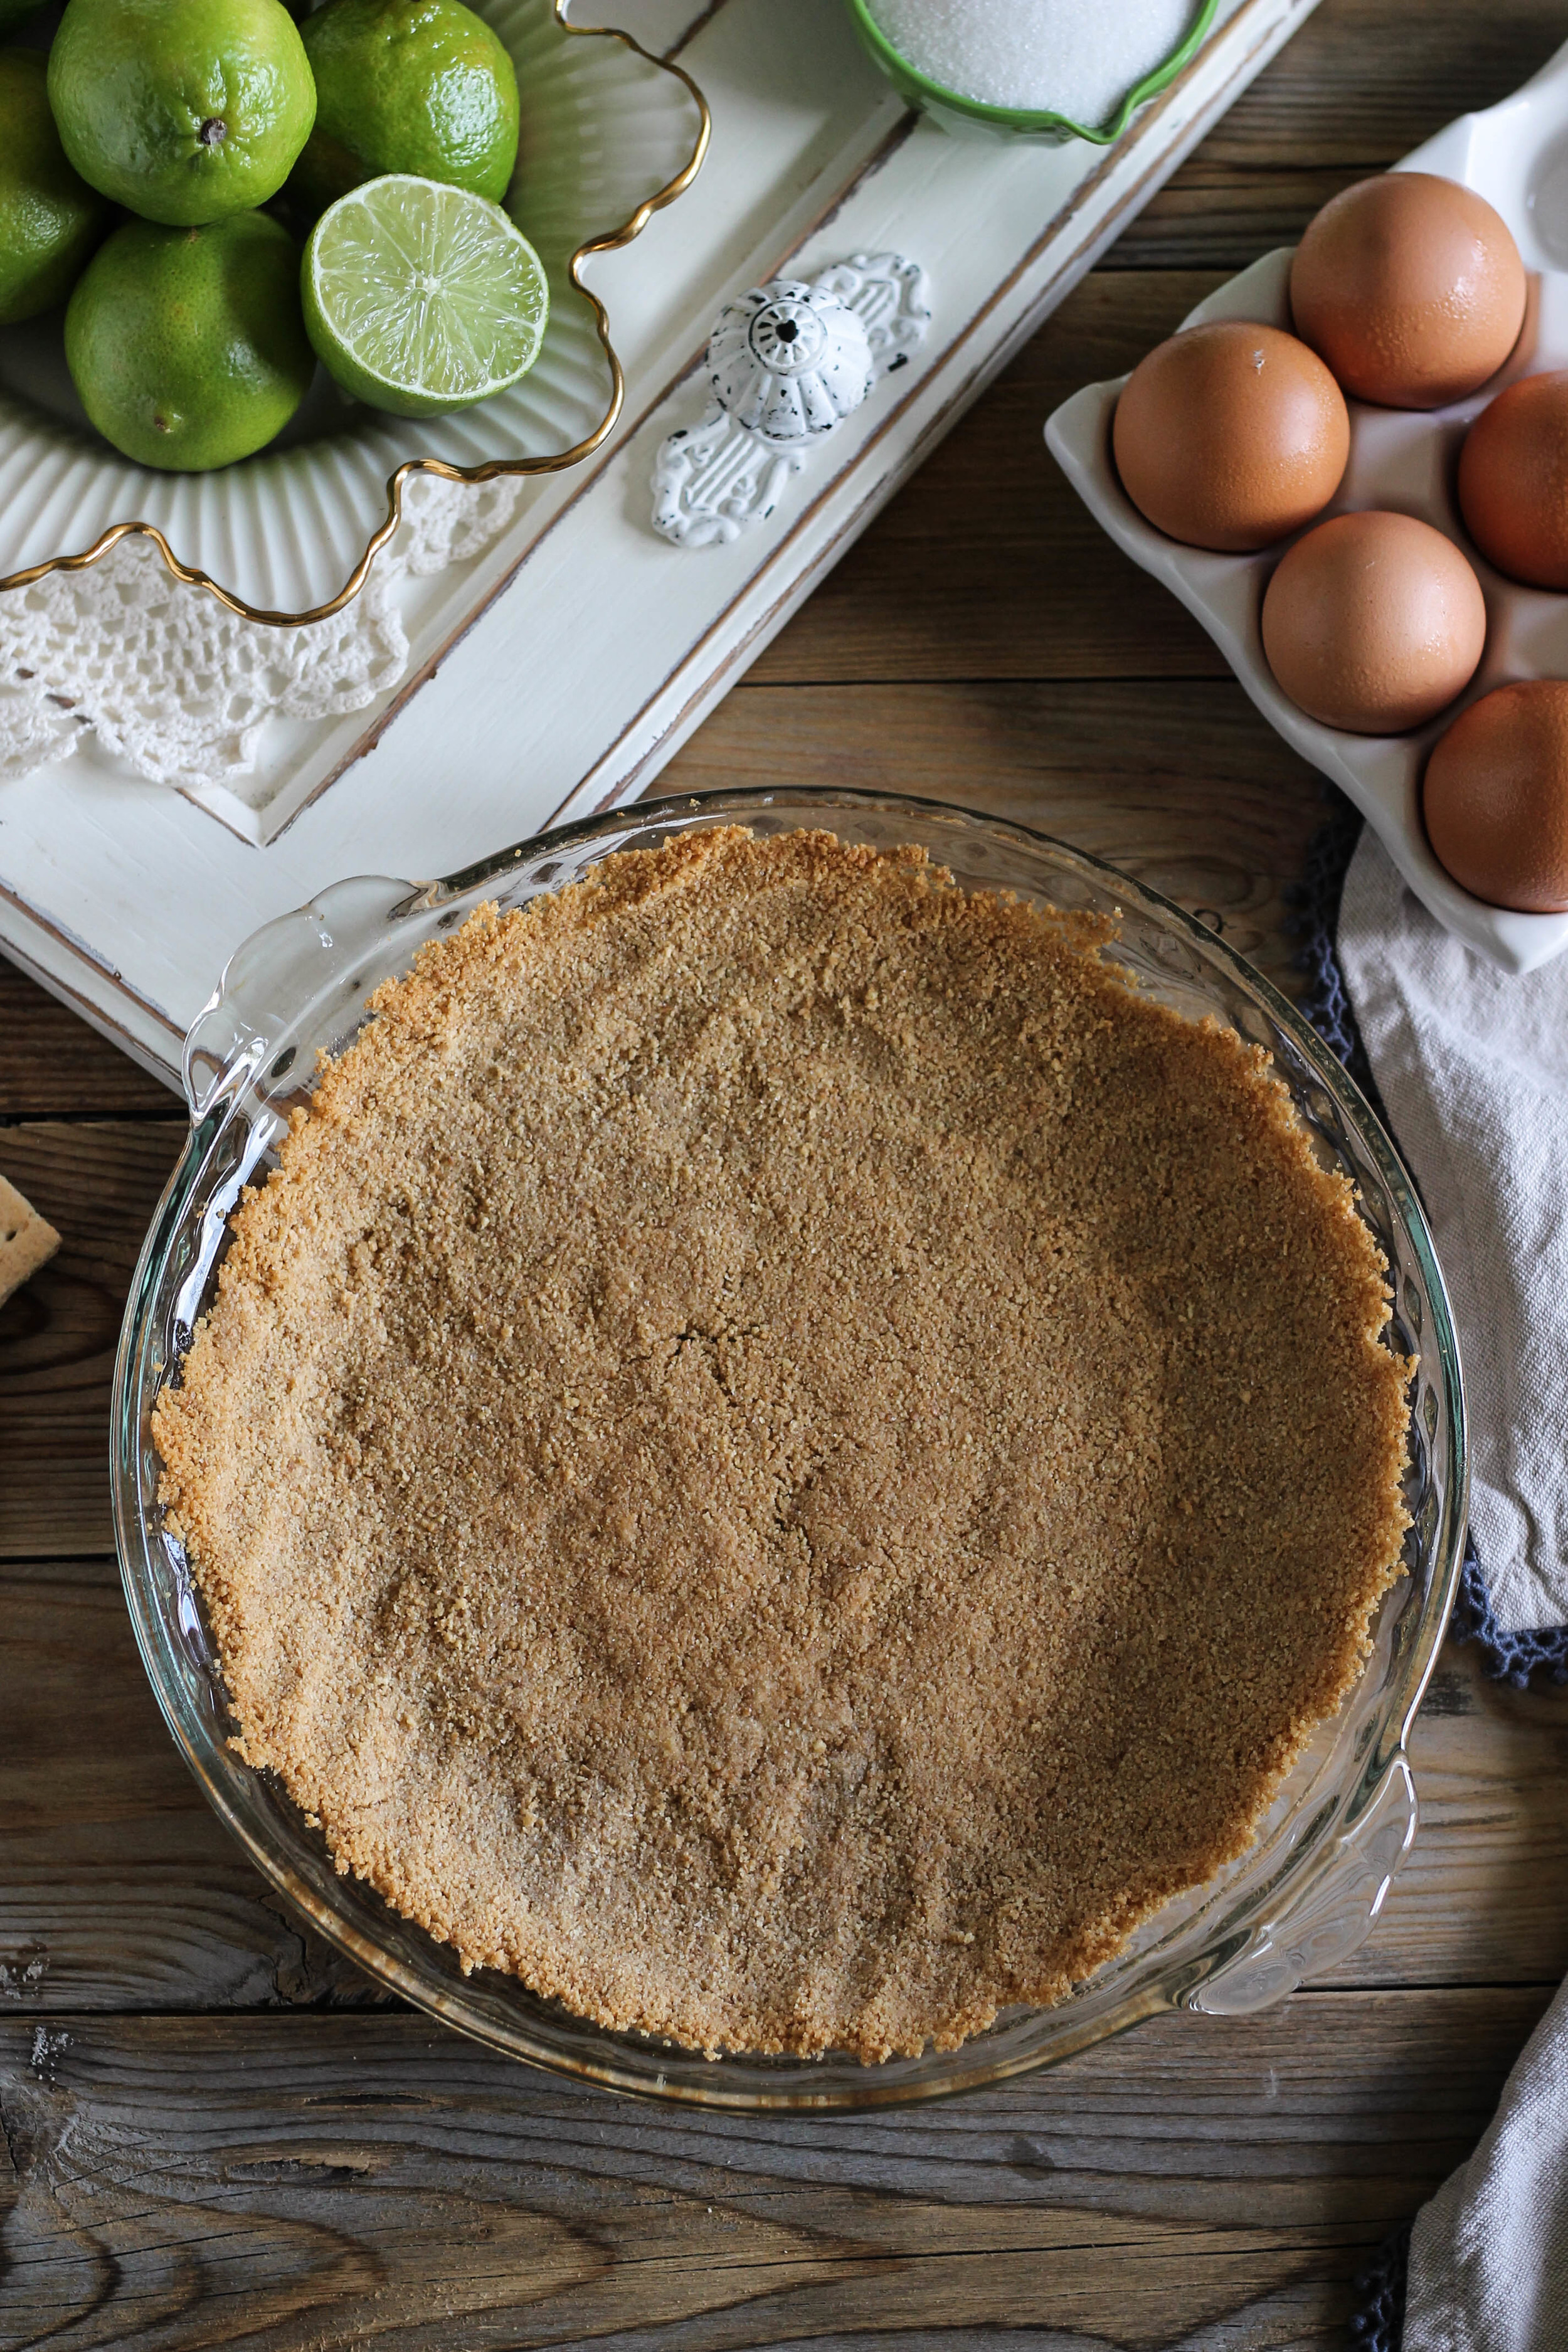
Now, as we have already established, this pie requires minimal effort, so I fully expect you to show an ounce or two of courage and make your own graham cracker crust.  None of that store bought stuff, okay?

I promise you can do it.  

(If you'd like a gluten-free alternative, it happens to be equally amazing with this simple coconut macaroon crust.  Just omit the chocolate coating.)

While the crust blind bakes, the super simple, lime filling comes together. 

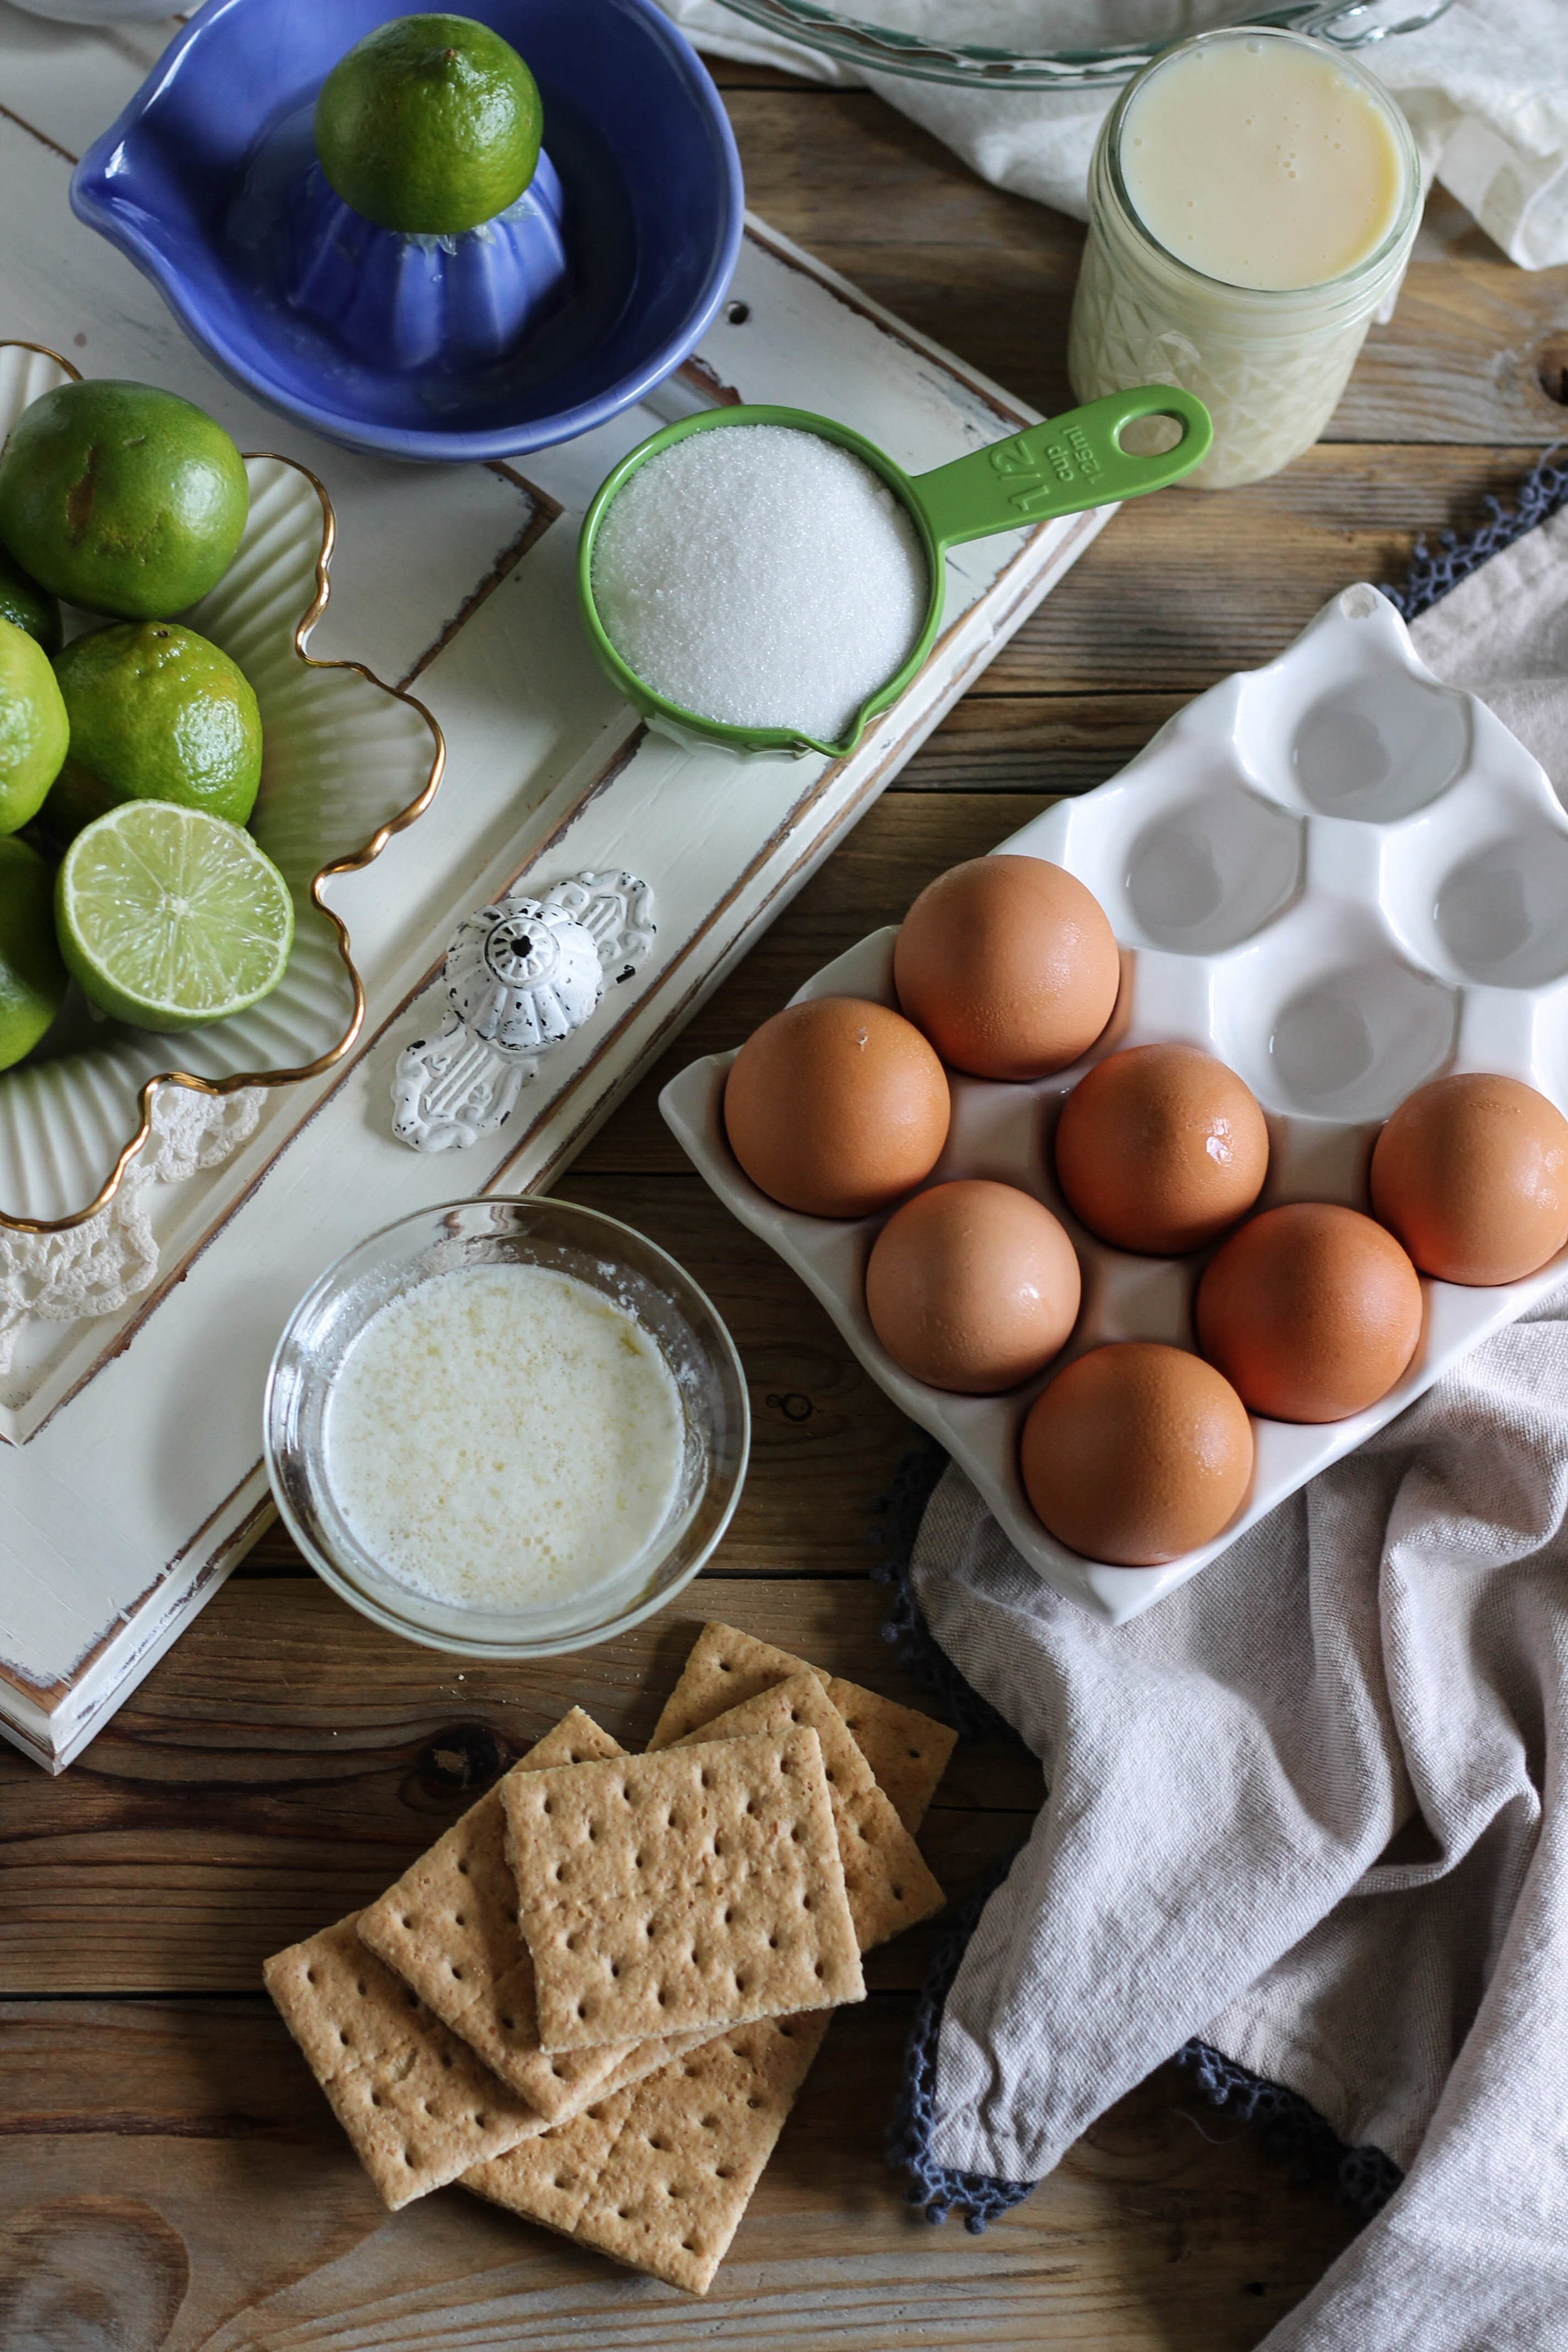
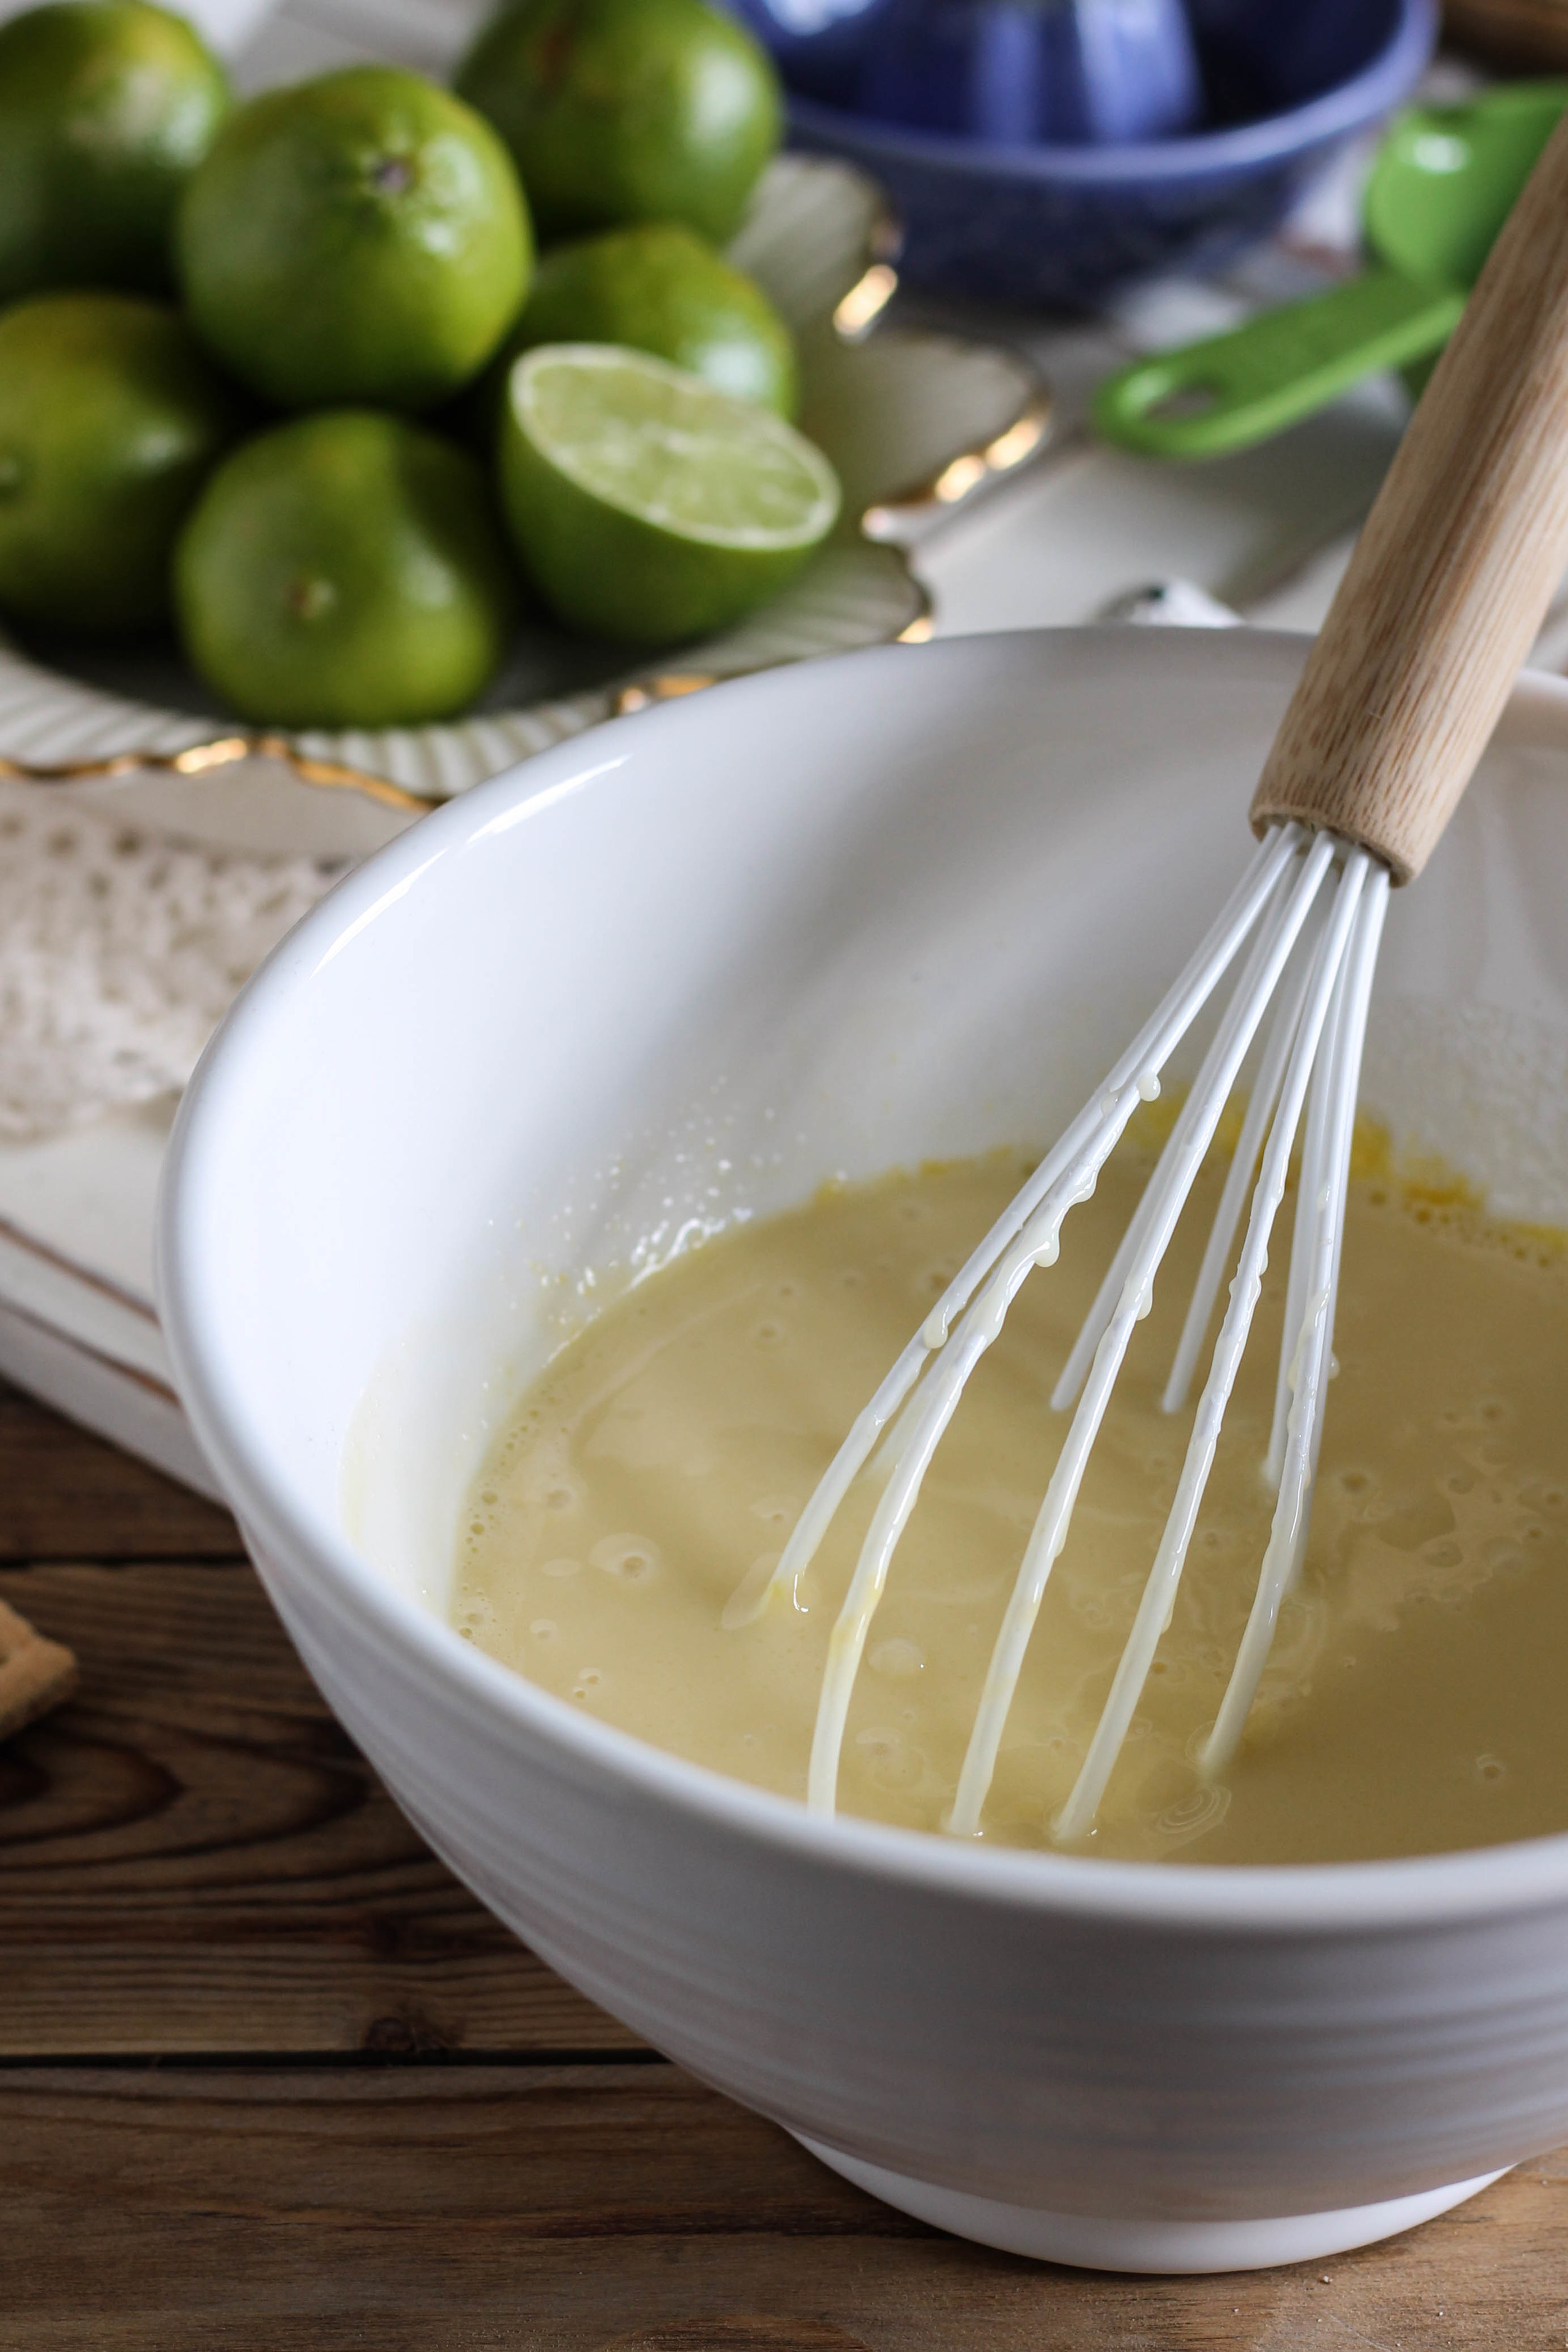
Egg yolks, sugar, lime juice, and sweetened condensed milk, that's all.  

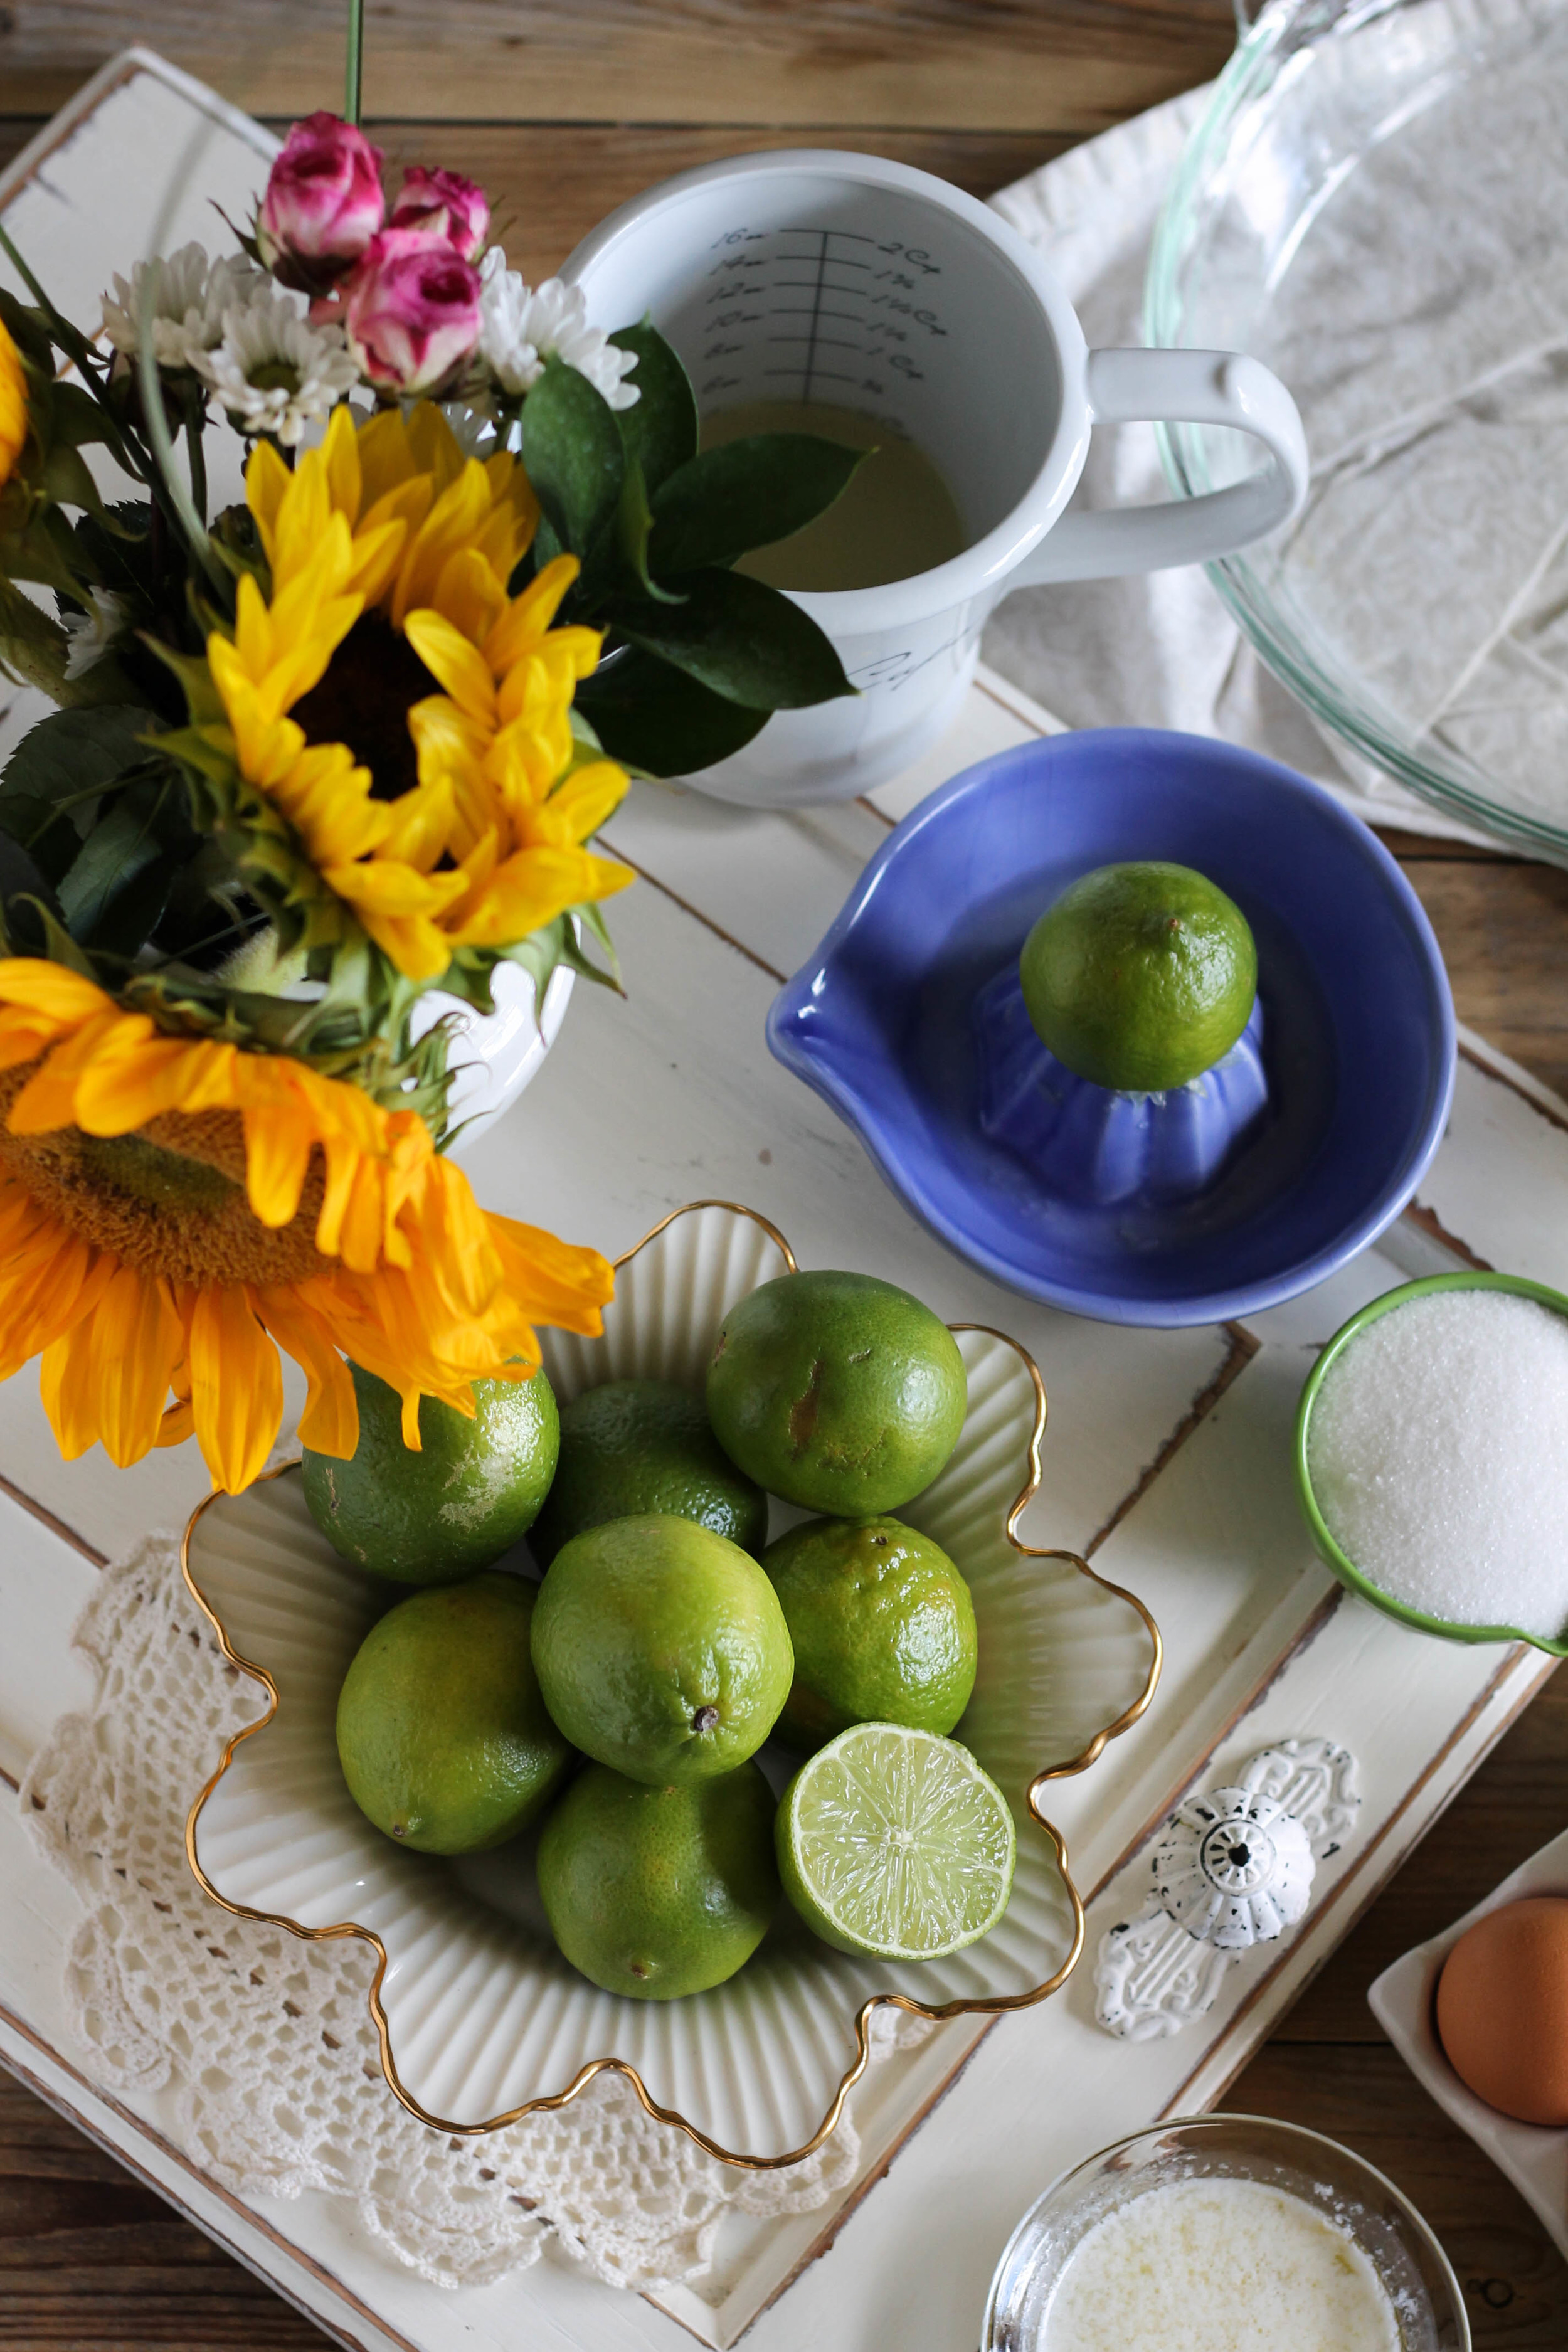
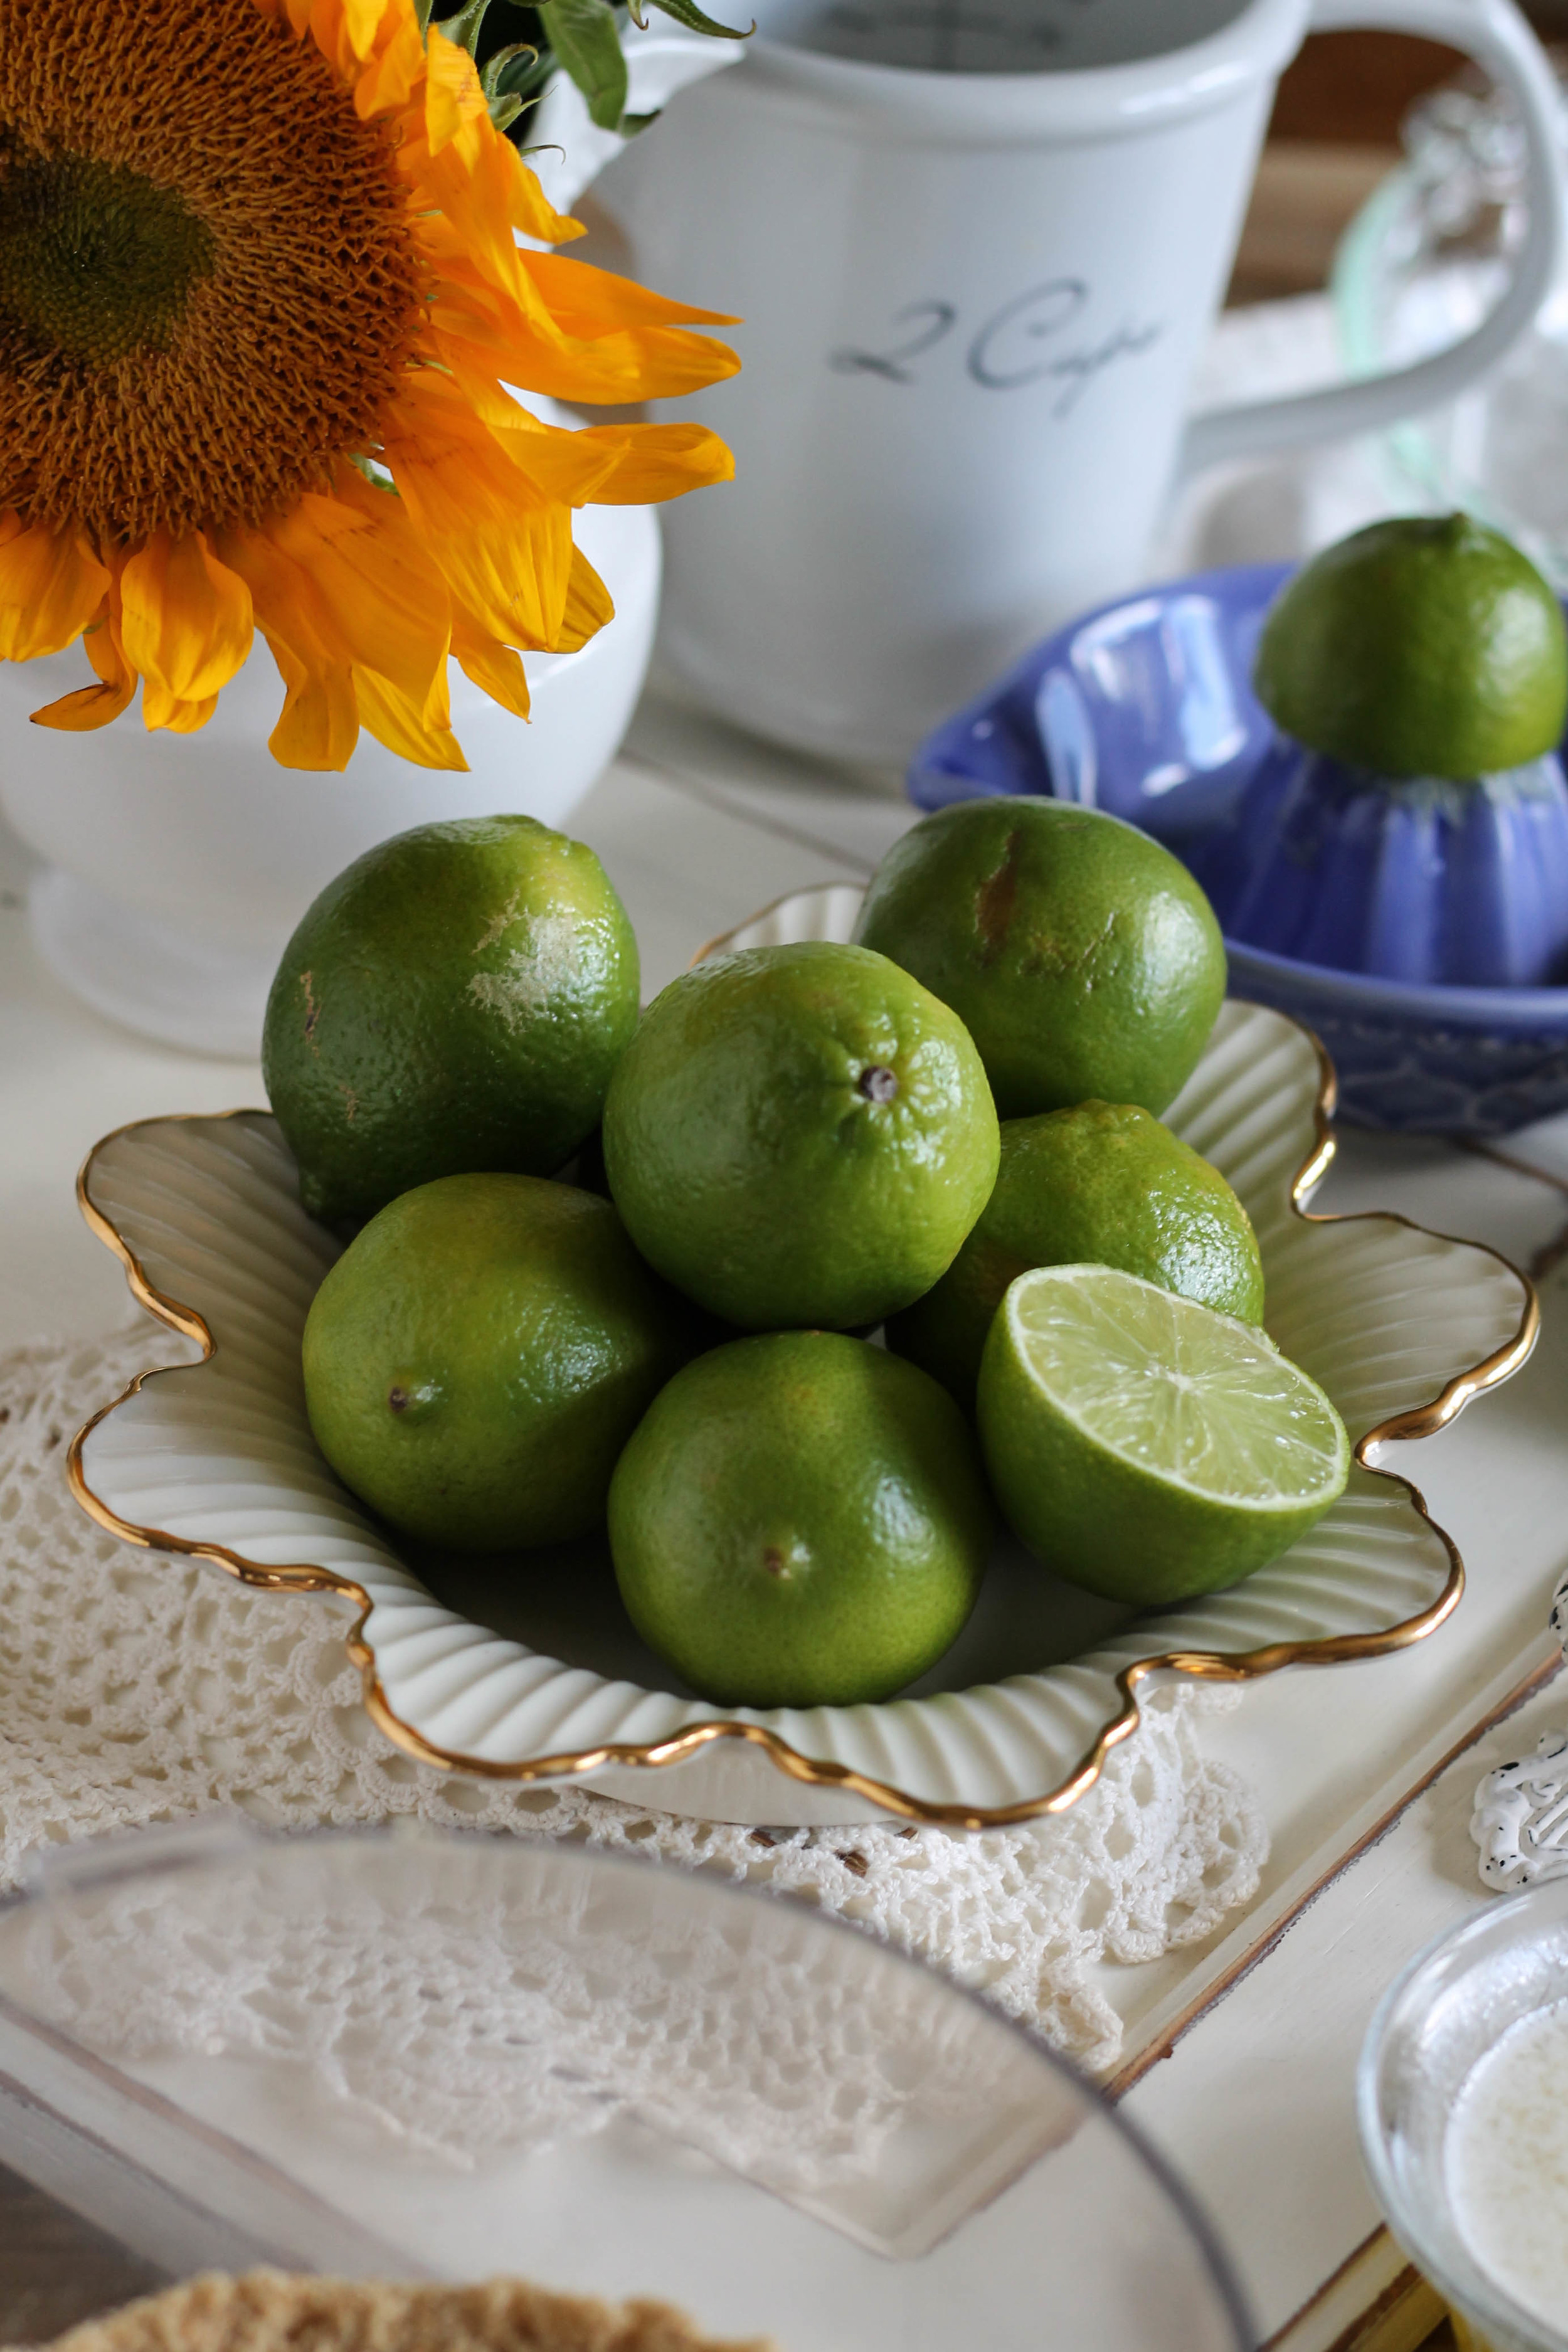
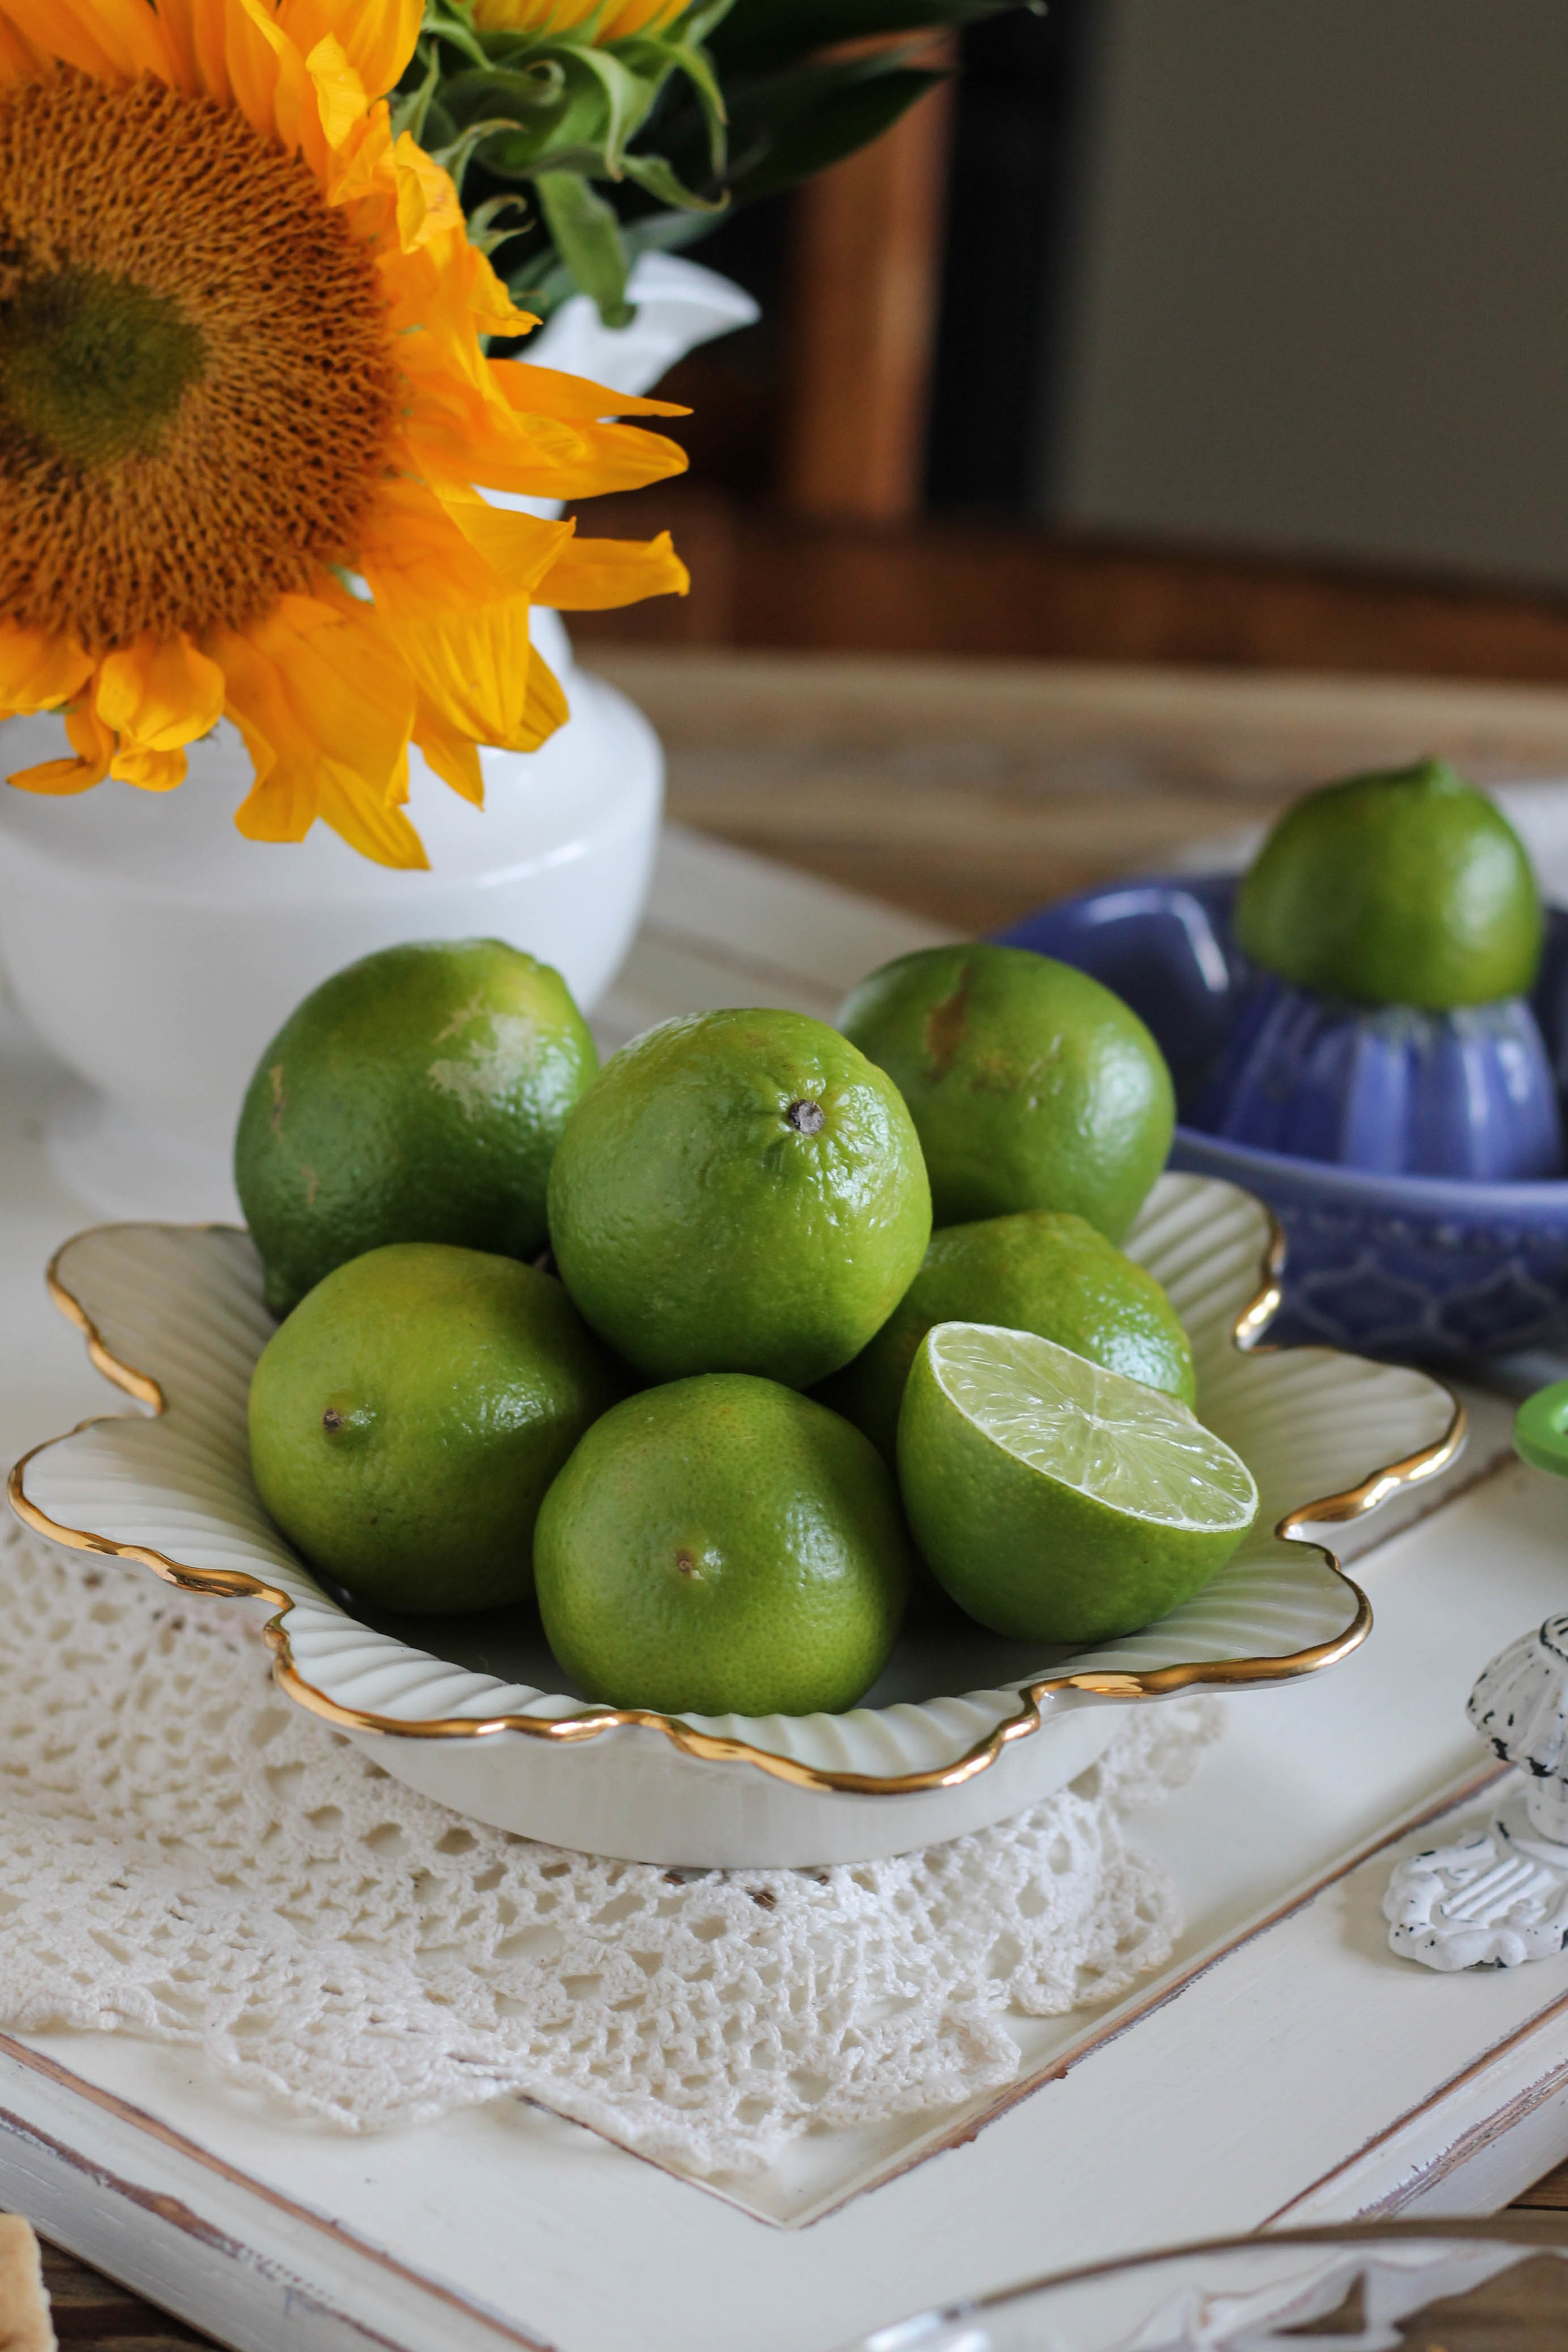
Can I tell you a secret?  Most of the time, I do not actually use key limes...  While I can sometimes find them in my area of the country, they are often dry and lacking in flavor, so I usually just opt for standard limes.  An even bigger secret?  Most of the time, I just buy the juice.  Already squeezed.  Don't hate me.  While I would never do such a thing with lemon juice, after thorough testing with fresh key limes, key lime juice, limes, and lime juice, I have found that it really just does not matter in this recipe.  The fresh, acidic flavors are preserved, and much effort eliminated. Just make sure you always buy 100% lime juice from a brand you trust, none of that concentrate stuff.   

My Favorite Key Lime Pie {Pedantic Foodie}

The filling will look really thin, probably too thin, but that is just perfect.  After a quick bake and some quality time in the refrigerator, it will be smooth and sliceable. 

My Favorite Key Lime Pie {Pedantic Foodie}

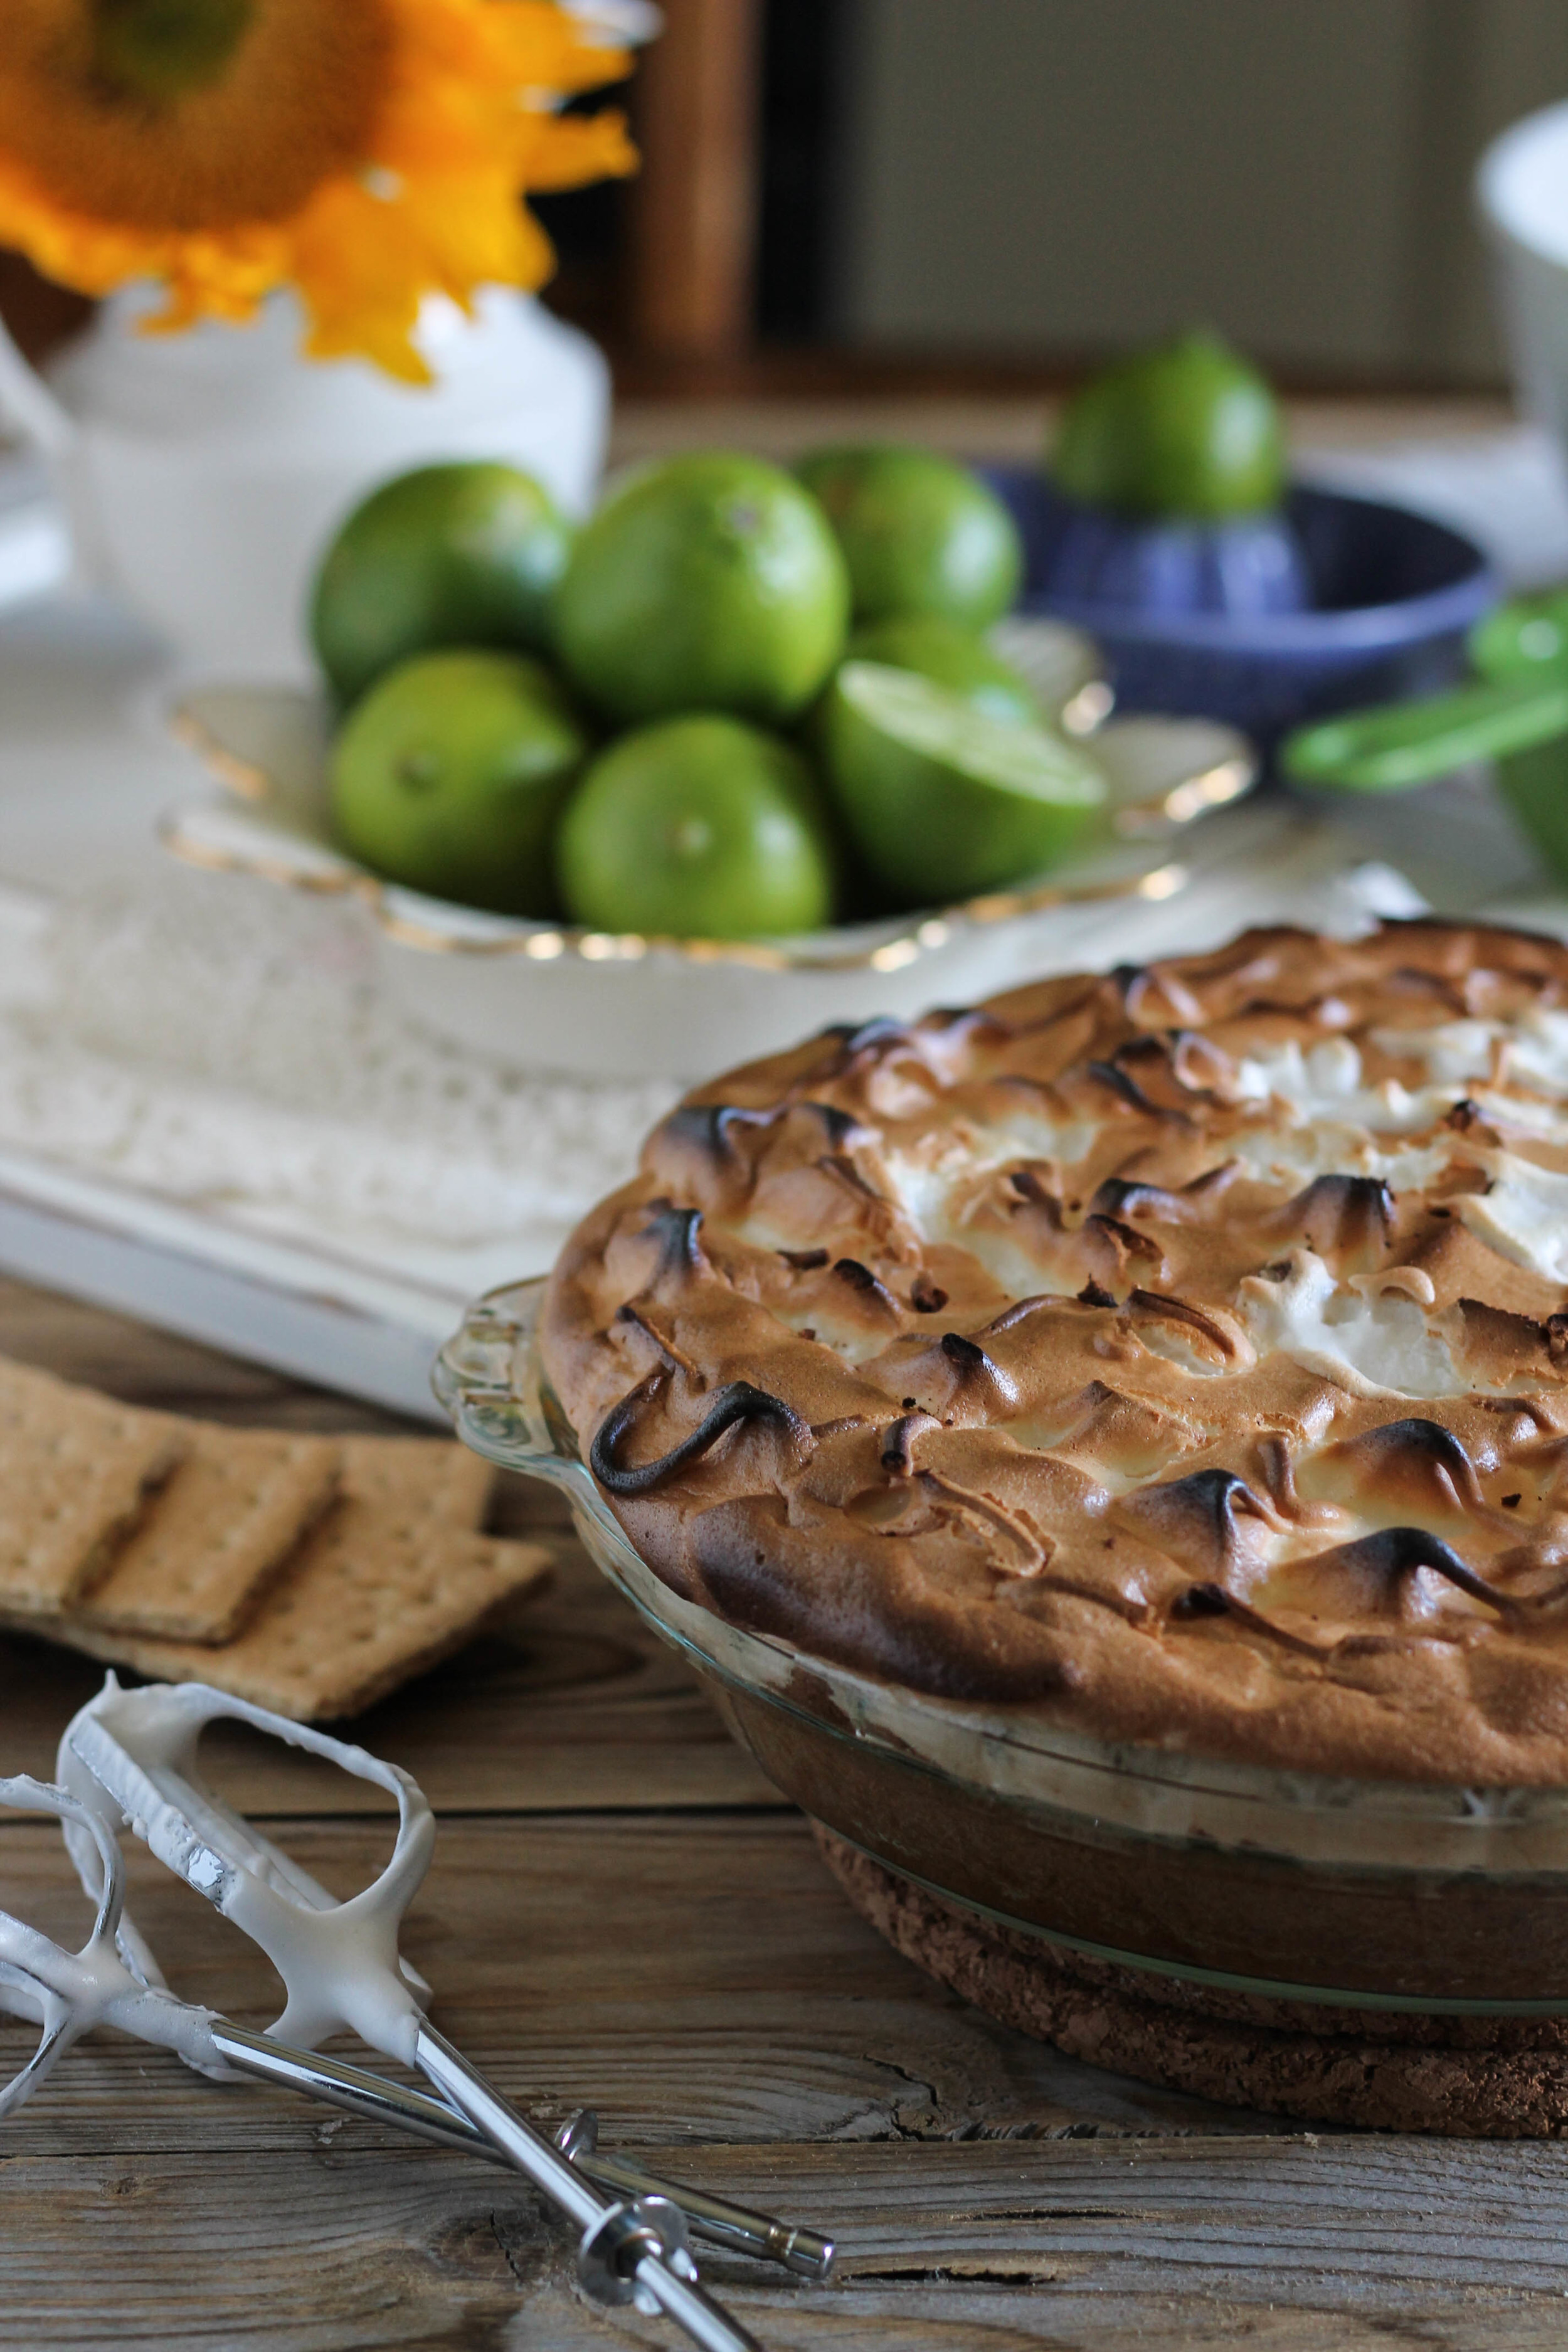
I hate throwing away leftover egg whites, so I love that this pie uses both parts!  While our egg yolk-based filling bakes, the whites are whipped into a sweet, billowy meringue. 

The meringue is baked just long enough to brown and then this pie has to sit in the refrigerator for a tortuously long amount of time.  Four to six hours is an eternity when you have pie on the brain. 

My Favorite Key Lime Pie {Pedantic Foodie}

Simplicity at its finest right there.  You gotta love the classics. 


My Favorite Key Lime Pie

recipe adapted from Baking at Home with the Culinary Institute of America / serves 8

for the crust

- 10 whole graham crackers 

- 6 tablespoons unsalted butter, melted

- 1 tablespoon granulated sugar

Preheat oven to 350 degrees. 

Place crackers in the work bowl of your food processor and pulse until you have only fine crumbs. 

Add in butter and sugar and pulse several times - until the mixture begins to pull away from the sides of the bowl.

Press the graham cracker mixture firmly into a 9-inch pie pan and bake for 8 minutes.  Allow the crust to cool while you prepare the filling. 

for the filling

- 4 large eggs, separated 

- 14 ounces sweetened condensed milk 

- 1/2 cup fresh key lime or lime juice 

- 1 cup granulated sugar, divided 

- 1/4 teaspoon cream of tartar 

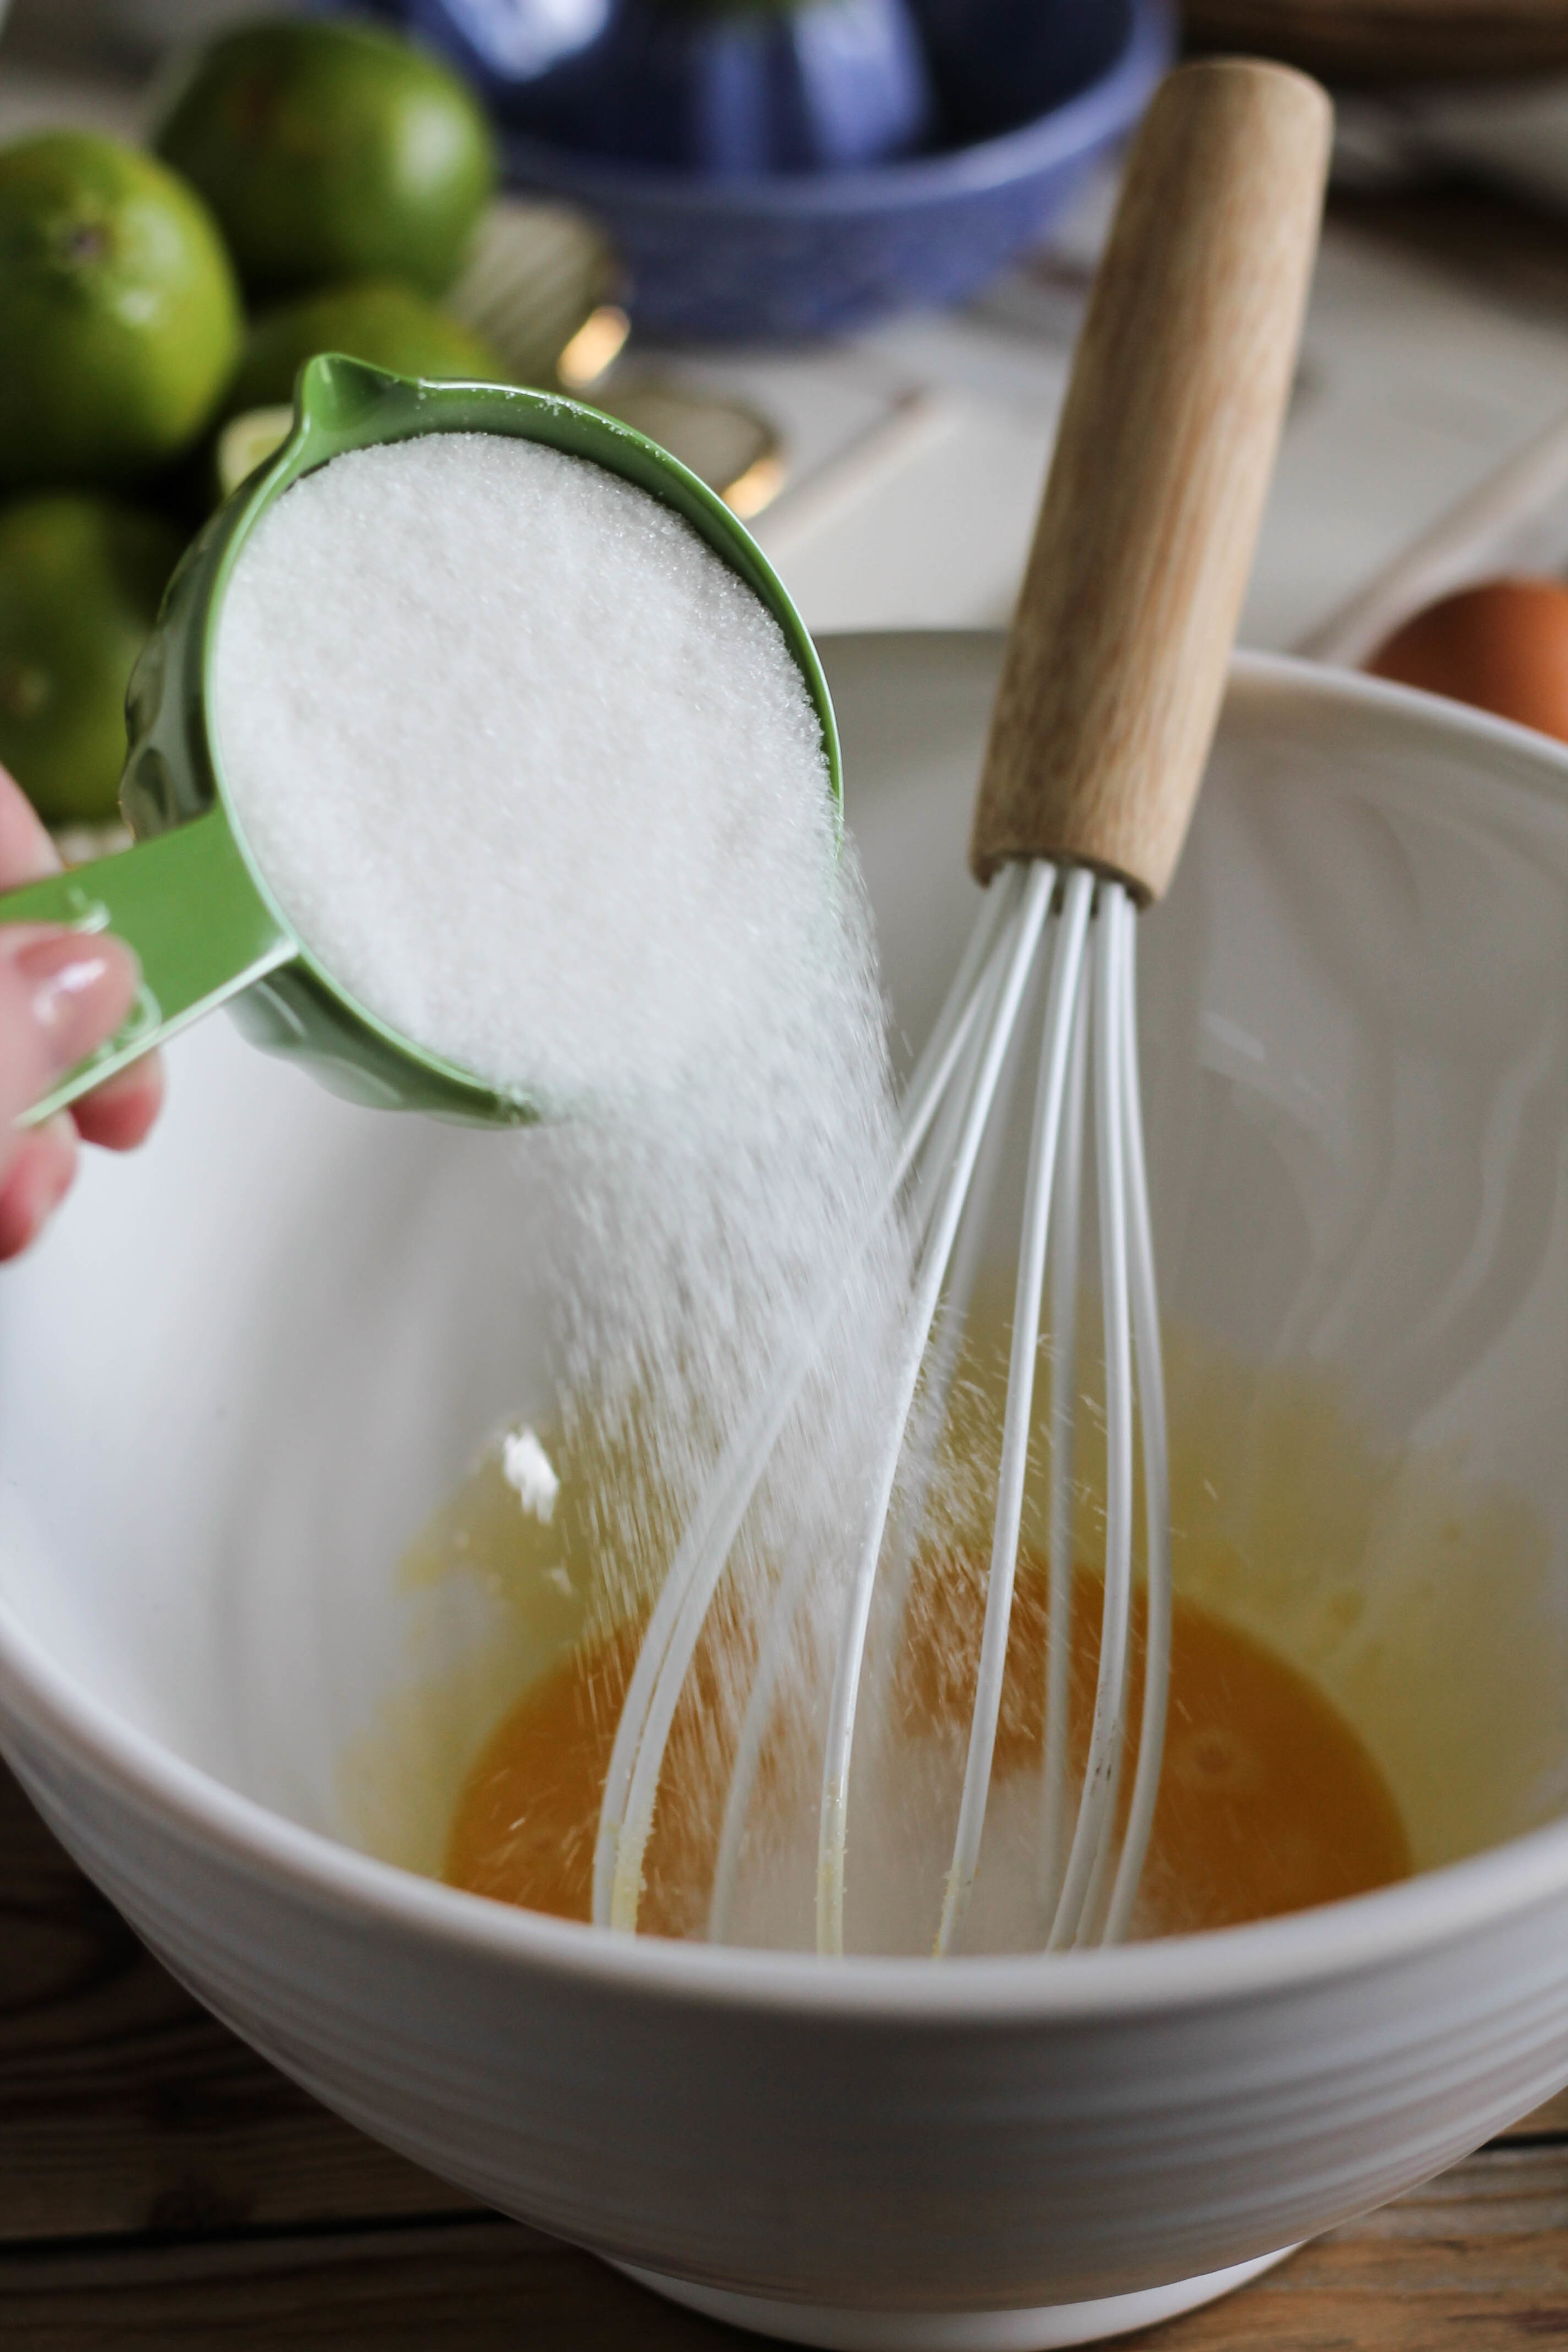
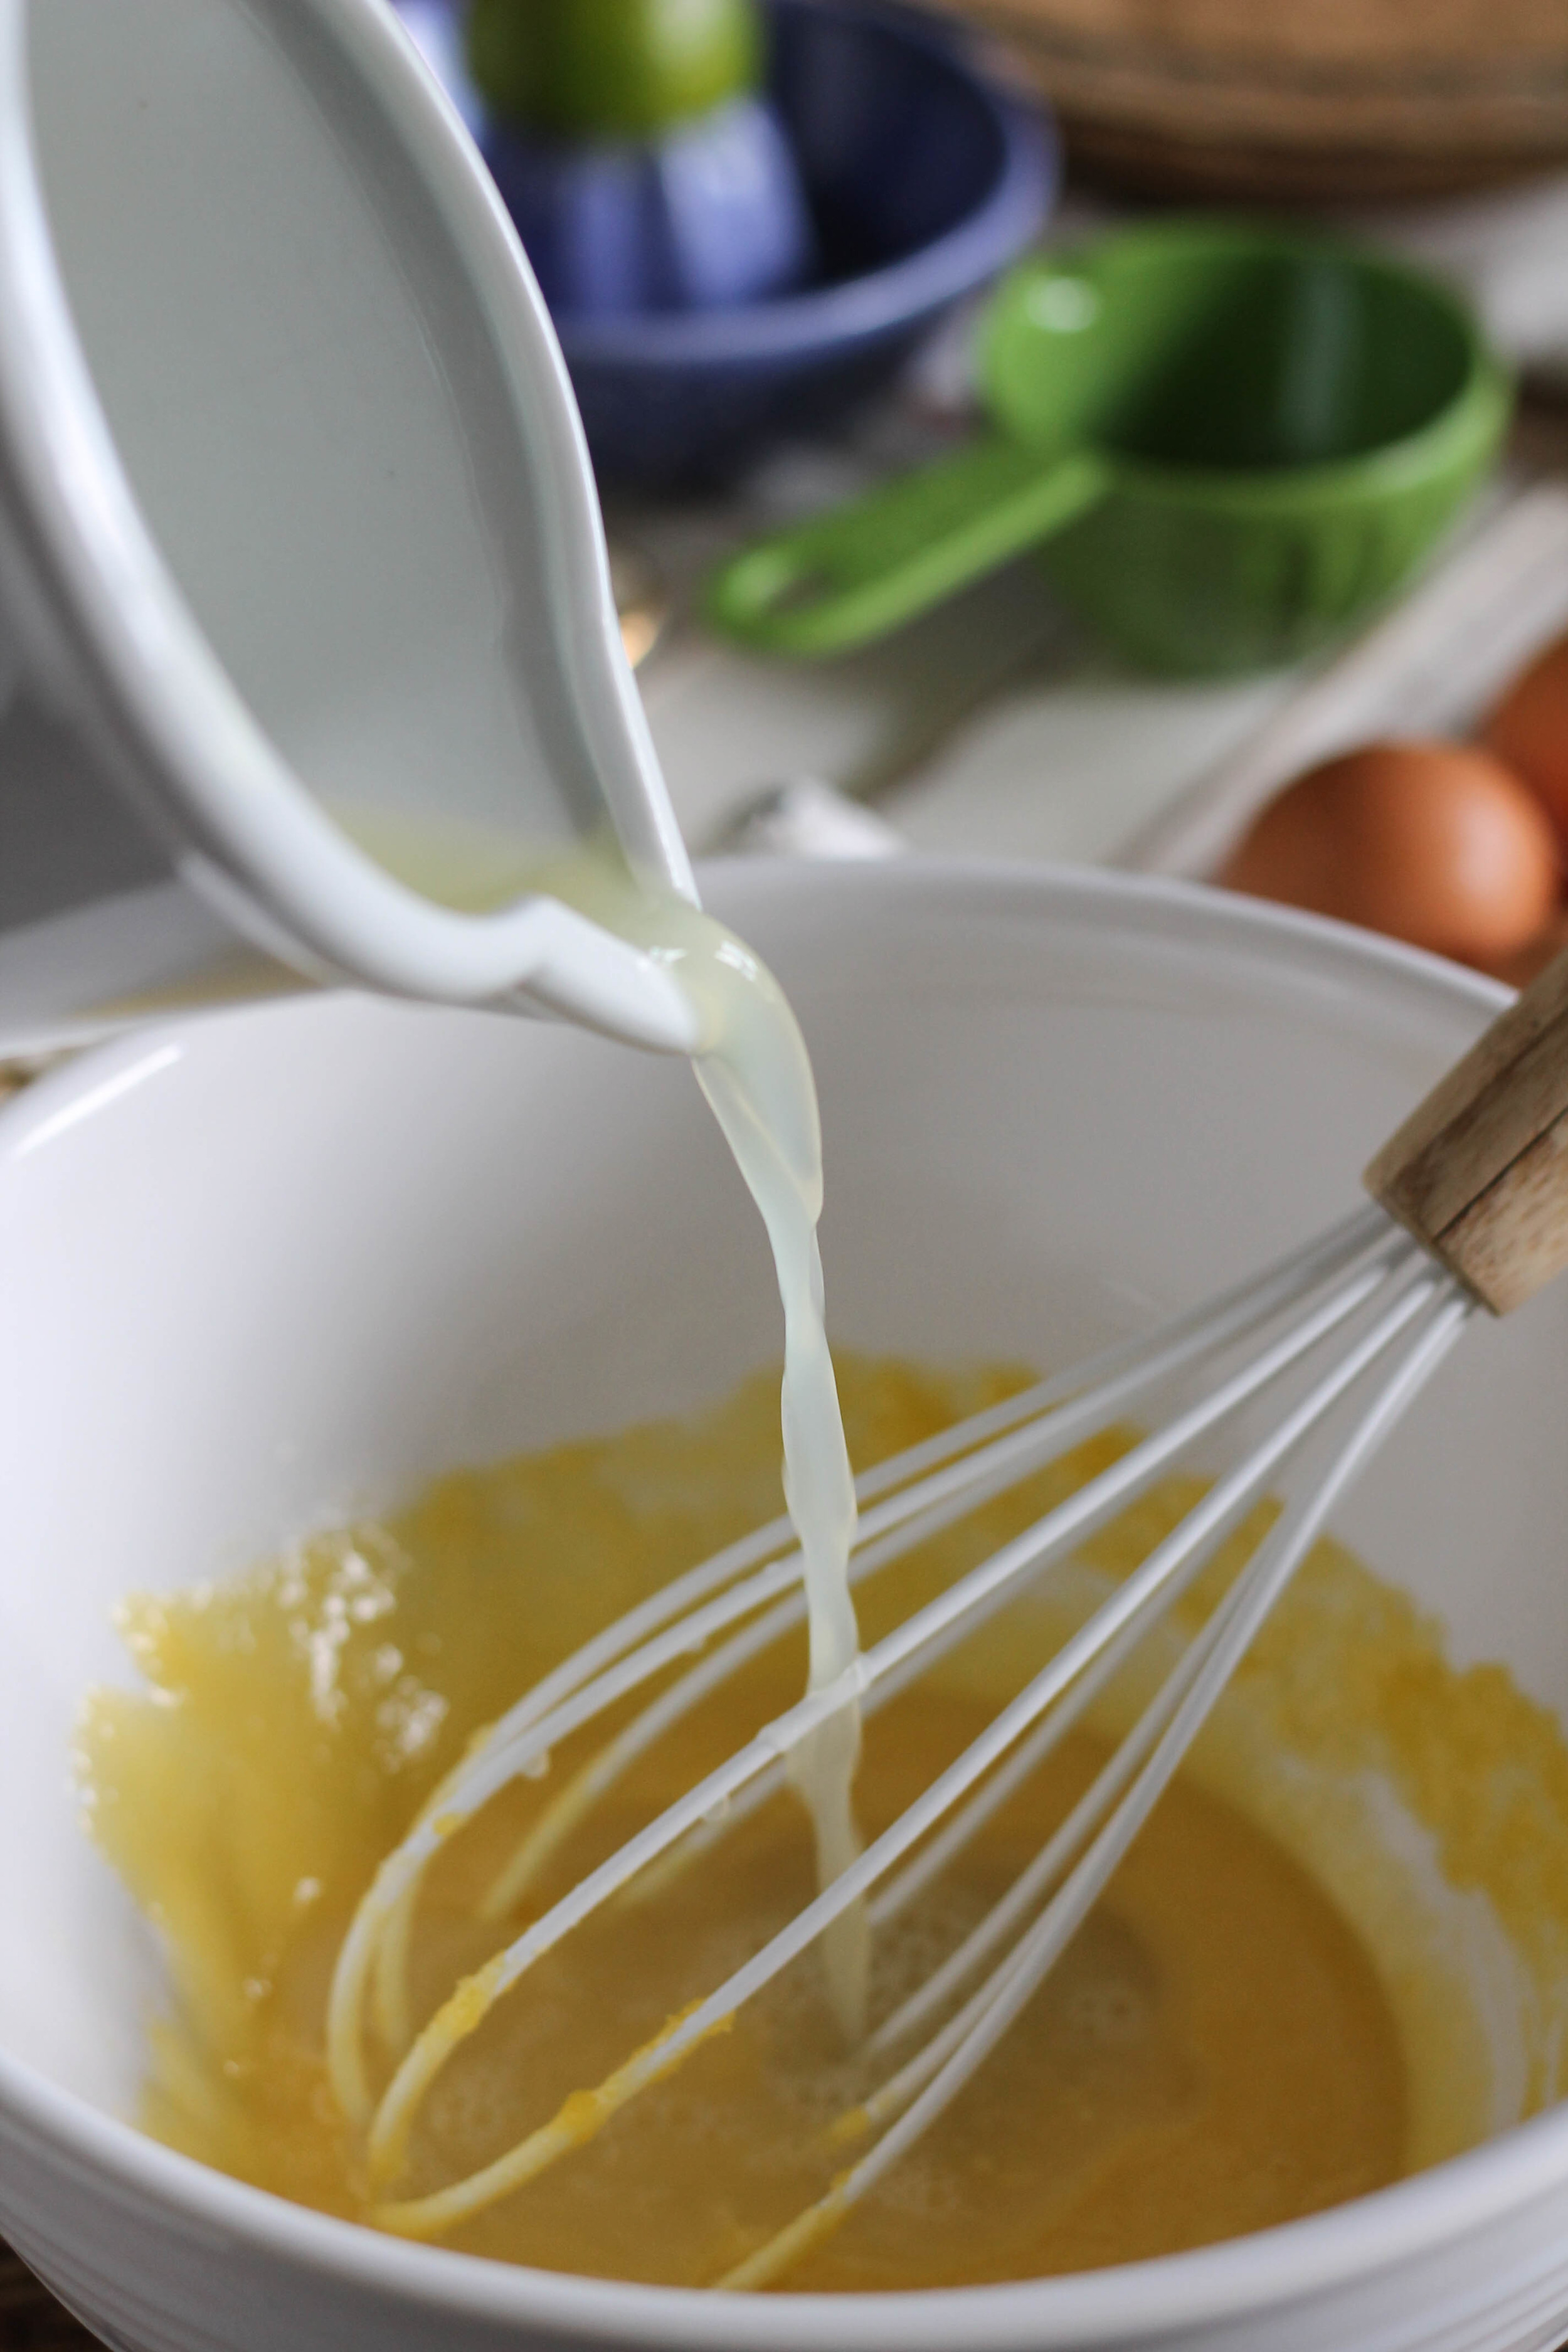
Combine egg yolks and 1/2 cup sugar in a large mixing bowl.  Beat with a whisk until the yolks have just begun to lighten in color, then add lime juice and sweetened condensed milk.  Whisk until smooth. 

Pour the filling into the prepared pie crust and bake for 15 minutes, until the filling has just set.  Prepare the meringue while the filling is baking.

In a large, clean bowl, combine egg whites and cream of tartar.  Beat on high speed with an electric mixture.  When the whites have become thick and shiny white, slowly sprinkle in the remaining 1/2 cup of sugar while continuing to beat, until the mixture forms stiff peaks.  

Remove the baked pie from the oven and increase the oven temperature to 450 degrees. 

Fold the meringue onto the top of the baked pie filling while it is still hot.  Spread the meringue evenly, being conscious to cover the very edges of the pie crust.  This will help keep the meringue from shrinking.  Use a fork or butterknife to make decorative peaks and swirls on the surface.  

Return the pie to the oven to brown the meringue.  This should take about 5 minutes. 

When the meringue is deep golden brown, remove the pie from the oven and refrigerate until fully cooled; about 4 hours before slicing and serving.  Enjoy!