Kale, Barley & Roasted Beet Salad with Poppy Seed Dressing

Hey! Hey! Hey!!!

How are you doing?

Kale, Barley & Roasted Beet Salad with Poppy Seed Dressing {Pedantic Foodie}

I find myself constantly alternating between dreamy, instagram-worthy living where I have a cup of tea and homemade short biscuits at 3pm each day and trot around windy cities with my husband on weekends, and not being able to remember how long ago I washed my current bath towel and scrambling around at 4:45am to try to find Mr.  Pedantic a pair of black socks for work. I'm not sure how all three hundred pairs always manage to be dirty. 

Kale, Barley & Roasted Beet Salad with Poppy Seed Dressing {Pedantic Foodie}

This salad right here is for the organized days.  The days where we are purposeful about fueling these bodies of ours. 

This is my adaptation of an amazing salad I had when I visited Chattanooga a year and a half ago.  Up until that point, I would have told you that I did not eat beets.  

Kale, Barley & Roasted Beet Salad with Poppy Seed Dressing {Pedantic Foodie}

Then, I ordered a salad in some very hipster, exposed beams + crystal chandelier kind-of coffee shop and fell in love with the sweet, jewel-like cubes that lay atop my greens.  That salad taught me that roasted beets are nothing like the horrible canned slices of my childhood.   

This salad also makes me really like kale, which is sometimes a challenge.  I had a kale chip experience once.  I don't want to talk about it...

Kale, Barley & Roasted Beet Salad with Poppy Seed Dressing {Pedantic Foodie}

So let's make it!

Kale, Barley & Roasted Beet Salad with Poppy Seed Dressing {Pedantic Foodie}

Wash your greens, scrub your beets, and preheat your ovens. 

Kale, Barley & Roasted Beet Salad with Poppy Seed Dressing {Pedantic Foodie}

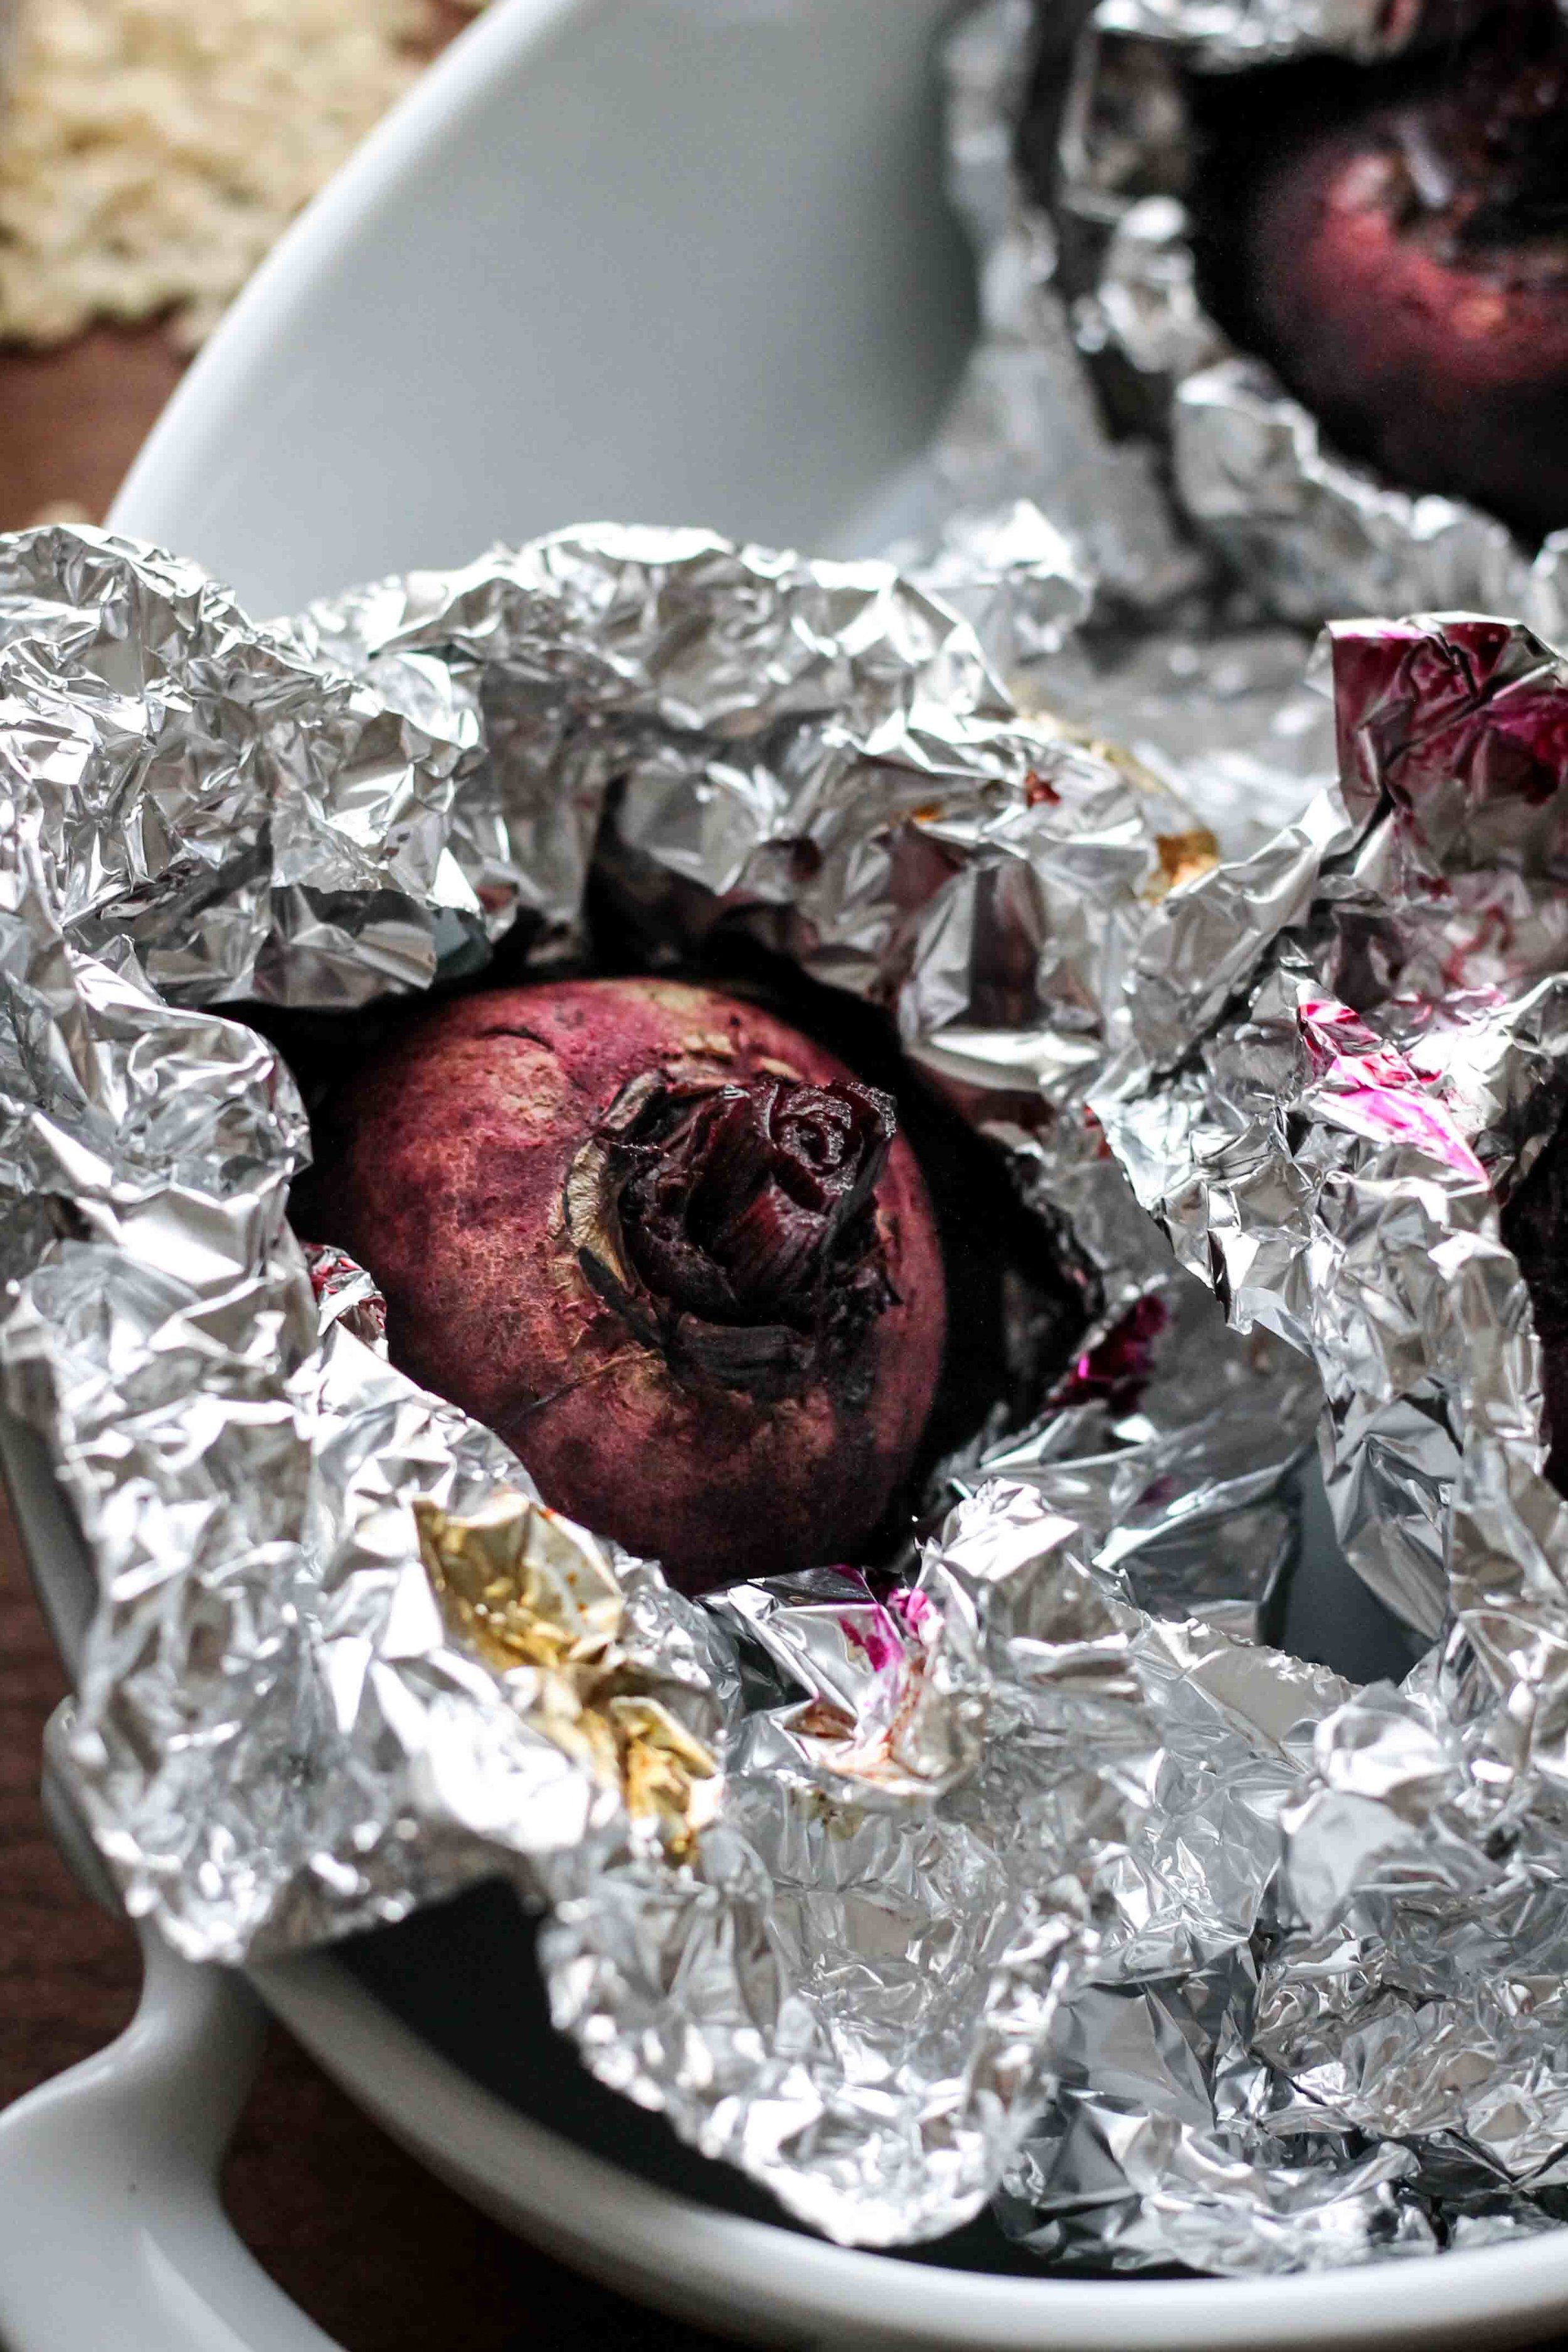
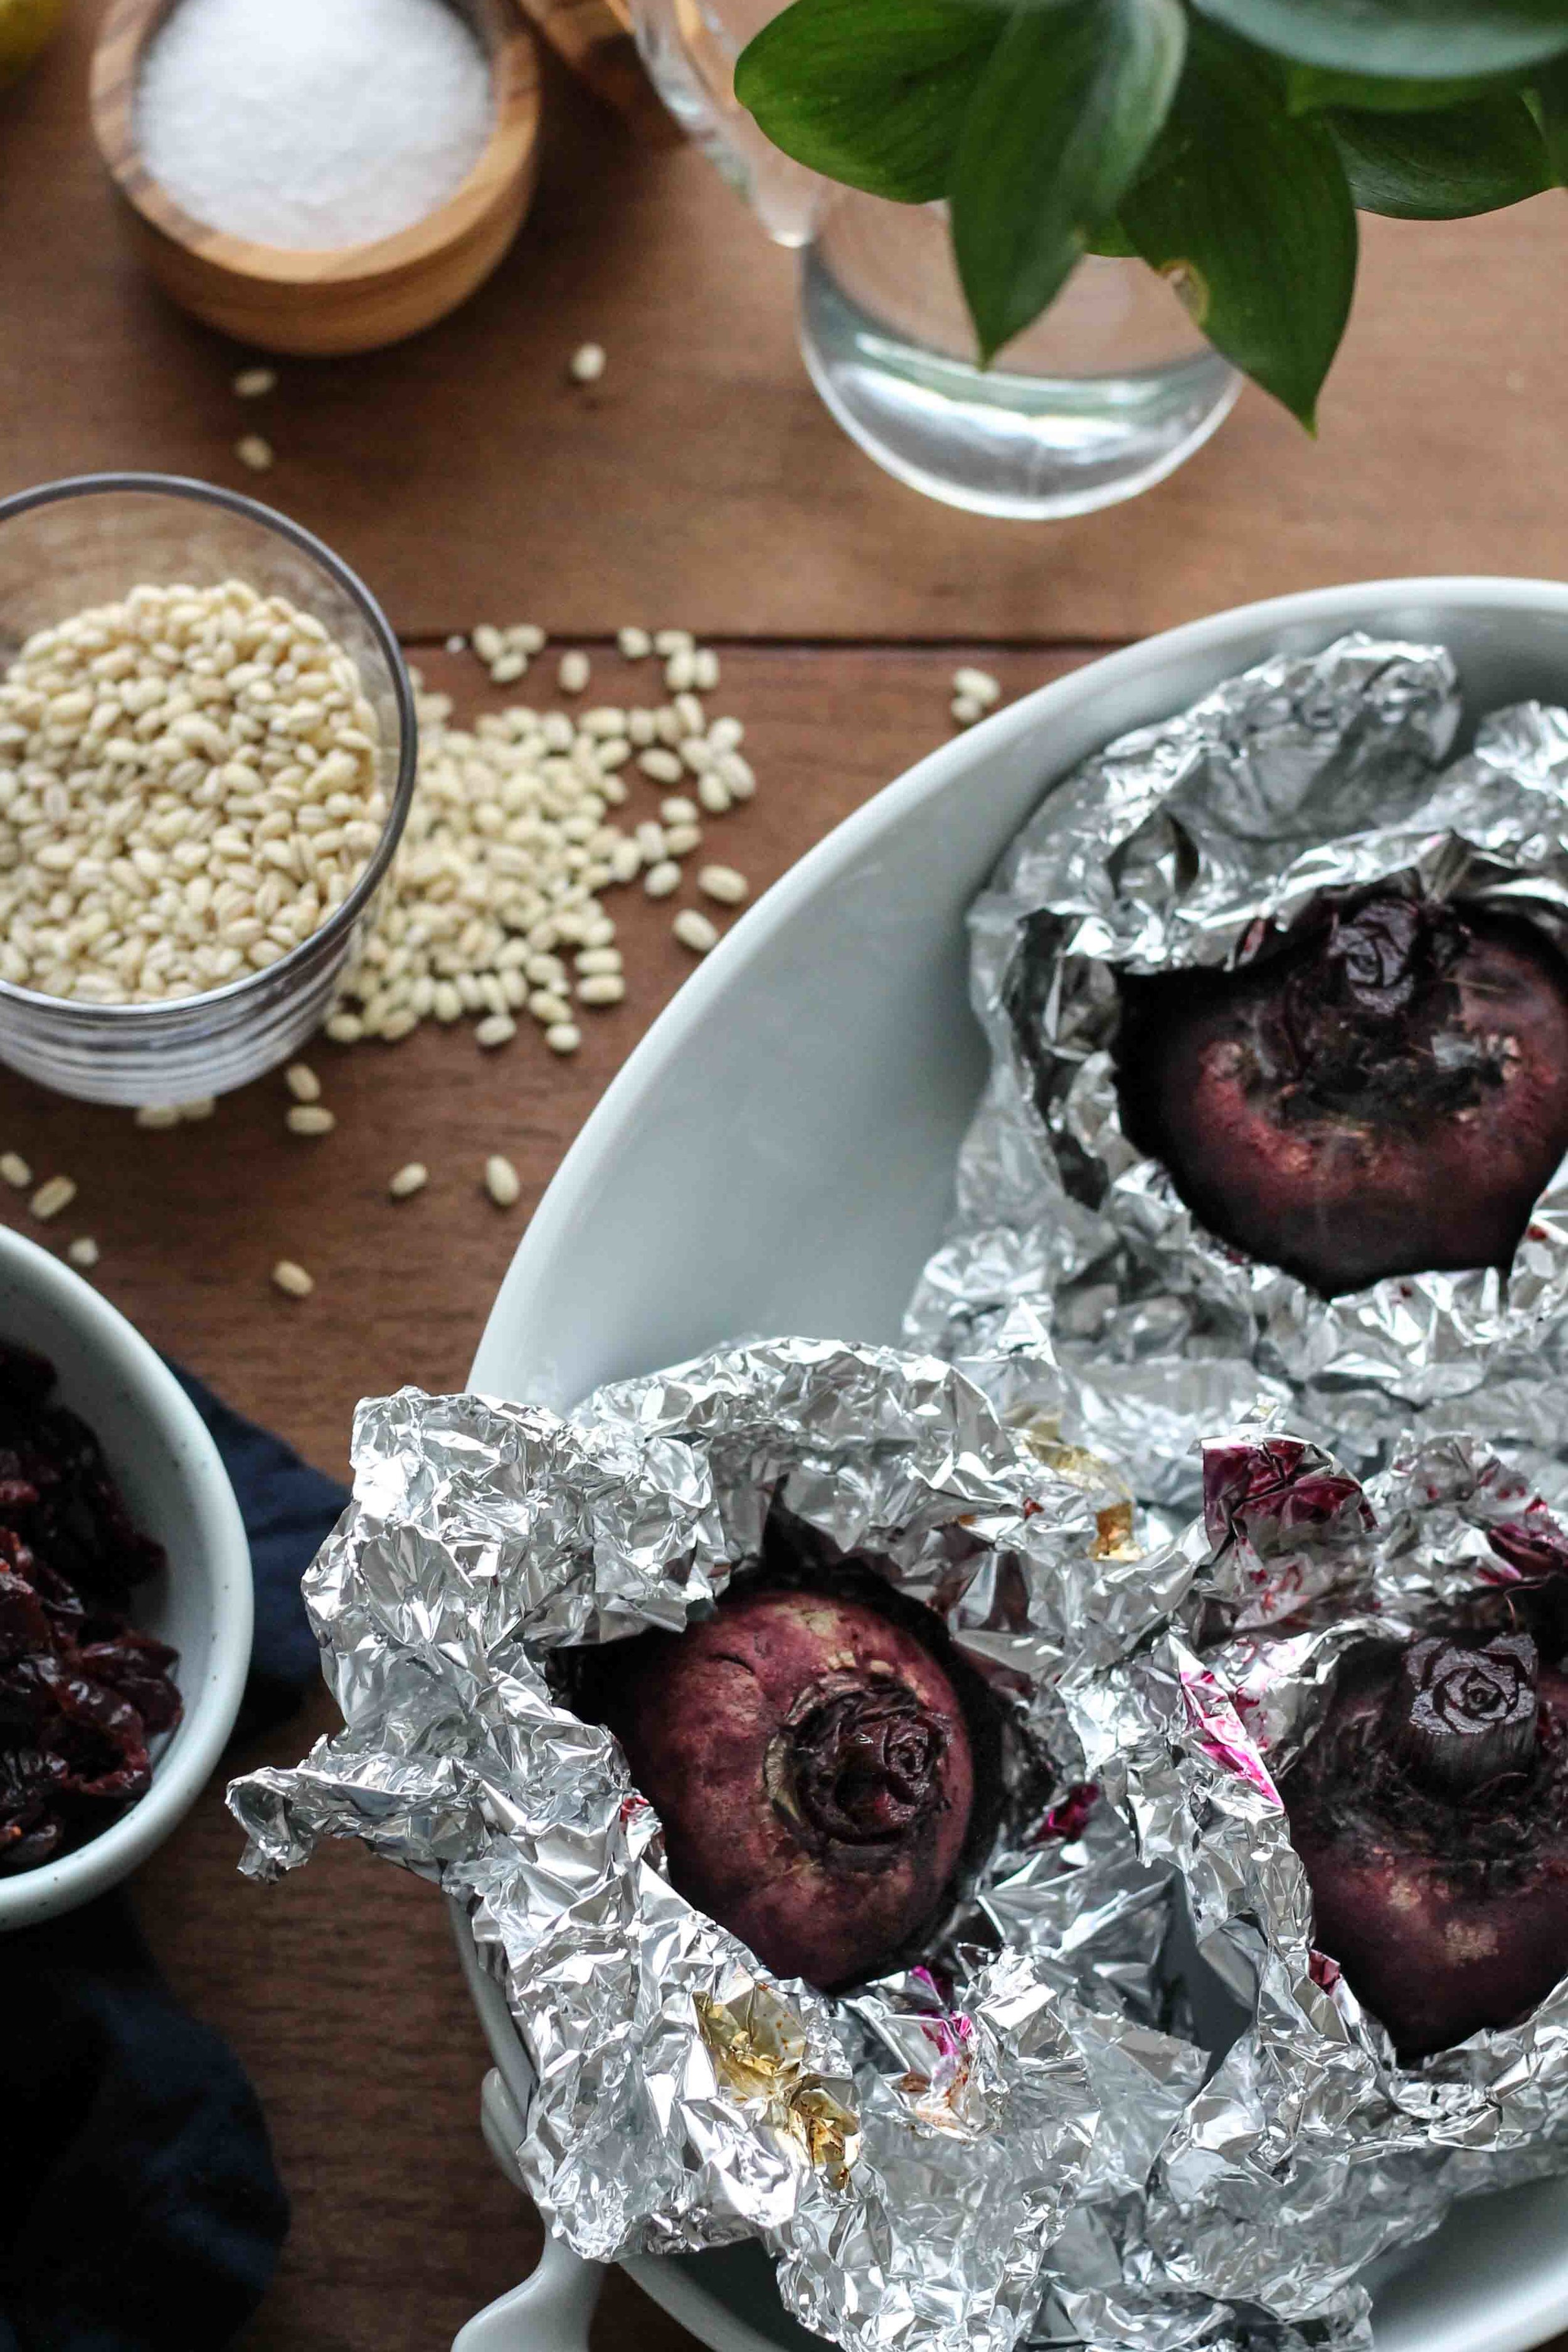
Beets are wrapped up in aluminum foil, along with a bit of olive oil, and roasted until soft and sweet. Then we get to peel off those skins, which is also known as, "time to dye our fingers fuchsia." 

Kale, Barley & Roasted Beet Salad with Poppy Seed Dressing {Pedantic Foodie}

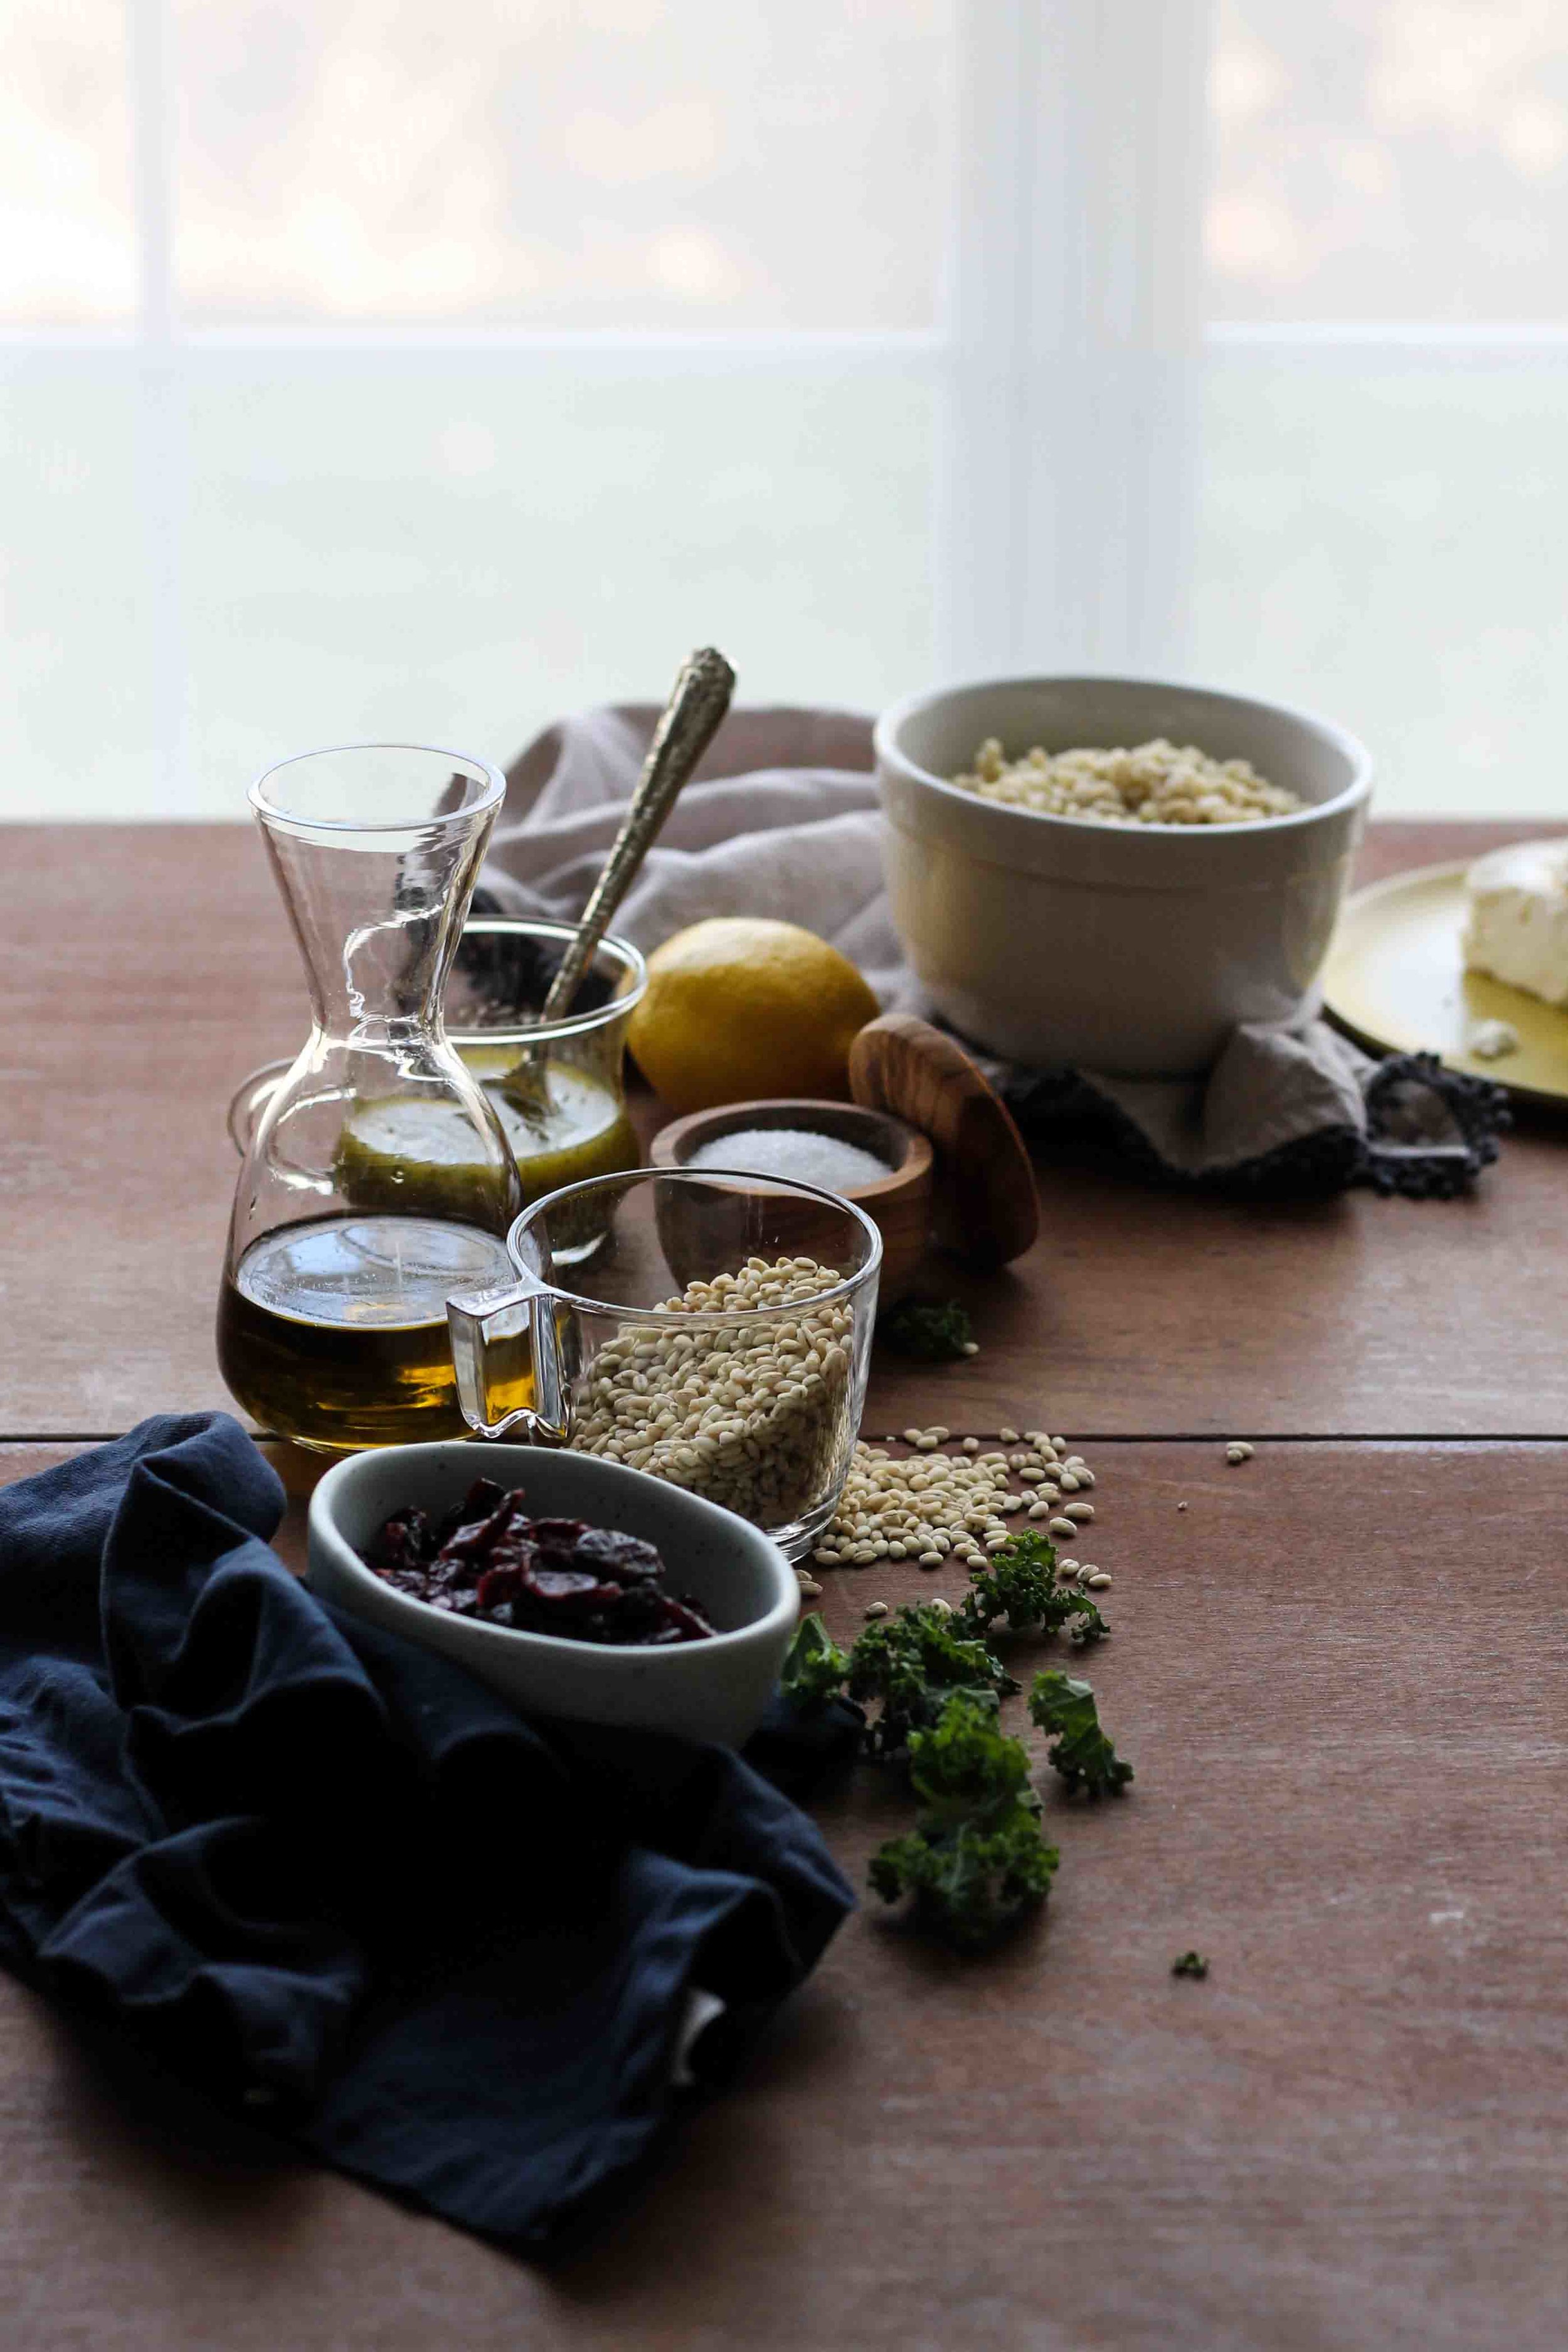
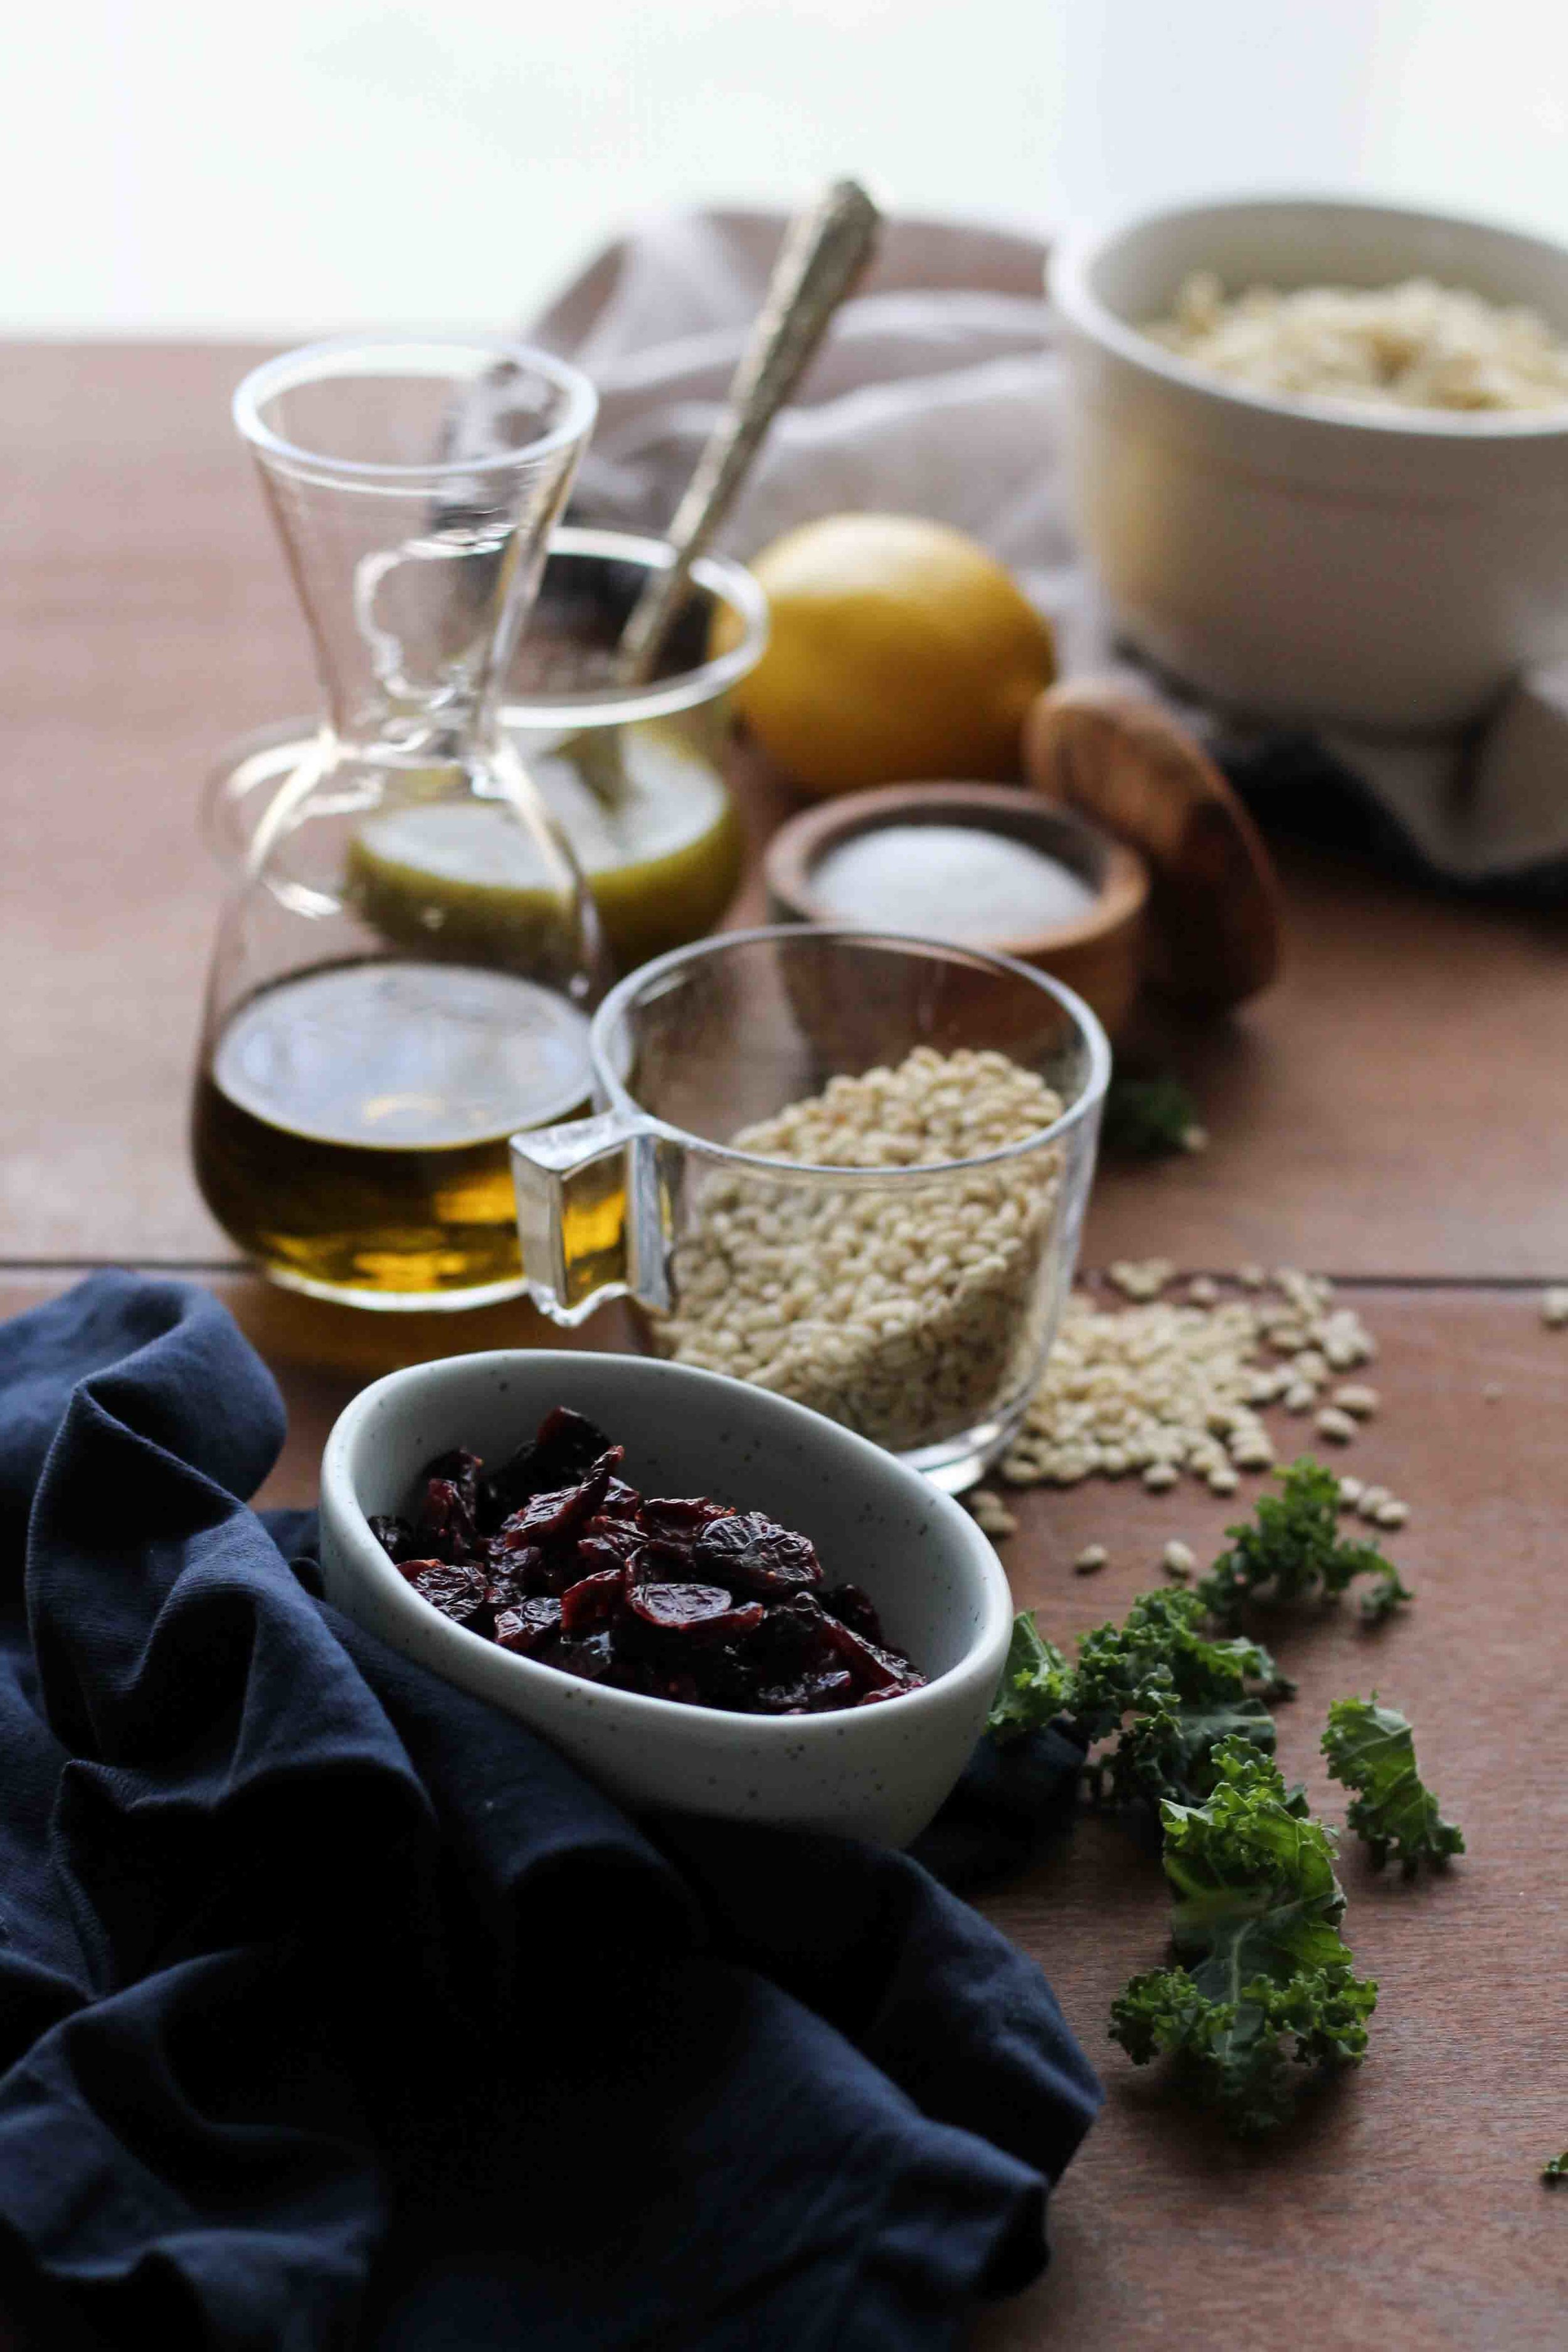
I love the addition of barley in this salad because it makes my brain think I'm eating pasta and adds a very welcome chewy texture. 

Kale, Barley & Roasted Beet Salad with Poppy Seed Dressing {Pedantic Foodie}

Kale is chopped fine and gets cozy with our still-warm barley and a sweet honey and poppy seed dressing.  

Kale, Barley & Roasted Beet Salad with Poppy Seed Dressing {Pedantic Foodie}

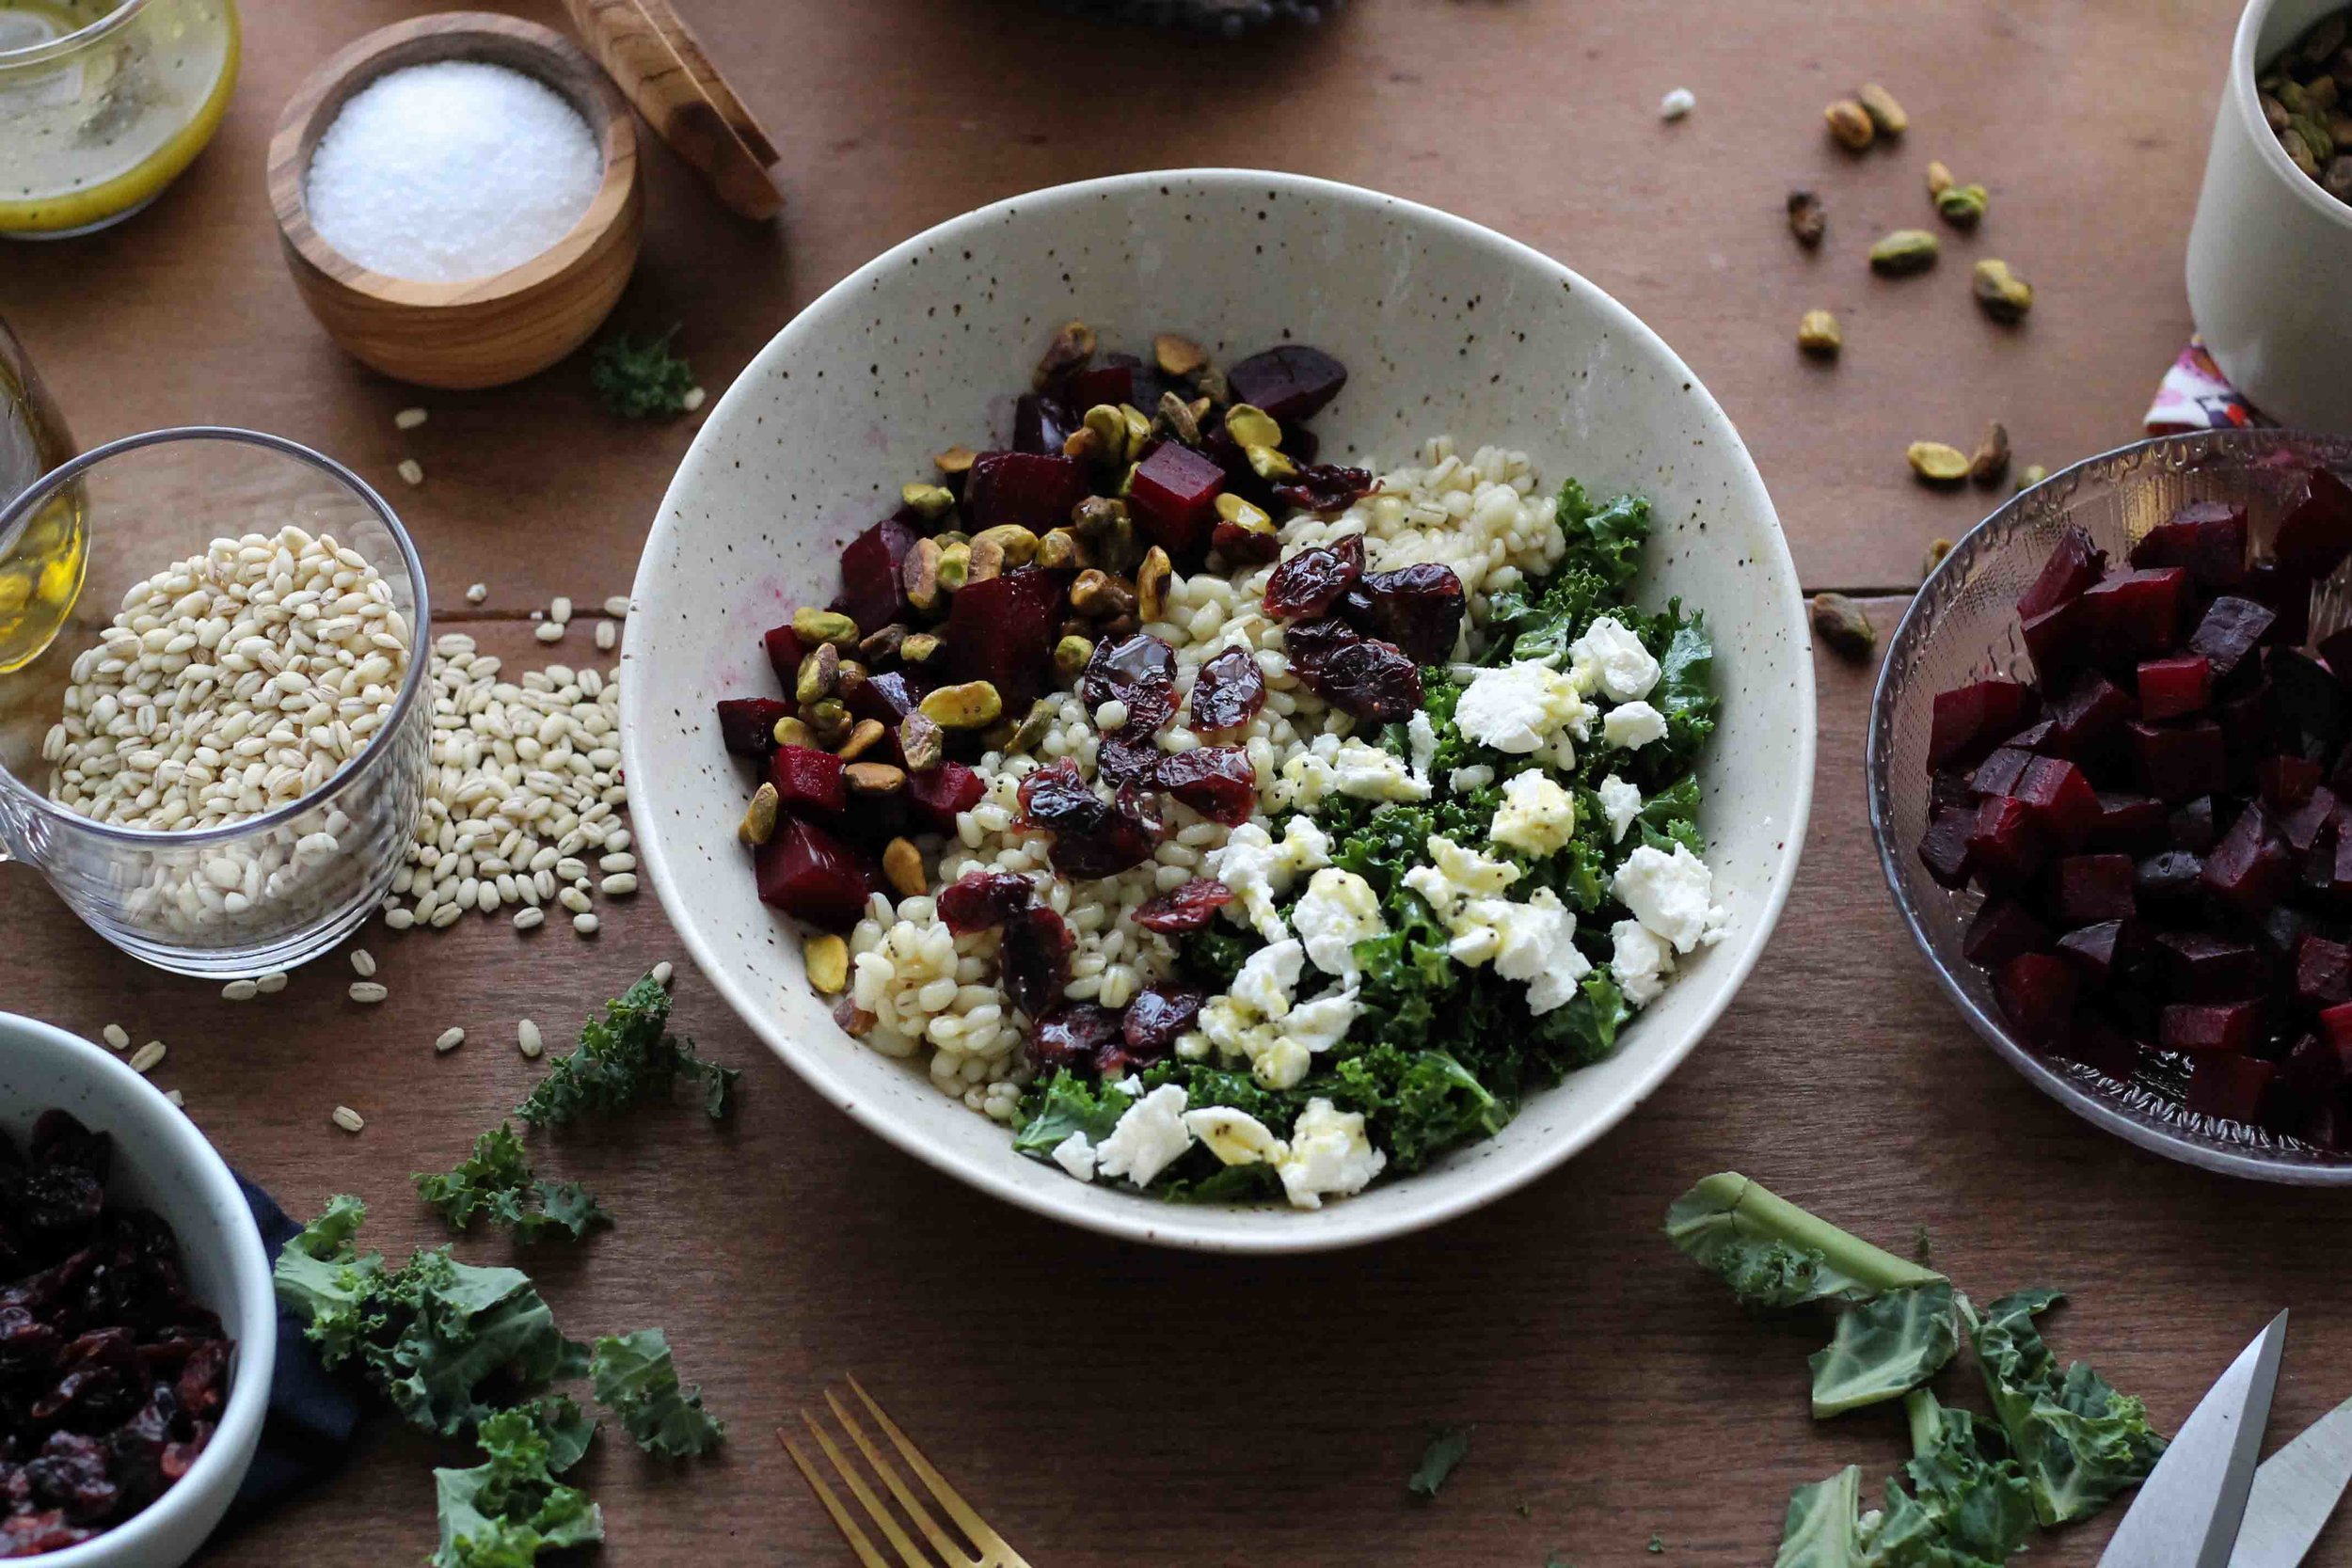
The colors here are making me really happy. 

Kale, Barley & Roasted Beet Salad with Poppy Seed Dressing {Pedantic Foodie}

Now, for the toppings. 

Kale, Barley & Roasted Beet Salad with Poppy Seed Dressing {Pedantic Foodie}

I threw pistachios, dried cranberries, and feta atop this salad, but the sky is the limit!  Use whatever nuts or dried fruits you have on hand.  I think walnuts would be excellent. 

Kale, Barley & Roasted Beet Salad with Poppy Seed Dressing {Pedantic Foodie}

The salty feta alongside the sweet roasted beets is my favorite. 

Kale, Barley & Roasted Beet Salad with Poppy Seed Dressing {Pedantic Foodie}

I know it's Pi Day, but around here pretty much every day is Pie Day - just check the archives.  Oh, and when you need to detox, me and my new salad will be waiting here for you.  xoxo

Sincerely, 

Pedantic Foodie


Beet & Barely Salad

serves 4-6

for the beets

3 medium-sized beets, greens removed

1 1/2 teaspoons olive oil

Preheat oven to 400 degrees F. 

Clean beets thoroughly.  Cut 3 large squares of aluminum foil and pour 1/2 teaspoon of olive oil into the center of each.  Place each beet on top of the oil and wrap the sides of the foil up and around the beet, sealing it tightly.

Place the foil-wrapped beets in a baking dish and bake for 50-60 minutes, or until fork-tender.  

(This is a great time to cook your barley.)

Allow the beets to sit until they are cool enough to handle, then peel away the outer skins.  Chop into 1/4-inch cubes. 

for the barley

1 cup quick-cooking barley*

2 1/2 cups chicken stock 

1/2 teaspoon kosher salt 

1 tablespoon extra virgin olive oil

Combine barley and chicken stock in a 3-quart sauce pan and bring to a boil over high heat.  Reduce heat to low and simmer, with the lid on, for ten minutes. 

Remove the pan from the heat and allow the barley to sit, covered, for five minutes.  Drain away any excess liquid and fluff with a fork.  Drizzle with olive oil and toss to combine.

Allow the barley to cool slightly before adding it to the salad. 

*I buy Trader Joe’s “10-Minute Barley.”  Of course, if you prefer traditional barley, that will certainly work here - just prepare it according to the maker’s instructions. 

for the dressing

3 tablespoons honey 

1 tablespoon dijon mustard 

1/2 teaspoon sea salt 

1 teaspoon poppy seeds

2 tablespoons fresh lemon juice 

1/3 cup extra virgin olive oil

In a small jar, combine honey, dijon mustard, sea salt, poppy seeds, and lemon juice.  Use a fork to whisk together. 

Add the olive oil to the mixture and top your jar with a tight lid.  Shake until the dressing is smooth and well combined.

toppings & assembly

6 cups kale, cut roughly into bite-size pieces 

1/2 cup dried cranberries 

1 cup crumbled feta 

1/3 cup pistachios  

cooked barley

roasted beets

prepared dressing

There are two ways to make this salad.  The first option is to prepare it as instructed below for serving a large group.  The second option would be to refrigerate the roasted beets, barley, and dressing in separate containers and build individual salads as you need them.  (The individual elements will last at least a week in the refrigerator.)  The choice is yours.  For an individual salad, I used two good spoonfuls of dressing. 

Pour the dressing into the bottom of a large salad bowl and add chopped kale, barley, and roasted beets; toss to coat.  Allow this mixture to sit for five minutes or so.  This resting time will give the kale a chance to soften.  Top with cranberries, feta, and pistachios.  Serve immediately and enjoy! 

Our Favorite Pizza // When Make-In is better than Take-Out

I never thought this day would come. 

Our Favorite Pizza {Pedantic Foodie}

I never thought that I - a stubborn believer that the words "homemade" and "pizza" should never be juxtapose - would be sharing a recipe for just that. 

Our Favorite Pizza {Pedantic Foodie}

I cannot give you a true percentage, but if I had to guess, I would wager that at least 85 percent of my dates with Mr. Pedantic have involved pizza. 

Our Favorite Pizza {Pedantic Foodie}

I had tasted very few good pizzas as a child.  My parents were never pizza fanatics, so most of my exposure had been through delivery pizza, or, though I cringe to admit it, frozen pizza.  *insert the sound of a thousand Italian hearts breaking* 

It was only when I tasted a true, brick-oven-baked New York pizza that the romance began.  From then on, my love for the tri-fold delicacy only increased. 

Our Favorite Pizza {Pedantic Foodie}

I eventually became acquainted with the best family-owned shops in my area, those that I could call upon when the cravings demanded.  I never really considered homemade pizza because I did not believe that it could compare with those cooked in commercial ovens.  After all, my entire relationship with pizza had stemmed from that hallowed brick-oven distinction. Without a brick oven, or some version of it, how could one hope to create a proper pie? 

My stance had been firm for years.  Pizza was something I bought from a trusted establishment, and I would not attempt to improve upon it.  It was one of the very few things I had left alone. 

Our Favorite Pizza {Pedantic Foodie}

It was not until I was gifted this pizza stone that I decided to give homemade pizza a chance. My hopes were far from high, my knowledge little, but I was now armed with the perfect weapon and my very own "pizza oven."

Our Favorite Pizza {Pedantic Foodie}

Here is why I fell in love with this pizza stone and, coincidentally, homemade pizza. 

What those beloved commercial brick ovens offer is an exceptionally hot surface.  Not just a hot oven, but a hot surface, which translates to a very crisp bottom crust that will stand up to the moisture of the sauce and the weight of our various cheeses.  I firmly believe that if you cannot pick up the slice of pizza without it falling apart, the crust is shoddy. That's my story and I'm sticking to it. 

Our Favorite Pizza {Pedantic Foodie}

A pizza stone gives the cook the chance to recreate that ultimate brick-oven atmosphere by pre-heating the stone.  The stone is heated in a 500 degree oven before we begin pizza construction. By the time we have layered our toppings, the bottom of the crust has already baked. 

Our Favorite Pizza {Pedantic Foodie}

My first attempt was astounding enough to win my favor, but after a great many rounds of taste-testing, I found a couple of ways to improve upon the humble homemade pies.  

Here’s what I have learned about pizza craft. 

THE CRUST - the three b’s 

  1. Bread flour. I found that replacing a third of the all-purpose flour in my original recipe with bread flour produced a chewier crust that adds a heartiness to the pizza itself.

  2. Be generous with the fat. Some crust recipes ignore a fat component all together, but I found that adding a fair amount of olive oil gives the crust a richer and more buttery flavor.

  3. Brushing. I cannot overstate the significance that a simple brushing of garlic oil adds to a pizza crust. Mr. Pedantic and I squabble over the bits of leftover crusts now because it's basically garlic bread.

The sauce should be simple and cooked minimally.  I do not believe that a sauce that has been simmered all day has any place on a pizza.  I prefer to maintain that fresh tomato flavor as much as possible.

The cheeses should be present but not overwhelming.  And yes, the perfect pizza requires multiple cheeses, but take a hand from your good friend Joe (Trader Joe, that is), and knock out four of the five required with his bags of Quattro Formaggio.  Its a pre-shredded mix of Fontina, Parmesan, Provolone, and Asiago and it's a pizza-maker's secret weapon. 

As for the toppings, well, that is entirely up to you.  I have become partial to crispy bacon and sautéed mushrooms, but Mr. Pedantic insists upon pepperoni.  He's charmingly predictable that way. 

Our Favorite Pizza {Pedantic Foodie}

Goodbye delivery boy.  Hello 24/7 pizza service. 

Sincerely, 

Pedantic Foodie

This post was not sponsored in any way.  All opinions stated are completely my own, as always! Thank you for being here!


Our Favorite Homemade Pizza

makes two, 9-inch pizzas (about 4 servings) // crust recipe adapted from Tyler Florence

for the sauce 

This recipe will make far more sauce than you actually need for the pizzas, but it is excellent as pasta sauce or a wonderful dipping sauce for my favorite - mozzarella sticks.  

- 1 1/2 tablespoons extra virgin olive oil 

- 2 cloves garlic, minced

- 1, 28oz can chopped tomatoes in tomato juice

- 1 teaspoon kosher salt 

- 2-3 teaspoons granulated sugar

Heat olive oil in a 3-quart saucepan over medium heat.  Add garlic and cook for 2-3 minutes, until the garlic is fragrant and has just started to brown.

Add canned tomatoes all at once, along with kosher salt.  Bring the tomatoes to a simmer then reduce heat and cook, stirring often, for 20 minutes.  

Stir in sugar to taste and season with additional salt, if you wish.  Puree using an immersion blender or stand blender.  At this point the sauce can be refrigerated and stored in an airtight container for up to 2 weeks. 

for the crust

- 1 cup warm water 

- 1 teaspoon granulated sugar 

- 2 tablespoons extra virgin olive oil 

- 1 tablespoon kosher salt 

- 1 package active dry yeast 

- 2 cups all-purpose flour 

- 1 cup bread flour 

Combine warm water and sugar in the bowl of your stand mixer and sprinkle yeast over the top; stir just to combine.  Allow the mixture to sit, untouched, for five minutes.  The yeast should look frothy. 

Fit the mixer with the dough hook attachment, then add olive oil and kosher salt to the yeast mixture.  Turn the mixer on low speed and slowly incorporate the flours.  When the dough has just begun to come together, increase the speed to medium and knead for five minutes.  The dough should pull away from the sides of the bowl, forming a rough ball. 

Transfer the dough to a floured surface and knead several times, until the dough is smooth and elastic.  Shape the dough into a tight ball and place in a well-oiled bowl.  Cover with plastic wrap and place in a warm, dry place to rise for one hour. 

While the dough is rising, prepare your toppings.  

Preheat your oven to 500 degrees and place a pizza stone on the center rack. 

When the dough has doubled in size, divide into two equal pieces and shape into two roughly 9-inch rounds.

Brush the heated pizza stone with a bit of olive oil and place the first crust directly onto the preheated stone.  Ladle about 1/2 cup of the sauce in the center, spreading it evenly over the crust, and leaving about a 1/2-inch “wall” around the edges. 

for the cheese

- 2 cups Trader Joe's Quattro Formaggio shredded cheese blend 

- 4 ounces fresh mozzarella, cut into cubes 

Sprinkle half of the shredded cheese over each pizza and scatter with fresh mozzarella. 

for the toppings

Toppings are, of course, completely up to you, but these are my favorite.  You will want to prepare your toppings while the crust is rising, not after! 

- 4 bacon rashers, diced 

- 6 ounces cremini mushrooms, sliced 

- 1/4 teaspoon kosher salt 

- brushing oil (1 1/2 tablespoons olive oil + 1 teaspoon garlic salt)

In a small, nonstick frying pan, cook bacon over medium heat until crispy.  Remove the bacon from the pan and reserve for later use.  Then, add the mushrooms to the bacon renderings, and sprinkle with kosher salt.  Cook over medium heat, stirring often, for 8-12 minutes; until the mushrooms have browned evenly. 

Sprinkle the prepared mushrooms and crisp bacon over the layer of cheese.  

Bake each pizza for 10-15 minutes, until the crust is deep golden and the cheese is bubbling.  As soon as you remove your pizza from the oven, brush the edges of exposed crust with the prepared garlic oil. 

Allow the pizzas to cool for about 10 minutes before serving.  Enjoy! 

Weeknight Winter Salad

I finally found it. 

Weeknight Winter Salad {Pedantic Foodie}

This is my salad. 

For nearly 22 years, I have thrown greens into a bowl, mixed up a seemingly-promising dressing, and tried to fall in love…but to no avail. 

Weeknight Winter Salad {Pedantic Foodie}

Until now, aside from my obsession with this salad several years go, I never had my salad - a salad that I just could not get enough of, and one that I would actually choose over pasta (okay, maybe that’s an exaggeration, but this is as close as greens can get).

Weeknight Winter Salad {Pedantic Foodie}

On a cold December evening, instead of turning to my new favorite pizza recipe, I threw this salad together and - hurrah!  
Weeknight Winter Salad {Pedantic Foodie}

I think it’s the combination of the warm chicken atop the crisp greens that gets me. 

Weeknight Winter Salad {Pedantic Foodie}

I’ve never been a fan of cold meals.  Which also explains my ambivalence to subs and my inability to jump on the smoothie bowl wagon.  

When I sit down to a meal, I want something warm and comforting, and this salad is both. 

It’s also incredibly versatile. 

I change out the fruit and nuts depending on what I have on hand, but I always keep the sweet and tangy dressing my constant. 

Weeknight Winter Salad {Pedantic Foodie}

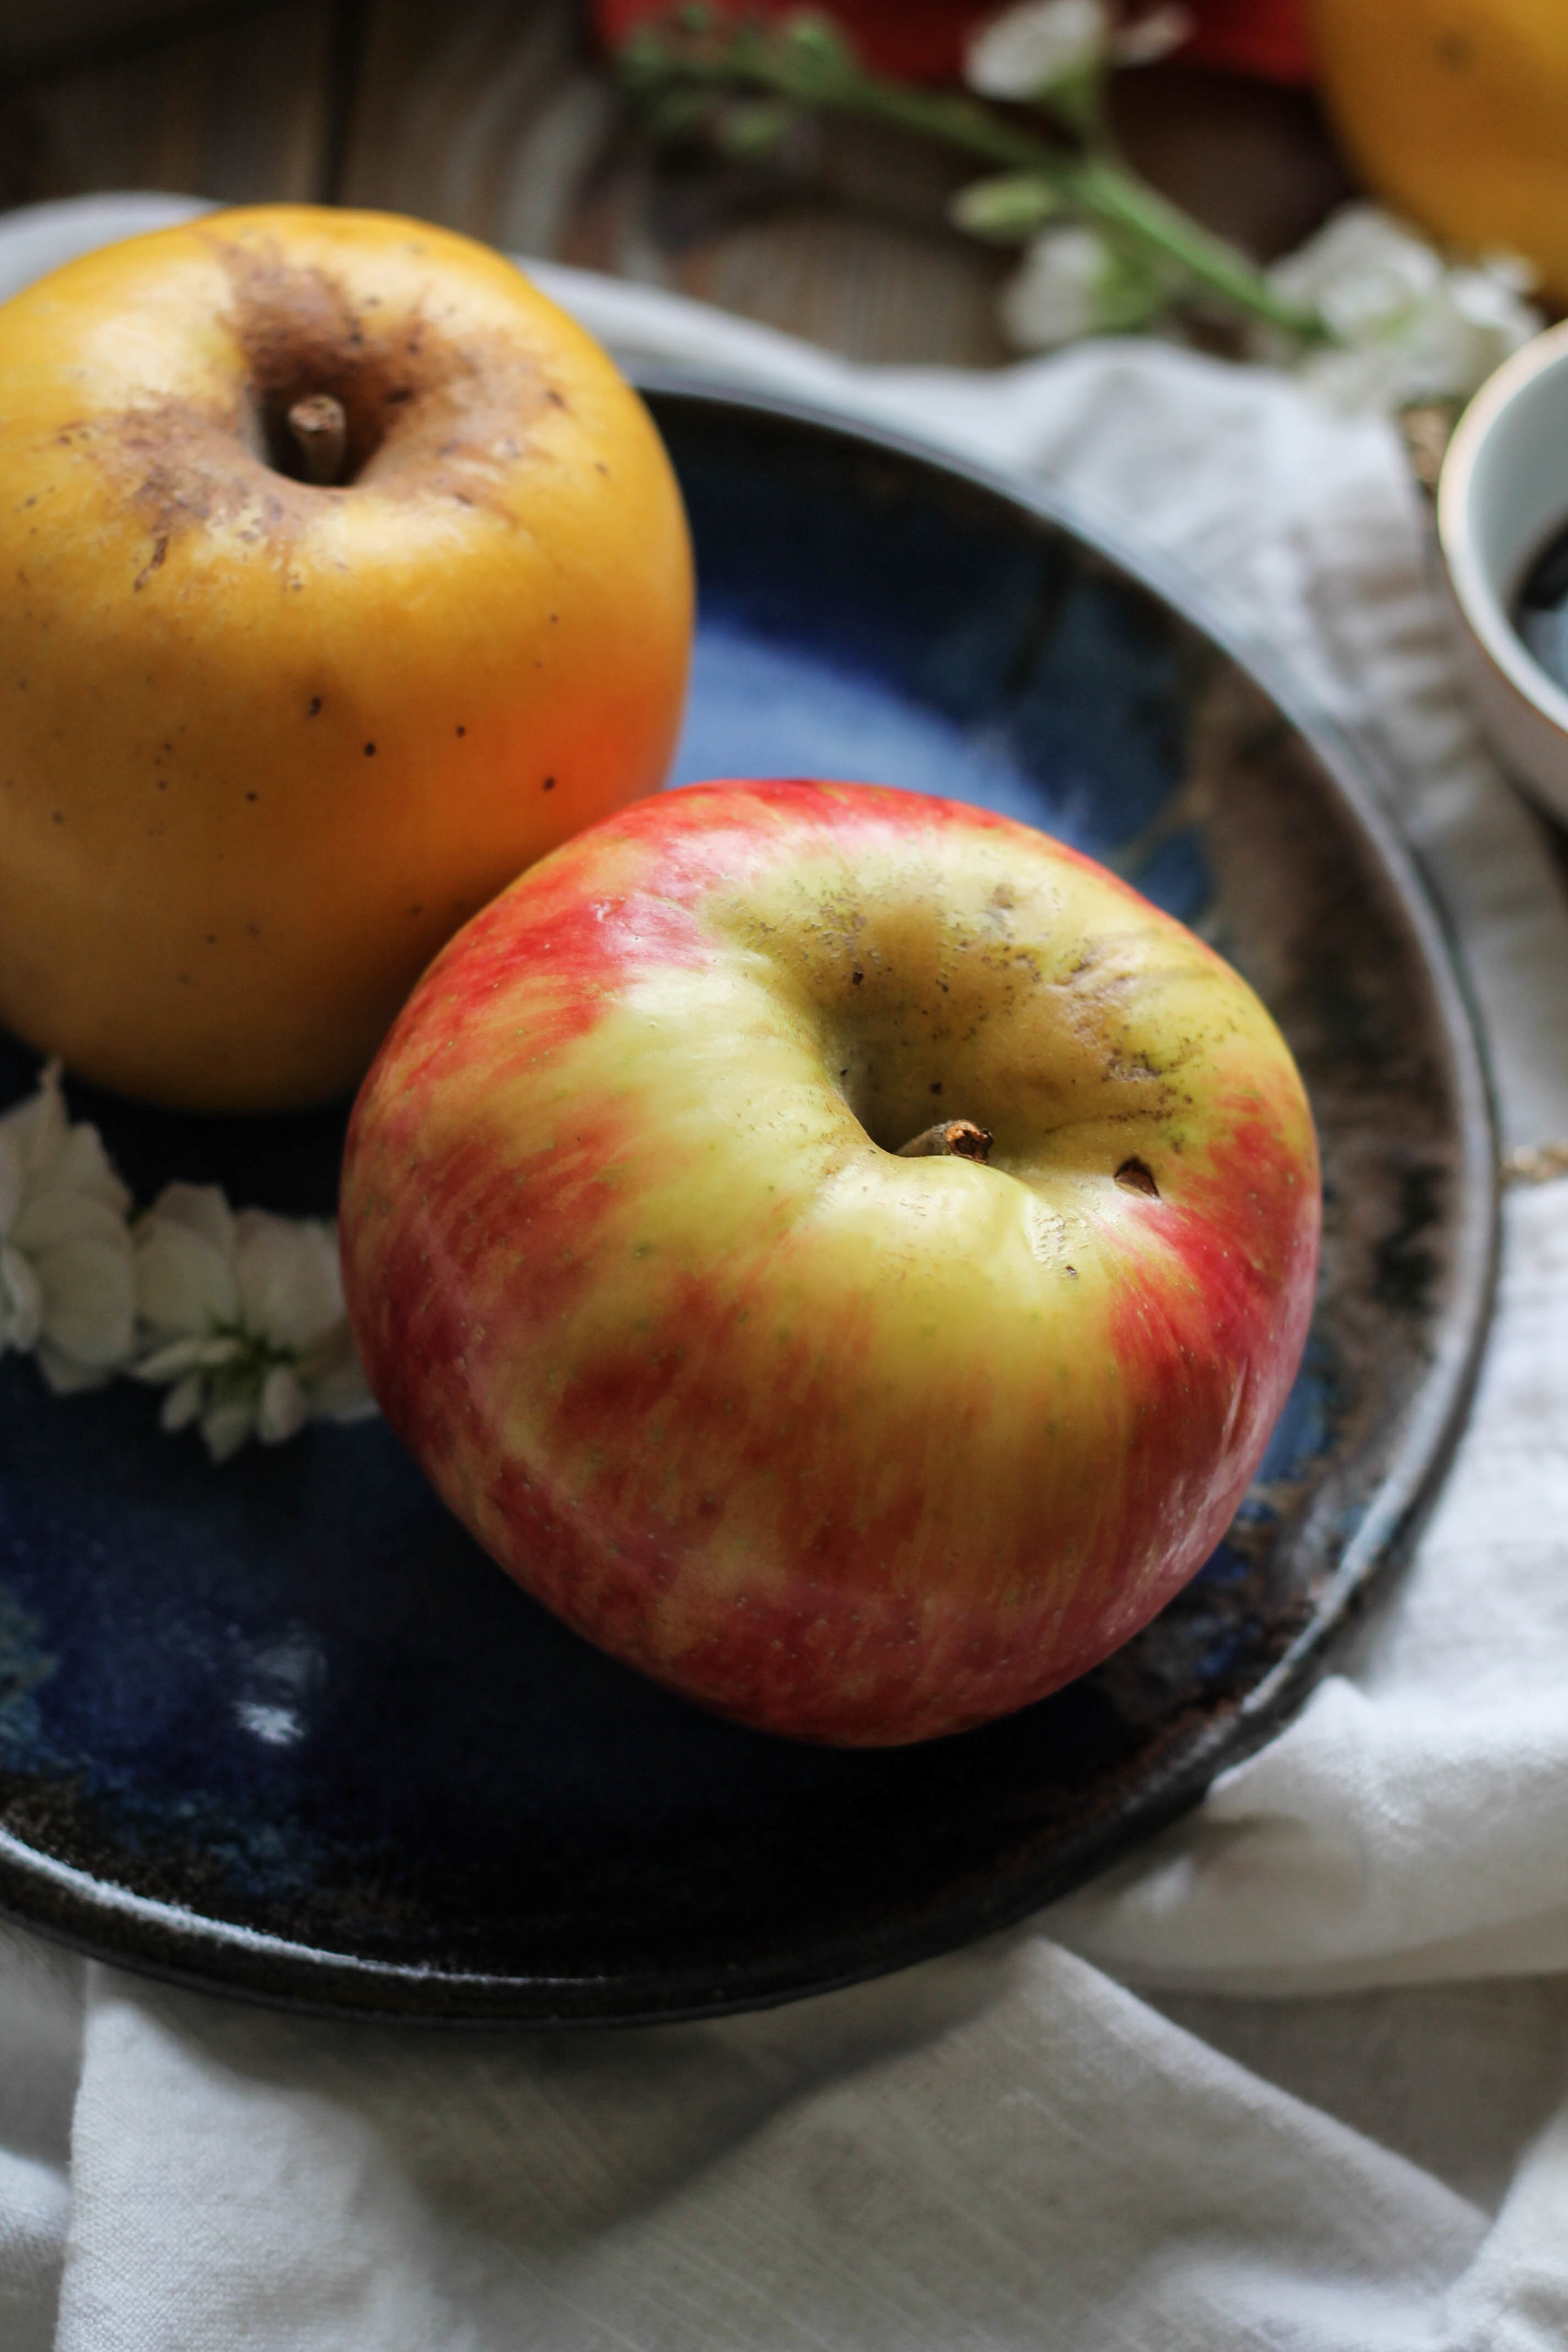
Apples are probably my favorite salad accessory.  I pick up a few every week reserved especially for sprinkling over greens.

Weeknight Winter Salad {Pedantic Foodie}

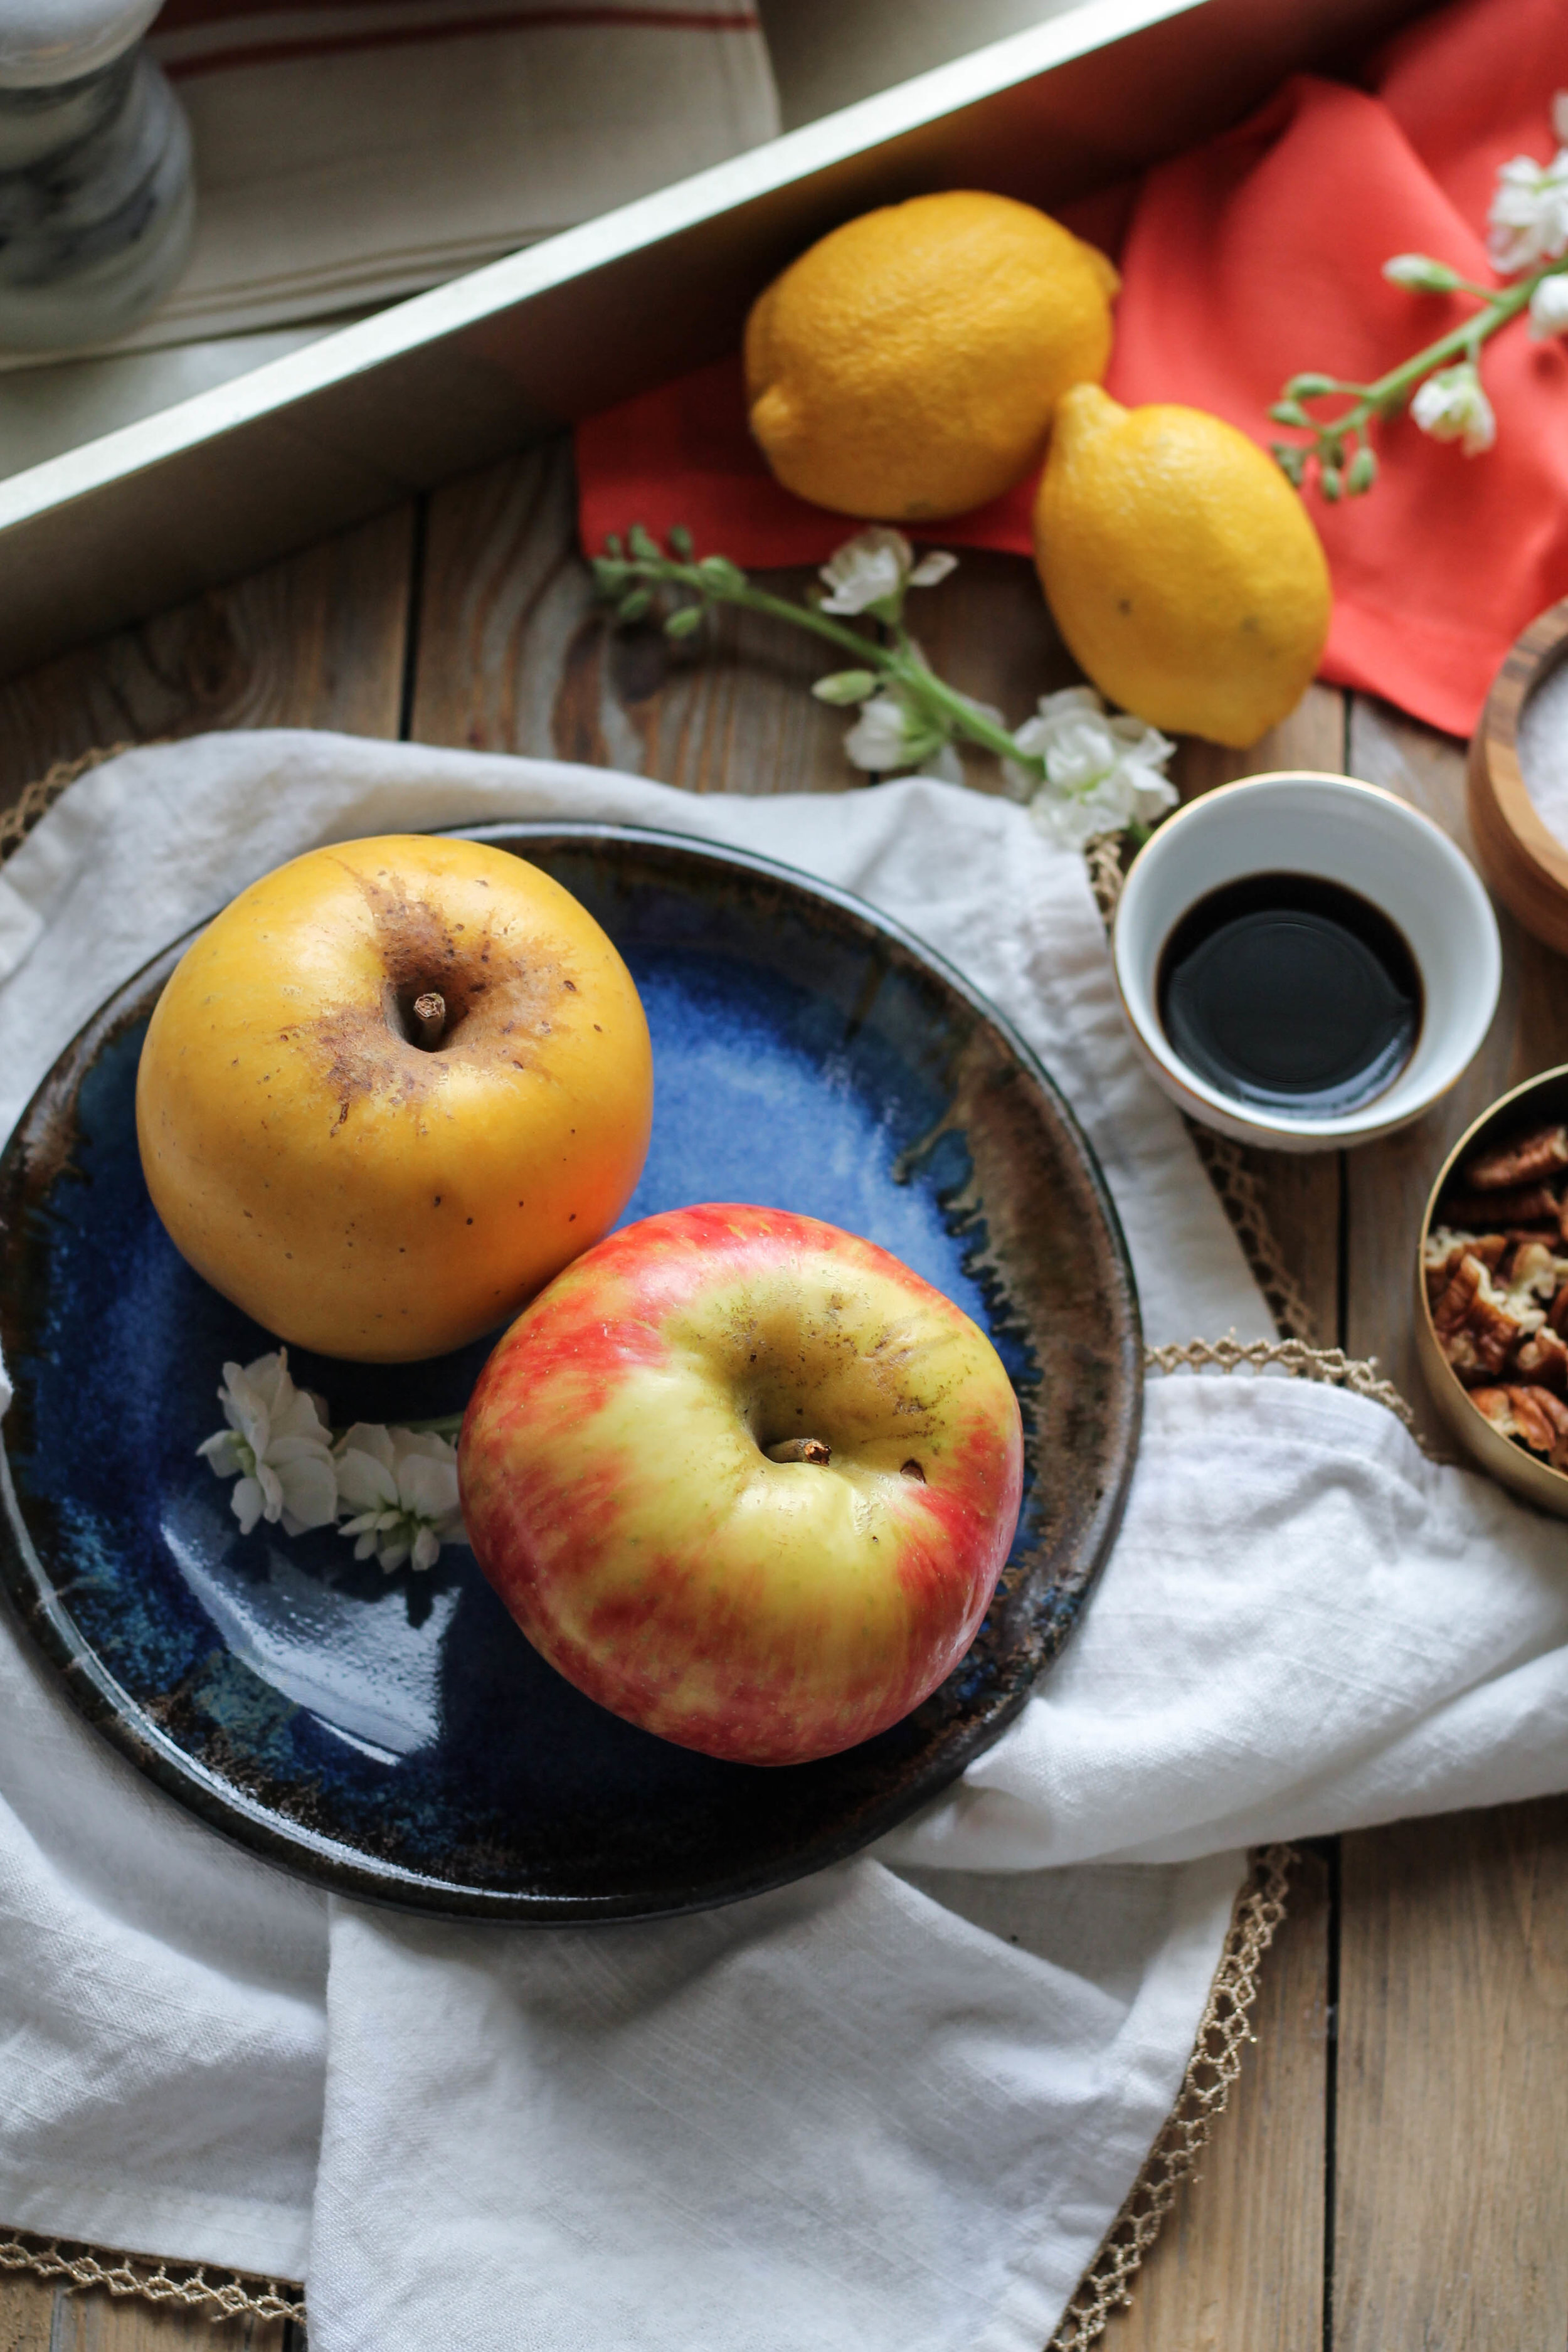
Have you discovered Envy apples yet?  They are the new and improved Honey Crisp in our home and I’m kind of obsessed with their cheery golden hue. 

Weeknight Winter Salad {Pedantic Foodie}

While I switch out the components for variety, I try to stick to a pattern.

Two fruits.  My current favorites being pomegranate arils and chopped apples.

Chopped nuts.  While we like walnuts, I prefer them saved for brownies so pecans are my go-to here.

Finely grated cheese.  Parmesan is a must, and please be generous.  I use my microplane to grate the cheese super fine. 

Protein.  While a leftover N.Y. strip is a delicious addition, chicken breasts, simply cooked and sliced thinly, are our favorite. 

Weeknight Winter Salad {Pedantic Foodie}

A sweet and tangy honey lemon dressing is the blending factor for the separate components. 

Weeknight Winter Salad {Pedantic Foodie}

We are having this salad for dinner at least once a week right now.  My infatuation with it has lasted over a month, which is pretty good considering that I get bored with most things after about thirty-six hours. 

Weeknight Winter Salad {Pedantic Foodie}

This, is my salad, let it be yours too.  Who needs a juice cleanse when you can join this bandwagon and still have cheese?  

Weeknight Winter Salad {Pedantic Foodie}

Best of both worlds, I'd say. 

Weeknight Winter Salad {Pedantic Foodie}

Sincerely, 

Pedantic Foodie


Weeknight Winter Salad

serves 2

for the dressing

- 3 tablespoons honey 

- 3 tablespoons freshly squeezed lemon juice

- 1/2 tablespoon balsamic vinegar 

- 1/2 teaspoon sea salt 

- freshly ground black pepper 

- 2 tablespoons finely grated parmesan

- 1/4 cup extra virgin olive oil (I like a light, fruity oil for this dressing)

In a small bowl or jar, use a fork to whisk the lemon juice into the honey.  Stir in balsamic, salt, pepper, and parmesan.  

Slowly whisk in olive oil, until the dressing is homogenous. 

for the chicken

- 2 boneless, skinless chicken breasts

- 1 1/2 tablespoons olive oil

- sea salt & black pepper

Pat chicken breasts dry with a paper towel and season liberally with salt and pepper. 

Heat olive oil in a medium, nonstick frying pan over medium heat.

When the oil begins to shimmer, add chicken.  Cook for 4-5 minutes on each side, until the breasts are crisp and the internal temperature reads 160*-165 degrees.

Transfer the chicken breasts to a cutting board and allow to cool for 5-10 minutes before slicing thinly. 

*I try to take my chicken off at 160 degrees because carry-over heat takes care of the extra five degrees.  However, you should always stick to your comfort zone and buy your meat from a reliable supplier.   

add-ins & assembly

- 4 cups spring greens 

- 1/2 apple, cut into cubes (go for crisp apples like honey crisp, envy, or pink lady)

- 1/4 cup pomegranate arils 

- 1/3 cup pecans 

- 1/2 cup finely grated parmesan 

Divide prepared dressing between two bowls.  Place two cups of greens in each bowl and top with chopped apples, pomegranate, pecans, and warm, sliced chicken.  Toss to combine and sprinkle with parmesan.  Enjoy!