Roasted Tomato BLT with Roasted Garlic Mayonnaise

If we are friends you have probably received some pretty weird texts.  Overly long messages consisting of ramblings about white chocolate, pretzels, and sea salt and the concept of shoving all three of those wonderful things into perfectly innocent Rice Krispy treats.  If you’re my sister you have definitely received the occasional horrifying picture of my insanely poofy morning hair, and maybe a couple pictures of my Pinterest makeup attempts that somehow all end up looking the same.  

If we are friends you may have a received an overly enthusiastic text recently declaring my excitement at my successful attempt at roasted garlic mayonnaise. 

I had never made mayonnaise before, probably because it is a condiment that I rarely use, but I was absolutely ecstatic when it turned out perfectly on the first attempt.  If you have never made homemade mayonnaise before, you should jump on this garlicky bandwagon.  Homemade mayonnaise is so ridiculously easy and so much better than the store-bought stuff!

Roasted Tomato BLT with Roasted Garlic Mayonnaise {Pedantic Foodie}

My homemade roasted garlic mayonnaise made its debut on a classic sandwich which I jazzed up a bit with some roasted cherry tomatoes.  

The humble BLT is so often a disappointing assemblage of underripe tomatoes, soggy, subpar bread, and way too much lettuce.  It’s sad really, because the BLT is a classic combination that is by every definition a fantastic sandwich, if it is executed properly and maybe modernized just the tiniest bit.

Roasted Tomato BLT with Roasted Garlic Mayonnaise {Pedantic Foodie}

Our sandwichery (see what I did there?) begins with cherry tomatoes.  I tossed my tomatoes with a generous dose of olive oil and salt - and into the oven they went!  

I love roasted tomatoes.  The flavor is deeper, and the heat really brings out their natural sweetness. 

Roasted Tomato BLT with Roasted Garlic Mayonnaise {Pedantic Foodie}

Next, the bacon.  Bacon does not need our help.  Just lay your rashers out on a sheet pan and let the oven do the work.  In about 10 minutes your kitchen will smell like a diner...in a good way.  

Try not to eat all the bacon before it gets to the sandwich.  I know, it’s hard.

Roasted Tomato BLT with Roasted Garlic Mayonnaise {Pedantic Foodie}
On to the mayonnaise! I felt like Julia Child when I was making my own mayonnaise. I think I need to watch Julie & Julia again...

We begin by roasting our garlic.  This recipe really puts your oven to work!

Roasted Tomato BLT with Roasted Garlic Mayonnaise {Pedantic Foodie}

Did I mention that I roasted the garlic in the leftover bacon grease?  Yeah…you're welcome. 

Isn’t it pretty?  I think the roasted garlic smells almost as wonderful as the bacon.  

If you have a food processor mayonnaise is a cinch!  First, we roughly puree our roasted garlic.  We add one egg yolk, a bit of sugar, vinegar and lemon juice.  I love that this recipe can be made with things you generally find in your pantry.

Roasted Tomato BLT with Roasted Garlic Mayonnaise {Pedantic Foodie}

Emulsion time!  With the food processor spinning, slowly drizzle in the vegetable oil.  Do not try to rush this, seriously.  Your emulsion can go from perfect to ruined very quickly if you try to rush.  Just take your time and allow the oil to incorporate itself slowly into the garlic mixture.  

In about five minutes you will have made your own mayonnaise.  Look at that!  It’s sweet, tangy, and garlicky.

Roasted Tomato BLT with Roasted Garlic Mayonnaise {Pedantic Foodie}

Now it’s time to assemble.  Mayonnaise on both slices of bread.  Yes, both sides.  This sandwich is really all about the mayonnaise.  

Roasted tomatoes, a bit of romaine, and a whole lot of bacon.  Don’t be stingy.

Roasted Tomato BLT with Roasted Garlic Mayonnaise {Pedantic Foodie}

Ta-da!  The homemade mayonnaise and roasted tomatoes really elevate this classic sandwich.

Roasted Tomato BLT with Roasted Garlic Mayonnaise {Pedantic Foodie}

 One of best things about this sandwich is that all of the elements can be prepared ahead of time!  The roasted tomatoes, mayonnaise and even the bacon can all be placed in the fridge until you are ready to assemble your sandwich!  

Let’s welcome the humble BLT into our Wednesday!

Sincerely, 

   Pedantic Foodie


Roasted Tomato BLTs with Roasted Garlic Mayonnaise 

makes 4 sandwiches / mayonnaise recipe adapted from Alton Brown

for the sandwich 

  • 2 tablespoons olive oil 
  • 10 ounces cherry tomatoes 
  • 1/2 teaspoon salt 
  • freshly ground black pepper
  • 12-16 slices of bacon (Definitely go for 16, it’s bacon after all!)
  • 8 slices of your favorite bread*, lightly toasted 
  • 4 leaves romaine lettuce 

Preheat your oven to 475 degrees. 

In a medium bowl combine olive oil, salt, and pepper.  Toss in the cherry tomatoes, mixing until they are fully coated in the oil.  Spread the tomatoes out onto a sheet pan and place in the oven.  Roast for 20 minutes or until the tomatoes have begun to burst. 

Allow the roasted tomatoes to cool while you prepare the other elements of the sandwich. 

Reduce the oven temperature to 450 degrees.

Lay the bacon out unto a baking sheet and bake for about 15 minutes, until the bacon is crisp.  

Remove the bacon from the pan and place on a cooling rack, reserving the rendered bacon grease.  While the bacon cools, prepare the mayonnaise. 

*I used a country Italian loaf for this application, but whatever suits you best will be just fine.  Just make sure that your bread is robust enough to hold up to all the yumminess that we are going to shove between it!

for the mayonnaise

  • 10 garlic cloves, peeled  
  • 1 egg yolk*
  • 1/2 teaspoon sugar 
  • 1 tablespoon rice wine vinegar 
  • 1 1/2-2 teaspoons freshly squeezed lemon juice 
  • 1 cup vegetable oil

Toss the garlic cloves in the bacon grease and bake at 450 for 15-20 minutes, until the cloves have softened and caramelized.  

Transfer the roasted garlic to the work bowl of your food processor and pulse until the garlic is roughly pureed, but is still somewhat chunky.  Add the egg yolk, sugar, vinegar, and lemon juice and pulse until well combined. 

With the food processor spinning, slowly drizzle in the vegetable oil, working slowly.  Once all the oil has been incorporated, removed the mayonnaise from the work bowl and refrigerate until ready to use. 

To assemble: Spread mayonnaise on each slice of toasted bread.  Top with roasted tomatoes, bacon, and lettuce.  Serve immediately.  Enjoy!

*Make sure that your eggs are fresh and from a reliable source.  The egg will be raw in this application, but there is nothing to be concerned about as long as you purchase fresh eggs.  If you are still concerned, you can certainly use pasteurized eggs.  

Baked Caramelized Onion and Chèvre Dip

These January days can be tiring and just plain icky.  Though I love a good rainy day, the post-holiday funk is only worsened by soggy coats and damp hair.  I think January is a rough month for all of us.  It is the time where we try to get back into life and though I love routine, I crave to regain the long, lazy mornings and relaxing afternoons of December.

Caramelized Onion and Chèvre Dip {Pedantic Foodie}

Try as I might, I cannot reverse the laws of time and so I must tug on my boots and re-enter the world with as much confidence and enthusiasm as I can muster.  

Cheese helps.  People help.  The worst thing for the post-holiday funk is retreating.  It is good to be around people and to laugh and eat as much cheese as possible.

Caramelized Onion and Chèvre Dip {Pedantic Foodie}

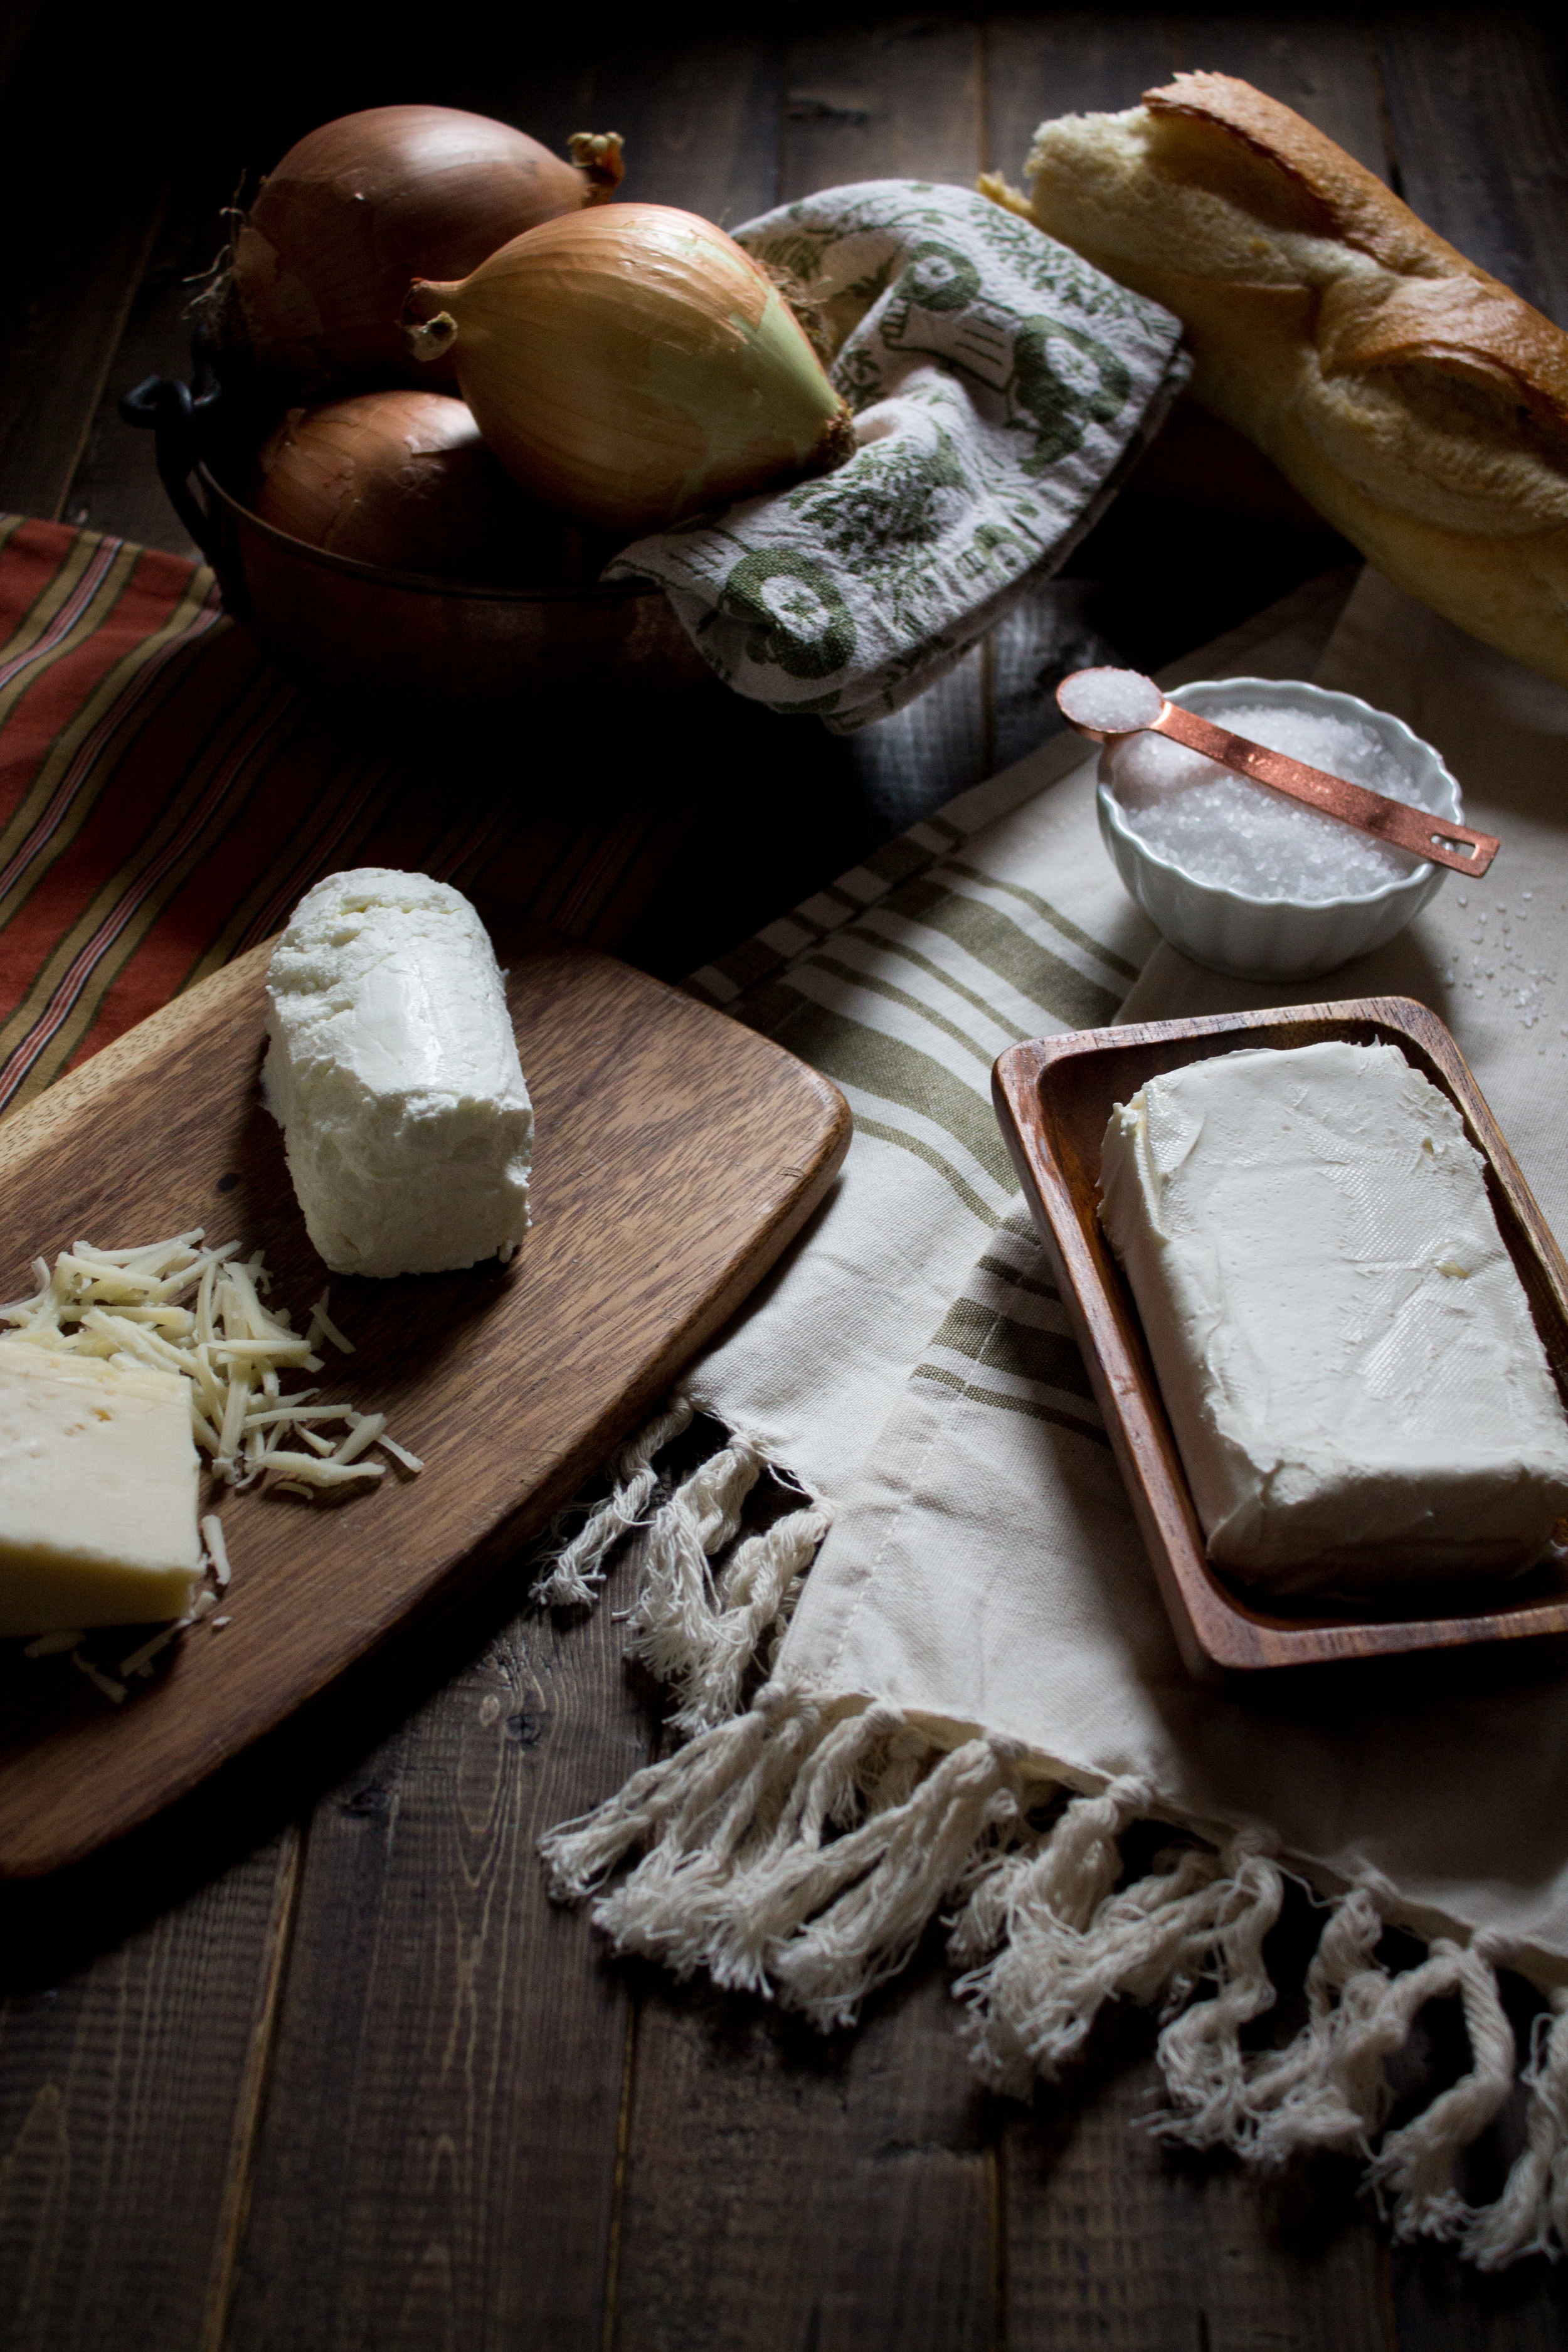
I love dips, spreads, and anything which can be piled upon toasts and shoved into my mouth.  This dip is especially irresistible because it is super creamy and packed with onions which have become super sweet thanks to the magic of caramelization.  

Baked Caramelized Onion and Chèvre Dip {Pedantic Foodie}

Cream cheese, butter, caramelized onions, chèvre, and gruyere - nothing can go wrong.

Caramelized Onion and Chèvre Dip {Pedantic Foodie}

You can serve this dip alongside a toasted baguette or crackers, it's really all about getting the cheese into your mouth.  

Is it too early to start thinking about Super Bowl parties?  This would make an awesome addition to your game day menu.  

Caramelized Onion and Chèvre Dip {Pedantic Foodie}

Break out some board games and invite some sweet humans into your home.  Let's conquer this January funk.  

Baked Caramelized Onion Dip 2.jpg

Wishing you all a splendid week!  

Sincerely, 

   Pedantic Foodie


Baked Caramelized Onion and Chevre Dip 

serves 6 or one very hungry lady 

  • 2 medium sweet onions, sliced
  • 3 tablespoons unsalted butter
  • 1 1/2 teaspoons kosher salt
  • 1 bay leaf 
  • 8 ounces cream cheese, softened
  • 5 ounces chevre goat cheese, softened
  • 1 1/2 cups gruyere, grated 

Preheat oven to 375 degrees. 

In a medium skillet melt 3 tablespoons butter over medium high heat.  Add the onions, bay leaf, and kosher salt to the melted butter and cook, stirring often, until the onions are translucent and deep amber in color.  Remove from heat and remove bay leaf and set aside. 

In the work bowl of your stand mixer combine cream cheese, chevre, and grated gruyere.  Beat on medium speed until the cheeses are well combined.  Fold in caramelized onions.  

Spread the cheese mixture out into a 9-inch baking pan.  Bake for 15-10 minutes or until the dip is bubbling and the surface has deepened in color.  

Serve immediately* alongside toasts or crackers.  Enjoy!  

*If you wish to make the dip ahead of time it can be placed in the refrigerator and reheated when ready to serve. 

Soft Pretzels

Last week we took a look at what happened on this site in 2014.  There was a lot of butter, a lot of breakfasting, and a little bit of floral-flavored magic.  As I looked through the many recipes I have shared on this site, I realized that I have neglected to share one of my favorites.  I have made this recipe more than any other, and yet, until now, it has been left unmentioned.

Soft Pretzels {Pedantic Foodie}

I am not even going to try to surmise the number of soft pretzels that I have made.  It’s a lot.  I think I have been invited to gatherings just because they want me to bring these pretzels.    Whatever, I’m going to eat all your brie when I get there...

Soft Pretzels {Pedantic Foodie}

Soft pretzels are so often destroyed by frozen food companies who wish to deaden our palates with dry, flavorless shapes covered in salt.  This makes me a bit upset, especially because soft pretzels are so incredibly delicious when executed properly. 

Soft Pretzels {Pedantic Foodie}

This recipe is so simple and it comes together relatively quickly.  The dough is pretty standard - flour, sugar, salt, yeast, and butter.  It is really important that you measure the flour by weight if you possibly can.  We have talked about this before...  Lots of factors can affect flour and the only way to ensure that you have a precise measurement is by weighing the flour.  Yada, yada, yada, you know, just grab your kitchen scale. 

Soft Pretzels {Pedantic Foodie}

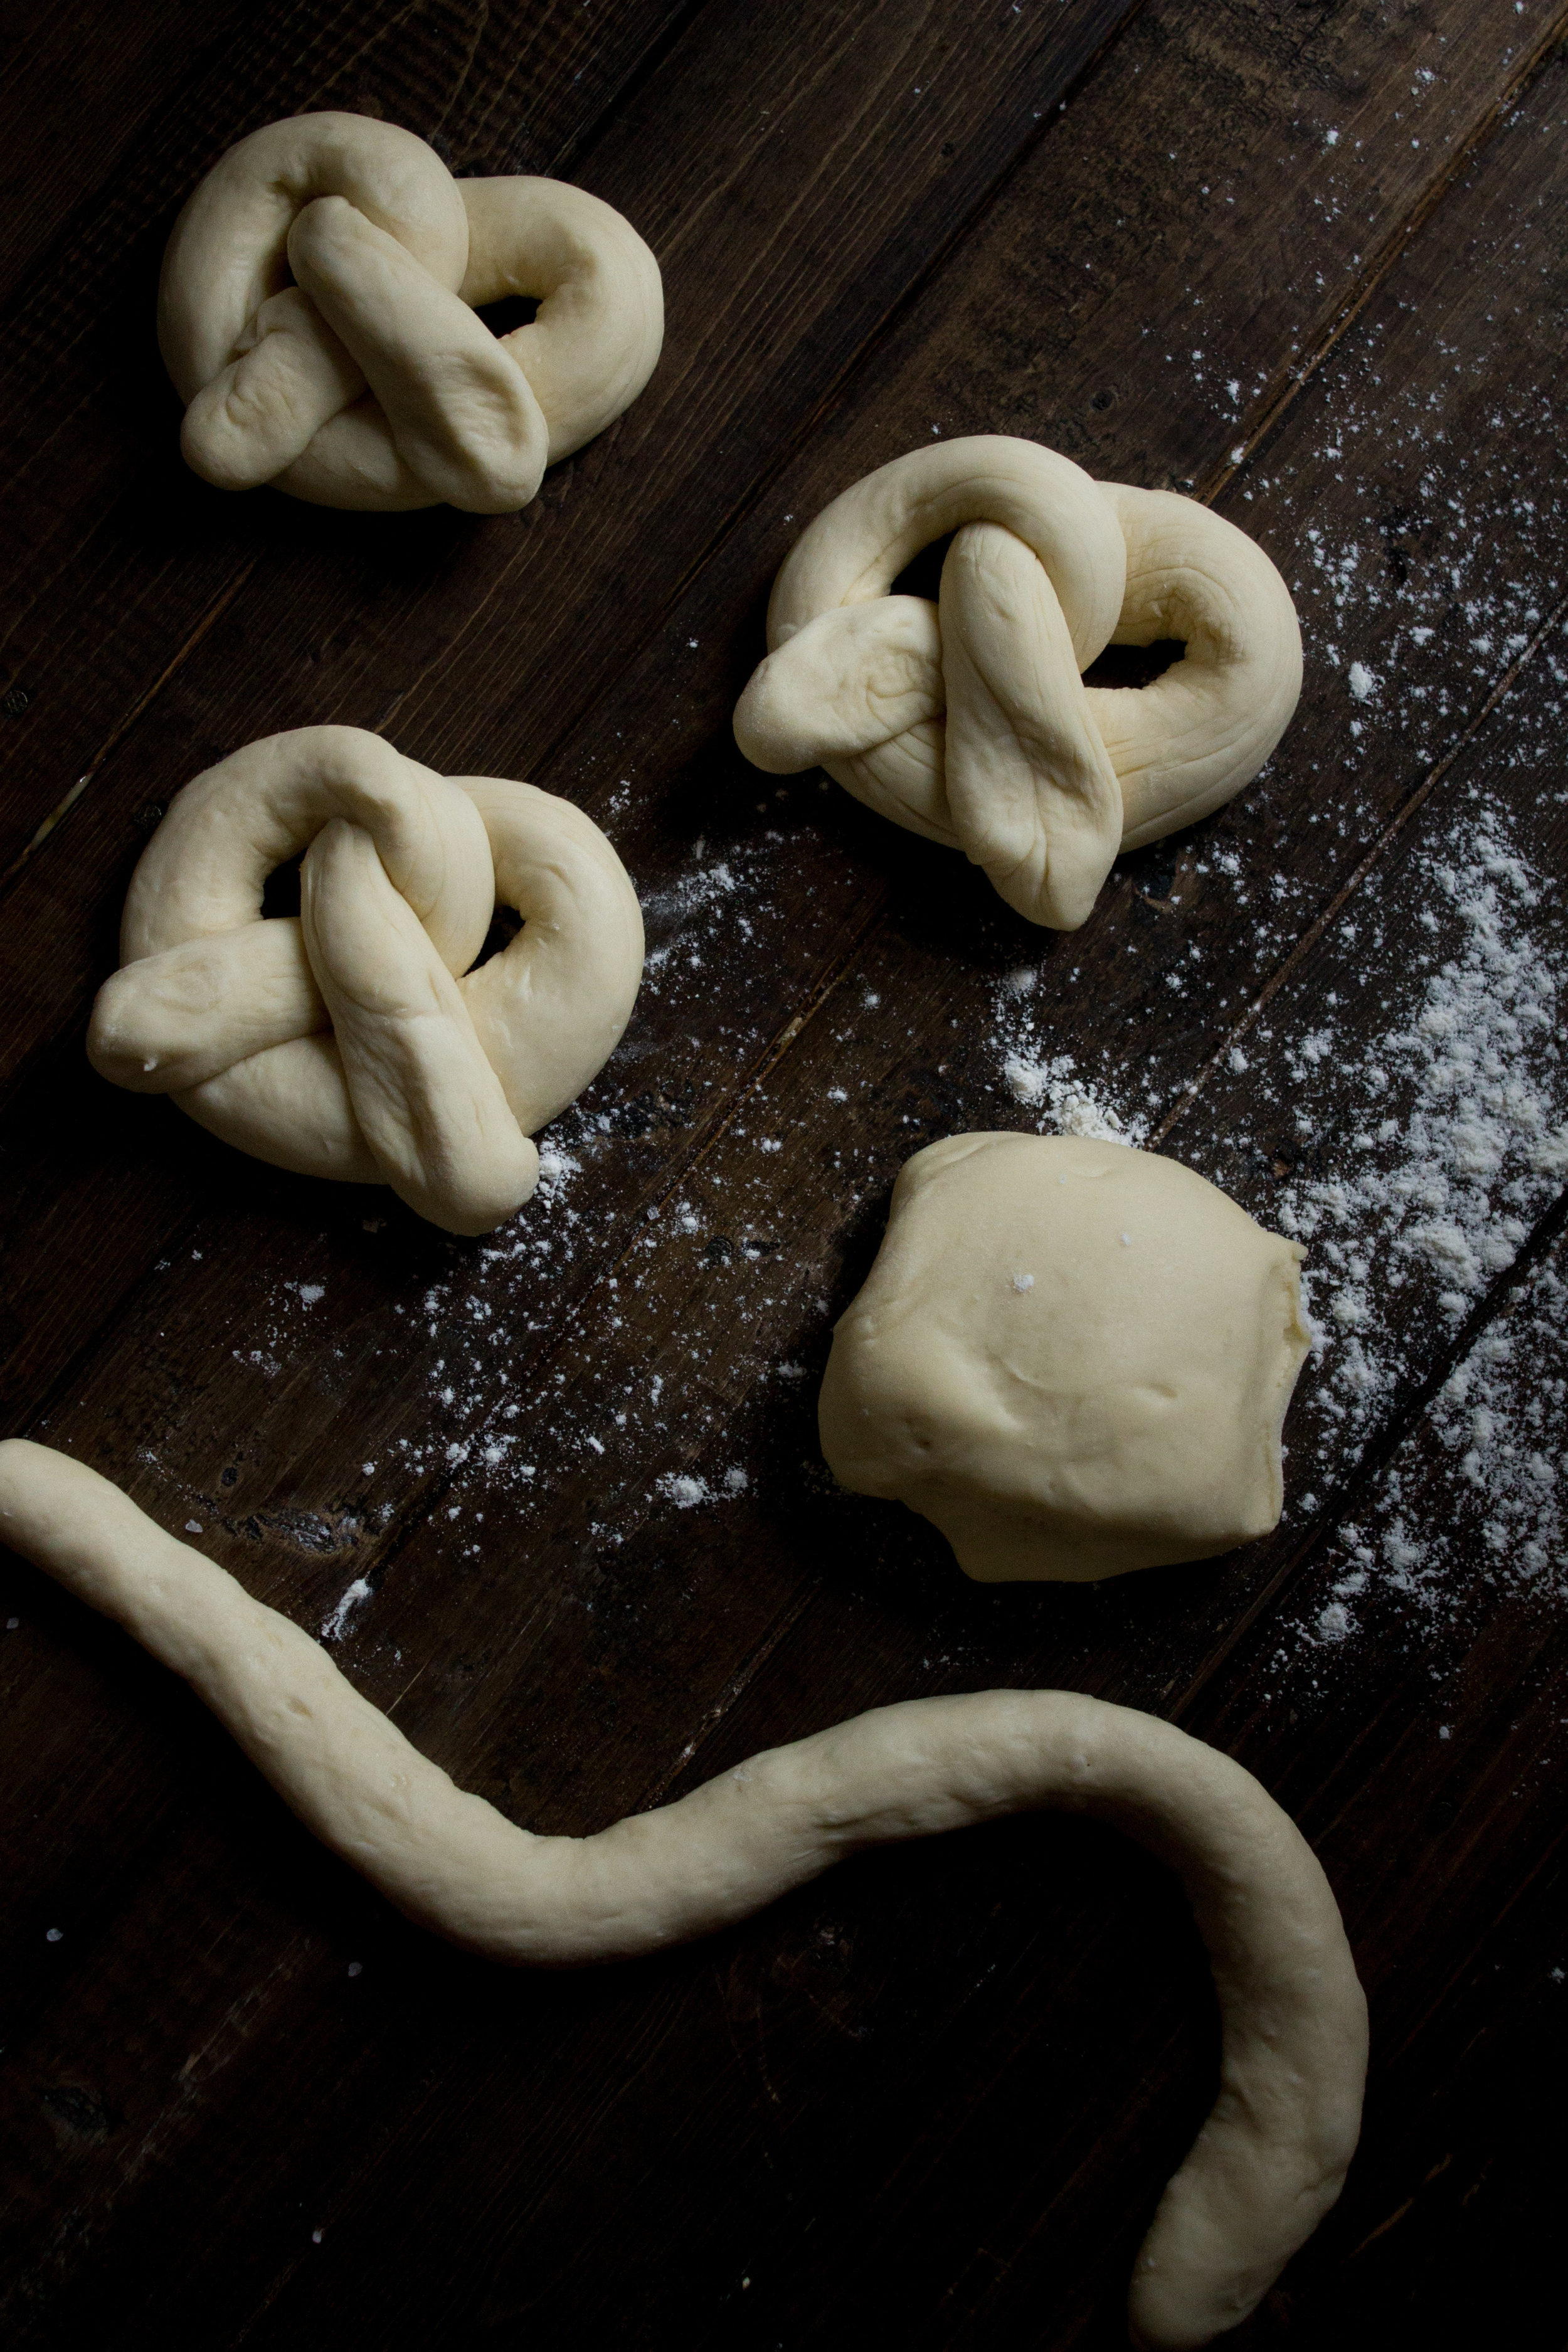
After the dough has risen, we shape our pretzels.  I like my pretzels to be on the smaller side so I portion the dough into 10 pieces and roll them into 16-inch ropes.  If you prefer for them to be larger and thinner, you could portion the dough into 8 pieces and roll those pieces into 24-inch ropes.  It is entirely up to your personal pretzel preferences.

Soft Pretzels {Pedantic Foodie}

After the pretzels are shaped, they are dropped into the boiling baking soda hot tub for a quick dip.  This will provide the chewy texture and distinct flavor we associate with soft pretzels.  After their bath they are coated with egg wash and sprinkled with a heavy dose of course sea salt.  

Soft Pretzels {Pedantic Foodie}

I like to serve my pretzels with honey mustard.  *sigh*  This is good... 

Soft Pretzels {Pedantic Foodie}

Happy Wednesday friends!

Sincerely, 

  Pedantic Foodie


Soft Pretzels 

recipe adapted from Alton Brown / makes about 10 pretzels 

  • 1 1/2 cups warm water 
  • 3 tablespoons granulated sugar 
  • 2 teaspoons kosher salt 
  • 1 package active dry yeast
  • 22 ounces all-purpose flour, roughly 4 1/2 cups
  • 2 ounces unsalted butter, melted
  • vegetable oil, for greasing
  • 10 cups water 
  • 2/3 cup baking soda
  • egg wash (1 egg yolk beaten with 1 teaspoon of water)
  • course-ground kosher salt or sea salt

In the bowl of your stand mixer combine 1 1/2 cups warm water, sugar, and kosher salt.  Sprinkle yeast on top and allow to sit for 5 minutes or until foamy. 

Add the flour and melted butter to the yeast mixture and fit your mixer with the dough hook attachment.  Mix on low speed until the flour and butter are well incorporated.  Change the speed to medium and knead until the dough is smooth and begins to pull away from the sides of the bowl.  This will take about 5 minutes.  

Remove the dough gently and place in a large bowl greased with vegetable oil.  Cover with a damp towel and place in a warm place to rise for 1 hour, or until doubled in size. 

Preheat your oven to 450 degrees.  Line two baking sheets with parchment paper and grease lightly with vegetable oil.  

In a large, heavy saucepan, combine baking soda with 10 cups of water.  Bring to a rolling boil.  

Turn the dough out unto a floured surface and portion into 10 equal pieces.  Roll each piece of dough into a 16-inch rope.  Form the pretzels by making a U-shape with the rope, crossing the two ends over each other and pressing the ends onto the bottom of the U.  

Place the pretzels in the boiling water, one at a time, for 30 seconds.  Transfer the boiled pretzels to the prepared sheet pans.  Brush each pretzel with egg wash and sprinkle with salt.  

Bake the pretzels until they are deep golden brown, about 10-12 minutes.  Allow to cool for several minutes before partaking. 

Serve warm with lots of sweet honey mustard.  Enjoy!