[ Easter Brunch pt. 1] Broccoli & White Cheddar Quiche from Over Easy

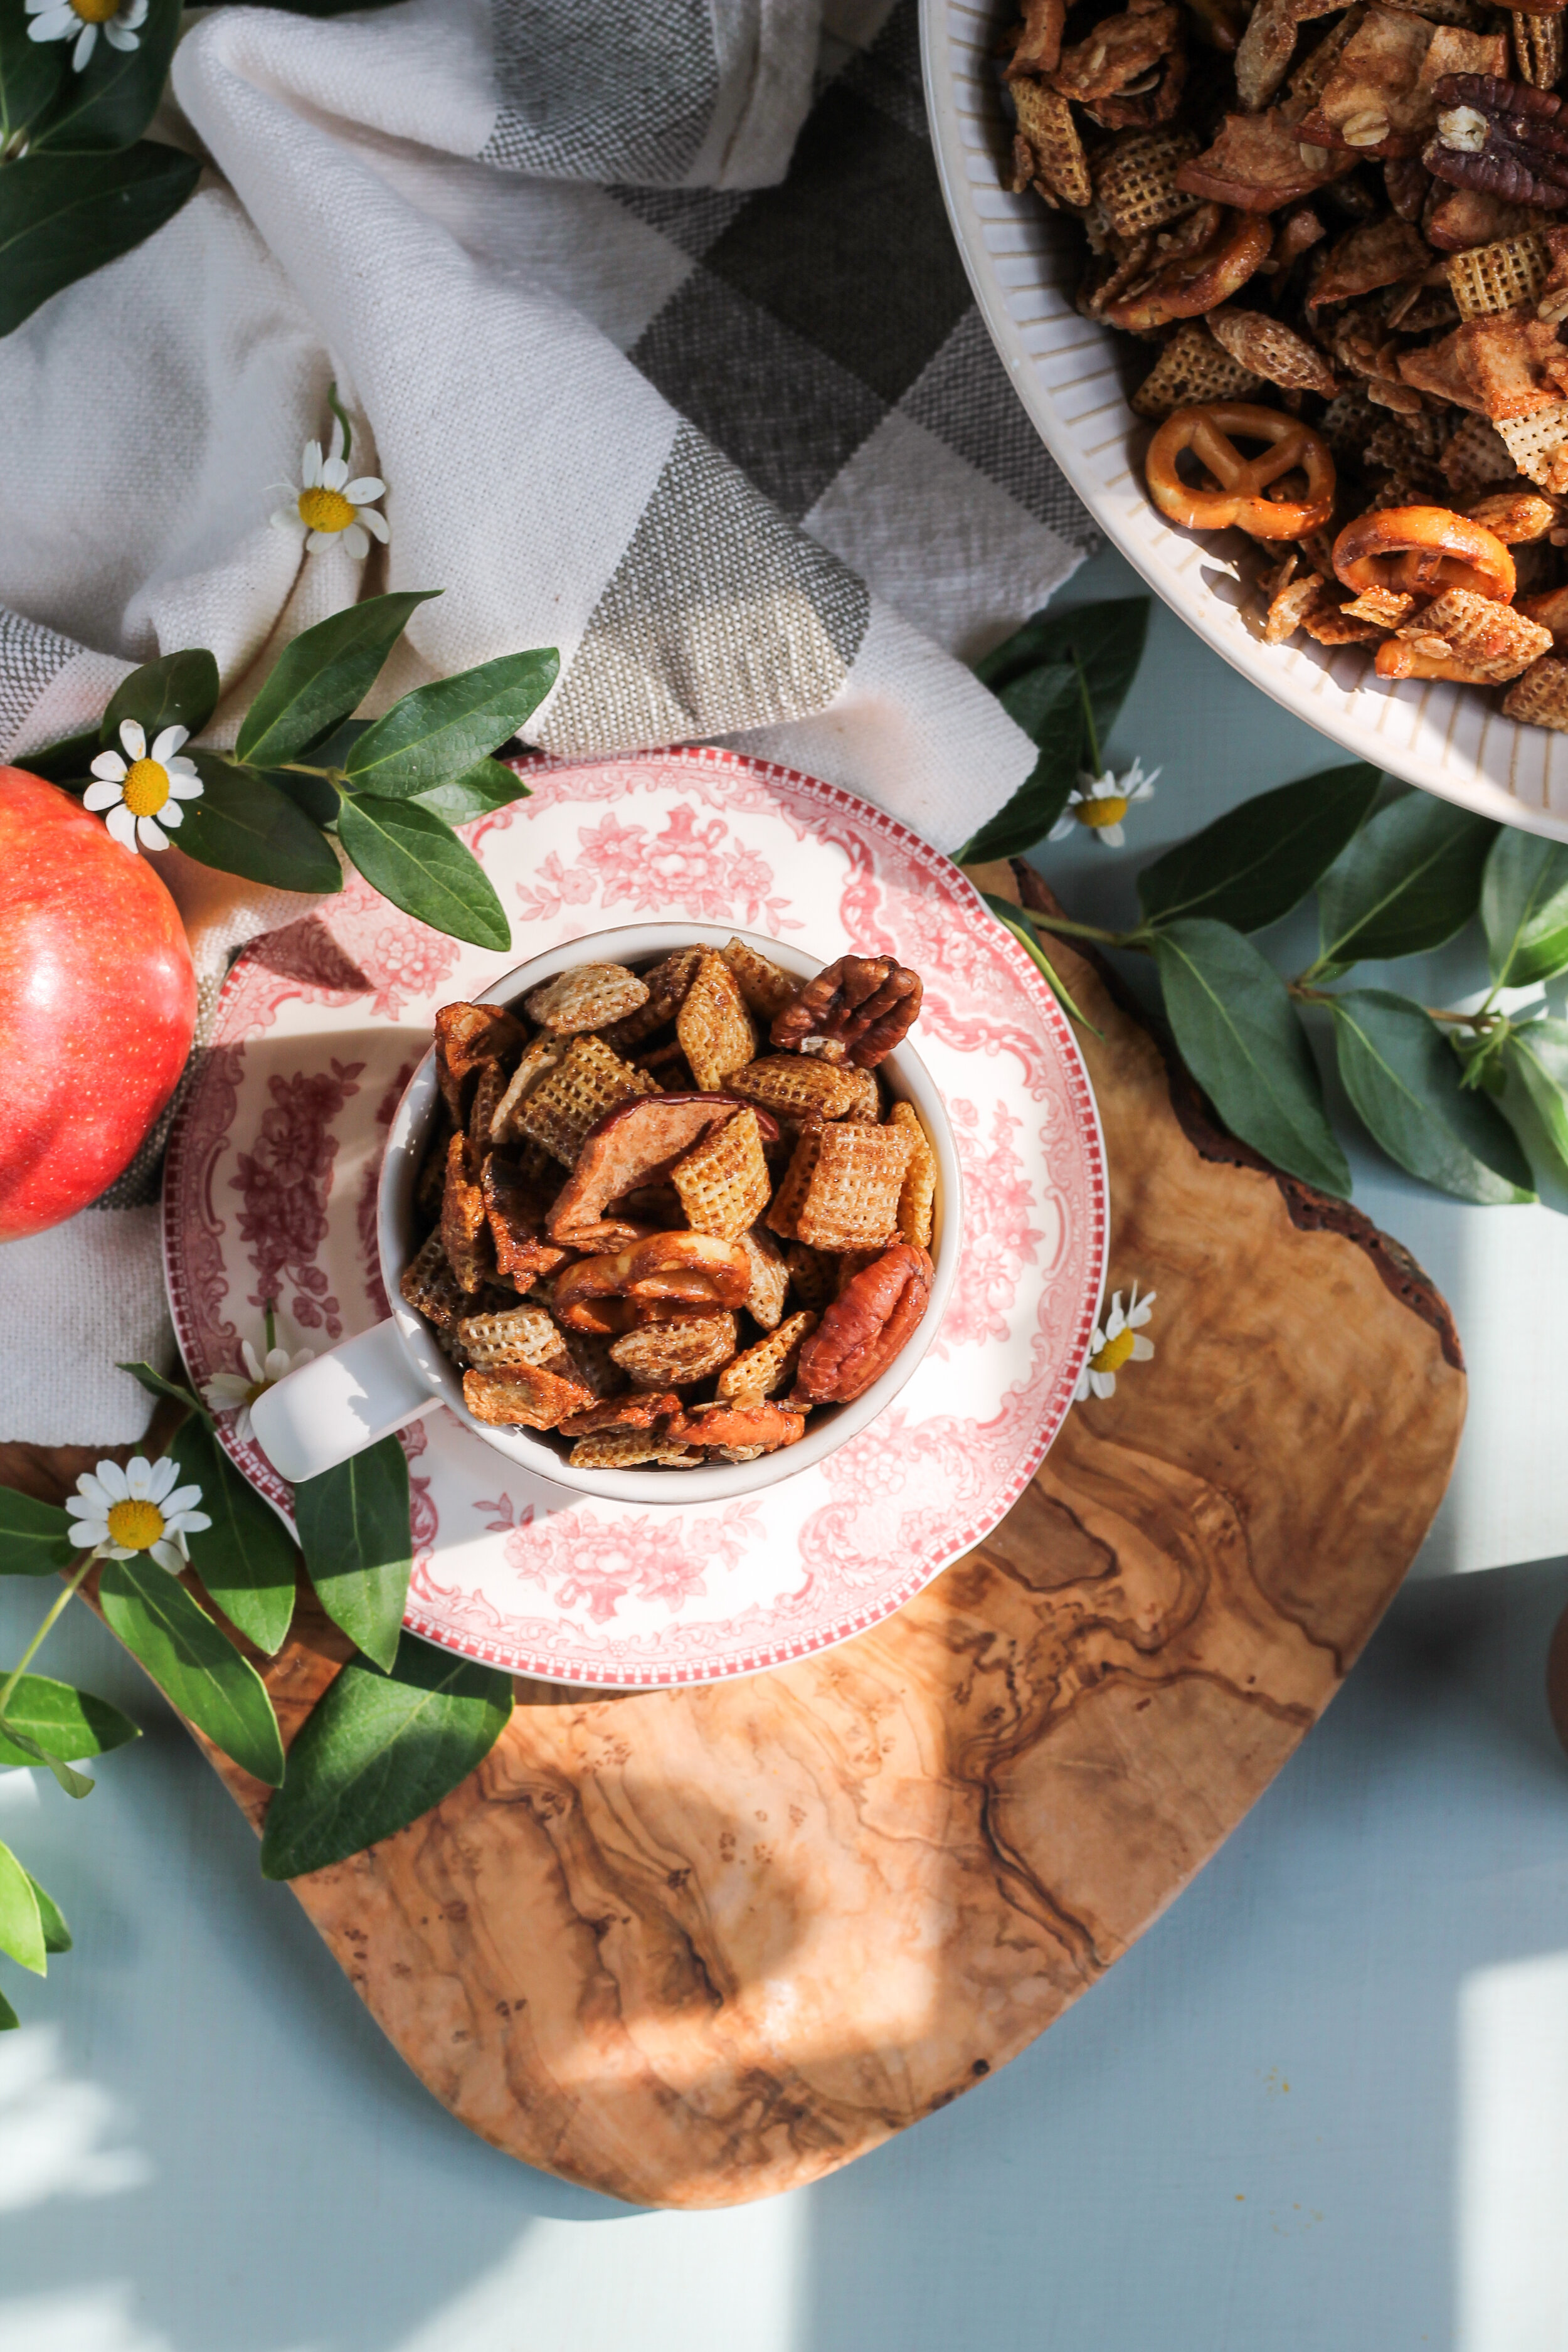
Oh I have been waiting for this day. 

A simple and hearty quiche perfect for Easter Brunch!

I have anticipated this book for well over a year and have been eagerly waiting for my pre-ordered copy since mid-January.  

Joy the Baker is the lady who inspired me to create this space and her work continues to motivate my efforts and spark my creativity.  

A simple and hearty quiche perfect for Easter Brunch!

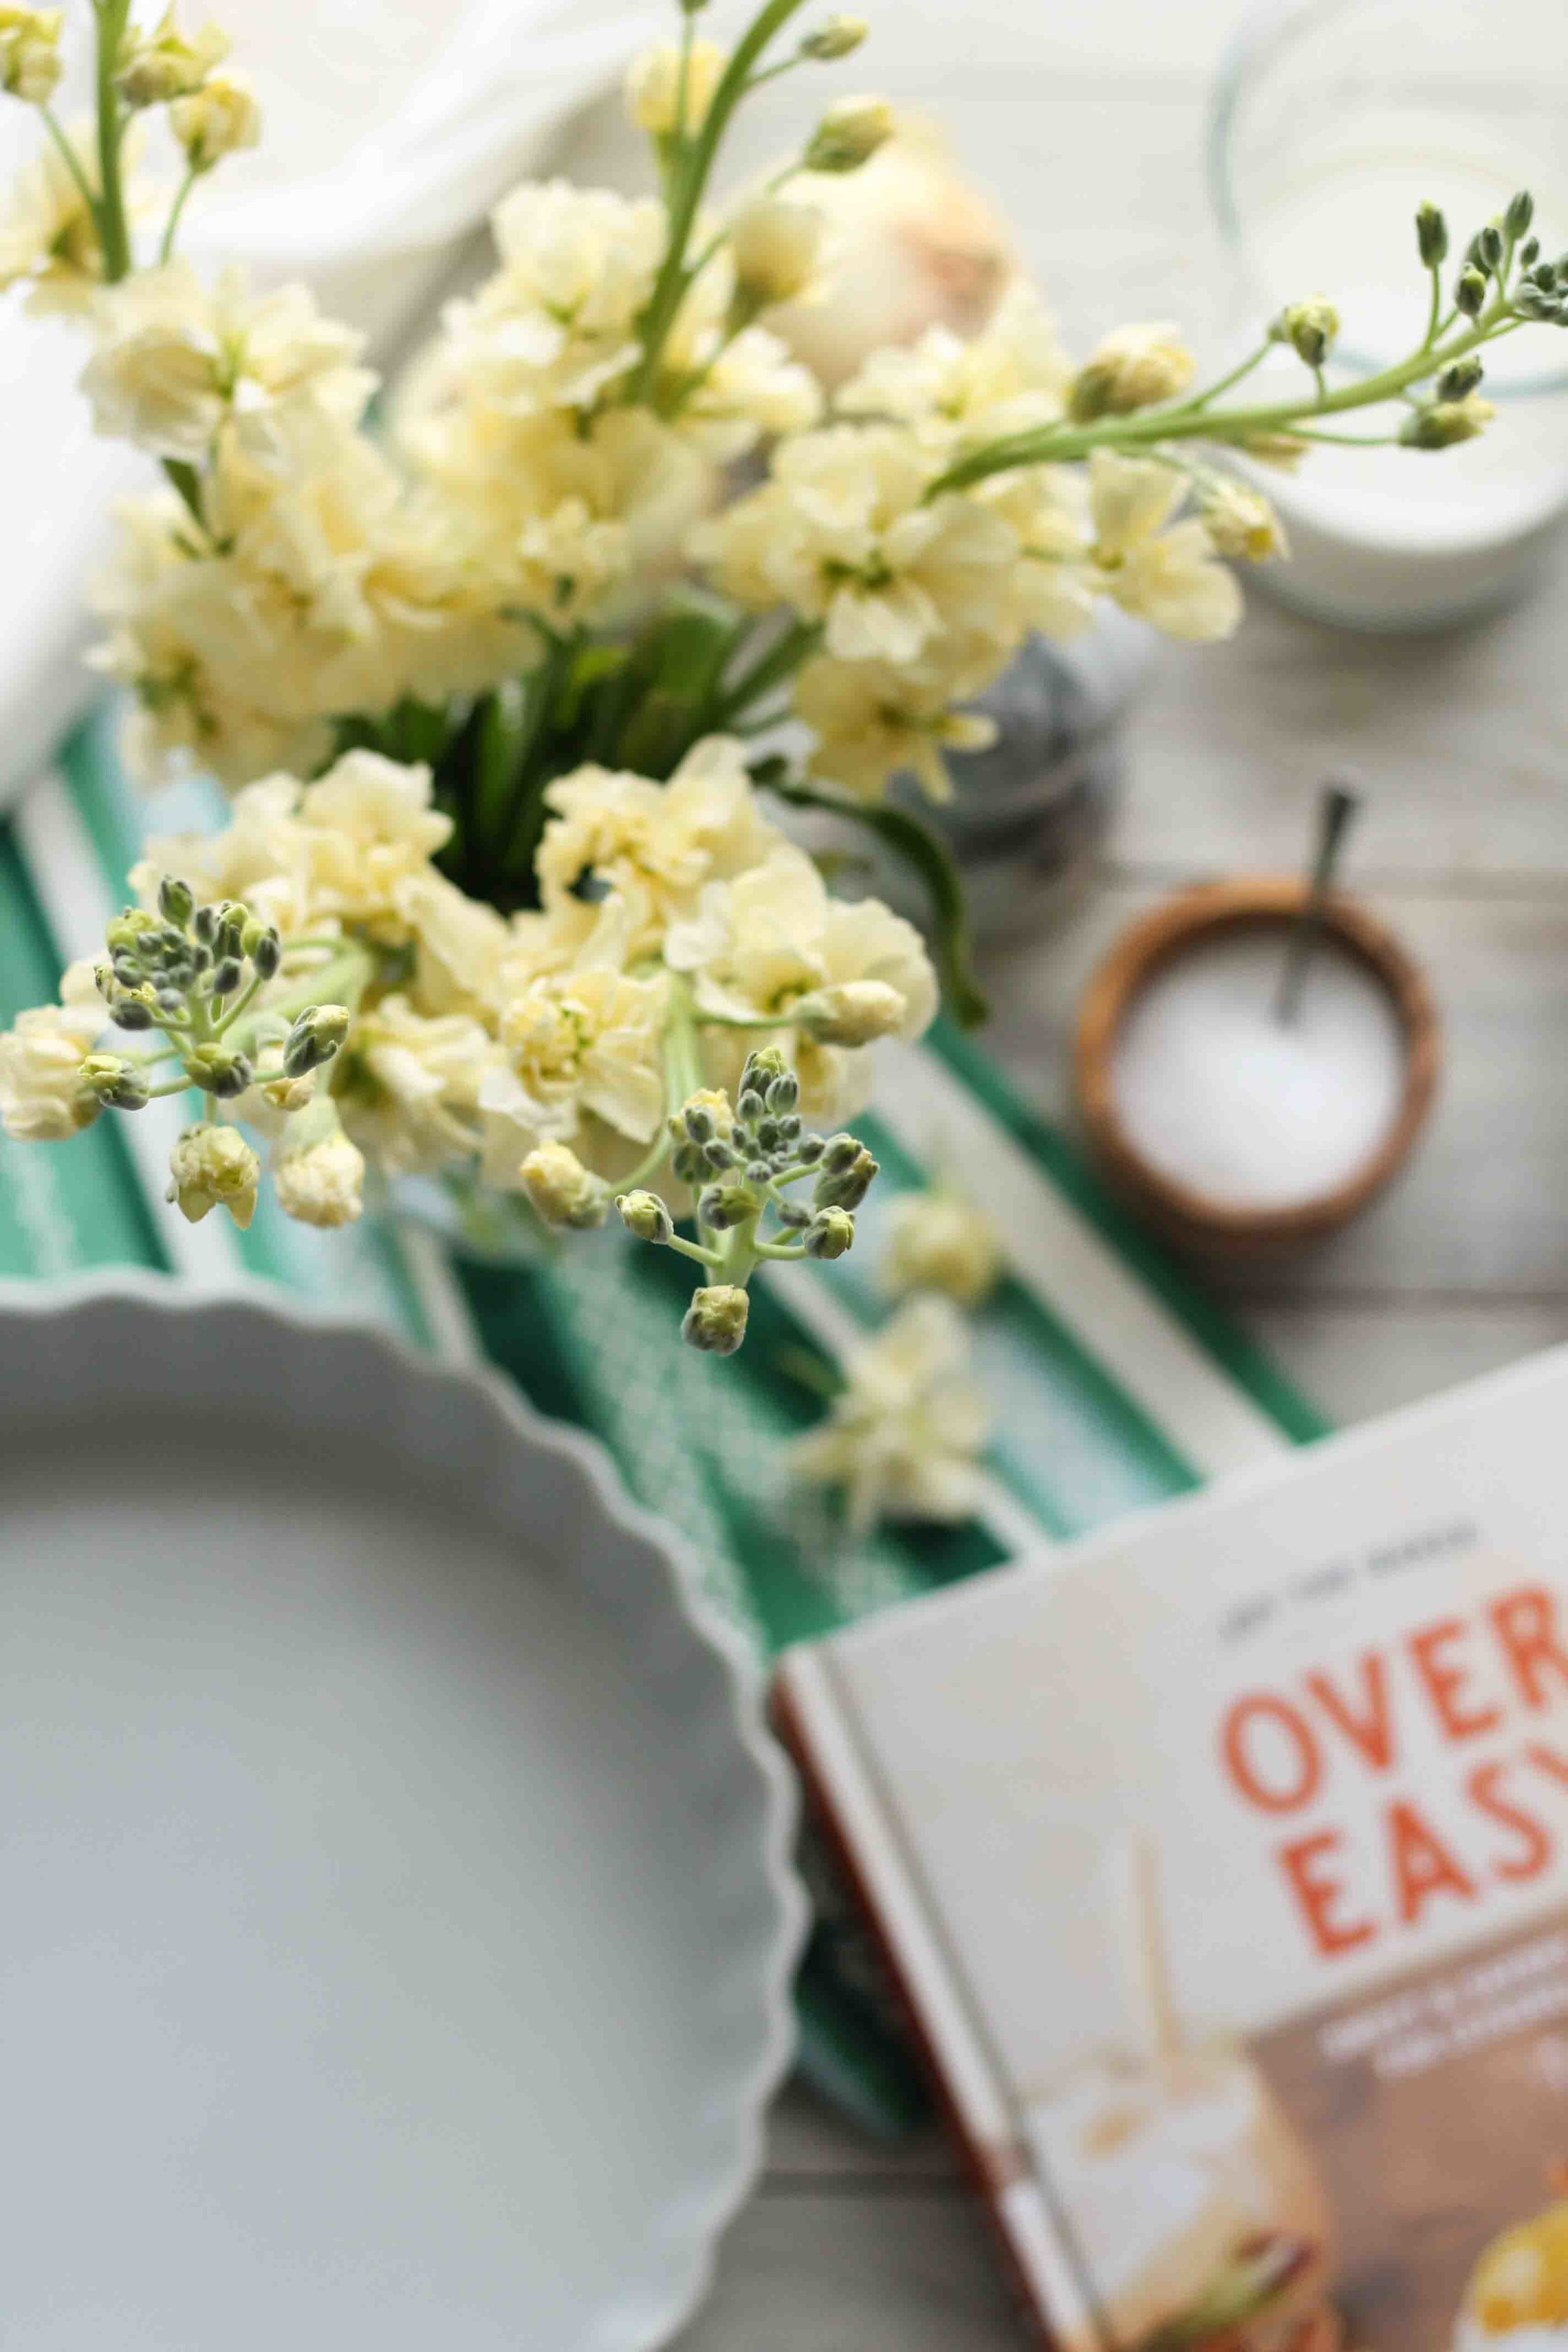
This brunch book is beautifully put together.  It is intuitive, instructional, and just really fun.  I love it and I know you will love it, and nobody is paying me to say that.  

Many of its golden recipes strike the comfy weekend balance between ease and effort.  When brunching, or breakfasting, on the weekends we have a bit more time for frills, but do not wish to feel like we are working.  This recipe is a perfect example of the book's approachable balance.  While we have to do some chopping and sautéing, we are going to let the supermarket handle the pastry side of things for us. 

A simple and hearty quiche perfect for Easter Brunch!

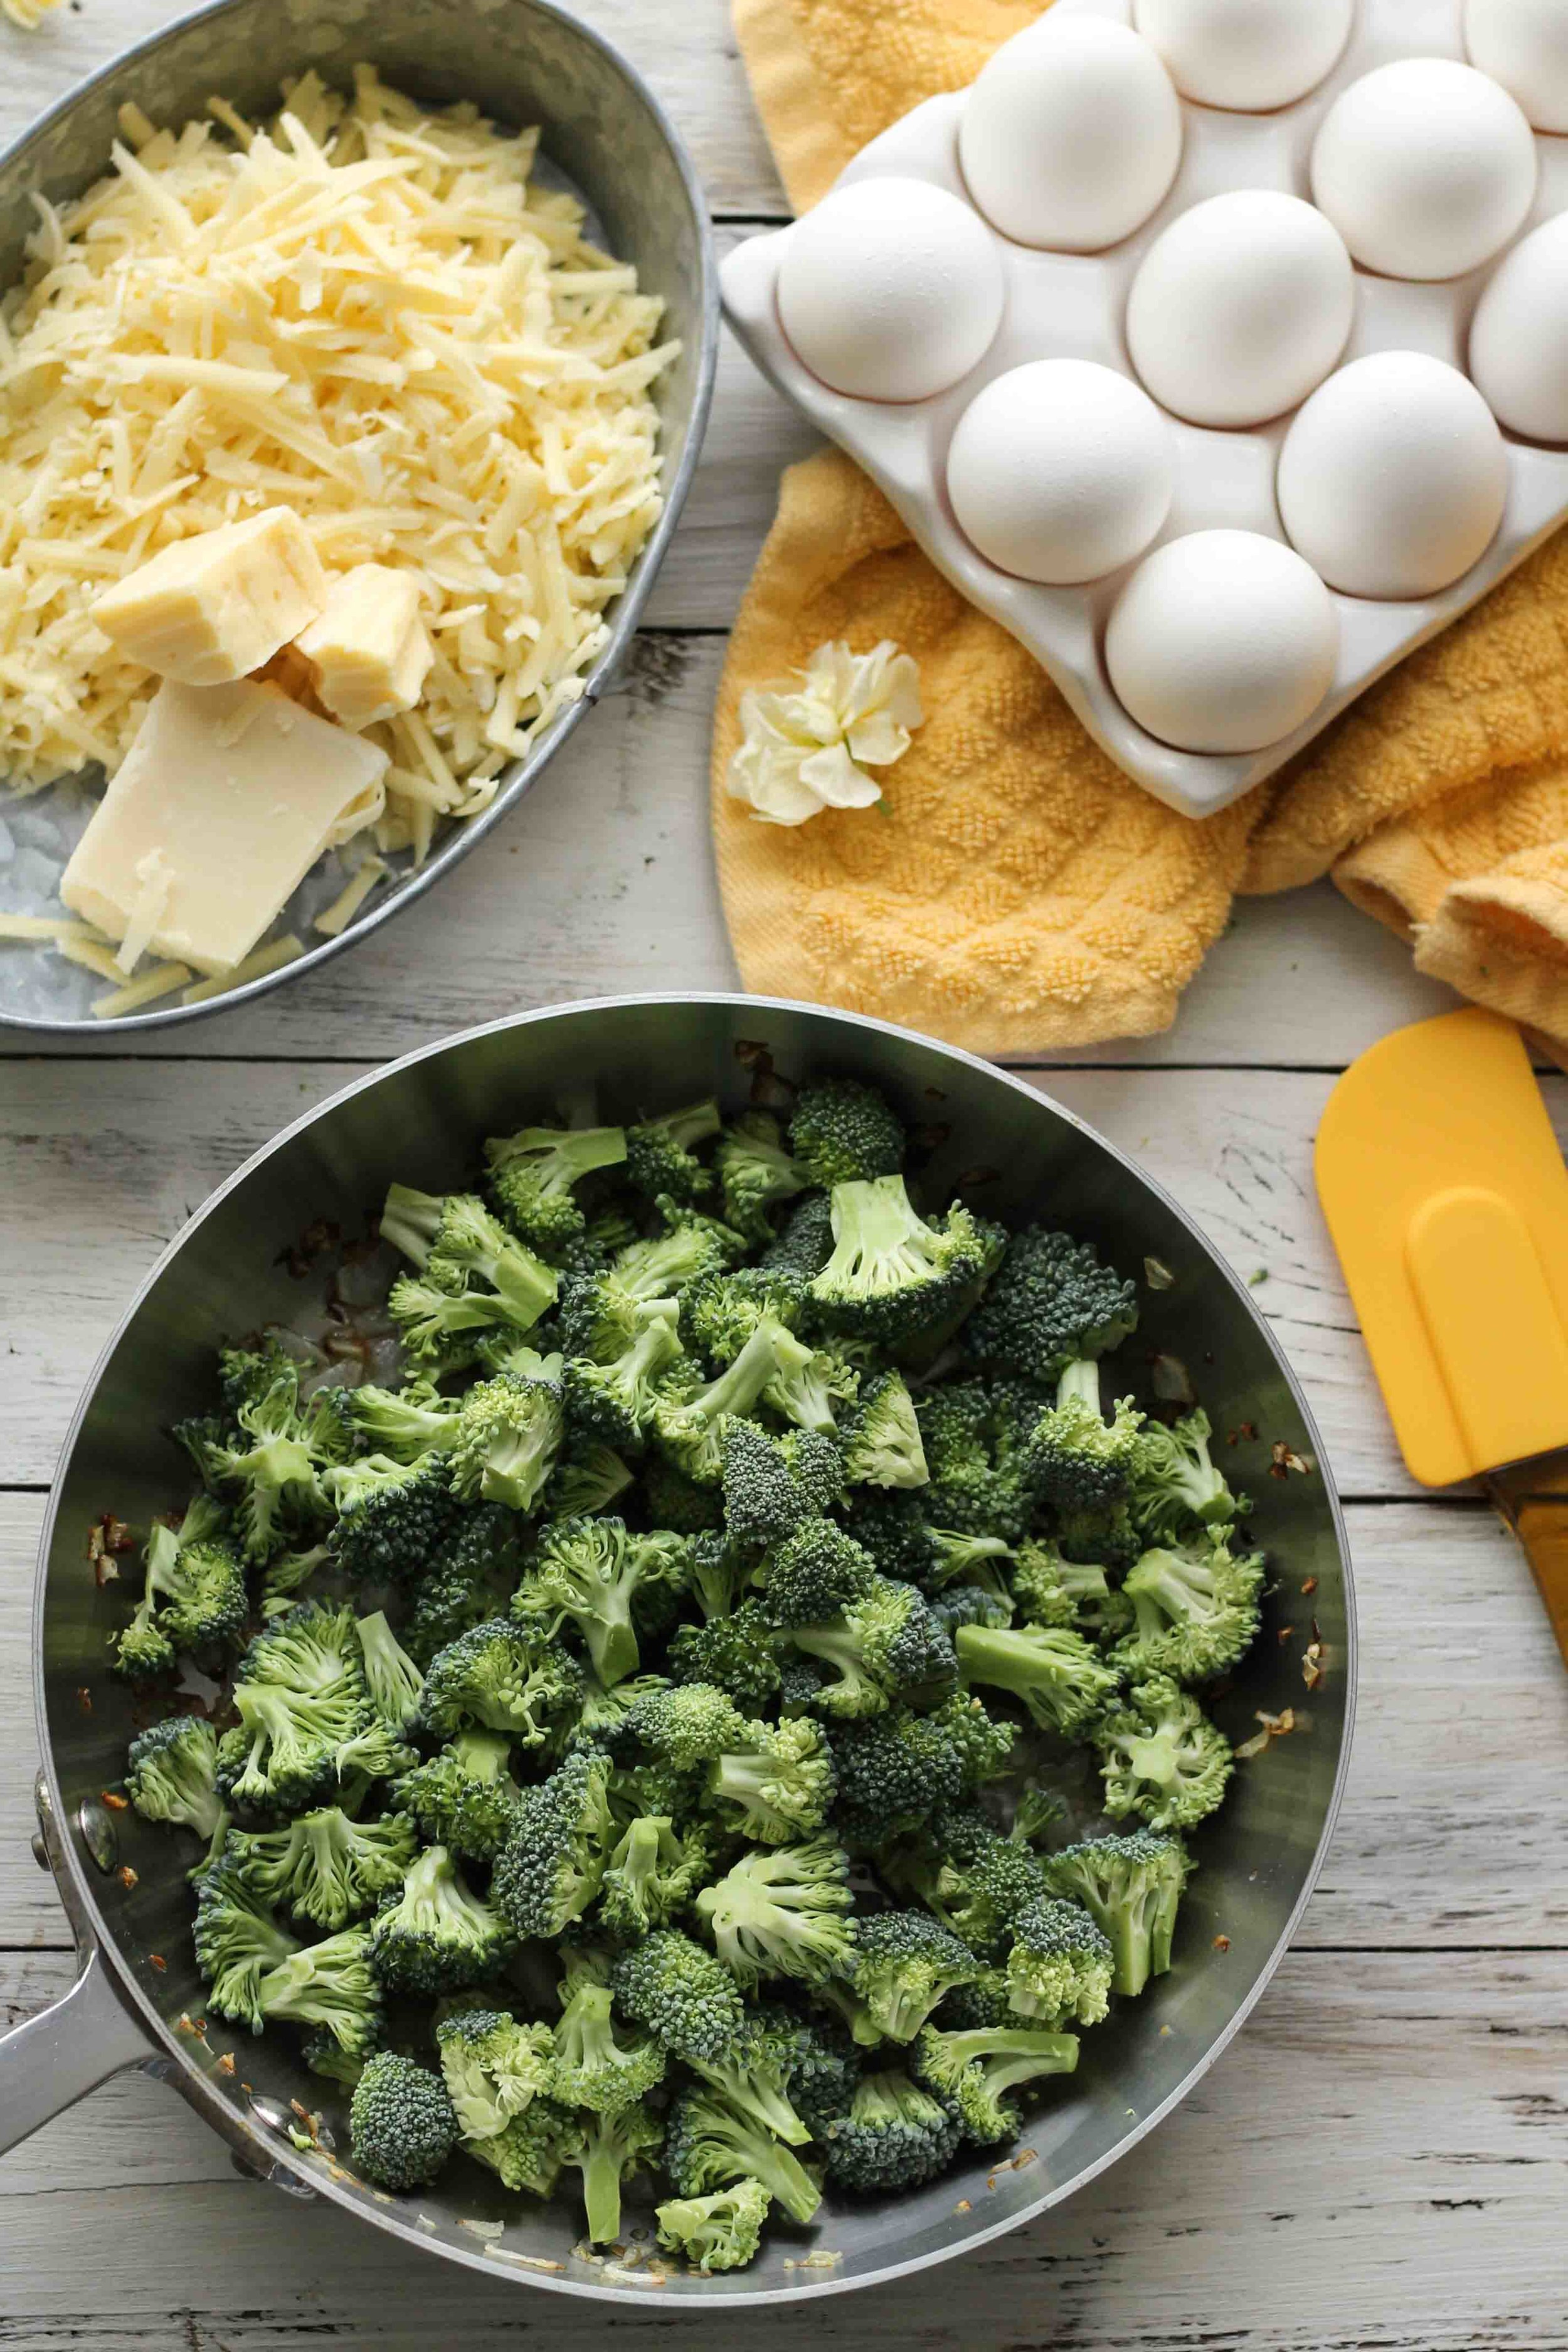
It took me several trips of reading and skimming through this book to decide which of the many eye-catching and hunger-igniting recipes I would tackle first.  For whatever reason, my eye kept returning to this Broccoli and Cheddar Quiche.  

It's odd that I would turn down donuts for eggs, and even more peculiar that I would choose quiche when truly, up until now, I had only liked two of the quiches I had had in my life. 

A simple and hearty quiche perfect for Easter Brunch!

Nonetheless, I bought and trimmed the broccoli, grated the cheese, and cracked the eggs. 

Side note: Trimming the broccoli is fun because you get to make teeny tiny florets and they are adorable.  I started giggling thinking about them being tiny trees and then my mind went to Bob Ross (who I have only recently discovered) and "happy little trees," and I giggled more.  No one else was home, just me giggling at my broccoli.  Simple pleasures, folks. 

A simple and hearty quiche perfect for Easter Brunch!

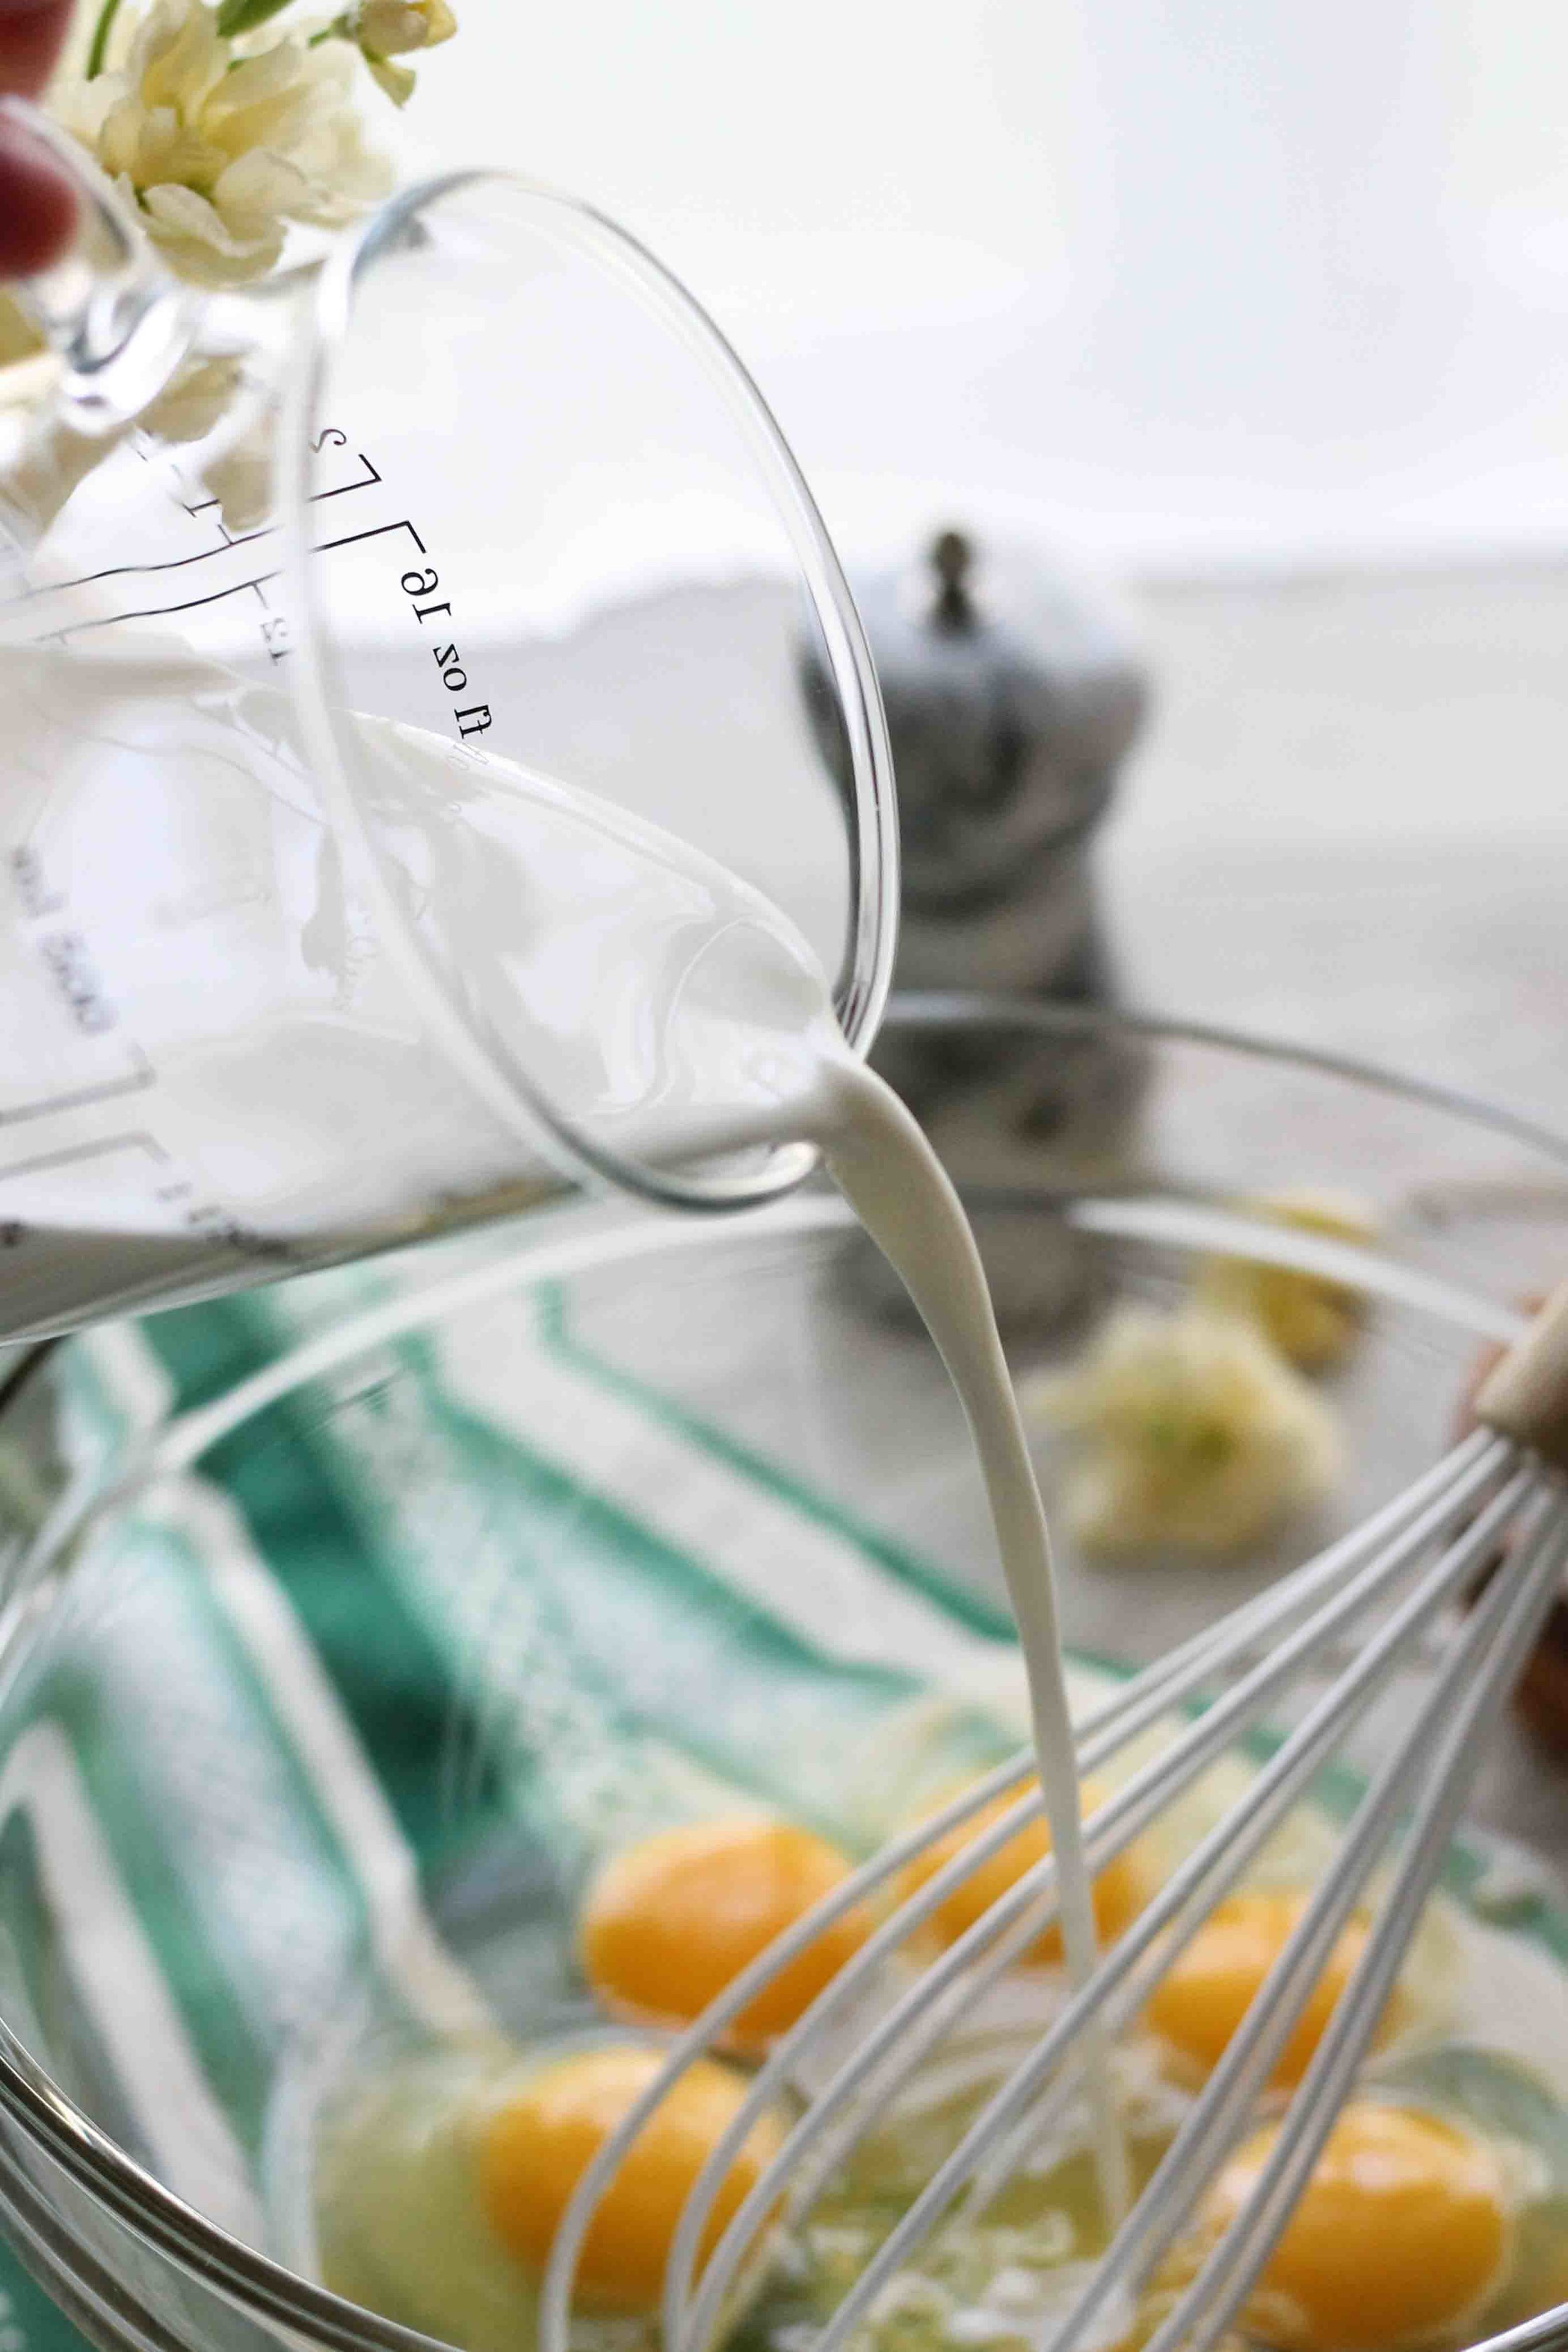
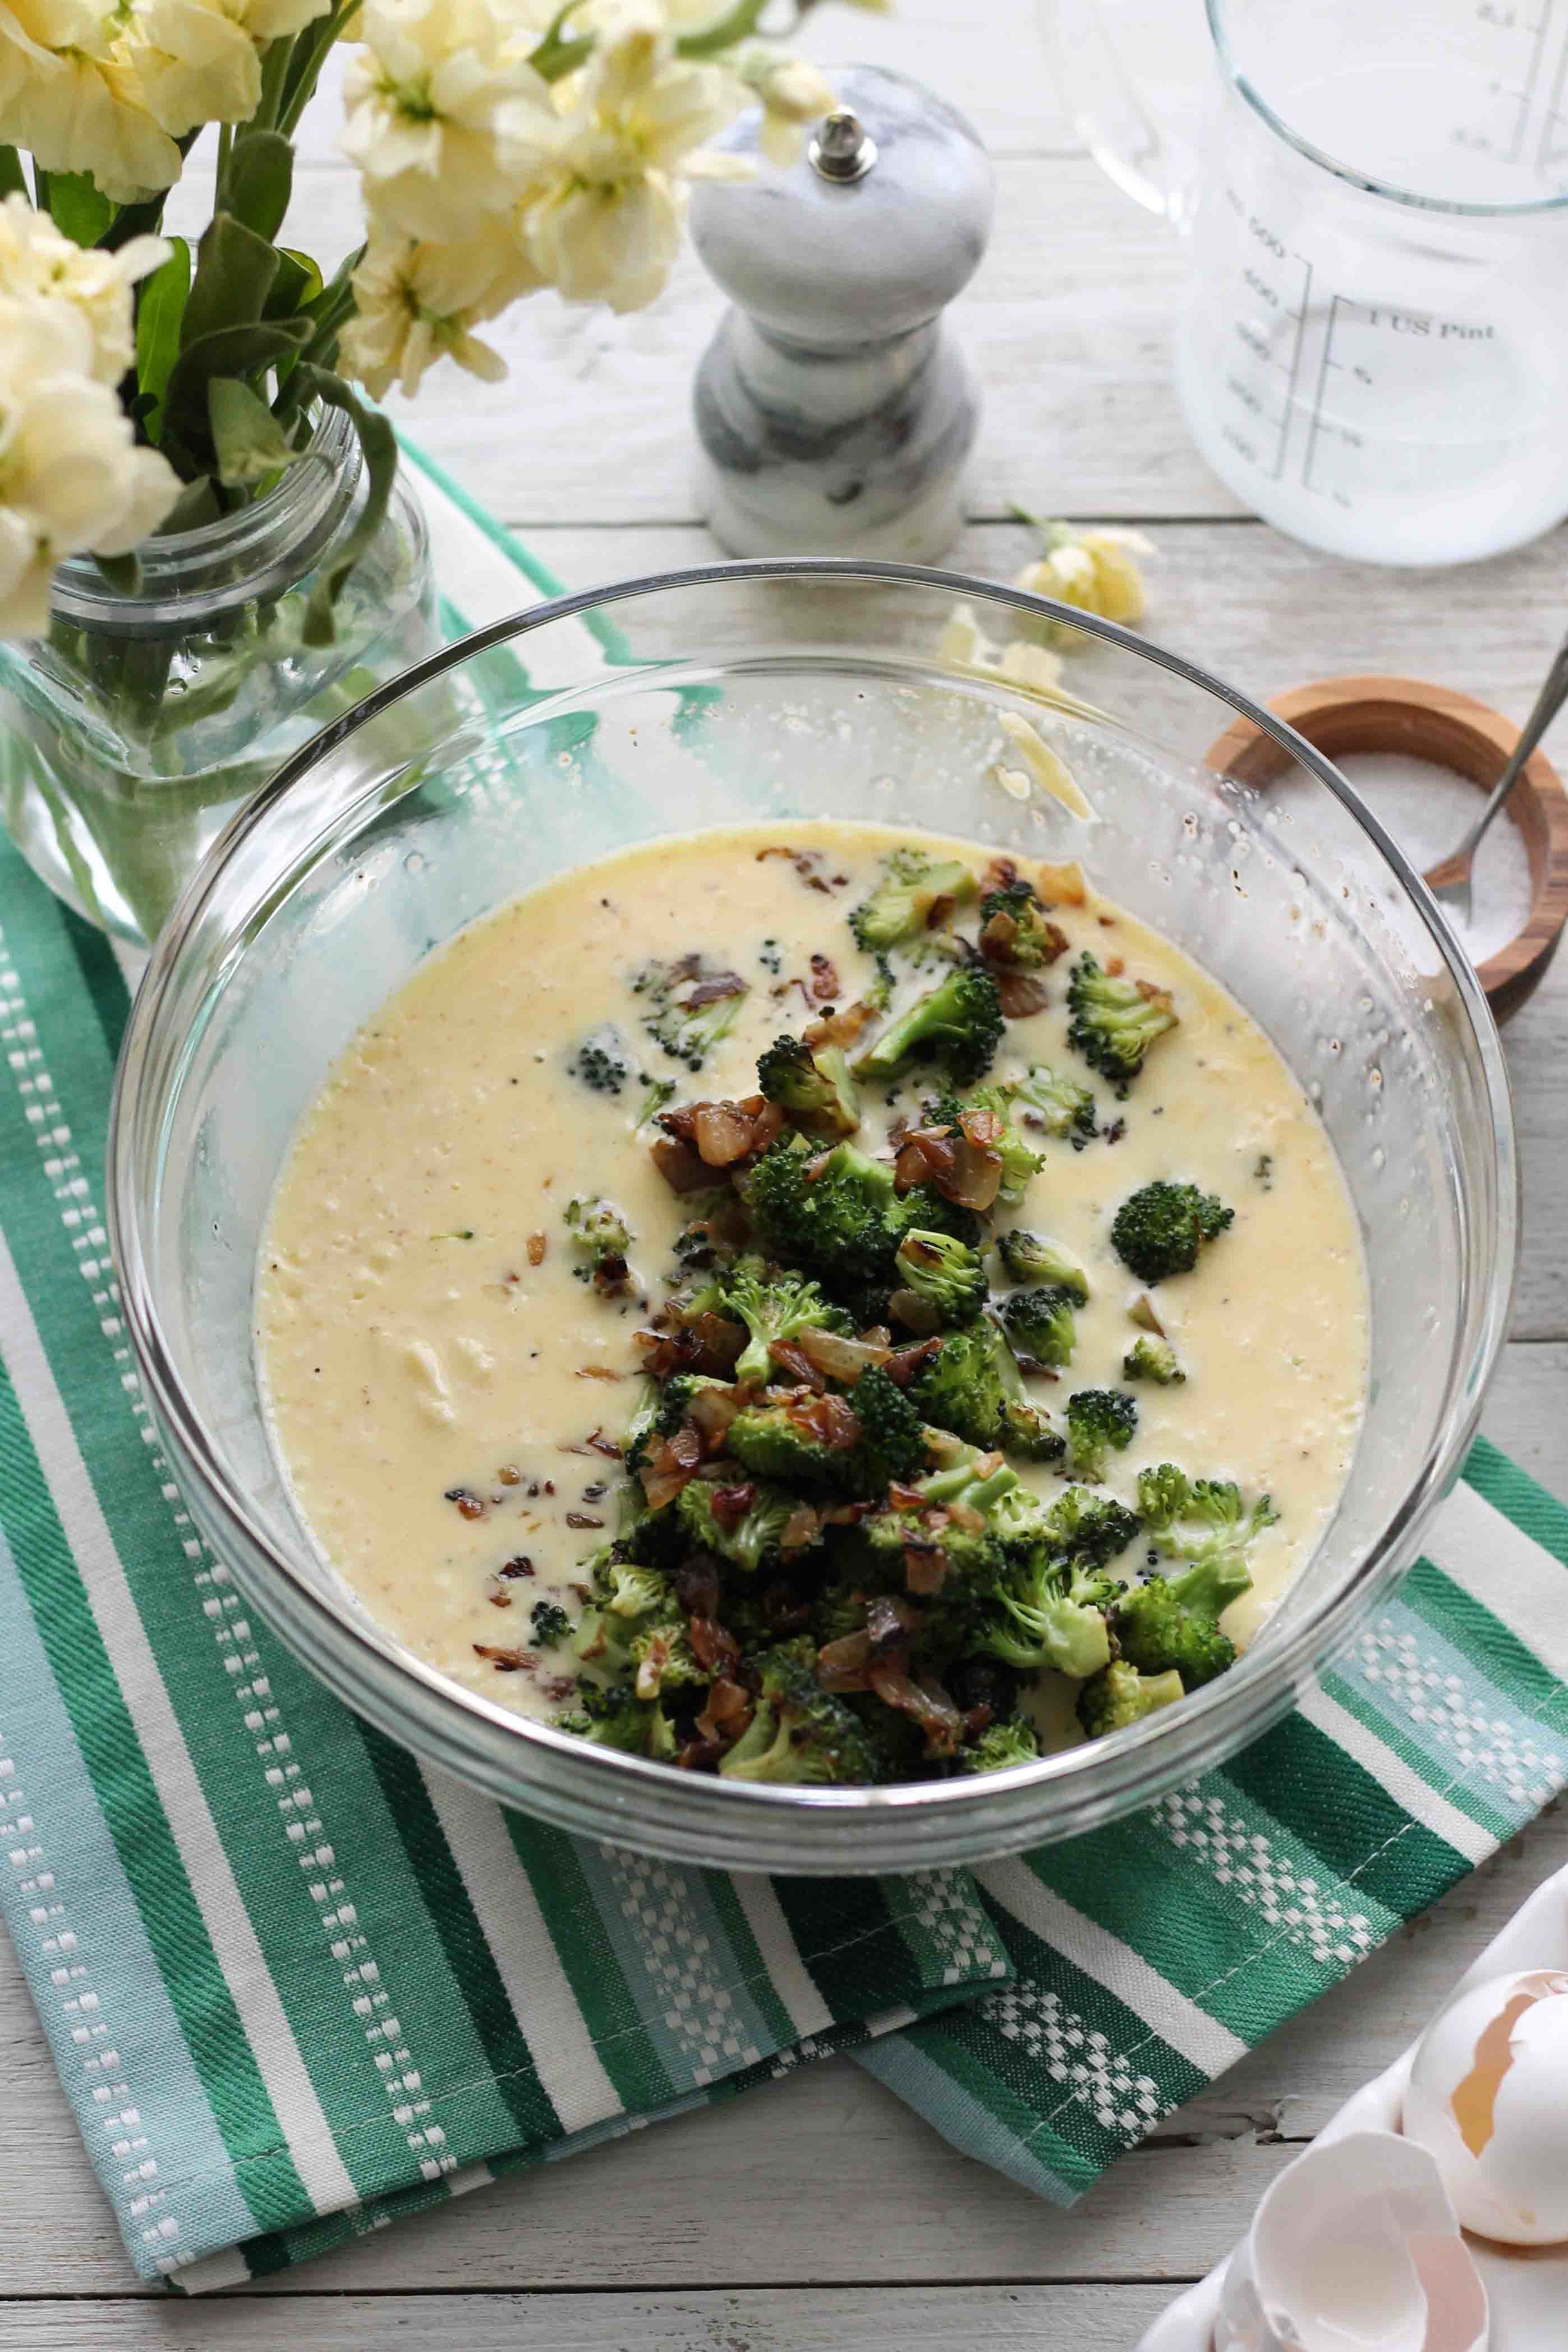
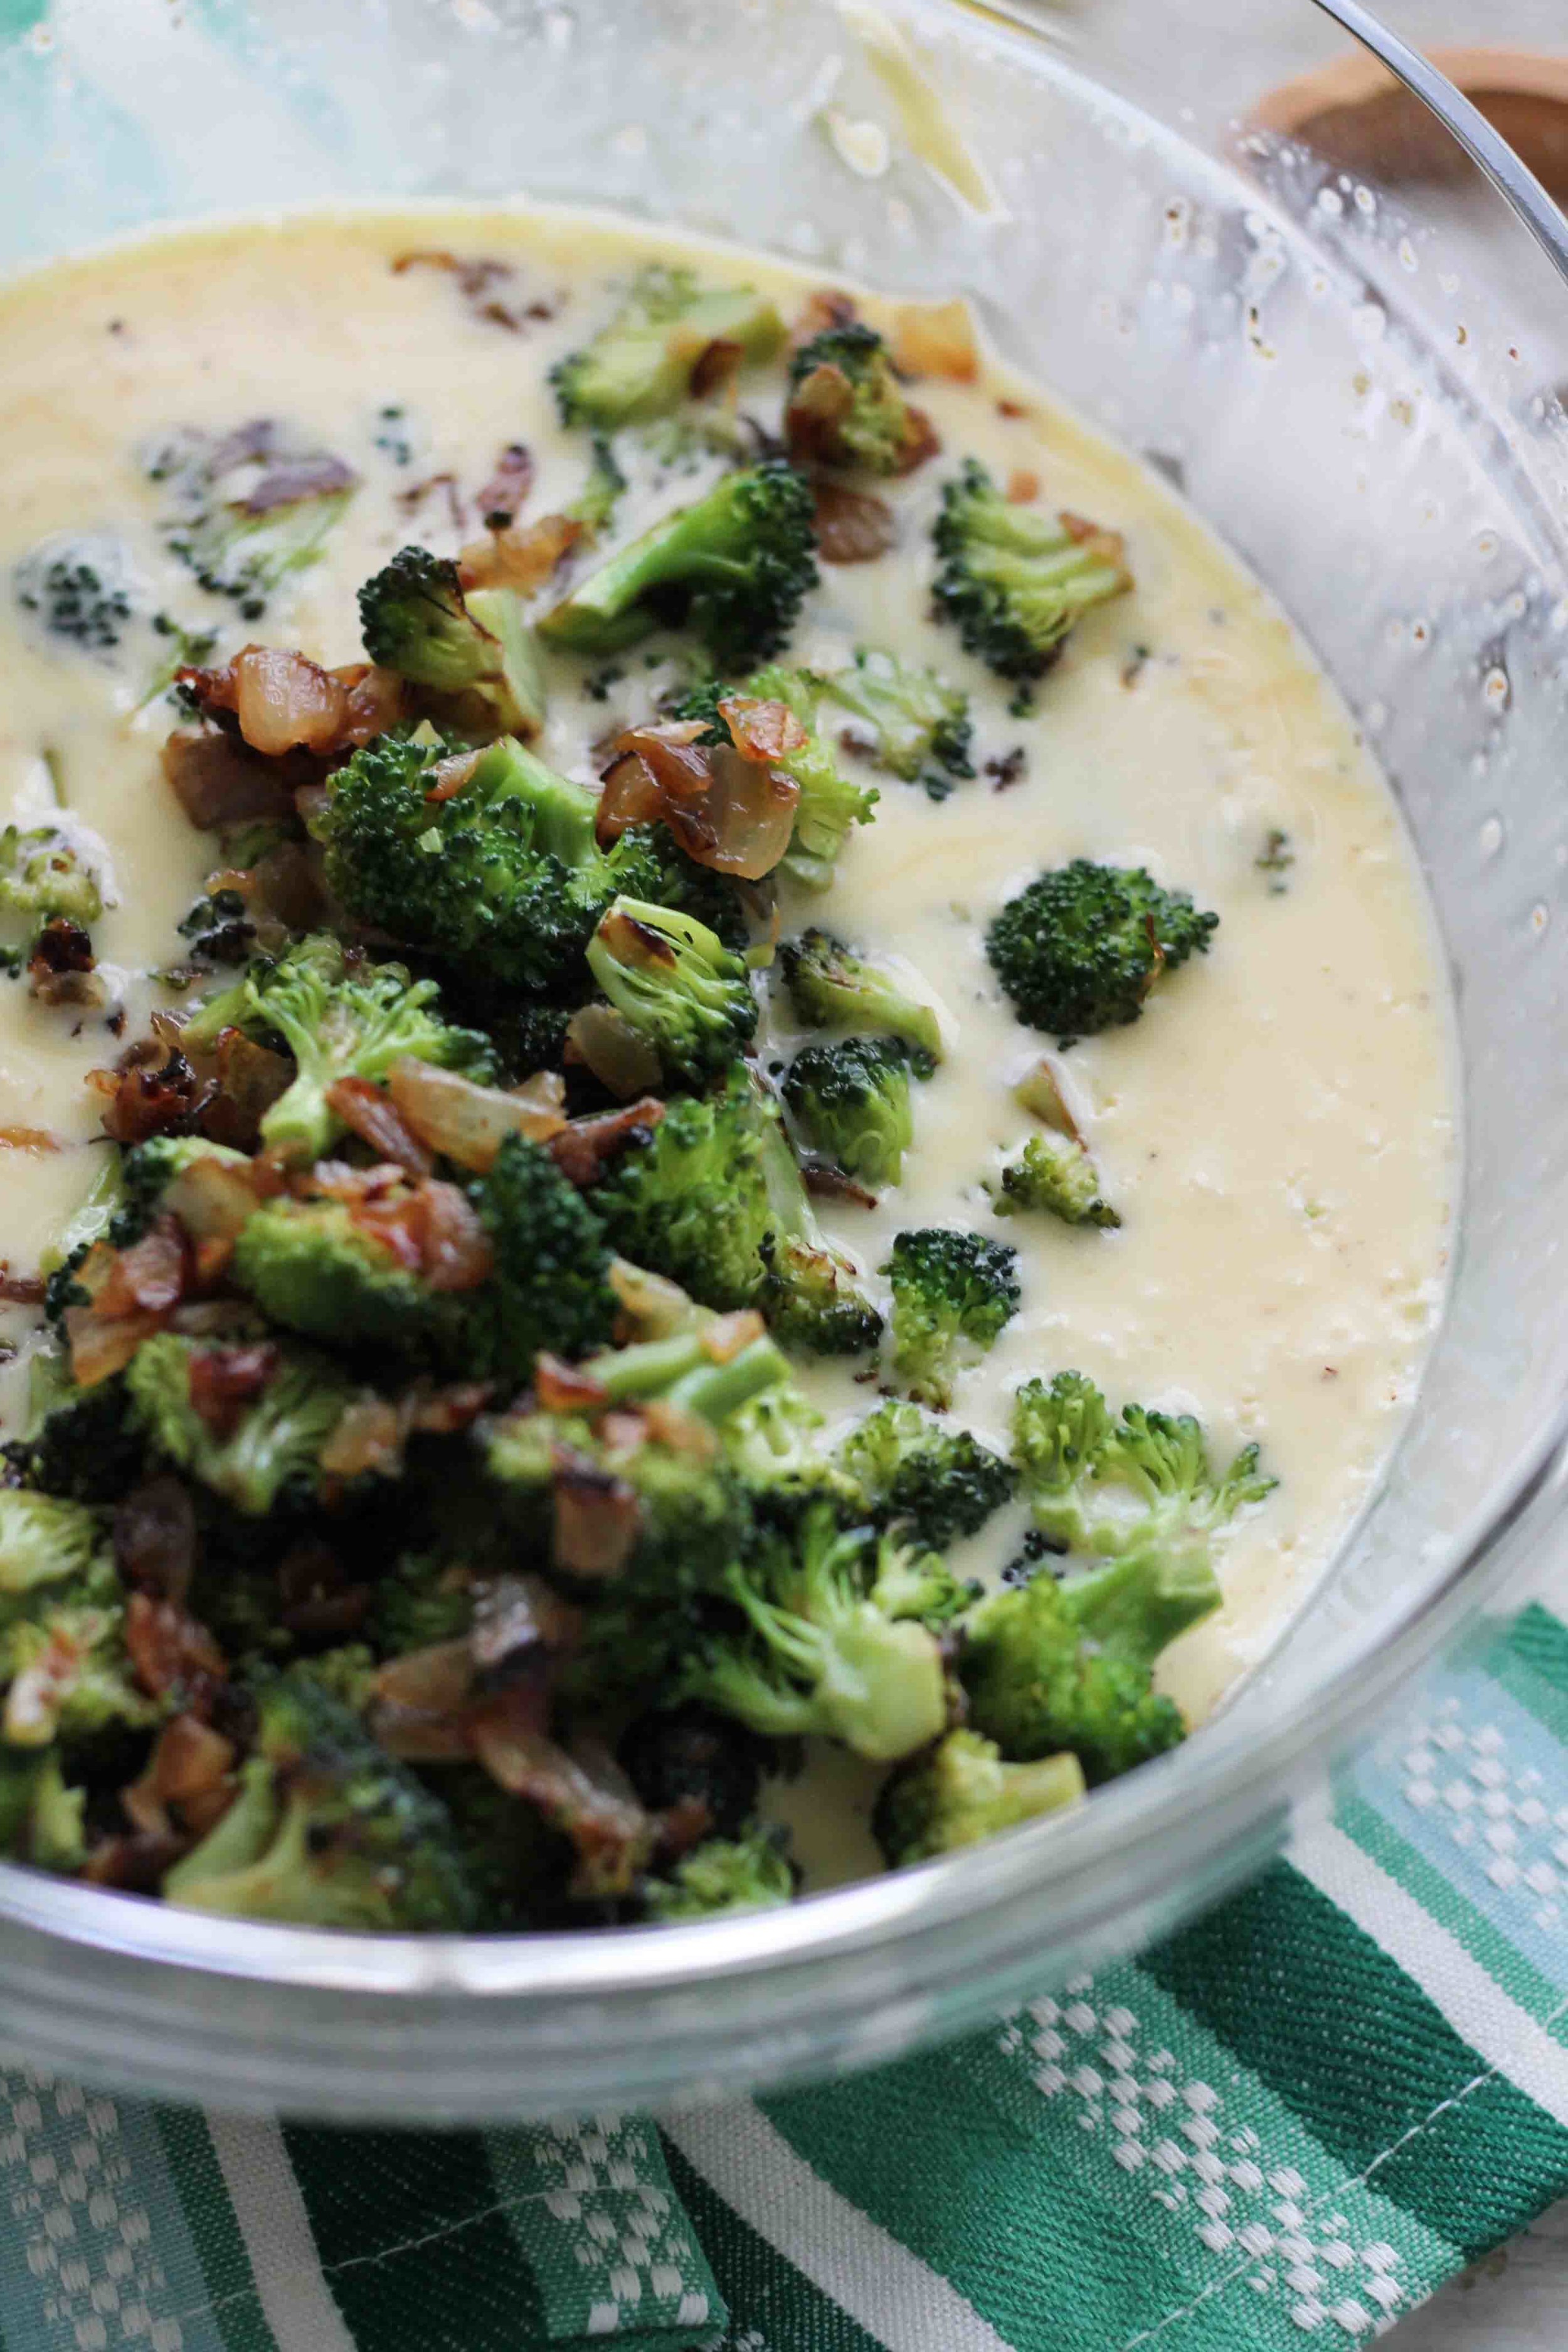
The liquid side of this quiche is super simple, consisting of eggs, salt, pepper, nutmeg, and of course, half and half.  With all that broccoli we can justify some extra cream.  

A simple and hearty quiche perfect for Easter Brunch!

Pepper polka-dots. 

A simple and hearty quiche perfect for Easter Brunch!

While Joy called for good old regula' cheddar, I went with a sharp white cheddar because I will always pick white cheddar over the orange stuff, and because I cannot seem to completely follow a recipe these days. 

A simple and hearty quiche perfect for Easter Brunch!

Now for the vegetables!  

We have to talk about the crust for a moment.  You know I am a homemade puff pastry girl all the way, but I bought the frozen stuff for this quiche and I'll tell you why. 

First, this is an endeavor in balance.  We are taking time to chop and sauté and whisk, but very few of us wish to make puff pastry on a weekend morning.  Secondly, homemade puff pastry would almost be wasted here, because while those lovely, buttery layers are going to give us perfectly crisp edges, the greater part of the pastry will form the bottom crust and will have no chance to puff at all.  So, that is why I will heartily agree to pre-made puff for this recipe. 

A simple and hearty quiche perfect for Easter Brunch!

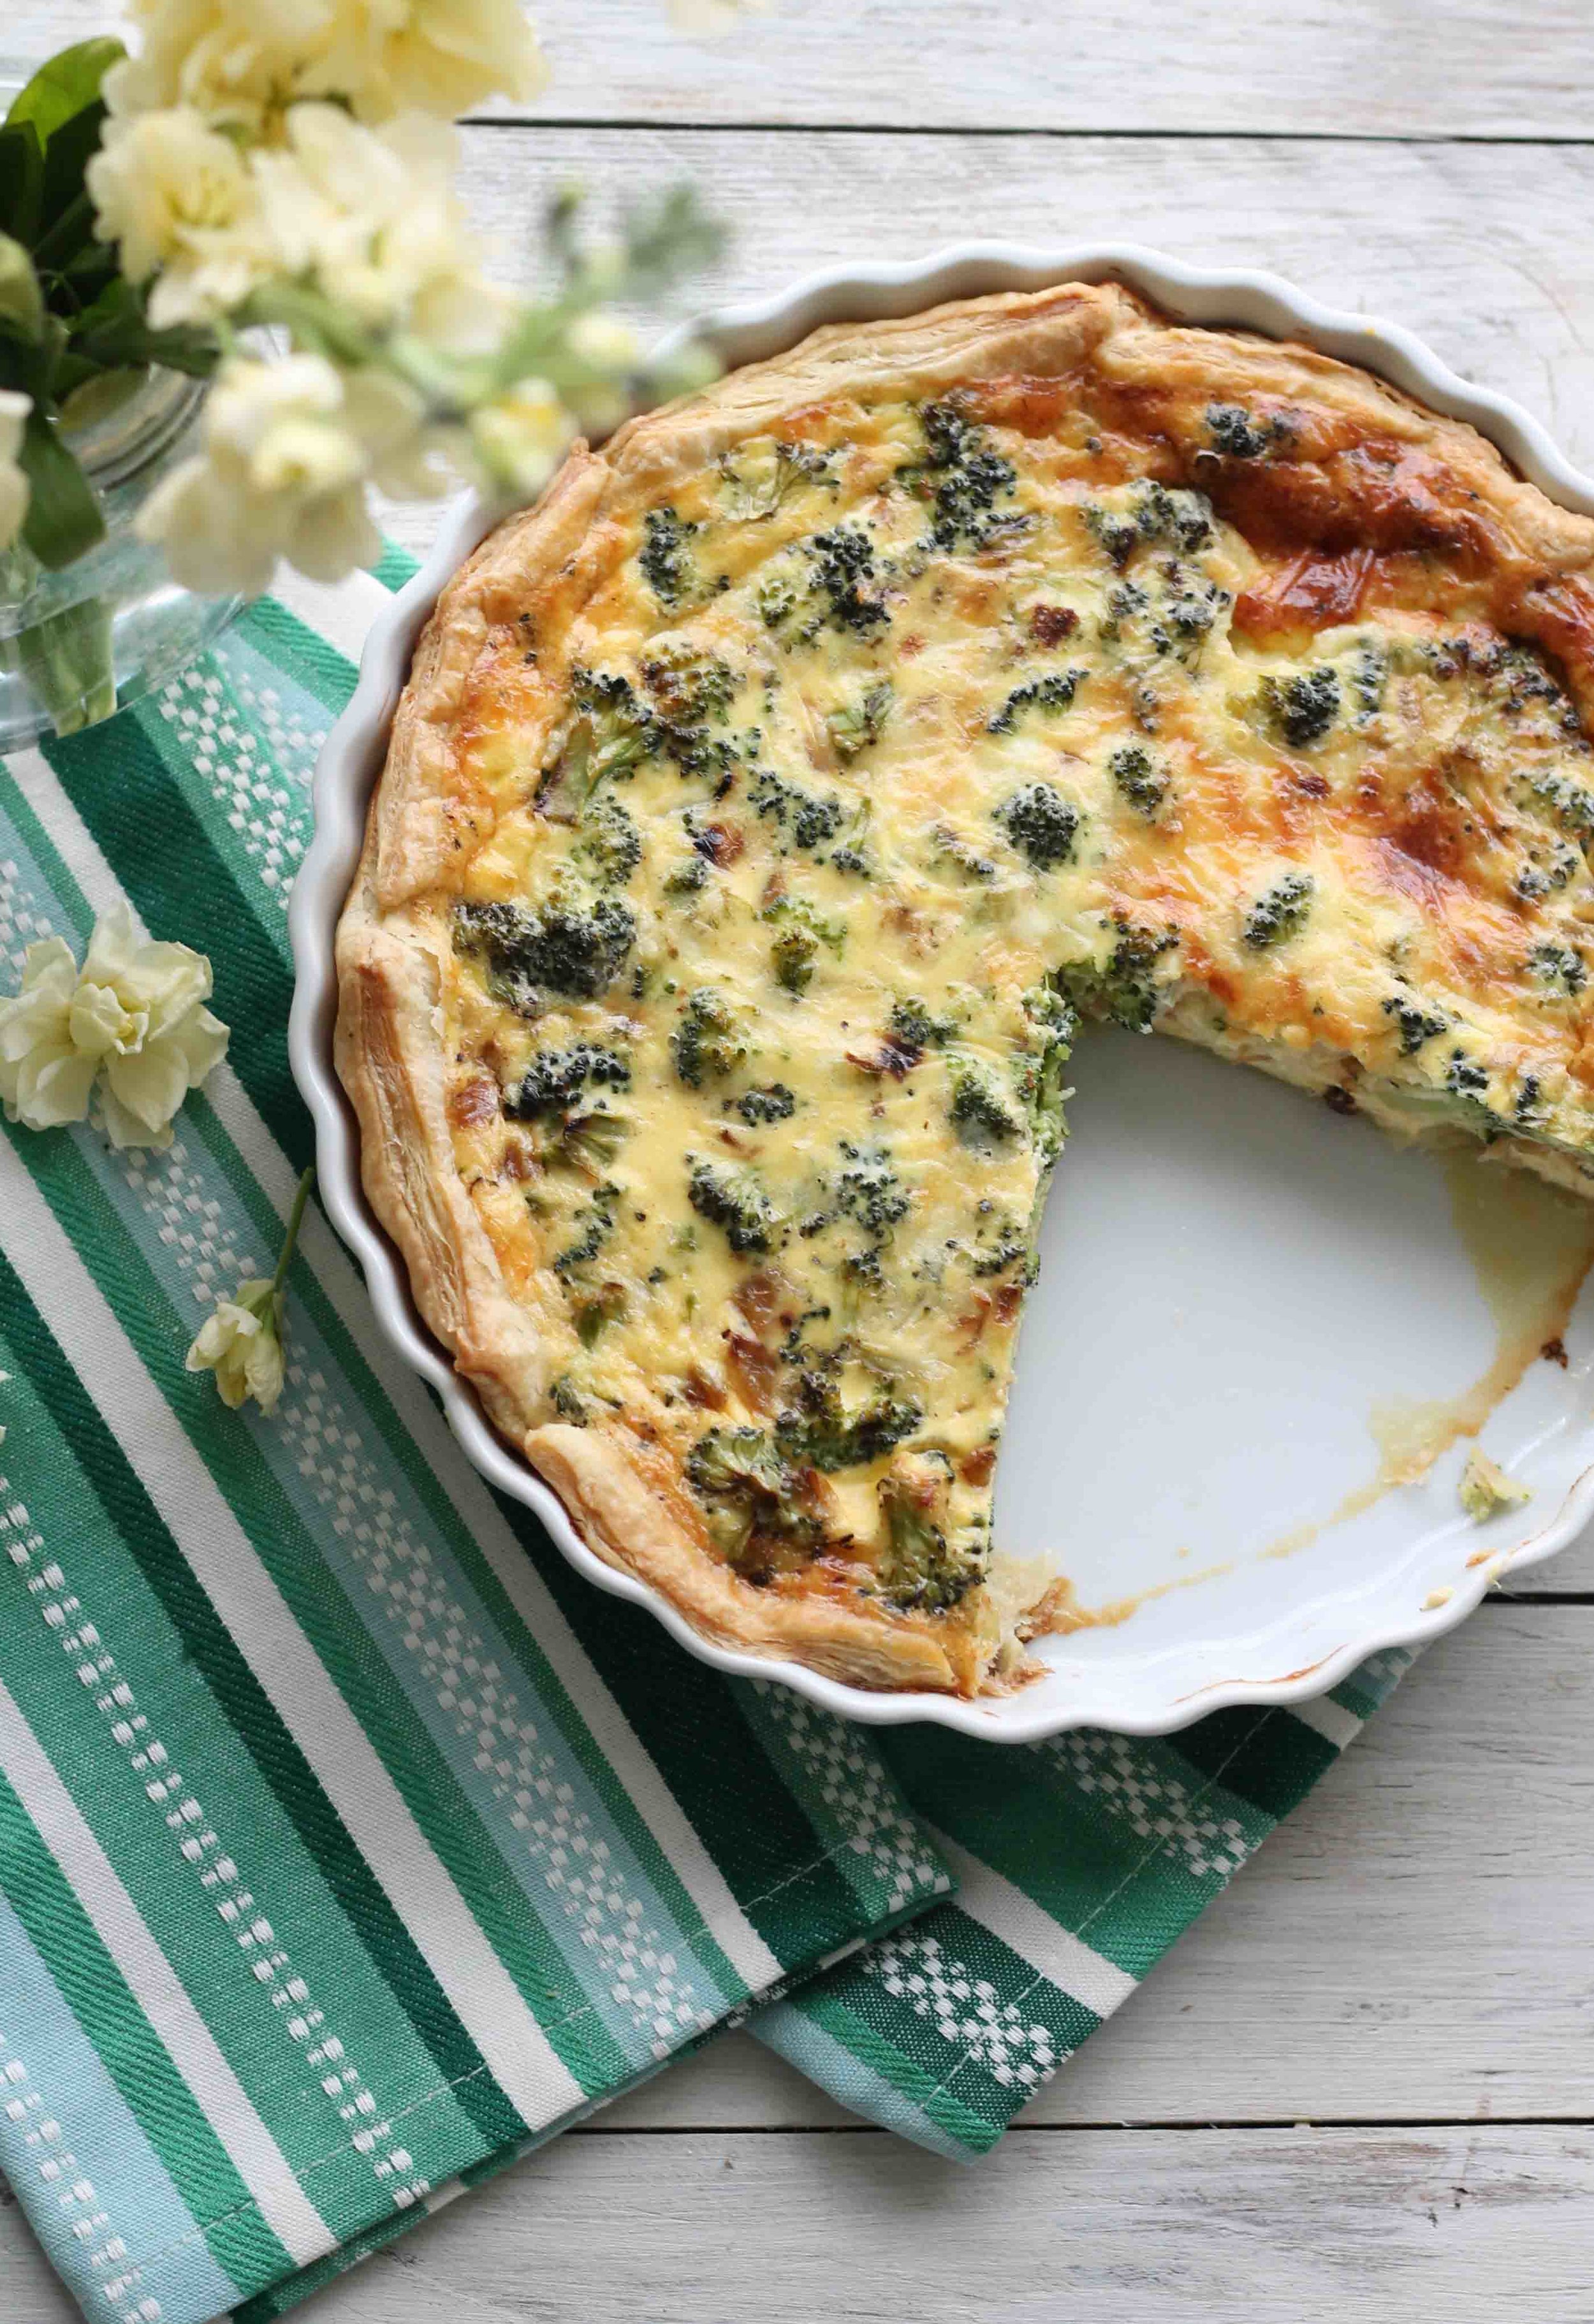
Did I mention how delicious those puffy, crispy, buttery edges are?  I'm never making quiche with pie crust again. 

A simple and hearty quiche perfect for Easter Brunch!

Now Monday may not be the best day to whip out this savory bake, but there does happen to be a lovely holiday just around the corner and this quiche would love to be invited to your pre-church breakfast or served alongside your spring greens salad for lunch.

A simple and hearty quiche perfect for Easter Brunch!

I made this quiche several hours ahead of time and reheated it just slightly before serving and it was perfection.  Feel free to bake it up the night before for a quick breakfast or brunch the next morning. 

I have enjoyed it for breakfast, lunch, and dinner at this point, and it was delicious every time.  It is likely my favorite quiche because it is hearty without being too rich, and the puff pastry crust gives it that extra something that has kept me coming back for more.  I really cannot wait for you to try it. 

A simple and hearty quiche perfect for Easter Brunch!

Oh, you are wondering about that drink?  Coming soon...*wink wink.*

Sincerely,

Pedantic Foodie


Broccoli & White Cheddar Quiche

recipe from Over Easy (slightly adapted) / yields 6-8 servings

- 1 sheet frozen all-butter puff pastry, thawed*

- all-purpose flour, for rolling 

- 2 tablespoons vegetable oil 

- 1 medium sweet onion, finely diced

- 3 heaping cups bite-sized broccoli florets 

- 6 large eggs 

- 1/2 cup whole milk

- 1/2 cup half and half

- 3/4 teaspoon kosher salt

- freshly ground black pepper

- pinch of freshly grated nutmeg

- 1 cup sharp white cheddar cheese, grated

*While thawing the pastry is necessary for shaping it, you do not want it to be warm enough to melt the layers of butter.  It should be just barely pliable, but still very cold when you roll it out. 

Lightly dust a clean surface with flour and gently unfold the puff pastry.  Carefully roll out the pastry, increasing the length and width by roughly an inch on each side.  Transfer the pastry to a 9-inch pie plate and gently press the pastry into the pan, rolling over the edges as necessary.  Cover with plastic wrap and refrigerate while you prepare the filling. 

Preheat oven to 375 degrees F. 

In a large sauté pan, heat oil over medium heat.  Add the onions and cook until they become translucent and have just started to brown on the edges.  Add the broccoli to the pan and toss gently.  Cook for about three minutes.  The broccoli should still be bright green in color but slightly softened.  Add 1/4 cup water to the pan and cover with a tight-fitting lid.  Steam the vegetables for about 2 minutes, until tender, but crisp.  Uncover and remove from heat.  Allow the vegetables to cool to room temperature; about 20 minutes. 

In a large mixing bowl, combine eggs, milk, half and half, salt, pepper, and nutmeg; whisk until smooth.  Gently stir in the grated cheddar and then add the cooled vegetables.  Pour into the prepared pastry crust and smooth the top of the mixture with a spatula. 

Bake for 40-45 minutes, until the quiche is puffy and firm and the crust is golden brown.  Allow the quiche to cool for at least 30 minutes before slicing and serving.  

Personally, I enjoyed this quiche most when it was warm, but it may be served at room temperature or cold.  If you are not going to consume all of this quiche at once, just cover with plastic wrap and store in the refrigerator until ready to serve.  Enjoy!! 

How to Scramble Eggs {Egg Cookery 101}

It’s time for installment No. 2 of Egg Cookery 101, and it seemed to me that the next preparation to tackle was incontestable.  

The scrambled egg. 

How to Scramble Eggs {Pedantic Foodie}

There are many ways to scramble an egg, and no doubt, many of them produce satisfactory results.  But, for my favorite scrambled egg there is only one path to triumph, and this is it. 

How to Scramble Eggs {Pedantic Foodie}

Narcissistic?  Perhaps, but I am not claiming that my permutation of the humble scrambled egg is the best.  After all, there is no question that many a fine egg has been scrambled in a myriad of ways differing from my personal method.  Therefore, I claim only that it is my favorite method, and I would wager it will soon be yours as well.  

So yes, it’s kind of the best.

How to Scramble Eggs {Pedantic Foodie}

Step One: The eggs.  

How to Scramble Eggs {Pedantic Foodie}

Fresh and cracked. 

How to Scramble Eggs {Pedantic Foodie}

The second step requires a bit more consideration. 

How to Scramble Eggs {Pedantic Foodie}

As a rule, I never whisk eggs with an actual whisk, and that is because I believe they tend to over-mix the eggs.  Several good mixes with a fork is all you need.  We are really just trying to break up the yolks and whites.  We do not want to achieve homogenization here.

How to Scramble Eggs {Pedantic Foodie}

Step Three: Cream; one heavy splash. 

Step Four: Salt; lightly sprinkled. 

How to Scramble Eggs {Pedantic Foodie}

The one factor I consider to be completely uncompromisable is the heat.  It must be medium.  High heat is for boiling water, not for creating a something light and airy.  If your stovetop tends to run a little hot, turn the heat down a bit more.  There should be no browning happening in the egg pan. 

I always let my butter melt completely and add my eggs only when it has begun to bubble.  Then, I allow the eggs to sit for one minute before I touch them.  Yes, one whole minute.  Set your timer.  This gives the eggs a chance to cook roughly one-half of the way.  

How to Scramble Eggs {Pedantic Foodie}

After the minute has passed, take a spoon or spatula, and gently fold the eggs over themselves and gently break them up so that all areas cook evenly.  Do not beat them, just gently move them around until they are just about to where you like them,* and remove the pan from the heat.  Taking the eggs off of the heat a bit prematurely is essential, as they will always set a bit more after you get them on your plate. 

*For me, this only takes one minute or just under. 

How to Scramble Eggs {Pedantic Foodie}

There you have it.  My favorite scrambled egg, that I hope will soon become yours. 

This concludes lesson two of Egg Cookery 101, a class taught by someone classically trained over many hours of half-awake breakfast preparation.  Super fancy. 

Sincerely, 

Pedantic Foodie

How to Boil Eggs {Egg Cookery 101}

For some time now, I have been meaning to dedicate some space on this little corner of the internet to eggs.  That time has finally come.  

How to Boil Eggs {Pedantic Foodie}

Eggs are very dear to my heart.  After all, their complex structures and perfect ratio of fat and proteins makes possible many a beloved treat.  Mousses, meringues, custards, sponge cakes, and, my very favorite - angel food cakes, would all cease to exist as we know them without the power of the egg.  

In fact, I would dare to say that eggs are one of the most versatile and essential of all foods.  Vegans will hate me for that, but just look around this site…that would not exactly be a recent development. 

How to Boil Eggs {Pedantic Foodie}

Eggs, as special and unique as they are, have suffered much abuse.  Dieters looking for high- protein/zero-fat breakfast options have fueled a culture that is not only willing, but happy to buy pre-separated egg whites in cartons.  This makes me cry, it really does.  Do not do that.  If you need help separating your eggs, see this post.  You can do it! 

I caught my mom with a carton in her fridge and well, it’s a good thing I love her so much. 

How to Boil Eggs {Pedantic Foodie}

Even many of those who buy their eggs in the shell, still see egg cookery as something so simple that technique is tossed aside.  Mass pans of eggs are left to become rubbery, browned, flavorless heaps, with no relation to the tender charm of perfectly scrambled, custard-like eggs.  But, this does not have to be the case, proper egg cookery is possible, and with a few simple tools, we can all enjoy a perfectly cooked egg every morning.  

That's why, over the next few weeks, I'll be sharing some helpful tips that I have learned through my personal study and kitchen adventures to help us all improve our egg game a bit. 

Since most of our kitchen counters are already covered in dozens of eggs about to be boiled and plopped into neon concoctions (P.S. I miss pastel eggs), it seemed appropriate to start with the boiled egg.  Though this may seem like the simplest of all egg preparations, here are a few tips that will help you to achieve stellar eggs every time.  

How to Boil Eggs {Pedantic Foodie}

To begin, fill a three quart pan 2/3 deep with water.  Place the pan over high heat and bring the water to a rolling boil.  Use a large spoon to gently drop each egg into the water and set the timer.  

Now, you have to make a choice.  I love boiled eggs, but I enjoy them differently depending on my mood or purpose.  If I am eating my egg with toast, I go for a 7 minute egg because I am addicted to dipping the tips of buttery toast into a rich, undercooked yolk.  However, if I am eating the egg on my way out the door with just a sprinkling of salt, I’ll often go with 9 minutes.  For chopped salads, a 10 minute egg is the ticket.  

Because that is far too much to remember at 7:43am, I've created a simple chart for reference. 

How to Boil Eggs {Pedantic Foodie}

Notice that I start this chart at 7 minutes.  That is because, in my experience, eggs cooked for less than seven minutes tend to result in slimy, undercooked whites and I just can’t go there.  However, if you like eating slimly eggs, you can certainly make a four minute egg, just don’t make me watch.  

I should mention that these descriptions are also based on eggs that are served and eaten just after being cooked.  As visible in these pictures, as the eggs sit, even the runny yolks will firm up.  So, if you are planning on boiling your eggs in advance, you will have to sacrifice that runny yolk, as it will just set up as it cools.  The texture of an undercooked, but firm yolk leaves a lot to be desired.

How to Boil Eggs {Pedantic Foodie}

Generally, unless my eggs are going on a salad or I am wanting a firm texture all around, I boil my eggs as I want to eat them.  It gives me more control over the texture, and I generally prefer boiled eggs warm anyways.  In fact, if you think you do not like boiled eggs but have only ever had them cold, you should try a straight-from-the-water boiled egg, it may just change your mind.  The flavor is much richer when the egg is still warm. 

As soon as your timer is up, remove the eggs from the heat and immediately drop into a bowl of cold water.  This will stop the cooking process and it will also make the eggs easier to peel because all those tiny bits of shell will easily be washed away.  In my experience, the longer you let the eggs sit, the harder the peeling process becomes. 

How to Boil Eggs {Pedantic Foodie}

Also, the variation in color is due to the fact that I was using fresh eggs from a variety of chickens, and is not related to the cook time.  Lastly, always remember to use fresh eggs from a source you trust, especially if you plan on consuming them undercooked.  

How to Boil Eggs {Pedantic Foodie}

Now get out that dye and boil those eggs with the respect and delicacy that they deserve.  Also, eat a lot of Lindt chocolate eggs.  Always do that. 

Happy Weekend! 

Sincerely, 

Pedantic Foodie