Lemon Rosemary Buttermilk Cake

I often most enjoy food when I do not have to eat.  I'm a big believer in decadent, prodigious cheese and charcuterie trays that can be enjoyed about an hour before dinner is served.  I love cake and tea around four o'clock in the afternoon.  In short, I love eating at the times when my mother would tell me not to eat because it would spoil my dinner.  She had not yet realized that regardless of my previous indulgences, I will always be ready for another meal. 

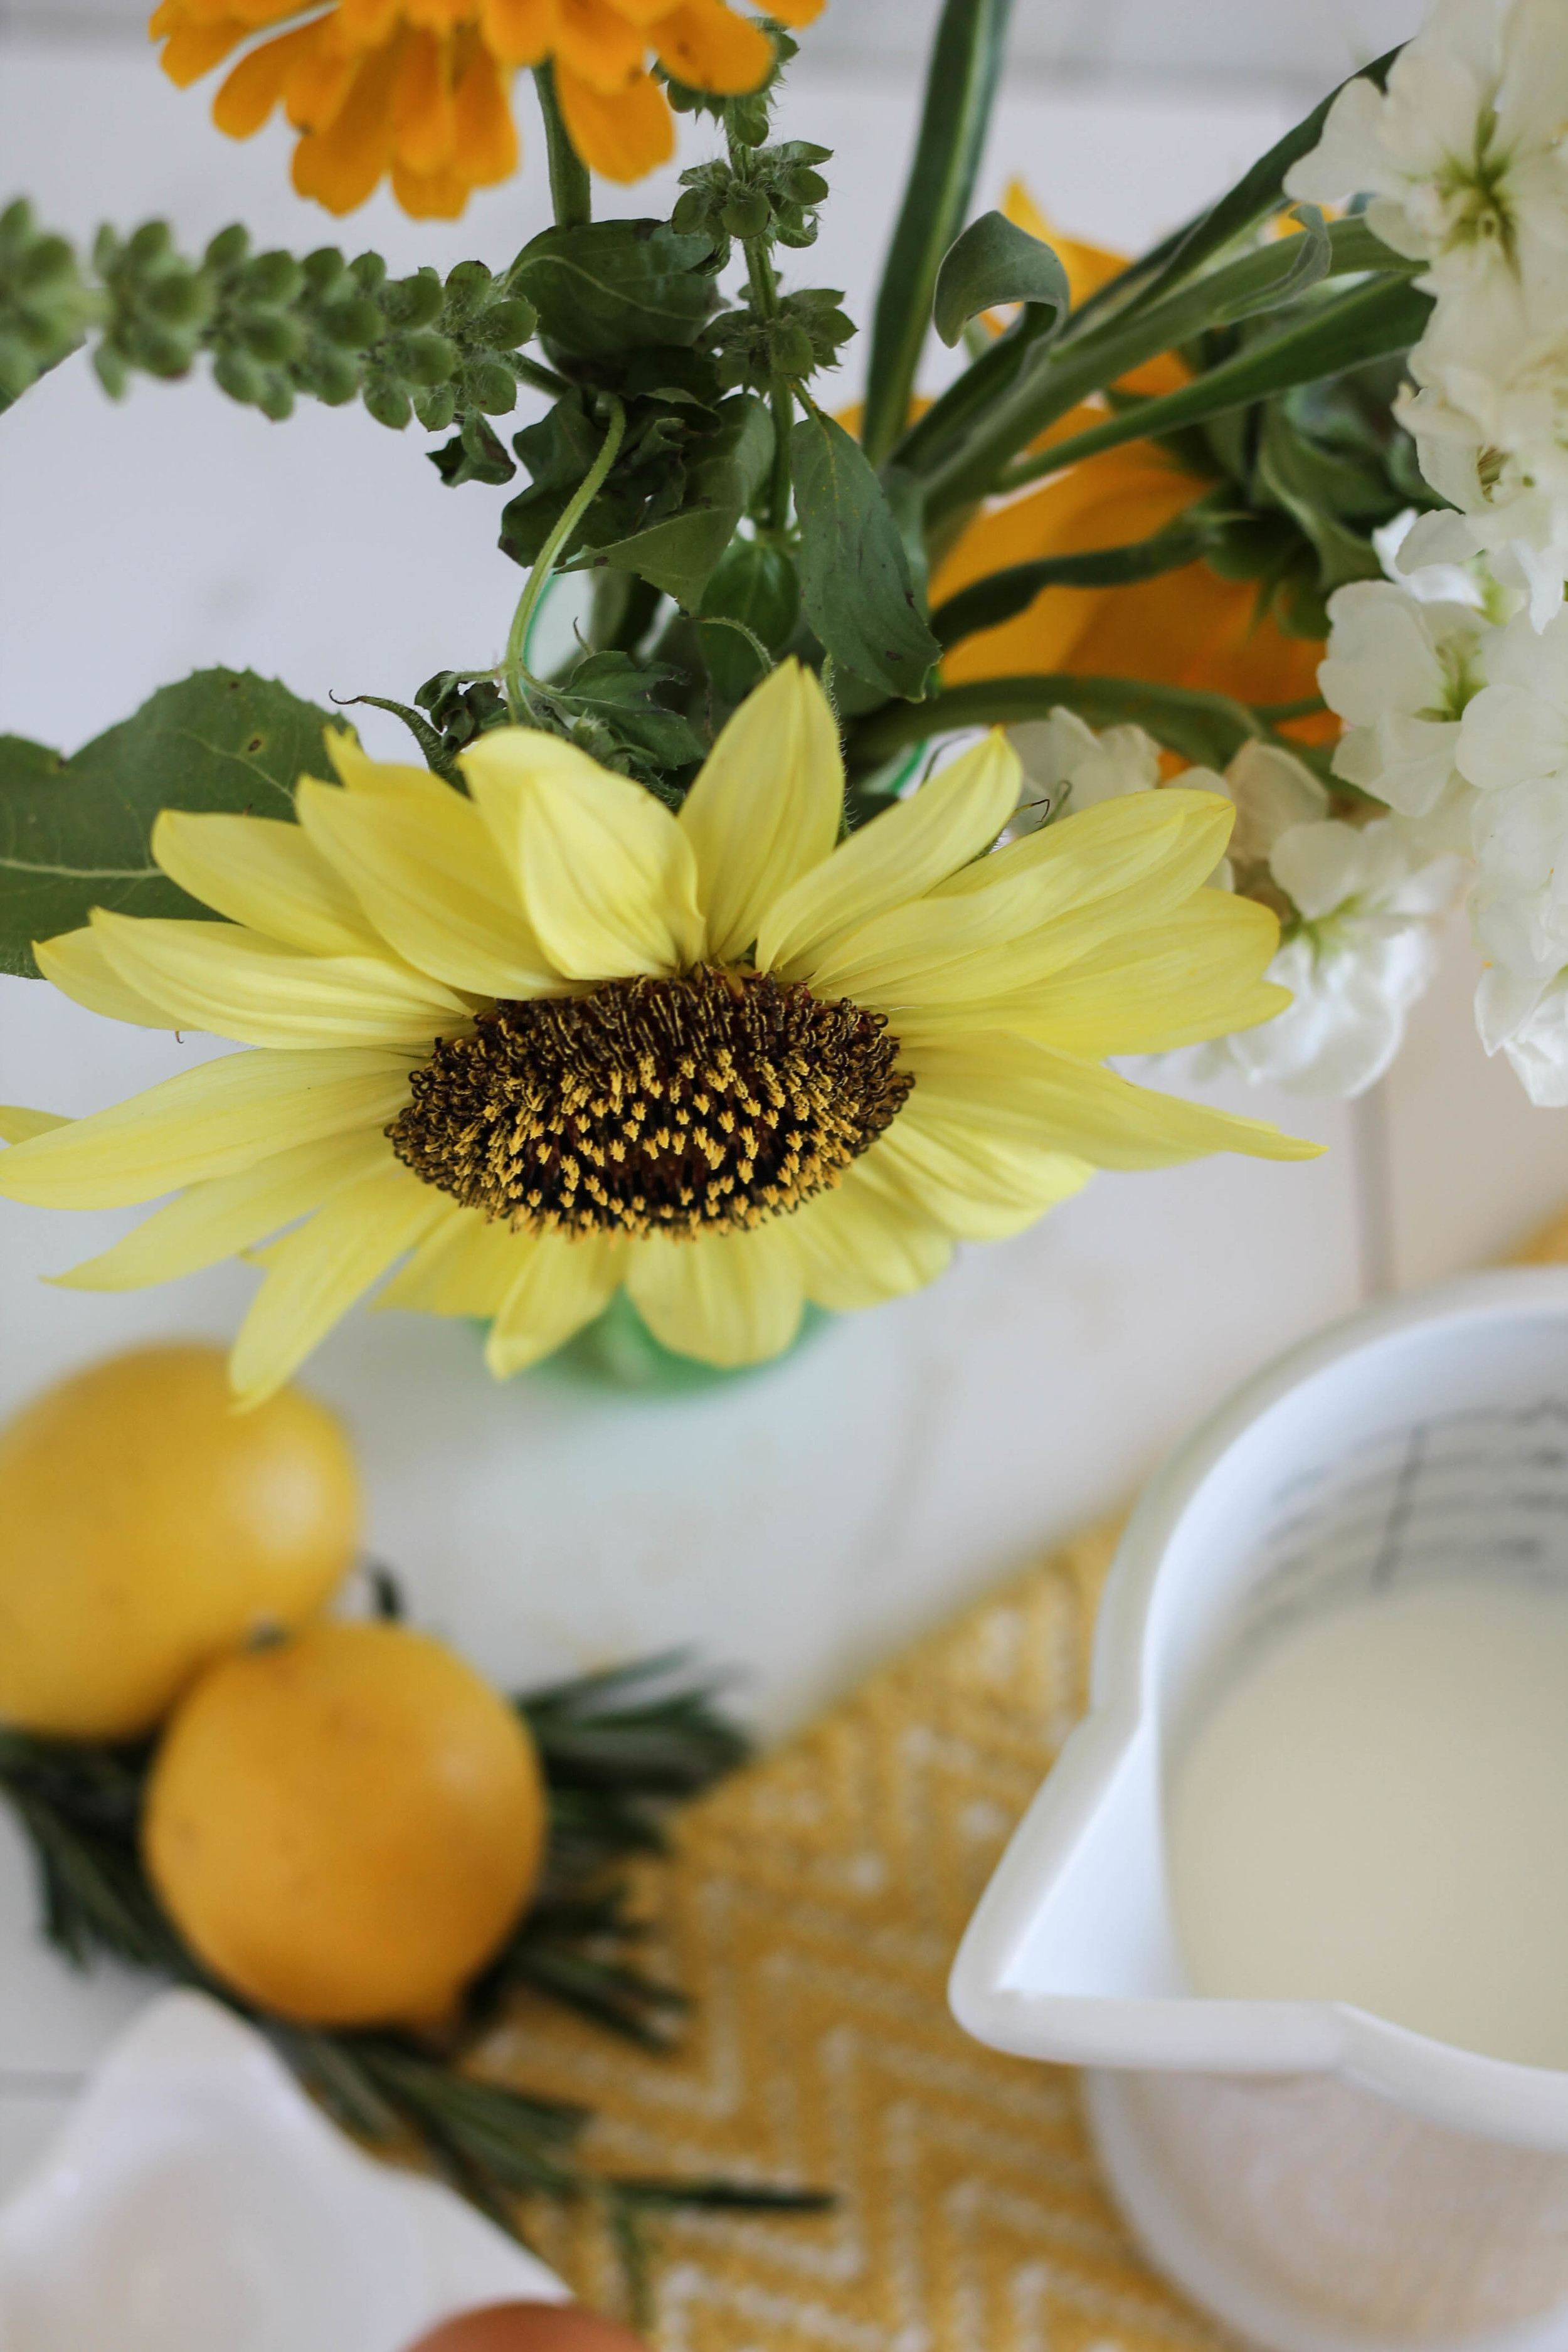
Lemon Rosemary Buttermilk Cake {Pedantic Foodie}

If it were not for late morning breakfasts or afternoon tea breaks, I feel that loaf cakes such as this one would be but an orphaned comestible, lacking in purpose and occasion.  

While we offhandedly call it a cake, these lightly sweetened loaves fall somewhere between a cake and a quick bread.  While they indeed make a very nice dessert, I enjoy them most in the mornings with a smooth, creamy latte, or in the afternoon with a strong brew of Earl Grey.

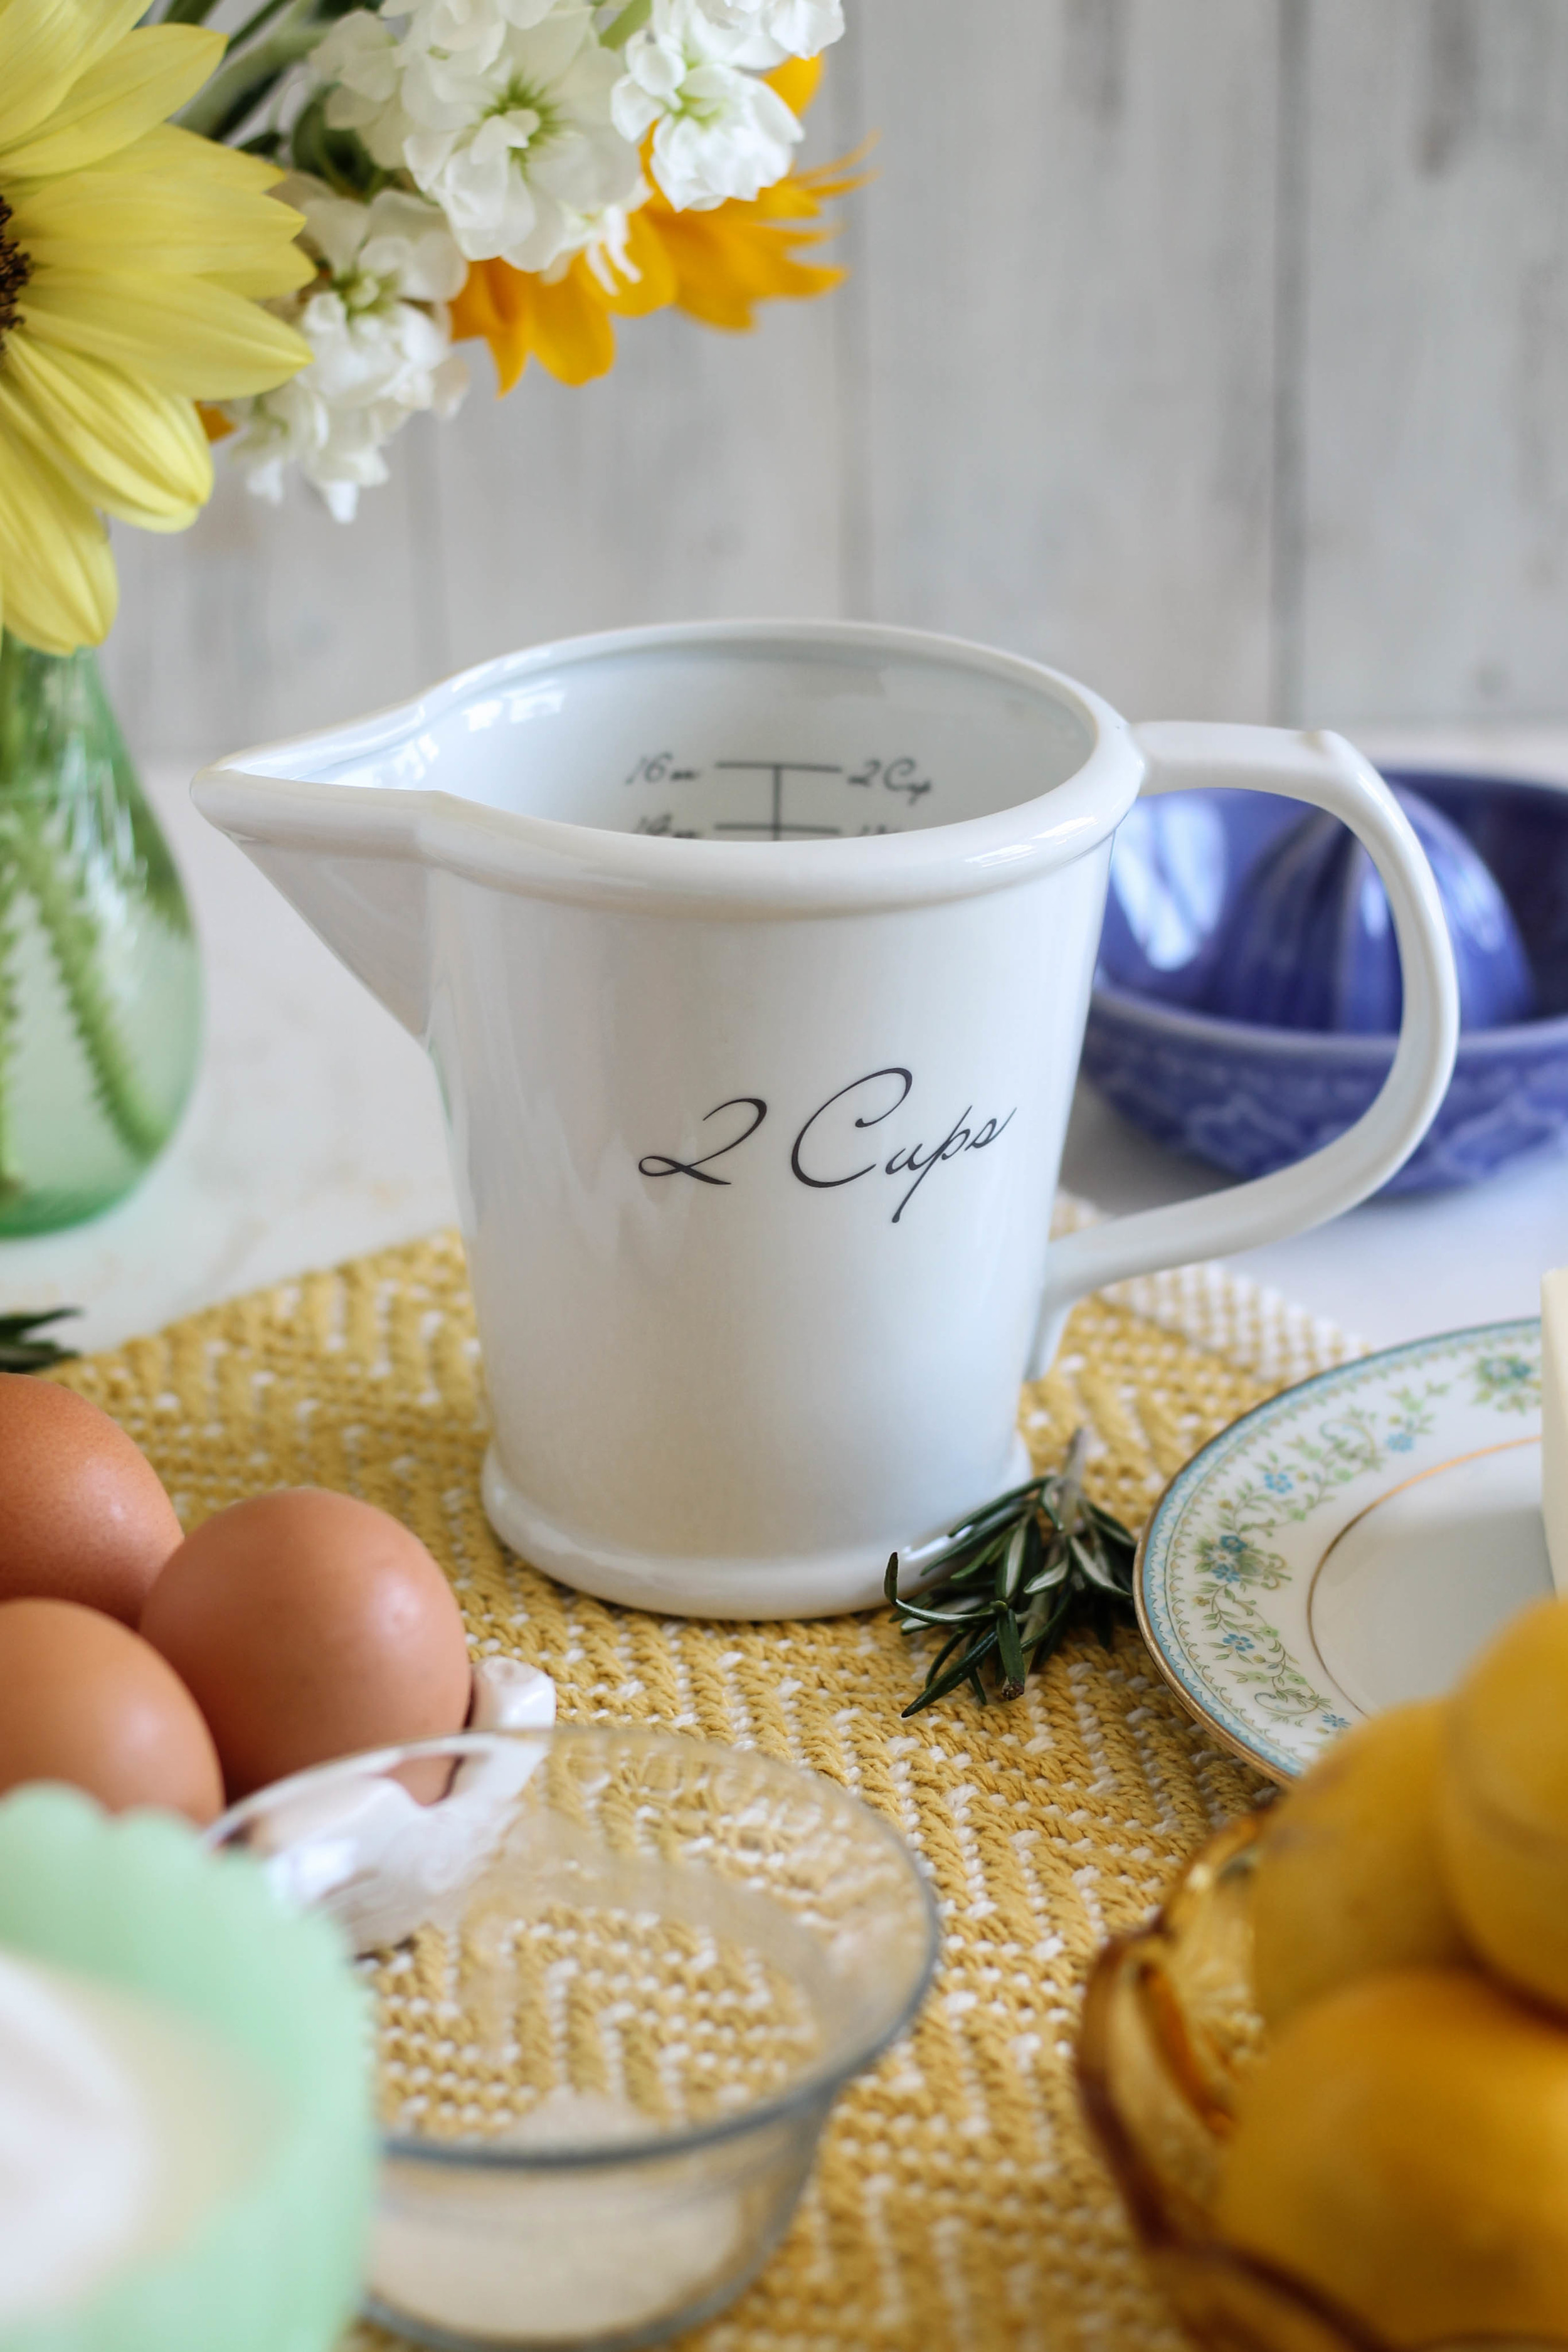
Lemon Rosemary Buttermilk Cake {Pedantic Foodie}

Their mellow sweetness makes them the ideal "pick me up" in instances where another fried egg seems far too mundane, and it is still too early for chocolate cake to be socially acceptable.  

Much like banana bread, it is all too easy to snatch away a slice every time you walk through the kitchen.  Perhaps this is why these "snack cakes" are some of my favorite cakes. 

Like all good cakes, this one begins with butter and sugar.

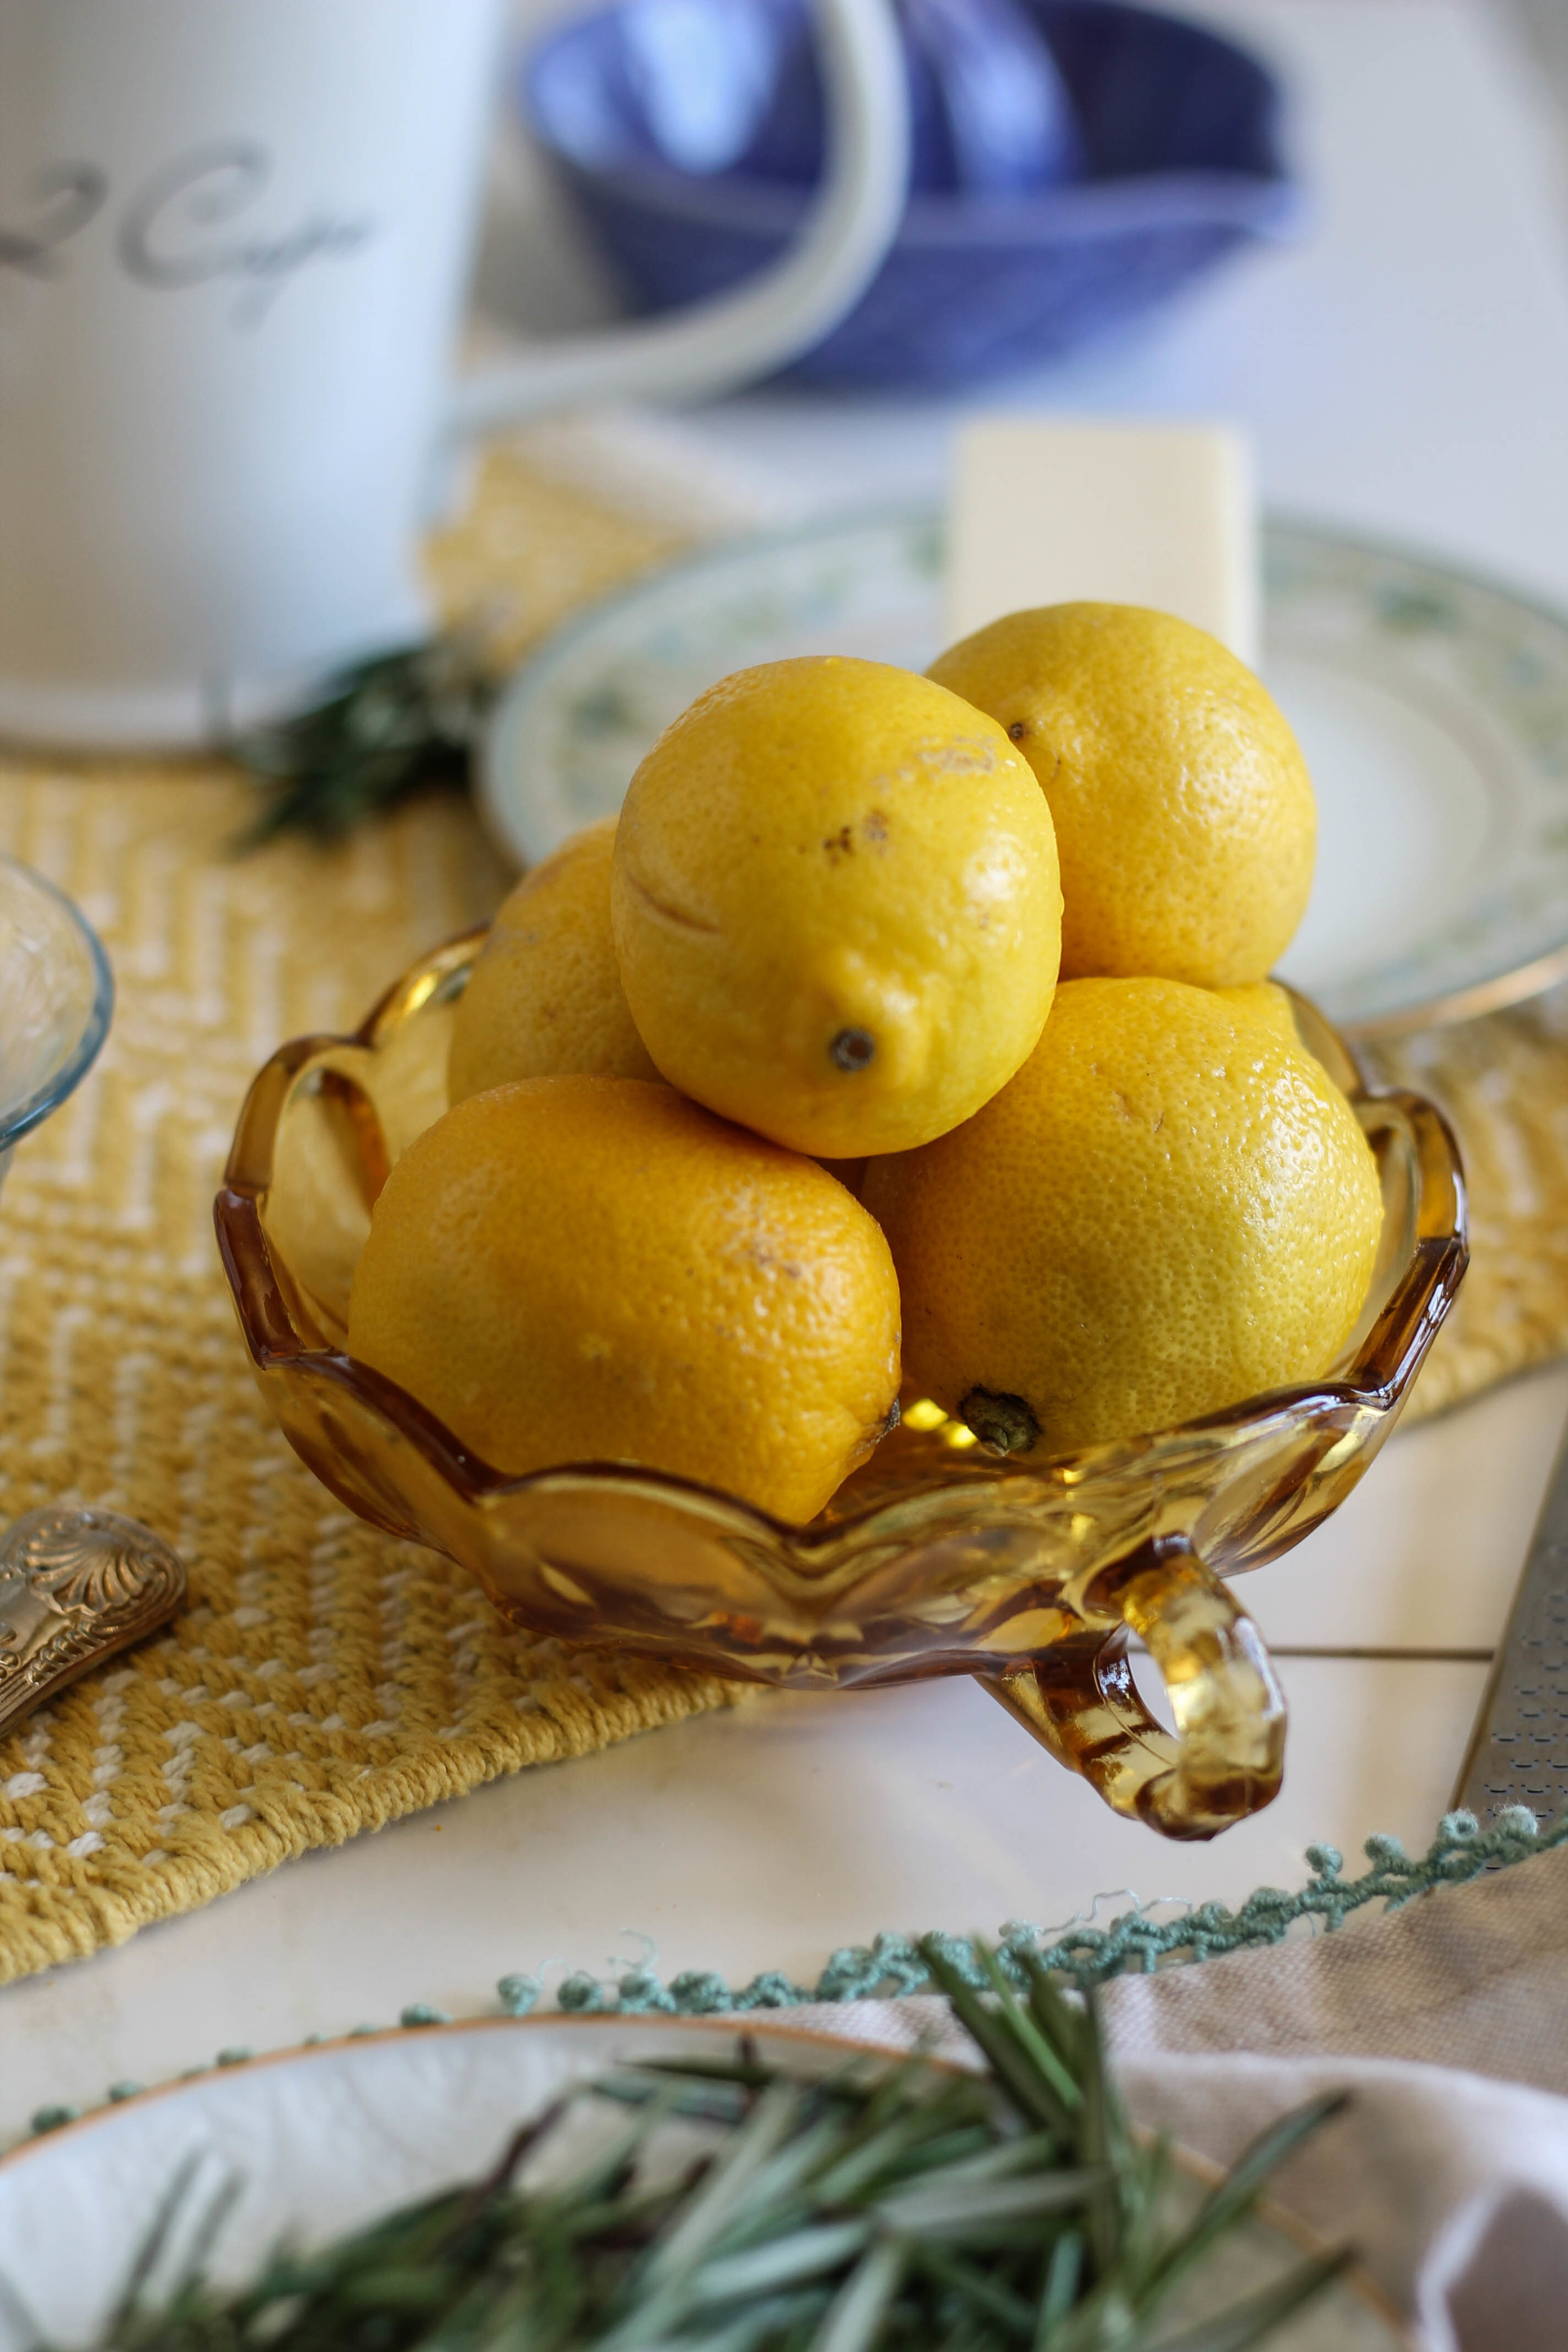
Lemon Rosemary Buttermilk Cake {Pedantic Foodie}

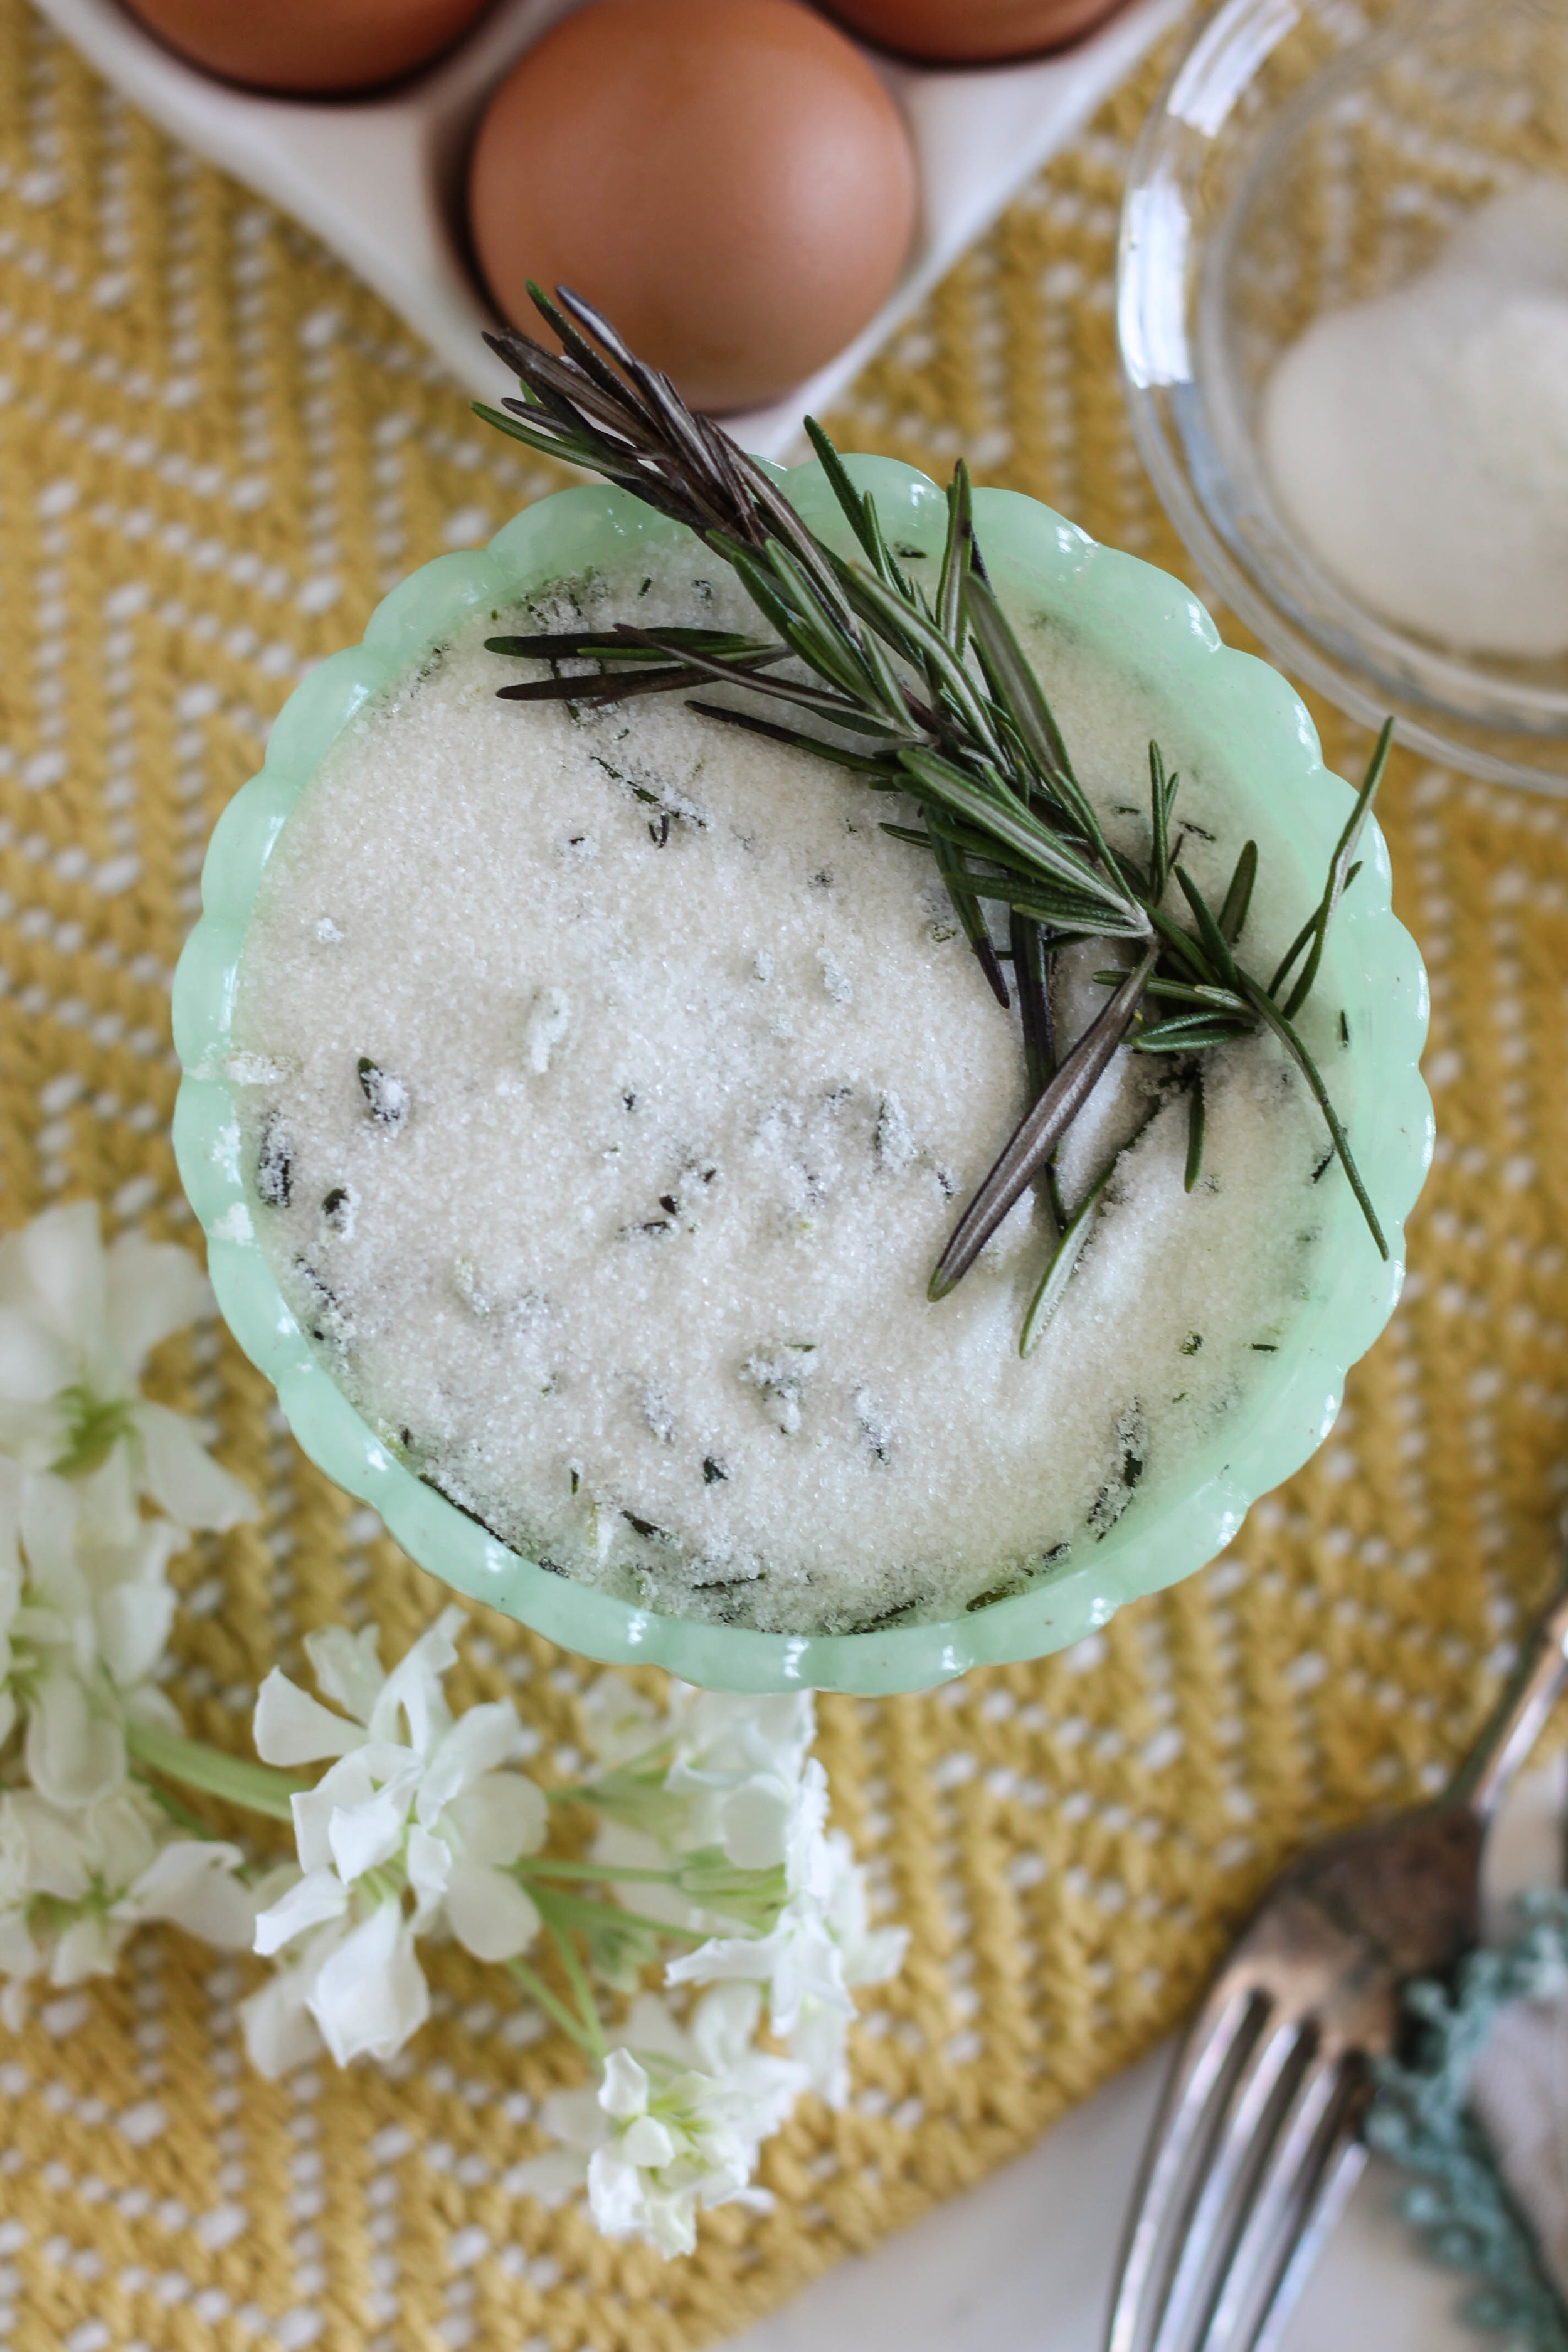
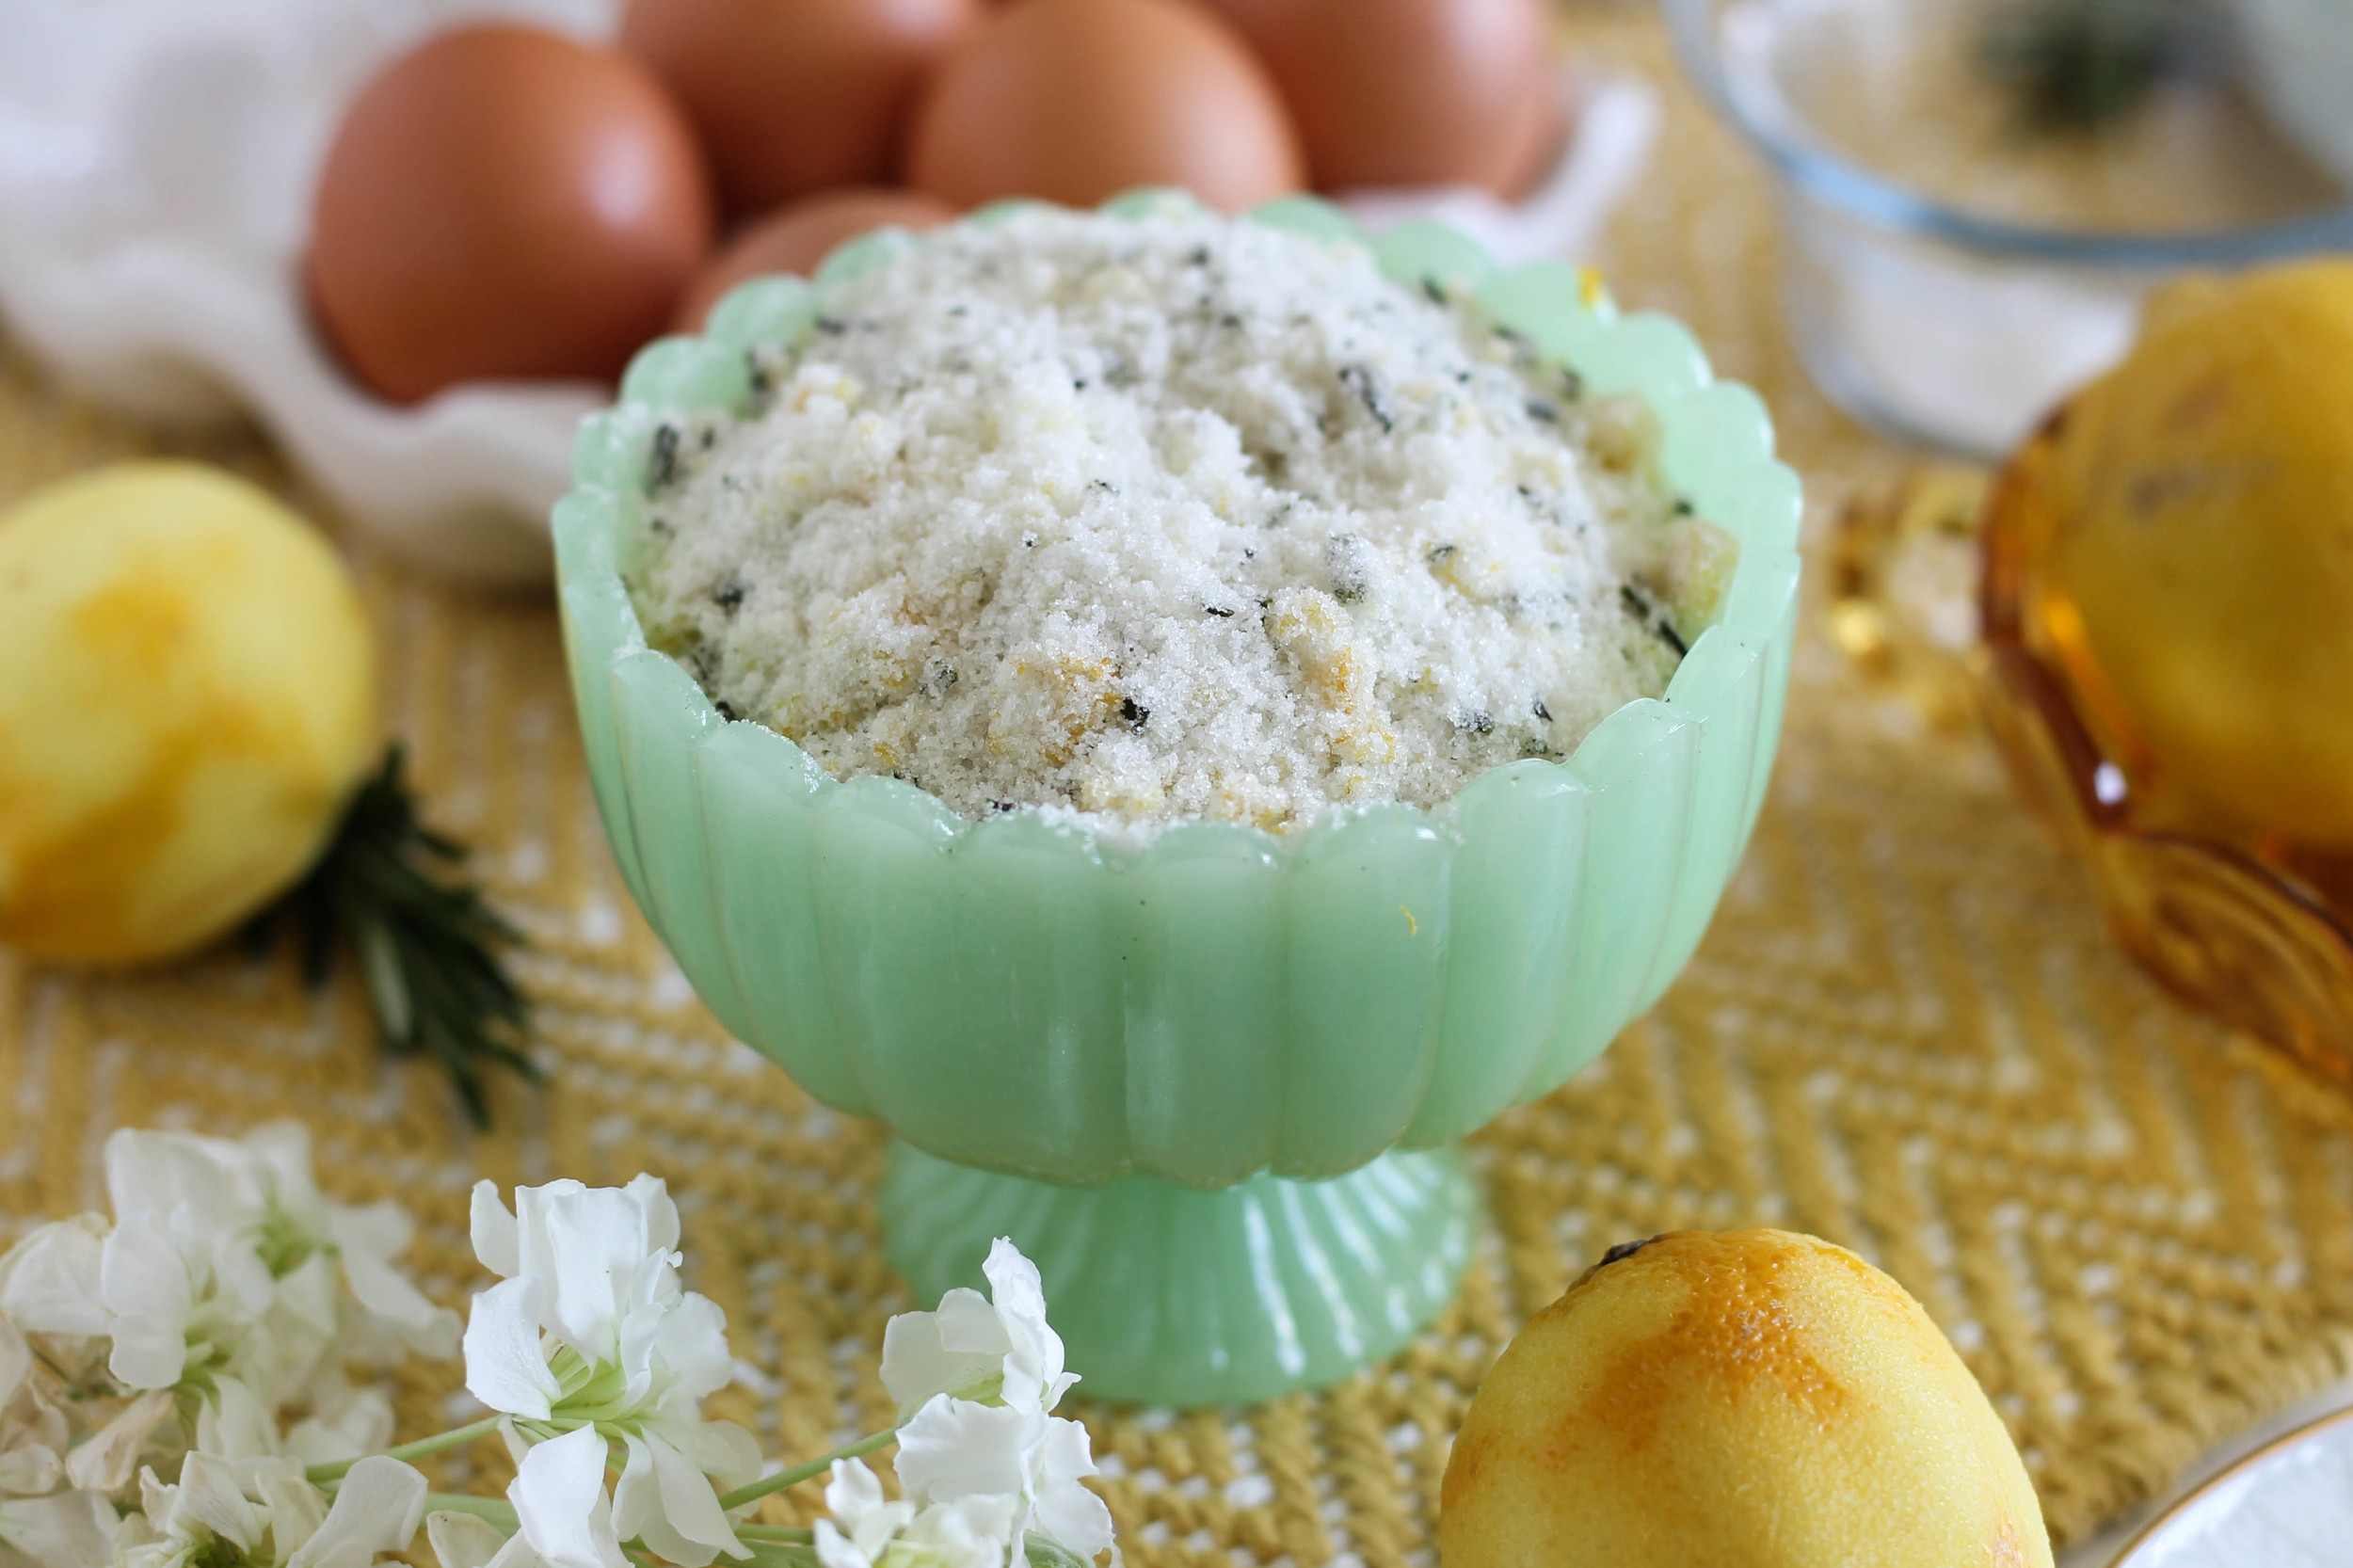
In order to pull as much flavor from our enhancers as possible, the lemon zest and rosemary are pressed into the sugar before its rendezvous with the butter.  This will provide the flavors with something to hold on to. 

Lemon Rosemary Buttermilk Cake {Pedantic Foodie}

The rosemary gives this cake an herbaceous note that is just dreamy with the piquant lemon and tangy buttermilk. 

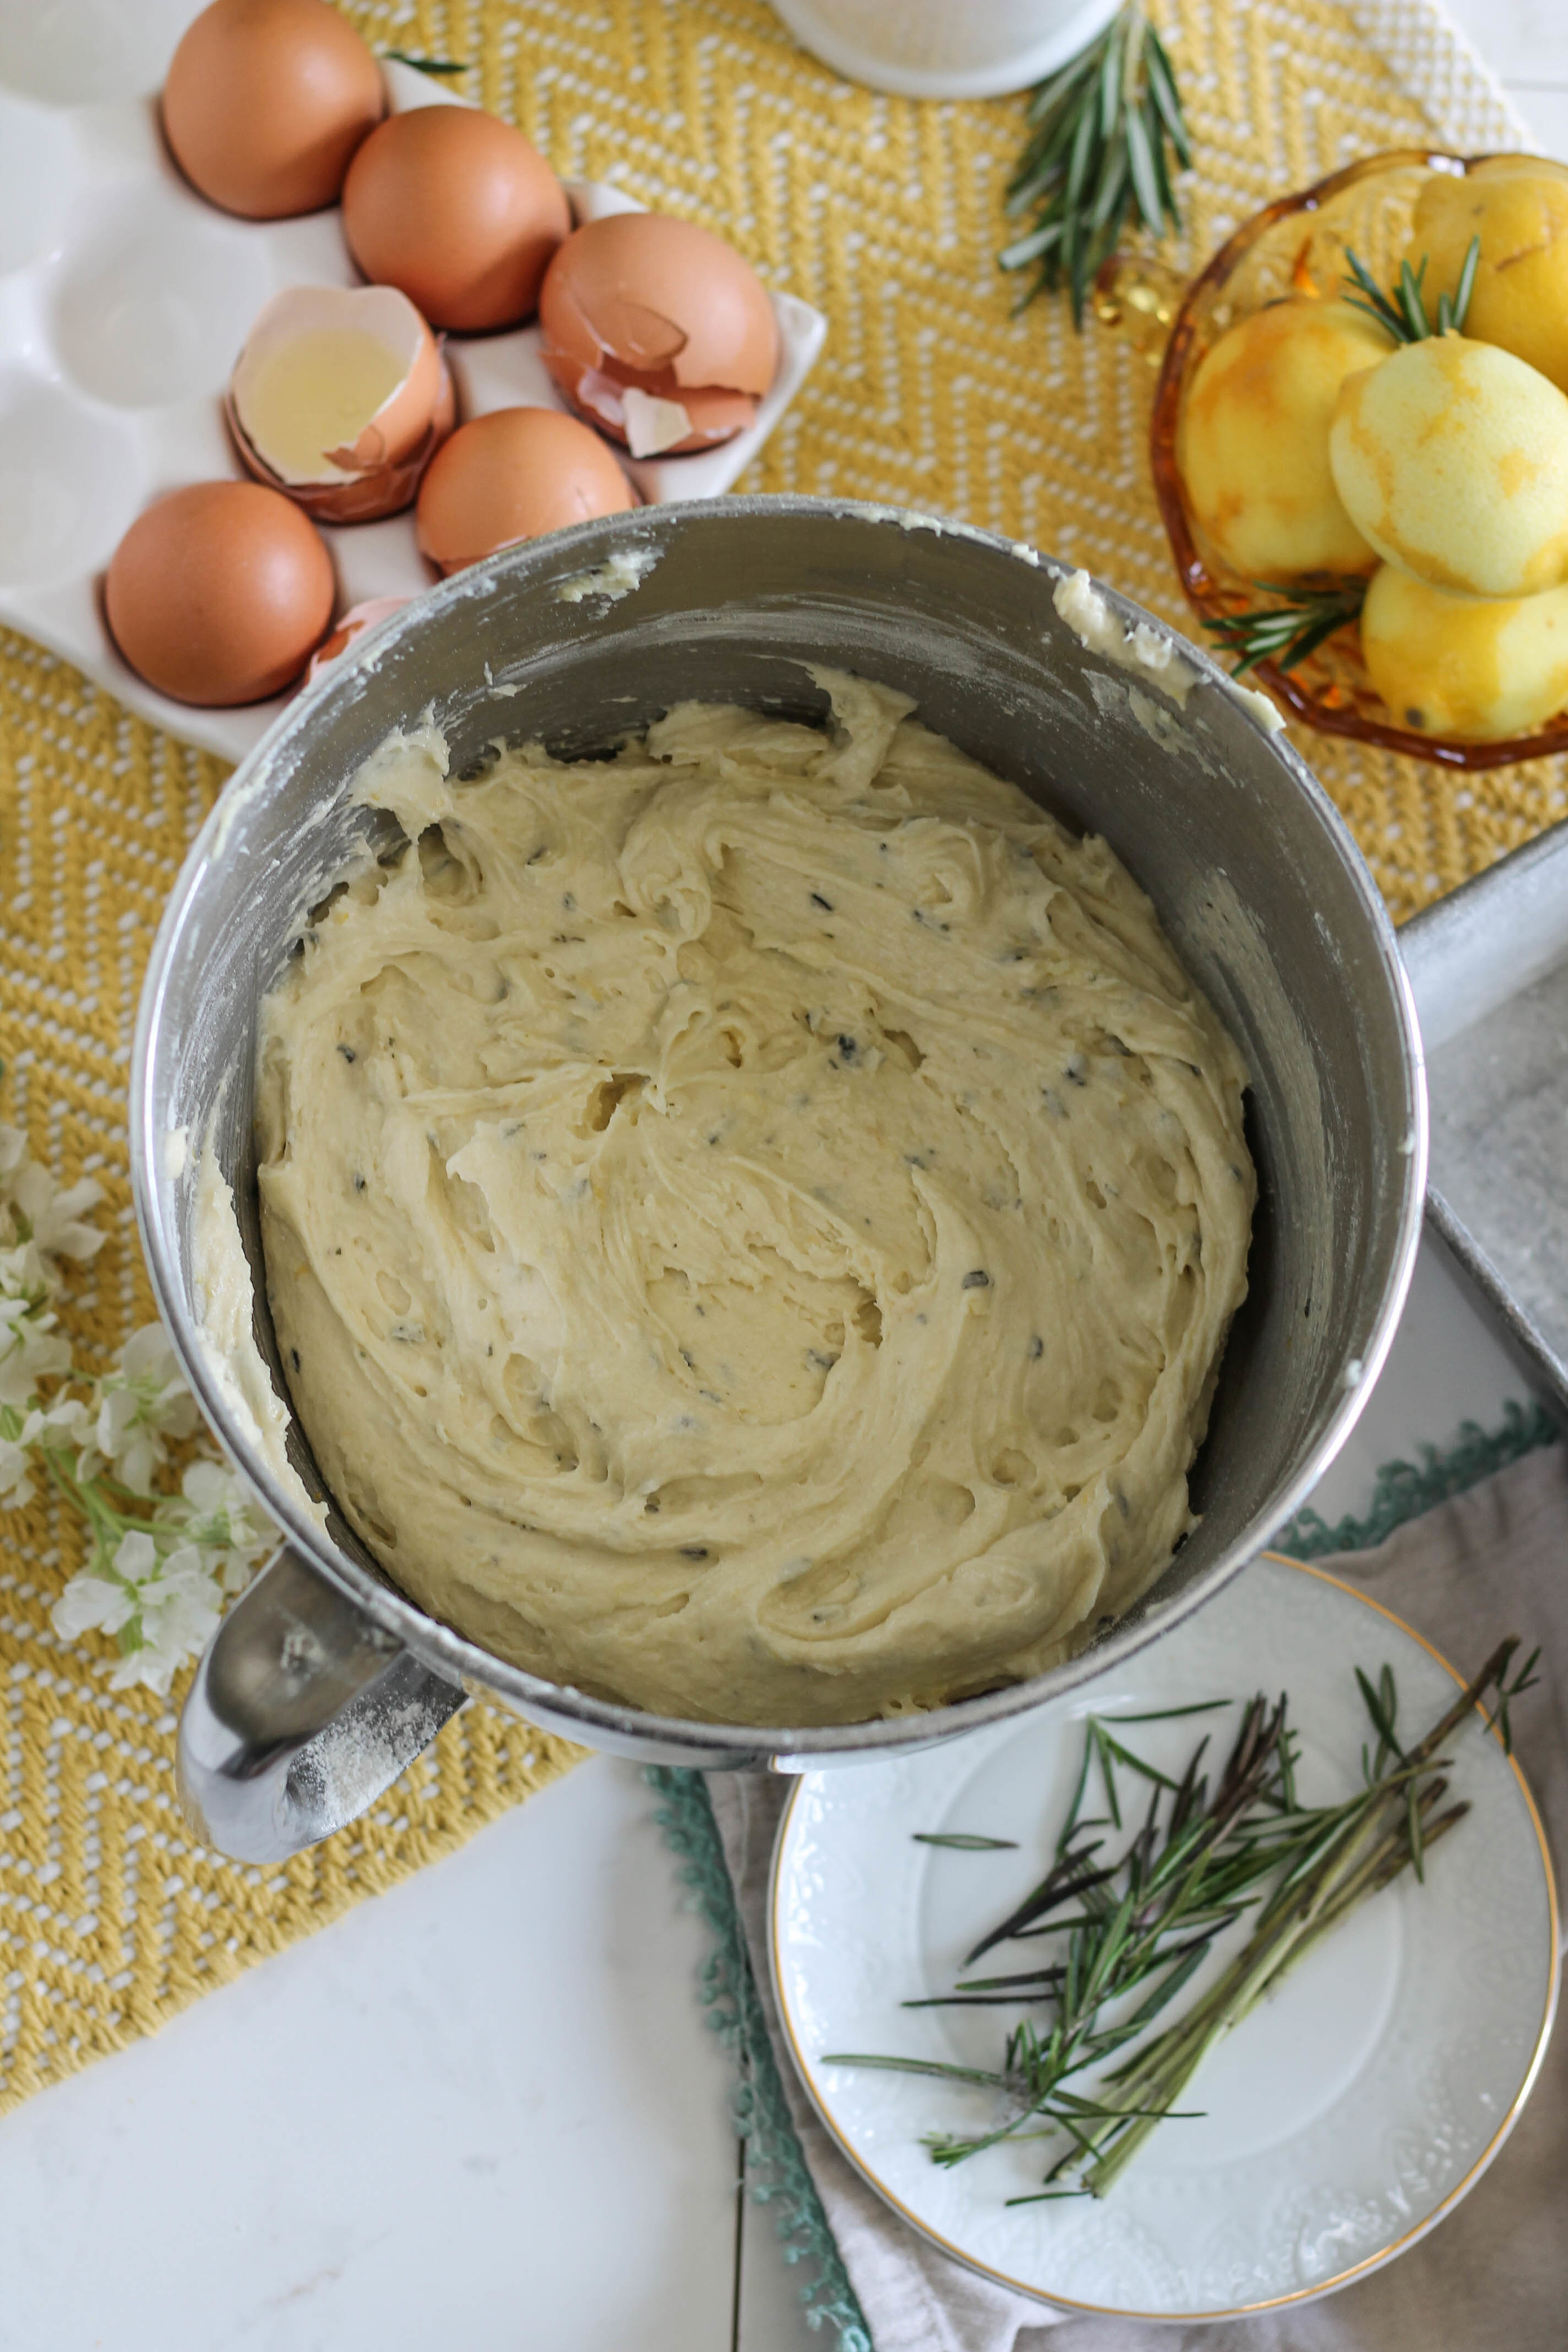
After the butter and sugar have reached the peak of fluffiness, eggs, buttermilk, flour, and leavening join in, creating the richest of batters. 

Lemon Rosemary Buttermilk Cake {Pedantic Foodie}

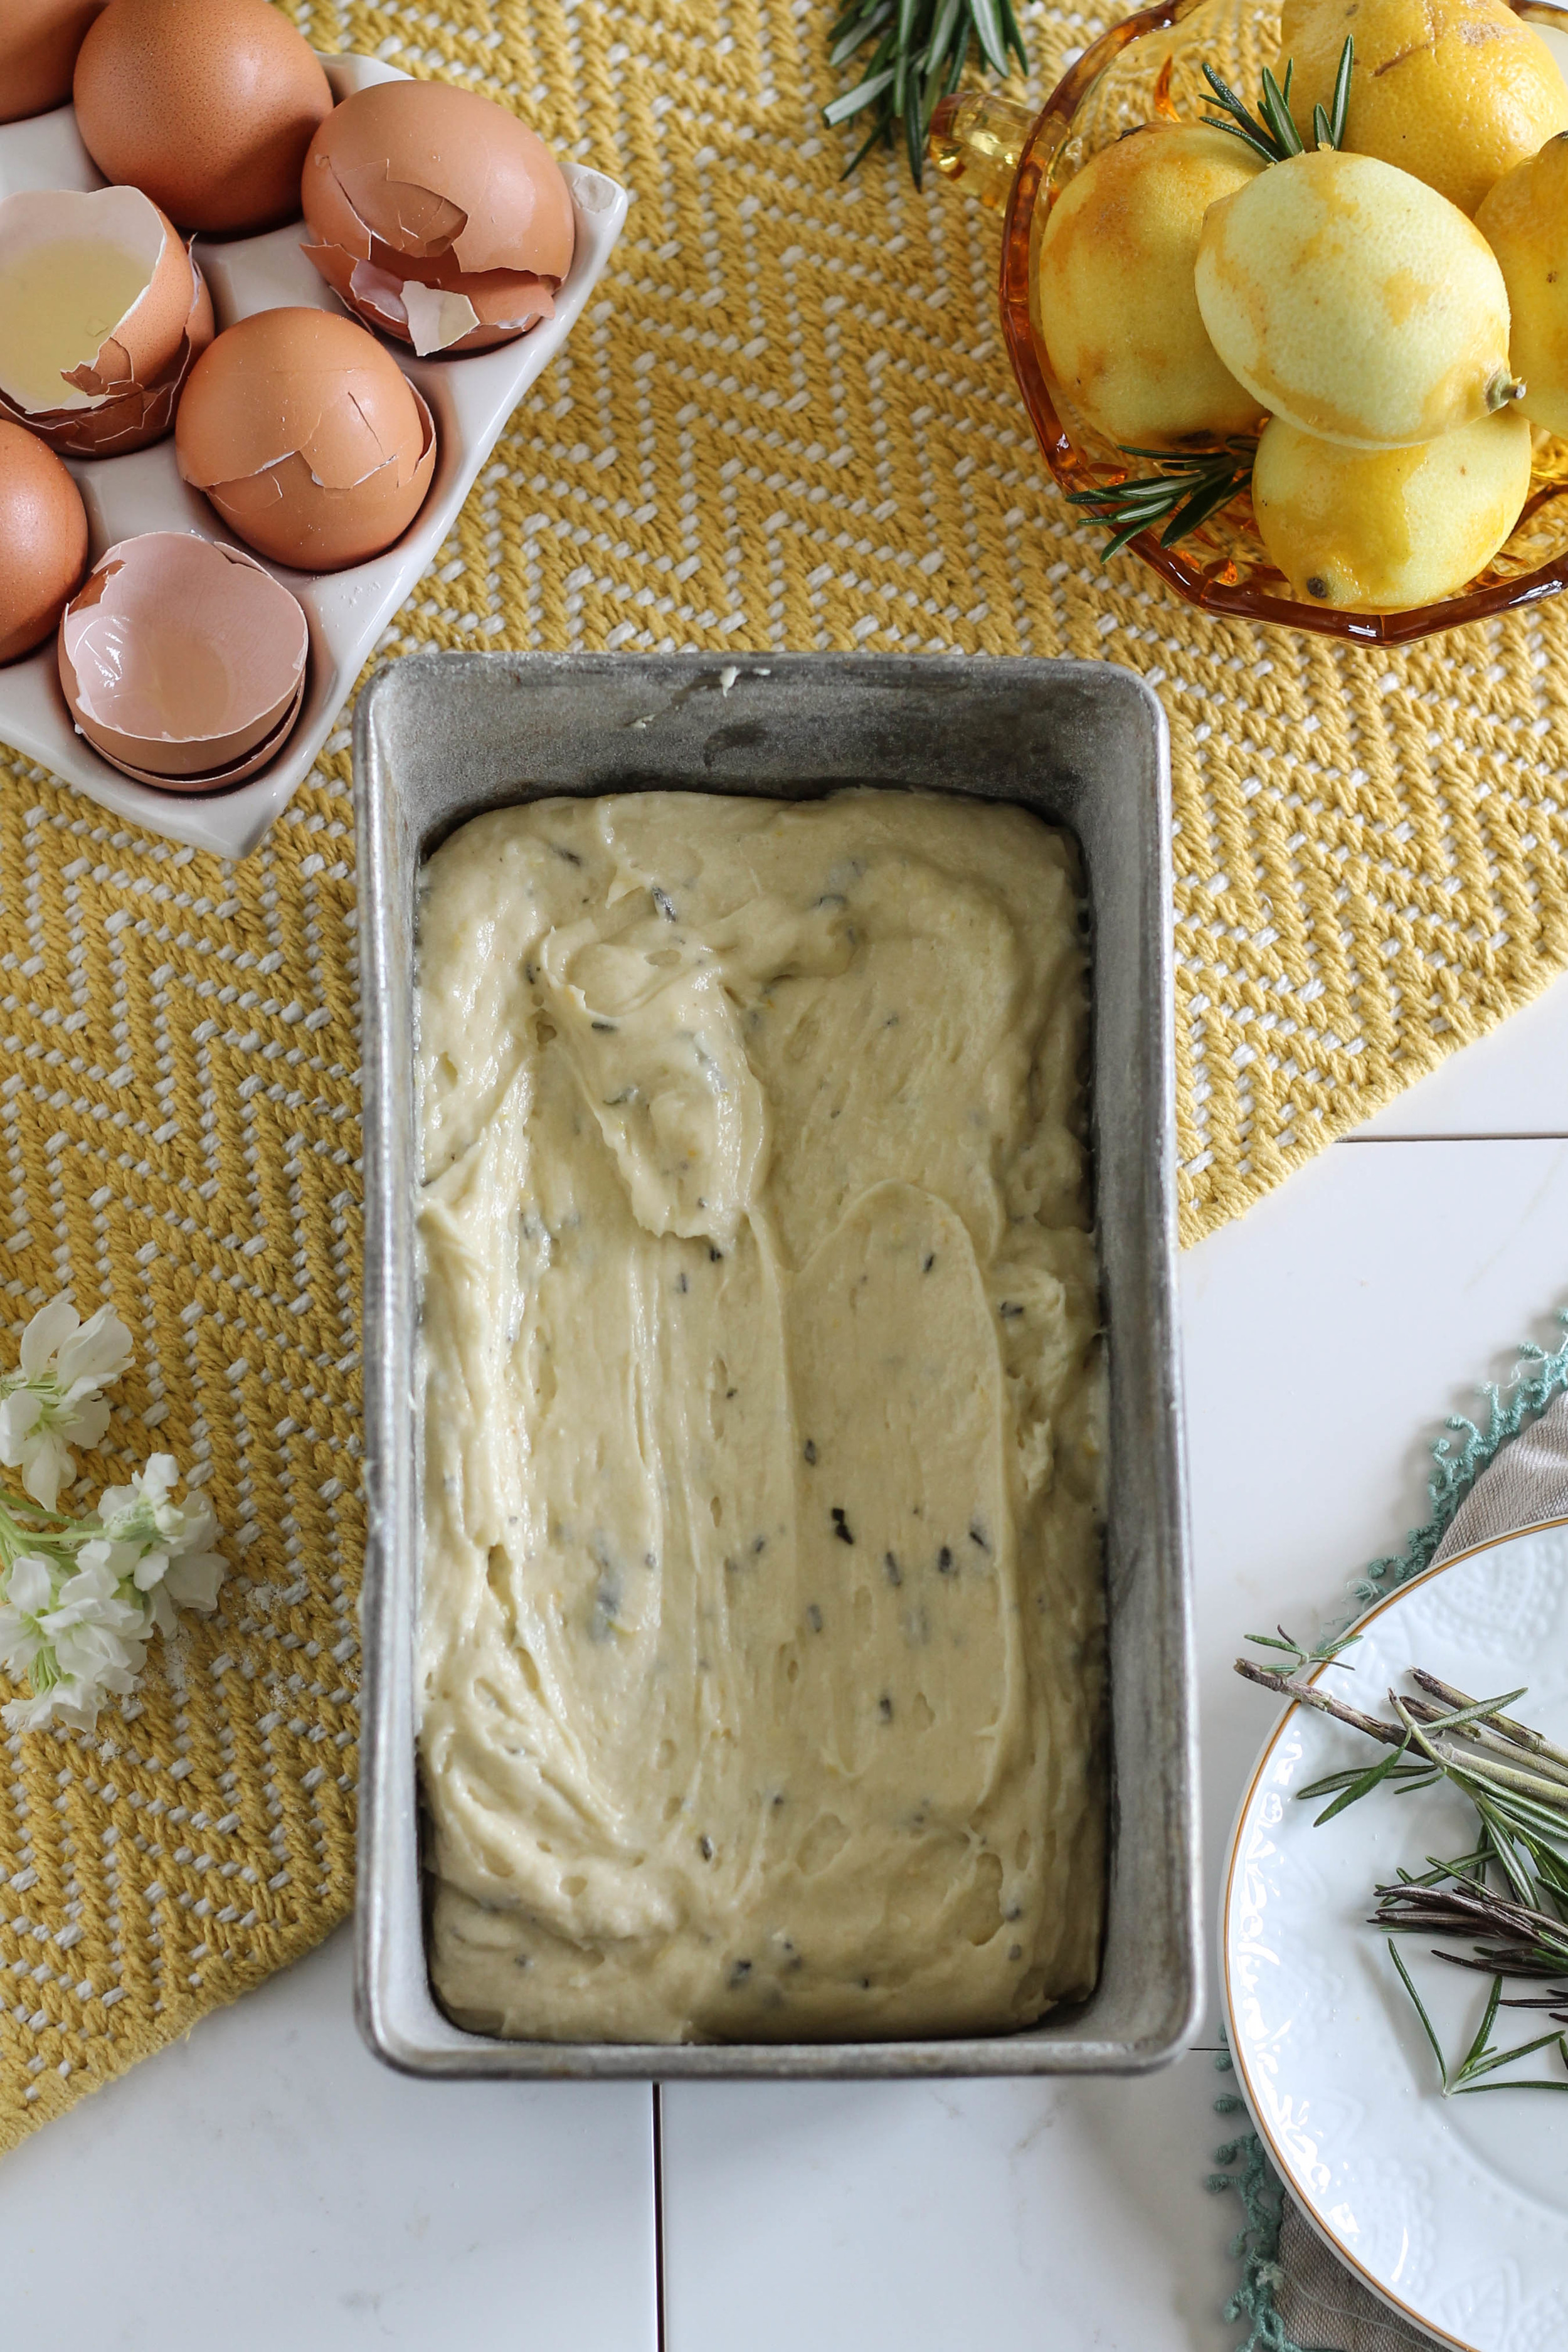
While you could bake this cake into a regular, ol' round cake pan, it is really best suited to the loaf shape.  Remember, this is a slice-as-you-go kind of cake.

The most agonizing part of this entire process is waiting for the cake to cool.  But, though it is hard to wait, the cooling time is nonnegotiable.  Not only will it give the cake a chance to firm up so that it does not turn into a pile of crumbs, the flavors are also much more prominent when the cake is cool. 

Lemon Rosemary Buttermilk Cake {Pedantic Foodie}

Thankfully, we have icing-making to occupy us. 

Lemon Rosemary Buttermilk Cake {Pedantic Foodie}

You know how to make a confectioner's sugar glaze, right?  Sure you do! 

Lemon Rosemary Buttermilk Cake {Pedantic Foodie}

And you would never, ever, ever add the confectioner's sugar without sifting it first, would you? Of course you wouldn't.

Lemon Rosemary Buttermilk Cake {Pedantic Foodie}

This is the part where I started pretending that I was a contestant on The Great British Bake-Off and Paul's glassy blue eyes were looking at my icing with impressed adoration.  

We all have our dreams... 

Lemon Rosemary Buttermilk Cake {Pedantic Foodie}

At this point, your kettle should be whistling, your emails put on hold, and your favorite candle lit. It's time for a little break. 

Lemon Rosemary Buttermilk Cake {Pedantic Foodie}

In the misquoted words of a very fashionable lady, let us eat cake!

Sincerely, 

Pedantic Foodie


Lemon Rosemary Buttermilk Cake

makes one 9x5 loaf / loosely adapted from Ina Garten

- 1 cup granulated sugar 

- 2 sprigs rosemary, leaves stripped from stems

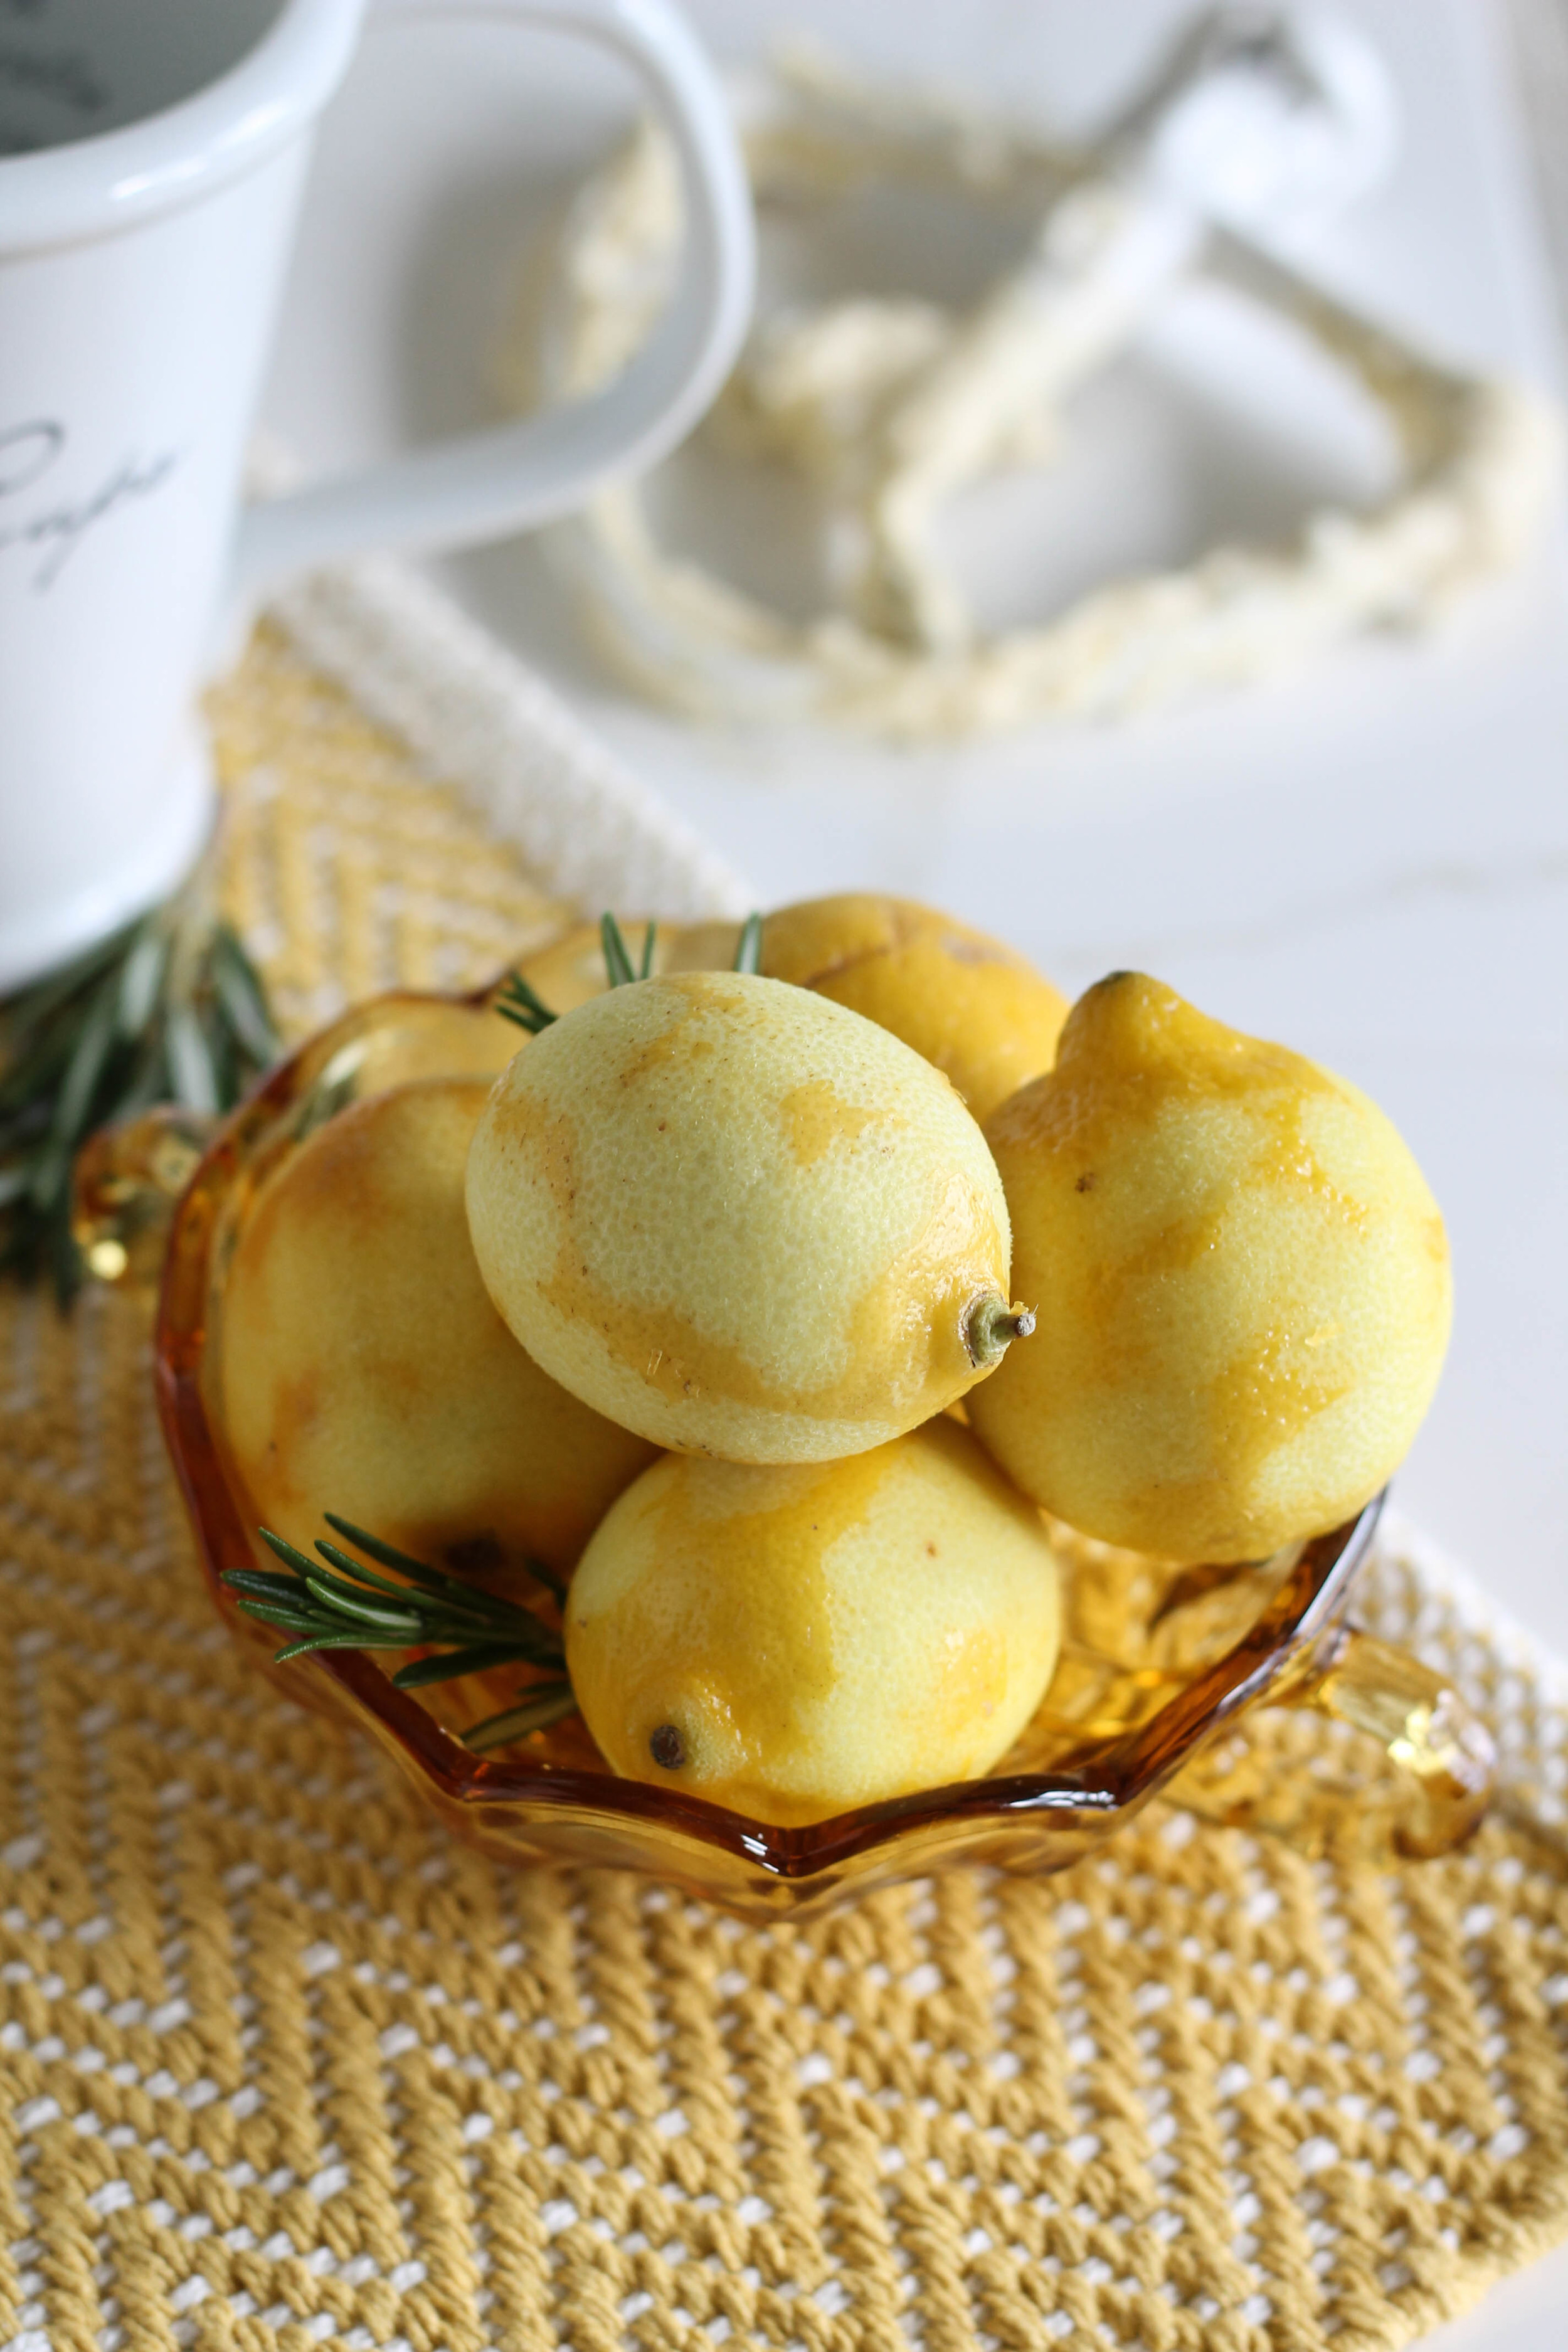
- zest of 2 medium lemons 

- 1 1/2 cups all-purpose flour

- 1/4 teaspoon baking powder 

- 1/2 teaspoon salt 

- 1/2 cup unsalted butter, softened

- 2 eggs 

- 6 tablespoons buttermilk

- 1 cup confectioner’s sugar 

- 2 tablespoons + 1 teaspoon fresh lemon juice


Preheat oven to 350 degrees. 

In a small bowl, combine lemon zest, granulated sugar, and rosemary leaves.  Press the zest and rosemary into the sugar with the tines of a fork, then transfer the mixture to the work bowl of your food processor.  Pulse until the rosemary is finely chopped and the sugar is fragrant.  Set aside. 

Sift to combine flour, baking powder, and salt.

Fit your stand mixer with the whisk attachment and beat butter for 1 minute on medium speed; until fluffy.  Add rosemary sugar and beat for an additional minute.

With the mixer on medium speed, beat in eggs, one at a time, scraping down the sides of the bowl as necessary. 

With the mixer on low speed, incorporate the flour mixture and buttermilk in increments, alternating between the two until all the ingredients are well combined. 

Spray a 9x5-inch loaf pan with nonstick spray and dust with flour.  Shake to remove any excess flour.

Fold the batter into the pan and smooth the surface with a spatula.

Bake for 45-50 minutes, until the cake is deep golden and a fork comes out clean when inserted into the center. 

Remove from the oven and allow to cool for 10-15 minutes before transferring the cake to a cooling rack.  Allow the cake sit for 20-30 minutes before icing.  The cake should be warm, but not hot. 

Place lemon juice in a medium mixing bowl and slowly sift in the confectioner’s sugar, while whisking constantly.  When the icing is thick and all the sugar has been incorporated, pour the icing over the cooled cake and allow it to set for 20 minutes.

Slice and serve! Enjoy!


How to Poach an Egg {Egg Cookery 101}

It's time for another installment of Egg Cookery 101.  Let's talk about poaching.  

How to Poach an Egg {Pedantic Foodie}

I remember vividly the first time I poached an egg.  It was late on a June evening, and the smell of Summer lay upon my skin as I placed two pots of water on the stove; one to boil and one to simmer.  A big boil of linguine lavished with rich, fruity olive oil was the bed for my very first poached egg, and it was delightful.  

The bright yellow yolk puddled down over the many strands of pasta, coating them in its custardy richness.  

How to Poach an Egg {Pedantic Foodie}

Even the most seasoned of egg-preparers seem to approach the process of poaching with some degree of trepidation.  This is a true pity because, in my mind, there exists no other egg preparation that so easily transitions from breakfast to dinner.  Whether they are stabbed with a fork and laid atop buttered toast, or cradled by a nest of pasta, poached eggs are a true delicacy - one that no amount of unfounded fear should steal from us. 

How to Poach an Egg {Pedantic Foodie}

Of course, your fears may not be entirely unfounded.  Perhaps many of us stay away because we cringe at the thought of our lovely whites feathering out into several hundred tiny threads, or of overcooking that custard-like yolk and being left with nothing but a very unattractive overdone egg.  Thankfully, these fates are easily avoided. 

How to Poach an Egg {Pedantic Foodie}

I would suggest that poaching an egg is just as simple as frying one, once you have learned to arm yourself with the appropriate precautions.  

How to Poach an Egg {Pedantic Foodie}

The first thing to consider is the water.  You will want to season your water with salt, for flavor, and a splash of vinegar to help out in the prevention of that nasty "feathering" we just touched on.  The acid of the vinegar will, because of science magic, help the white coagulate.  

How to Poach an Egg {Pedantic Foodie}

Next, your attention should be turned to the egg itself.  Place each egg in a small bowl or ramekin before poaching.  You do not want to crack the egg directly into the simmering water because it will be much more likely to spread, forming a big, stringy mess.  It's really not a good look, so please, just use the ramekin. 

How to Poach an Egg {Pedantic Foodie}

Once your water has reached a simmer, take a large spoon and begin stirring the water in a circular motion to form a whirlpool in the center of the pot.  Quickly remove the spoon and, while the water is still spinning, gently drop the egg into the center of the whirlpool.  Turn off the heat, cover the pan, and allow the egg to cook untouched for 3-4 minutes.  

How to Poach an Egg {Pedantic Foodie}

I like to begin with three minutes, but if you have an extra large egg, you may wish to go for four. If you are a bit unsure, just uncover the pan after three minutes, and if the white is set but still slightly jiggly, you are good to go.  If it still looks a bit cloudy, recover and let it sit for an additional minute. 

How to Poach an Egg {Pedantic Foodie}

Now would be a good time to pop several slices of sourdough into the toaster. 

How to Poach an Egg {Pedantic Foodie}

In a matter of minutes, you will have poached your first egg.  

How to Poach an Egg {Pedantic Foodie}

Congratulations, and welcome to a whole new world of deliciousness. 

Sincerely, 

Pedantic Foodie


Poached Eggs

recipe adapted slightly from Alton Brown

- 1 egg (fresh is best!)

- 1 teaspoon kosher salt 

- 2 teaspoons white vinegar

Crack egg into a small bowl or ramekin.  

Fill a 1.5 quart saucepan or saucier with about two inches of water.  Add vinegar and kosher salt and place over medium heat; bring to a light simmer.

Use a large spoon to swirl the water in a circular motion, creating a whirlpool.  Once the water is spinning on its own, drop the egg into the center of the whirlpool.

Turn off the heat and cover the saucepan for 3-4 minutes.  The white should be delicate, but firm.  If the color is still somewhat cloudy, let it cook for the extra minute.  

Serve over toast, pasta, or sliced and toasted English muffins.  Enjoy! 

Cook’s Note:  I like to poach my eggs one at a time.  However, if you would like to poach multiple eggs at a time, use a large saucier pan forgo the whirlpool method.  Just gently slip each egg out of its ramekin and into the water.  Allow each egg a few seconds to set before adding the next.  

How to Scramble Eggs {Egg Cookery 101}

It’s time for installment No. 2 of Egg Cookery 101, and it seemed to me that the next preparation to tackle was incontestable.  

The scrambled egg. 

How to Scramble Eggs {Pedantic Foodie}

There are many ways to scramble an egg, and no doubt, many of them produce satisfactory results.  But, for my favorite scrambled egg there is only one path to triumph, and this is it. 

How to Scramble Eggs {Pedantic Foodie}

Narcissistic?  Perhaps, but I am not claiming that my permutation of the humble scrambled egg is the best.  After all, there is no question that many a fine egg has been scrambled in a myriad of ways differing from my personal method.  Therefore, I claim only that it is my favorite method, and I would wager it will soon be yours as well.  

So yes, it’s kind of the best.

How to Scramble Eggs {Pedantic Foodie}

Step One: The eggs.  

How to Scramble Eggs {Pedantic Foodie}

Fresh and cracked. 

How to Scramble Eggs {Pedantic Foodie}

The second step requires a bit more consideration. 

How to Scramble Eggs {Pedantic Foodie}

As a rule, I never whisk eggs with an actual whisk, and that is because I believe they tend to over-mix the eggs.  Several good mixes with a fork is all you need.  We are really just trying to break up the yolks and whites.  We do not want to achieve homogenization here.

How to Scramble Eggs {Pedantic Foodie}

Step Three: Cream; one heavy splash. 

Step Four: Salt; lightly sprinkled. 

How to Scramble Eggs {Pedantic Foodie}

The one factor I consider to be completely uncompromisable is the heat.  It must be medium.  High heat is for boiling water, not for creating a something light and airy.  If your stovetop tends to run a little hot, turn the heat down a bit more.  There should be no browning happening in the egg pan. 

I always let my butter melt completely and add my eggs only when it has begun to bubble.  Then, I allow the eggs to sit for one minute before I touch them.  Yes, one whole minute.  Set your timer.  This gives the eggs a chance to cook roughly one-half of the way.  

How to Scramble Eggs {Pedantic Foodie}

After the minute has passed, take a spoon or spatula, and gently fold the eggs over themselves and gently break them up so that all areas cook evenly.  Do not beat them, just gently move them around until they are just about to where you like them,* and remove the pan from the heat.  Taking the eggs off of the heat a bit prematurely is essential, as they will always set a bit more after you get them on your plate. 

*For me, this only takes one minute or just under. 

How to Scramble Eggs {Pedantic Foodie}

There you have it.  My favorite scrambled egg, that I hope will soon become yours. 

This concludes lesson two of Egg Cookery 101, a class taught by someone classically trained over many hours of half-awake breakfast preparation.  Super fancy. 

Sincerely, 

Pedantic Foodie