Revisiting a Classic // Victoria Sandwich Cake

Newness is taking on a classic form this week.

Victoria Sandwich Cake {Pedantic Foodie}

The past few mornings have been positively enchanting.  The temperatures are ringing in at an airy 54-60 degrees and the chirping of giddy feathered friends beckons me to embrace earlier mornings.  I have always loved waking early and grabbing hold of the day with both hands, but I flirted with a nasty habit during the winter months and found myself returning to bed after making breakfast and sending Mr. Pedantic on his way each morning.  Those extra minutes of sleep made it all the harder to actually get myself up when my alarm finally went off.  

Victoria Sandwich Cake {Pedantic Foodie}

Now that Spring has shown her face, I can embrace the pre-6am hours a bit more willingly because that's what Spring does, she inspires.  She's a freaking trick-you-into-thinking-you-like-wearing-shorts-and-organizing-your-house goddess and I love her for it. 

She also inspires ambition in the kitchen.  Creativity never alludes me more than in the winter months.  It is not that I do not appreciate the winter, I relish it, but I find myself aching for my old favorites and seldom craving newness.  Spring changes all of that. 

Victoria Sandwich Cake {Pedantic Foodie}

I was introduced to this classic cake quite recently through my much-adored Great British Bake-Off.  After seeing this cake in all its English glory, I jotted it down on my imaginary "to-bake" list. 

Victoria Sandwich Cake {Pedantic Foodie}

This venture was a greater learning opportunity than I had anticipated.  I soon discovered that this simple cake is as rich in history as flavor.  

It was titled after one of its greatest patrons and my newest obsession - Queen Victoria, and its fame was far from modest.  The pound cake-like layers were rich and buttery, unlike the traditional genoise sponge cakes that England had been baking for so many years.  This richer flavor was made possible by the addition of the culinary world's new power tool - baking powder. Up until the addition of baking powder in the mid-1800s, cake batters depended on beaten egg whites for their leavening, which led to a much lighter, spongy texture.  This slightly dense, fat-laden cake was a welcome alternative. 

Victoria Sandwich Cake {Pedantic Foodie}

As with nearly all long-loved recipes, there are many schools of thought on how to achieve the "perfect" sandwich cake.  Buttercream, whipped cream, or no cream at all?  Is raspberry jam canon or are we allowed other options?  Do we melt or cream the butter?  

After a fair amount of research, I, like many others, have arrived at the conclusion that as long as it is a "sandwich" that tastes good the other variables can be left to the baker's discretion.  

Victoria Sandwich Cake {Pedantic Foodie}

These cake layers are very much your standard American yellow cake, with my chosen addition of poppy seeds.  I first tested this cake with the recommended self-rising flour, but opted for cake flour in the end because I prefer the closer texture. 

Victoria Sandwich Cake {Pedantic Foodie}

Two layers, baked and cooled. 

Now we begin our sand-witchery. 

Victoria Sandwich Cake {Pedantic Foodie}

Airy lemon whipped cream and sticky, seedy, raspberry jam comprise our fillings.  A generous dusting of confectioner's sugar is added for good measure. 

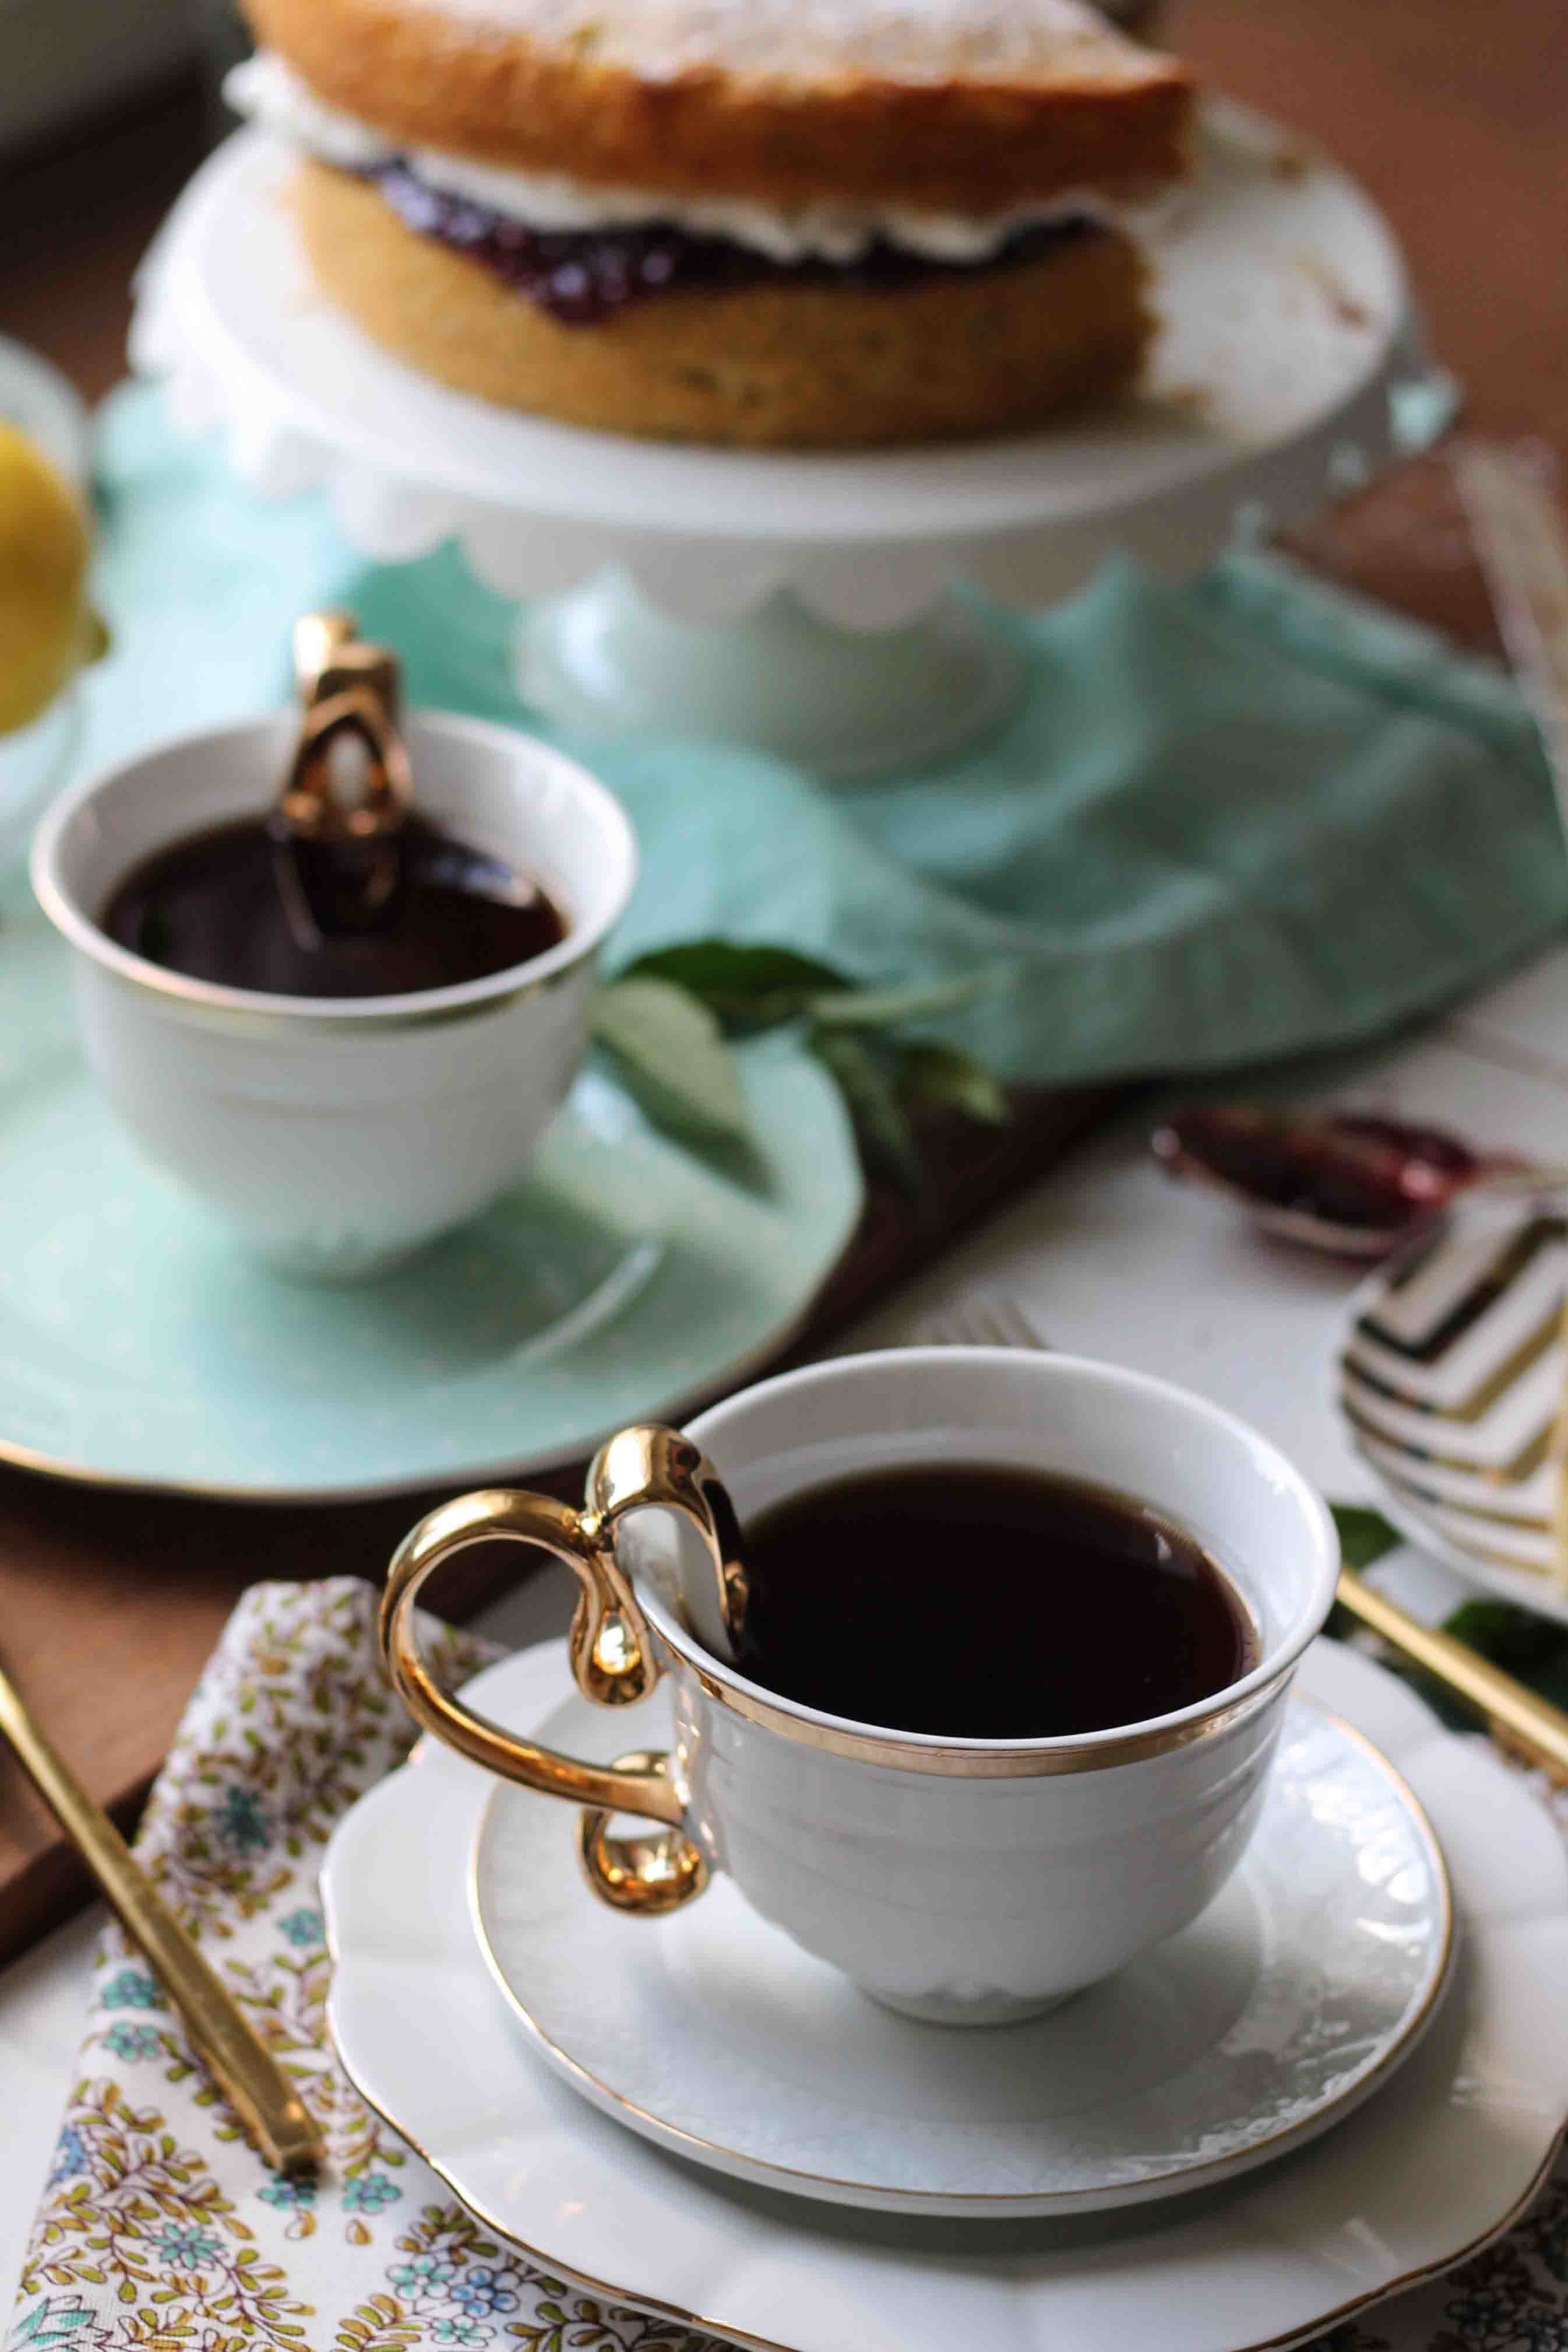
Do you hear the kettle singing? 

Victoria Sandwich Cake {Pedantic Foodie}

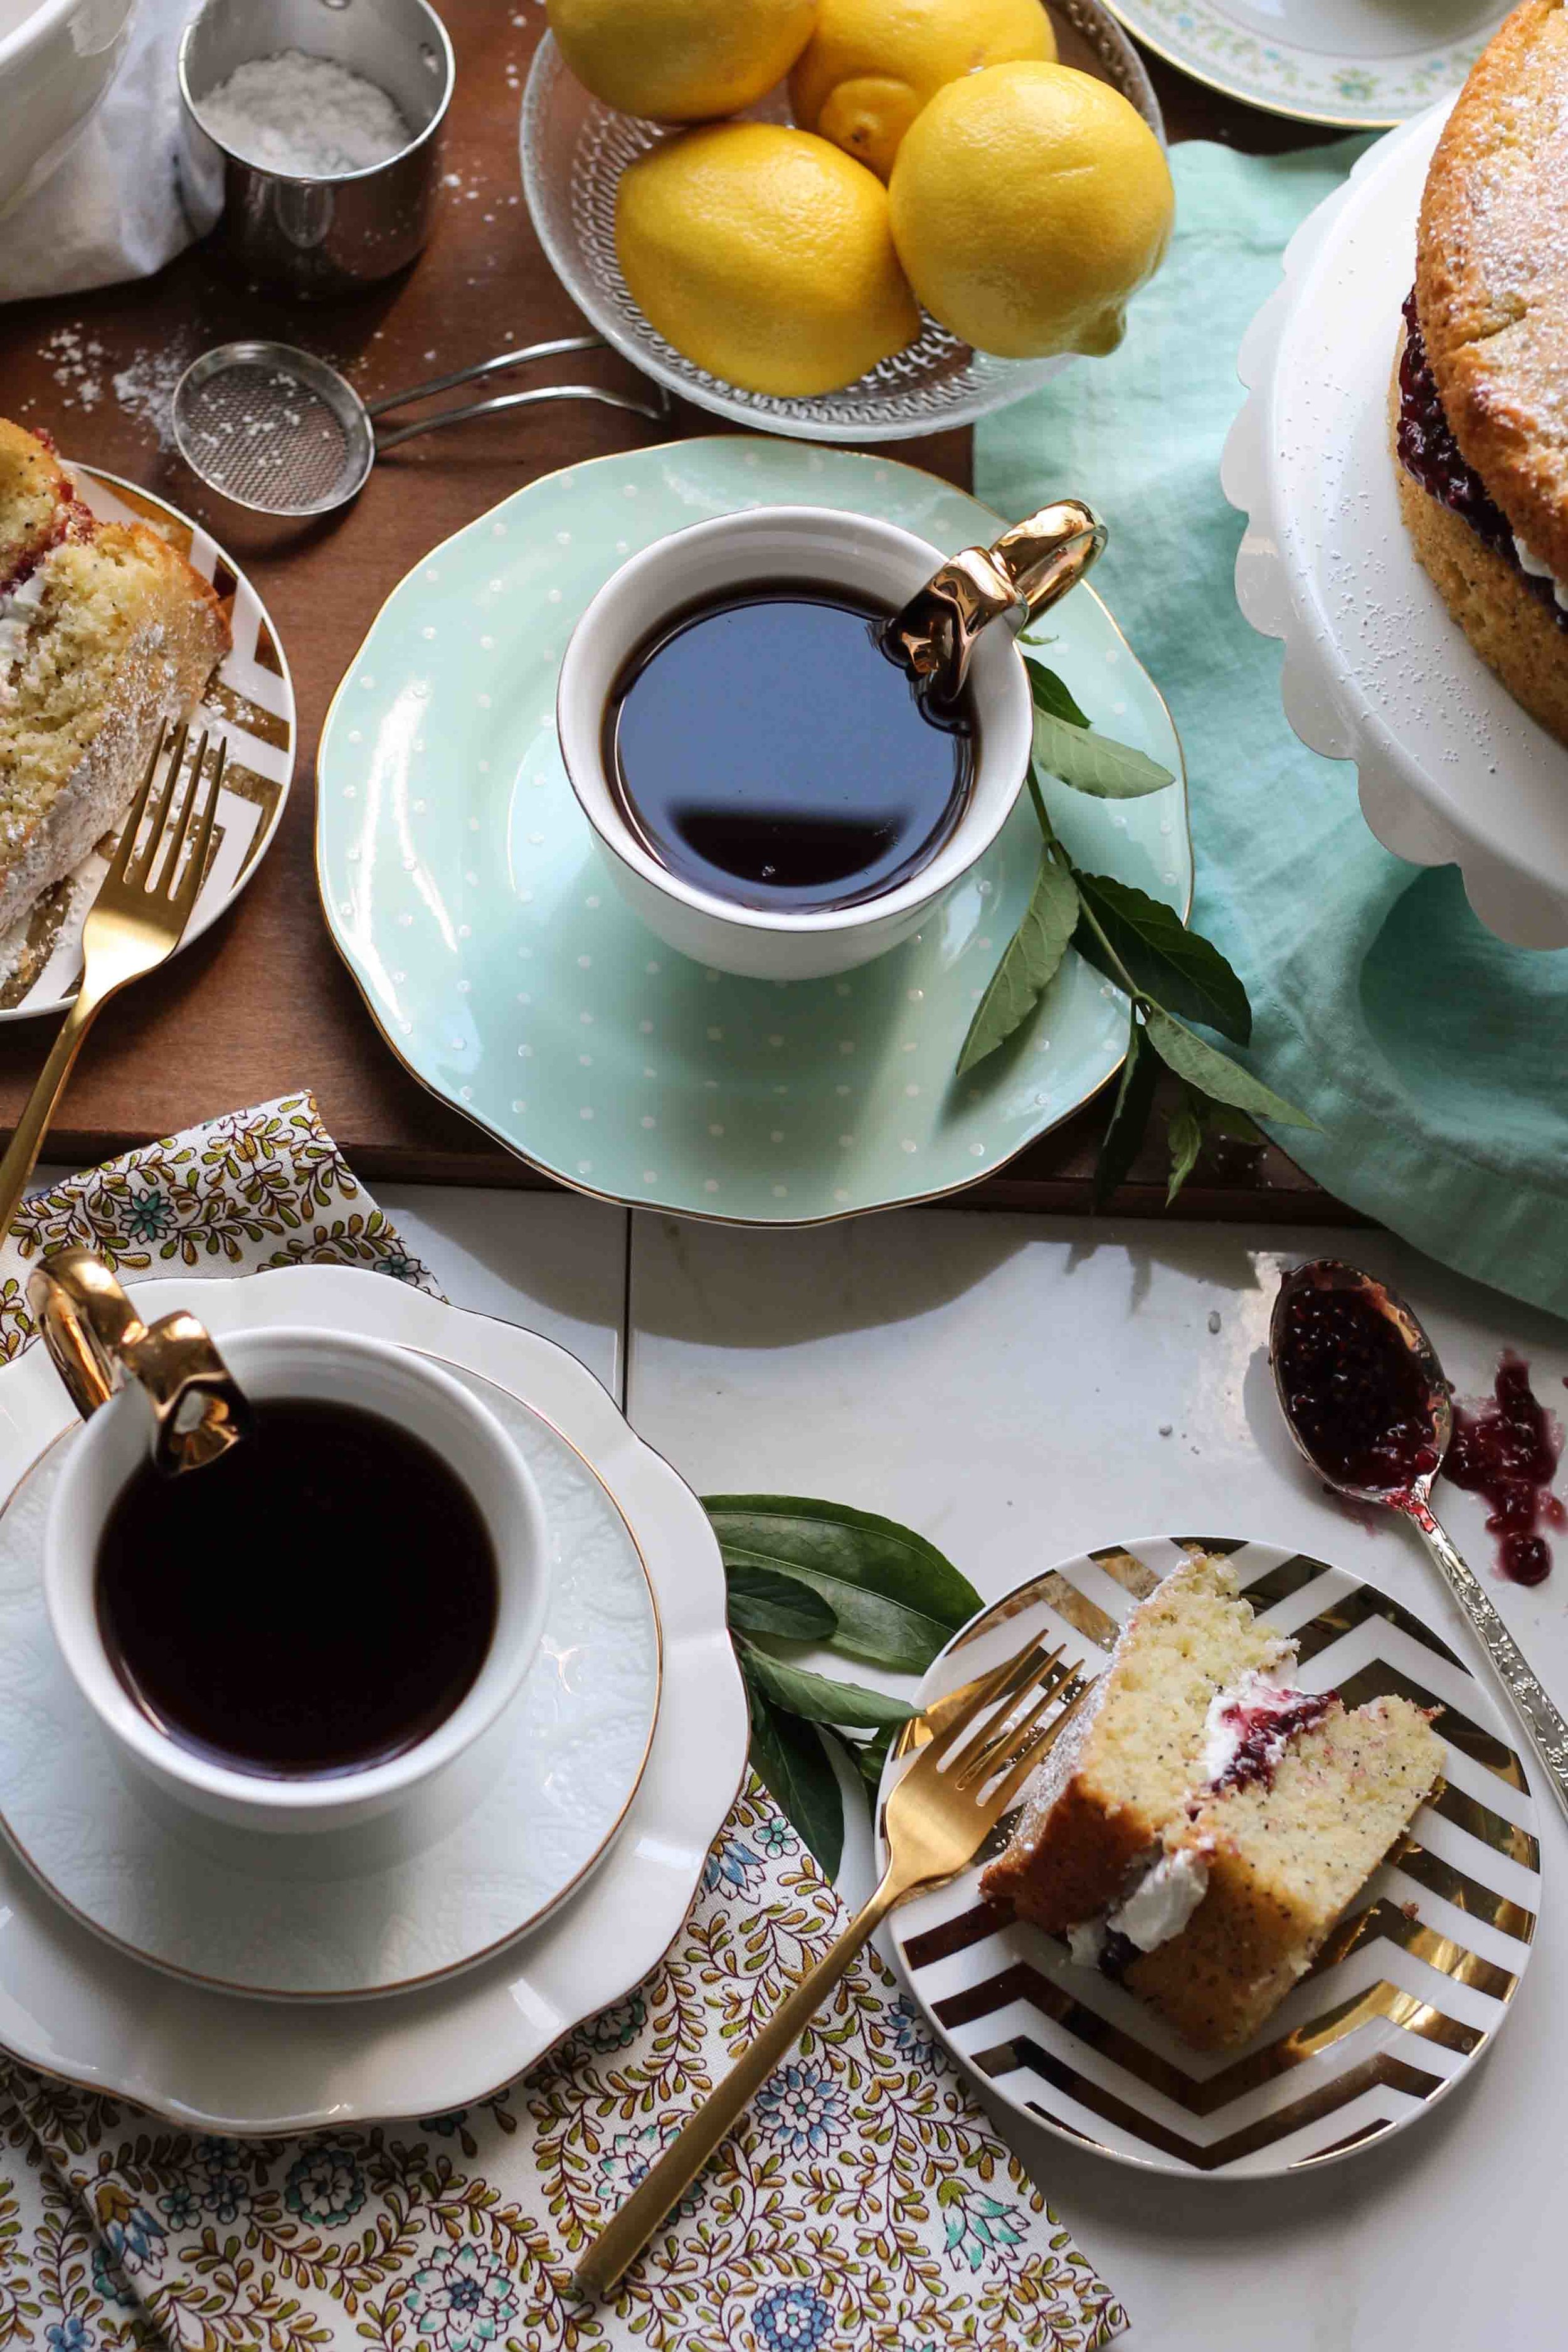
This cake is not exactly awe-inspiring or show-stopping.  It is not Nutella-filled, or caramel-stuffed, but, it is truly good.  A simple, refreshing, mid-afternoon or, dare I suggest, breakfast cake. 

Sometimes I do not want over-the-top, sometimes I just want something yummy that feels guiltlessly indulgent to snack on in between sips of tea. 

Victoria Sandwich Cake {Pedantic Foodie}

Look at those layers?  Are you beginning to understand the charm of this sweet sandwich? 

Victoria Sandwich Cake {Pedantic Foodie}

What will you explore this spring? 

Victoria Sandwich Cake {Pedantic Foodie}

Sincerely, 

Pedantic Foodie


Victoria Sandwich Cake

yields eight servings

for the cake

- 3 cups cake flour 

- 1 tablespoon baking powder 

- 1/4 teaspoon kosher salt

- 1 cup unsalted butter, softened

- 2 cups granulated sugar 

- 4 eggs 

- 1 cup whole milk

- 1 tablespoon poppy seeds 

- 1 tablespoon vanilla extract

Preheat oven to 350 degrees. 

Sift to combine cake flour, baking powder, and kosher salt.

Using your stand mixer fitted with the paddle attachment, beat butter on medium speed for one minute.  Add sugar and beat until fluffy; about 2 minutes. 

With the mixer on low speed, beat in eggs, one at a time; scrape down the sides of the bowl as necessary. 

Slowly mix in half of the flour mixture, followed by half of the milk.  Add the remaining flour and milk, mixing thoroughly, until the batter is smooth.  Mix in poppy seeds and vanilla. 

Divide the batter evenly between two 8-inch cake pans that have been well greased and dusted with flour.  Tap the pans on your countertop to remove any air bubbles. 

Bake on the center rack for 45 minutes; until the cakes spring back slightly when tapped gently. 

Allow the layers to cool completely before assembly.  After the cakes have cooled, examine the layers as you may wish to level out the top of the bottom layer if it is domed.  If so, gently run a serrated knife along the top of the bottom layer to create a flat surface.  Dust off any crumbs. 

for the cream & assembly

- 1 cup heavy cream 

- 2/3 cup confectioner’s sugar + extra for serving 

- zest of one lemon 

- 2/3 cup raspberry jam

In the bowl of your stand mixer, combine heavy cream, confectioner’s sugar, and lemon zest.  Beat on high speed until thick and stiff; about three minutes. 

Spread the jam over the bottom layer of cake and cover with whipped cream.  Top with the second cake layer and dust the cake with confectioner’s sugar.  Allow the cake to rest in the refrigerator for 30-60 minutes.  This will give the flavors a chance to meld. 

Serve alongside steaming cups of your favorite blend.  I am partial to this one myself.  Enjoy!! 

Chocolate & Ale Cupcakes with Salted Caramel Frosting

WE INTERRUPT YOUR PREVIOUSLY SCHEDULED PROGRAM (COFFEE TALK) TO BRING YOU SOMETHING HIGHLY DELICIOUS THAT YOU REALLY MUST MAKE REGARDLESS OF WHETHER OR NOT YOU ARE IRISH OR WEARING GREEN TODAY.  THANK YOU. 

Chocolate & Ale Cupcakes with Salted Caramel Frosting {Pedantic Foodie}

I wrote that in my very best old-timey radio announcer voice.

Chocolate & Ale Cupcakes with Salted Caramel Frosting {Pedantic Foodie}

So here's the deal.  It is Friday, which means that we should be coffee-talking, but I threw a stray bottle of ale into my chocolate cupcakes the other day and it happened to be incredible.  Coffee Talk will be coming to you tomorrow, but for today, on this very verdant March 17th, we need to talk about the magic of ale and chocolate baked together and covered in caramel. 

Chocolate & Ale Cupcakes with Salted Caramel Frosting {Pedantic Foodie}

I have no doubt that you have noticed my lack of holiday-themed treats.  I do, in fact, make Mr. Pedantic heart-shaped egg-in-hole breakfasts come Valentine's Day, and you will not find me without a batch of peanut butter eggs at my side in April, but here, in this little space of internet, I like to keep things a bit less...Pinterest-y?  I'll leave that to Martha Stewart. 

Chocolate & Ale Cupcakes with Salted Caramel Frosting {Pedantic Foodie}

However, I just could not resist sharing these very holiday-appropriate cupcakes, because while they are quite festive, they are equally delicious. 

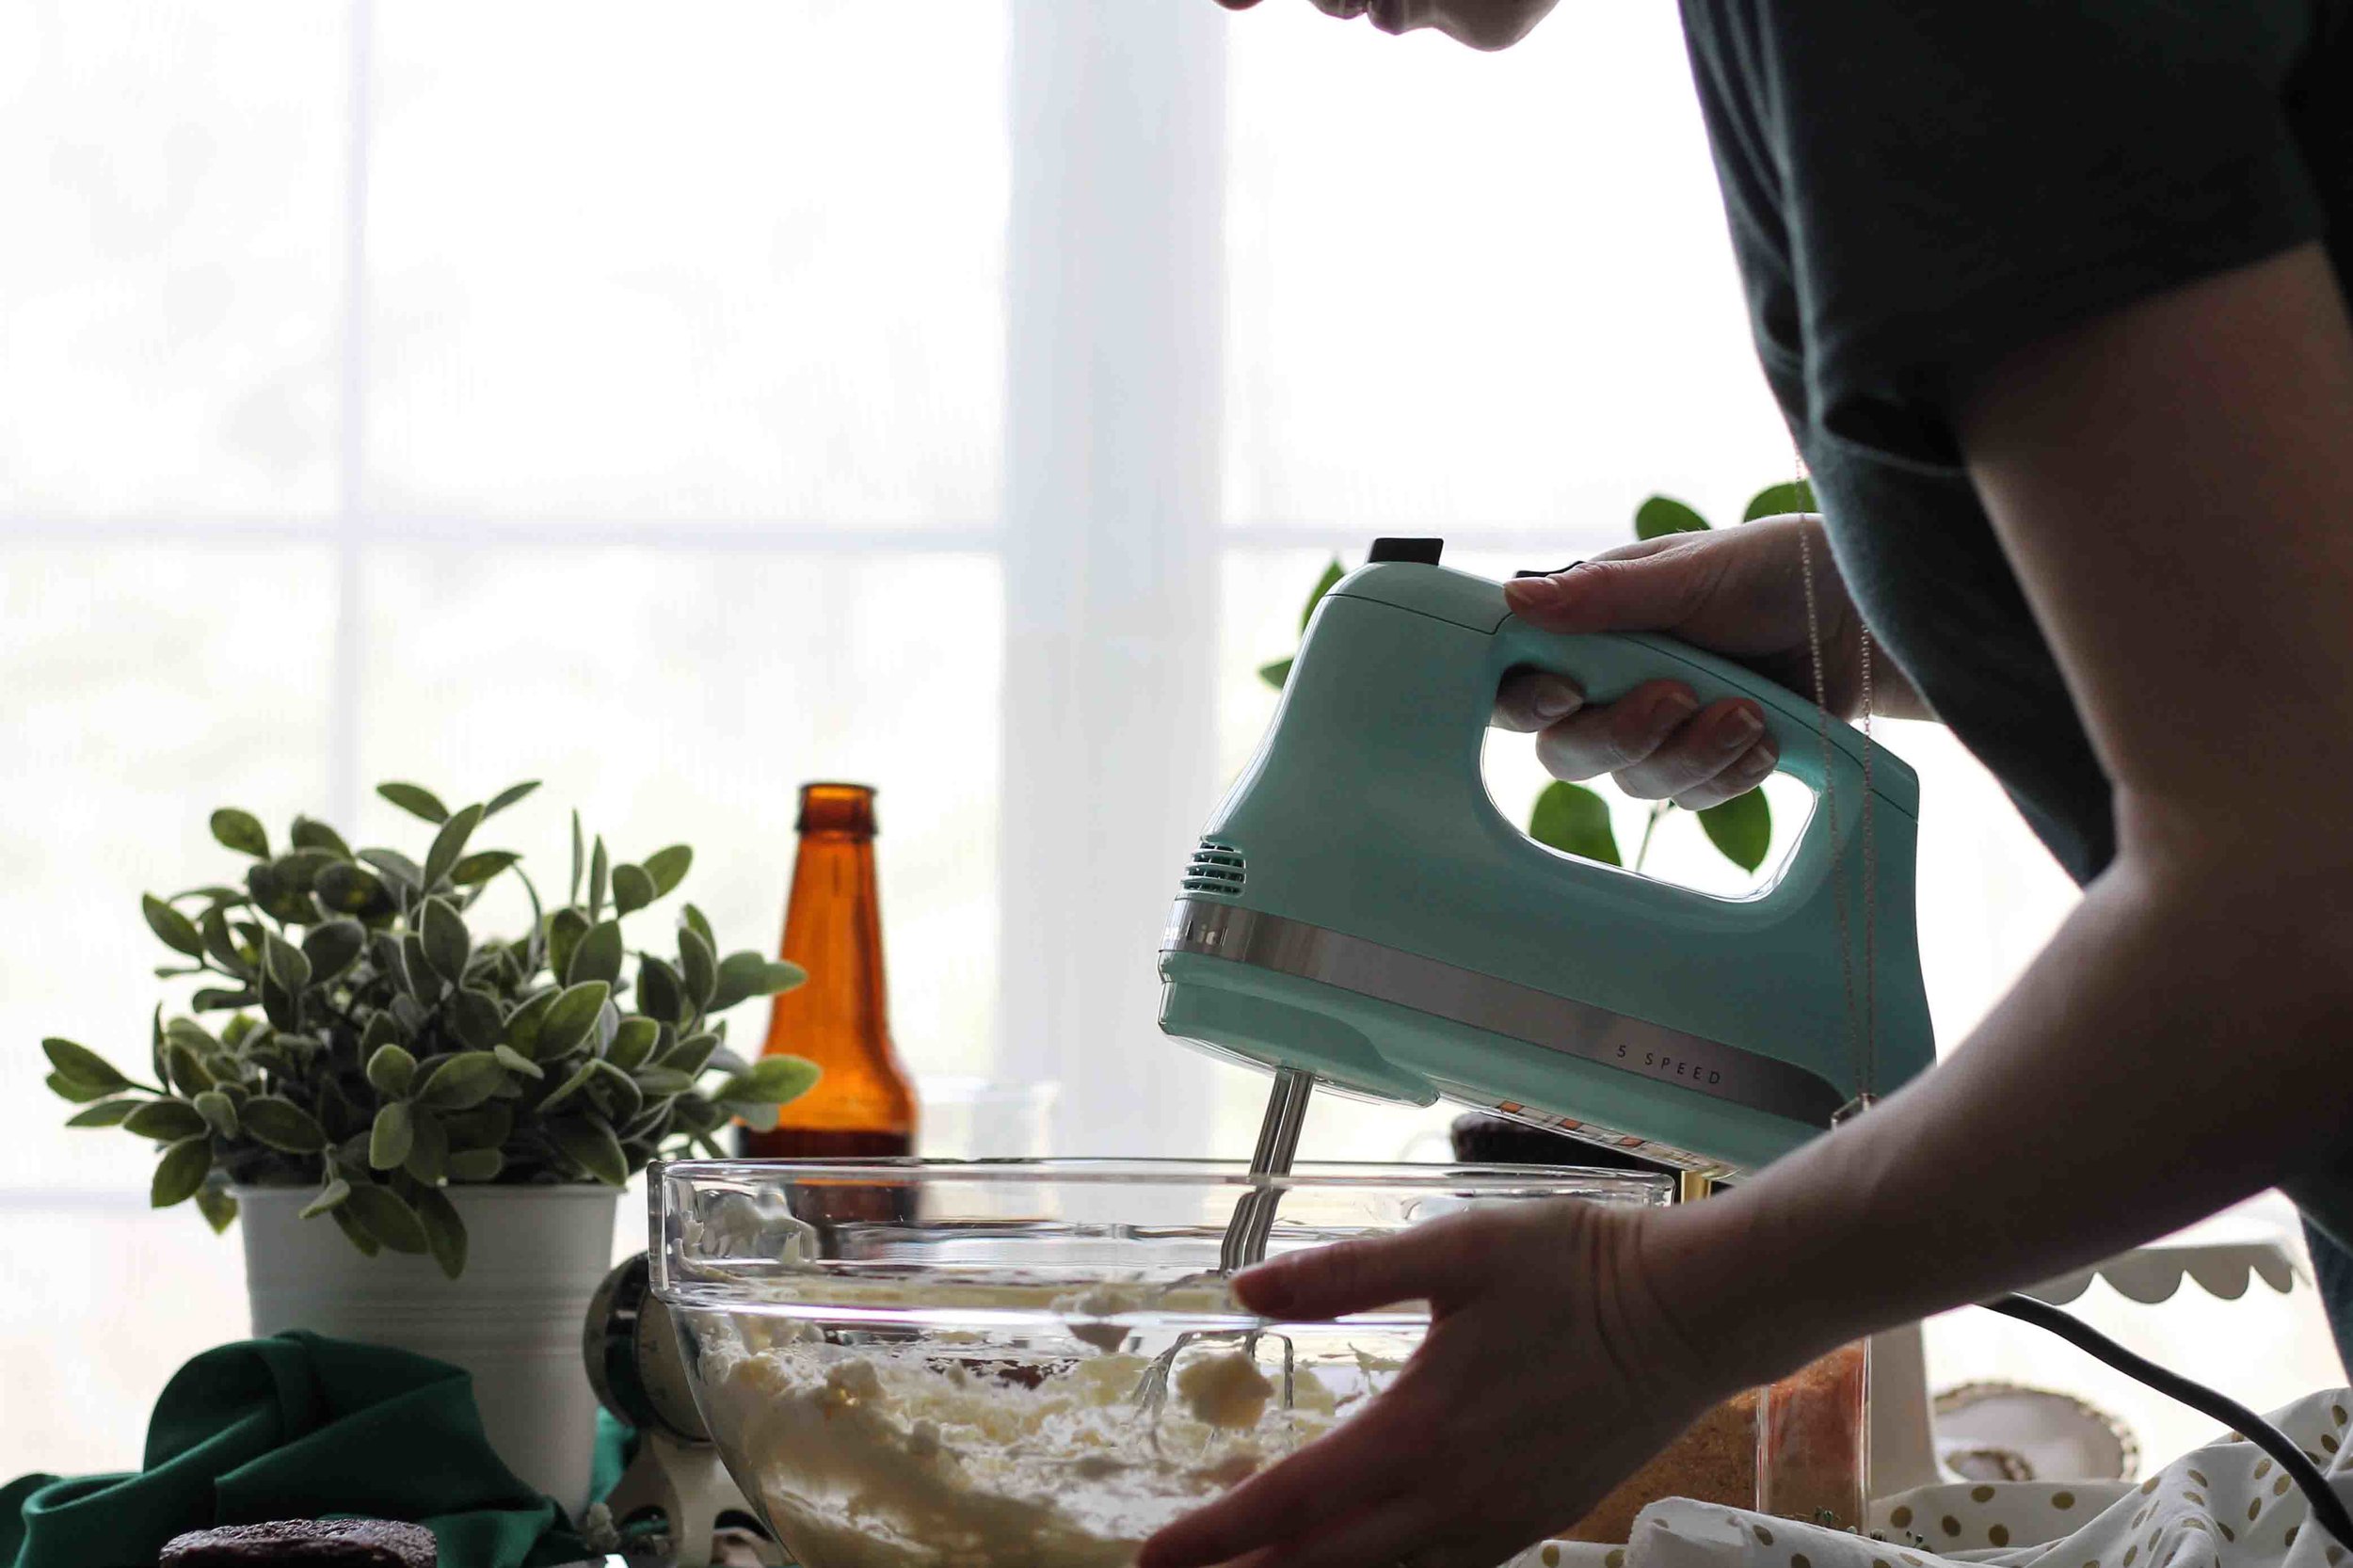
They are also the quickest cupcakes you will ever make.  You do not even need to break out your stand mixer for these guys. 

Chocolate & Ale Cupcakes with Salted Caramel Frosting {Pedantic Foodie}

I wish I could properly describe the aroma of these cupcakes baking, but you will just have to bake them yourself to find out.  All I can say is that the scent of rich chocolate baked with yeasty ale is pure heaven. 

Chocolate & Ale Cupcakes with Salted Caramel Frosting {Pedantic Foodie}

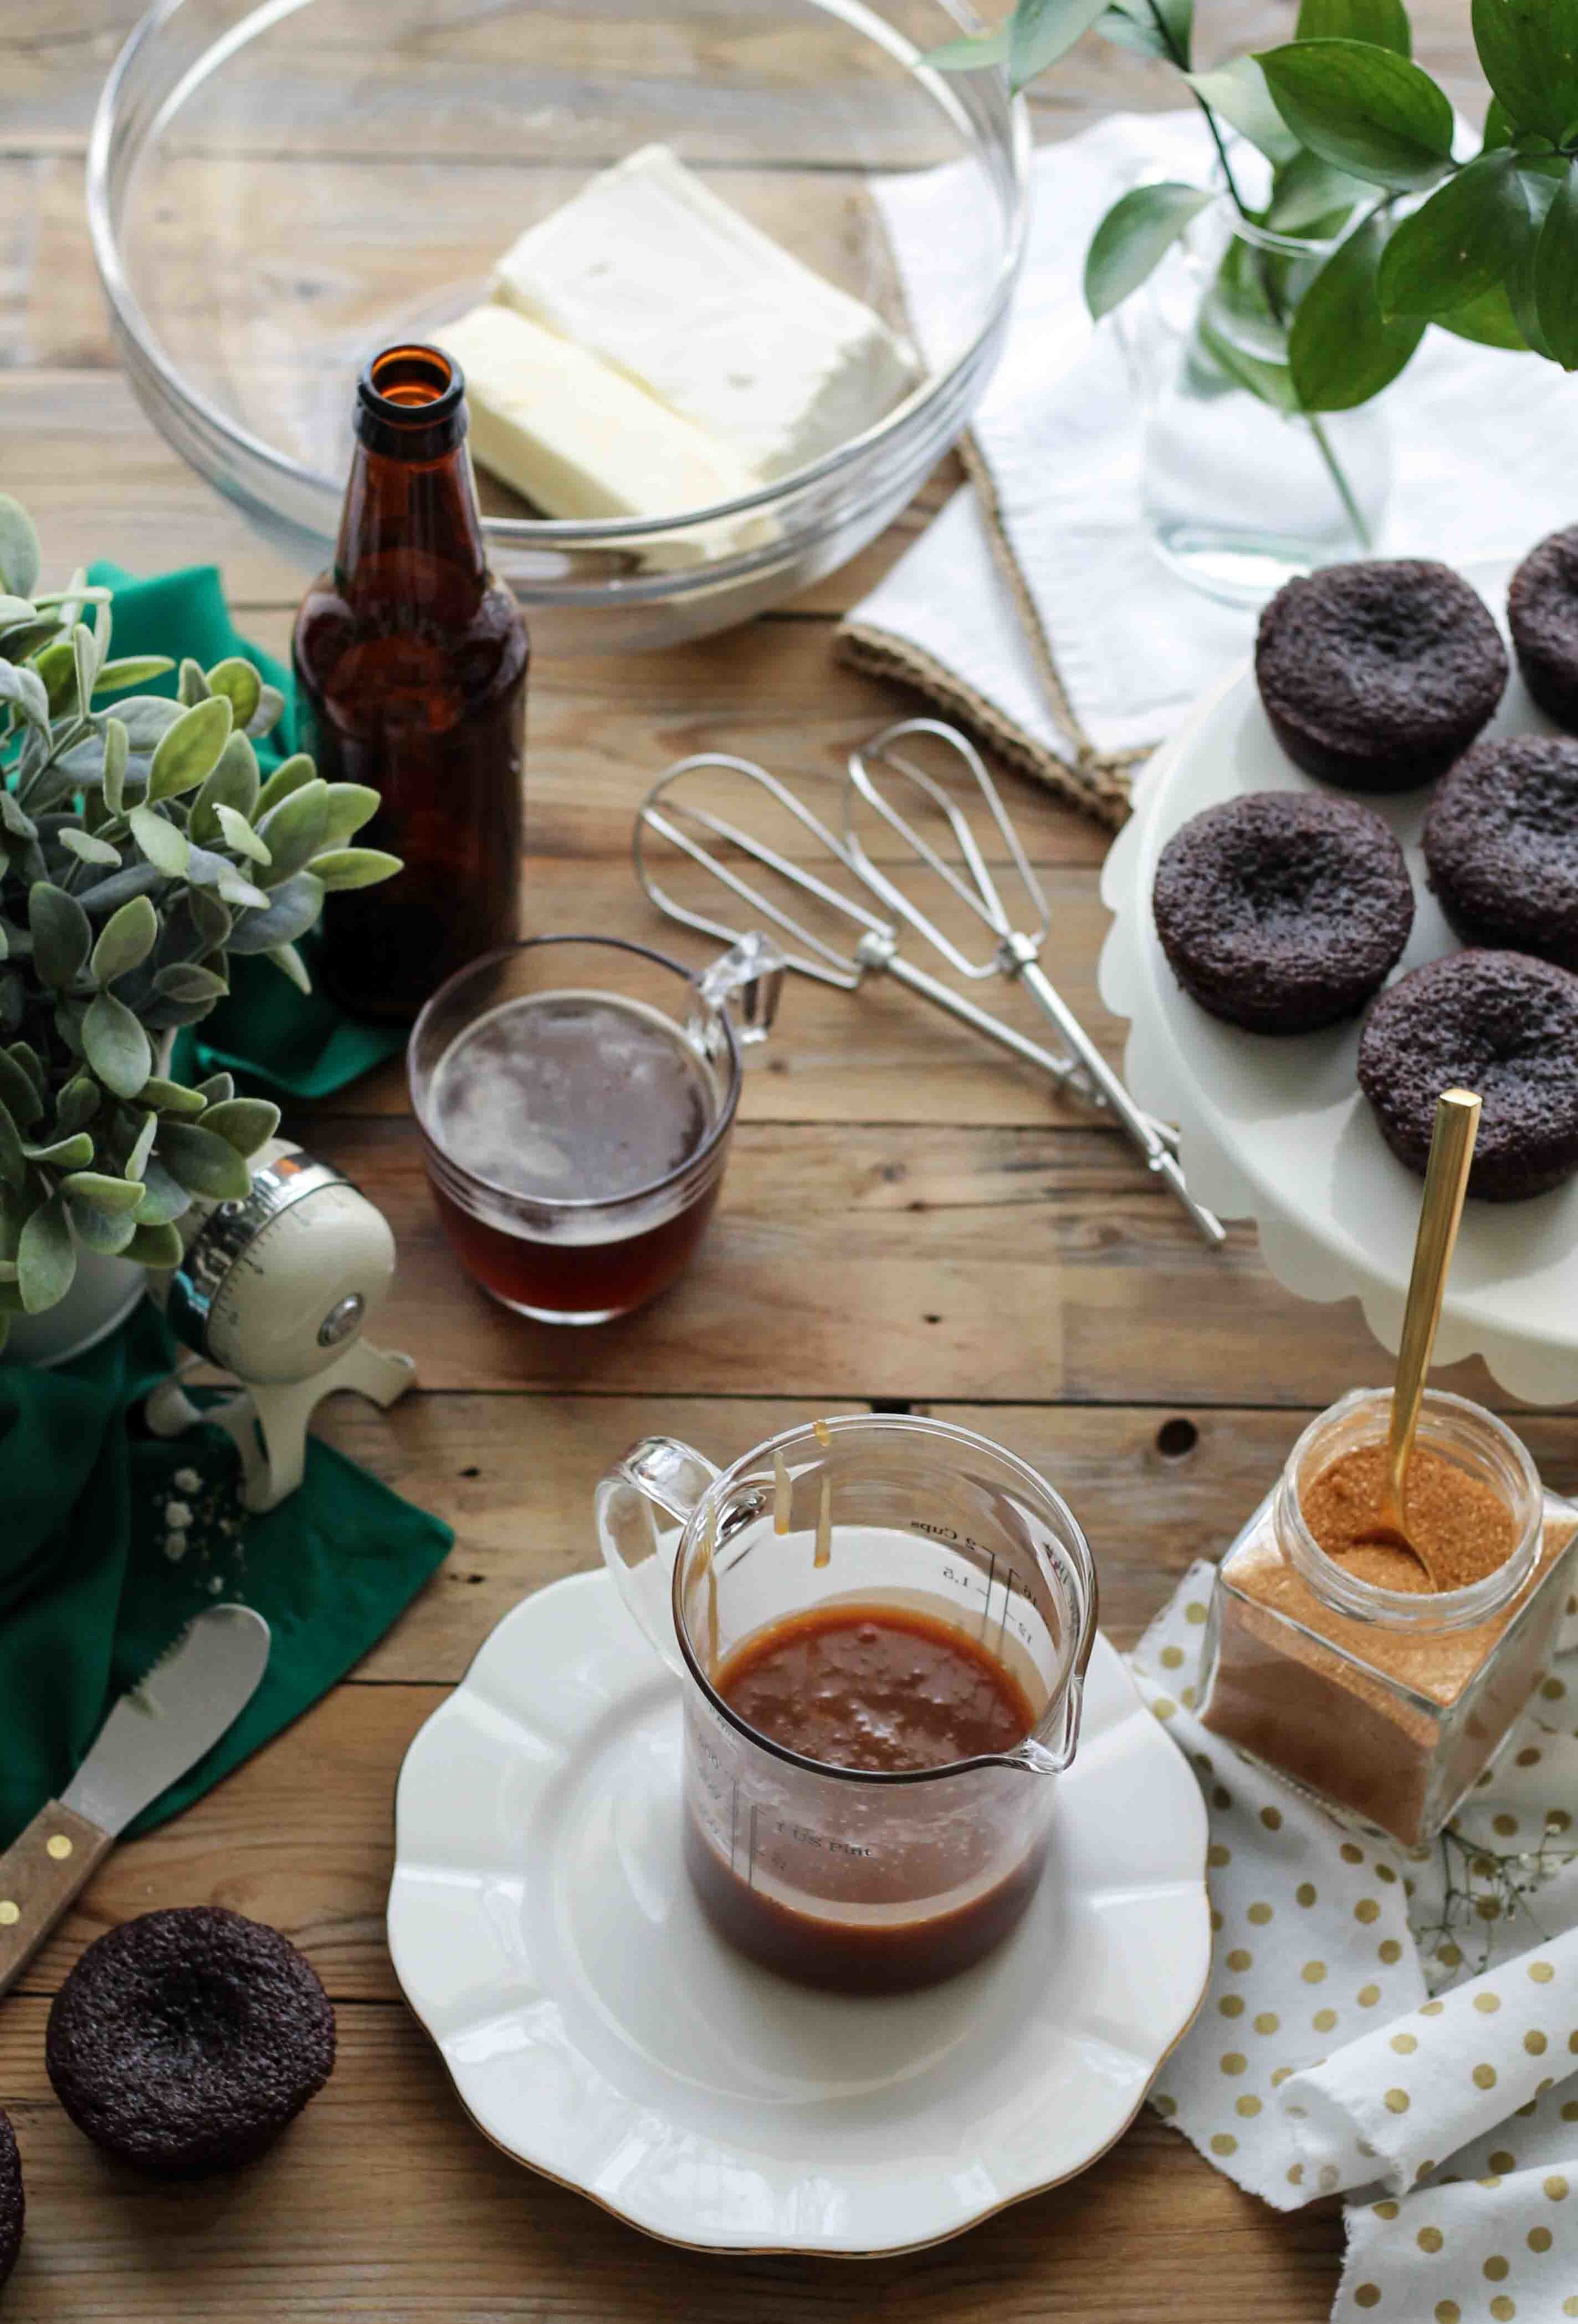
While the cupcakes cool, we need to tackle the frosting situation.  Salted caramel and cream cheese just felt right. 

Chocolate & Ale Cupcakes with Salted Caramel Frosting {Pedantic Foodie}

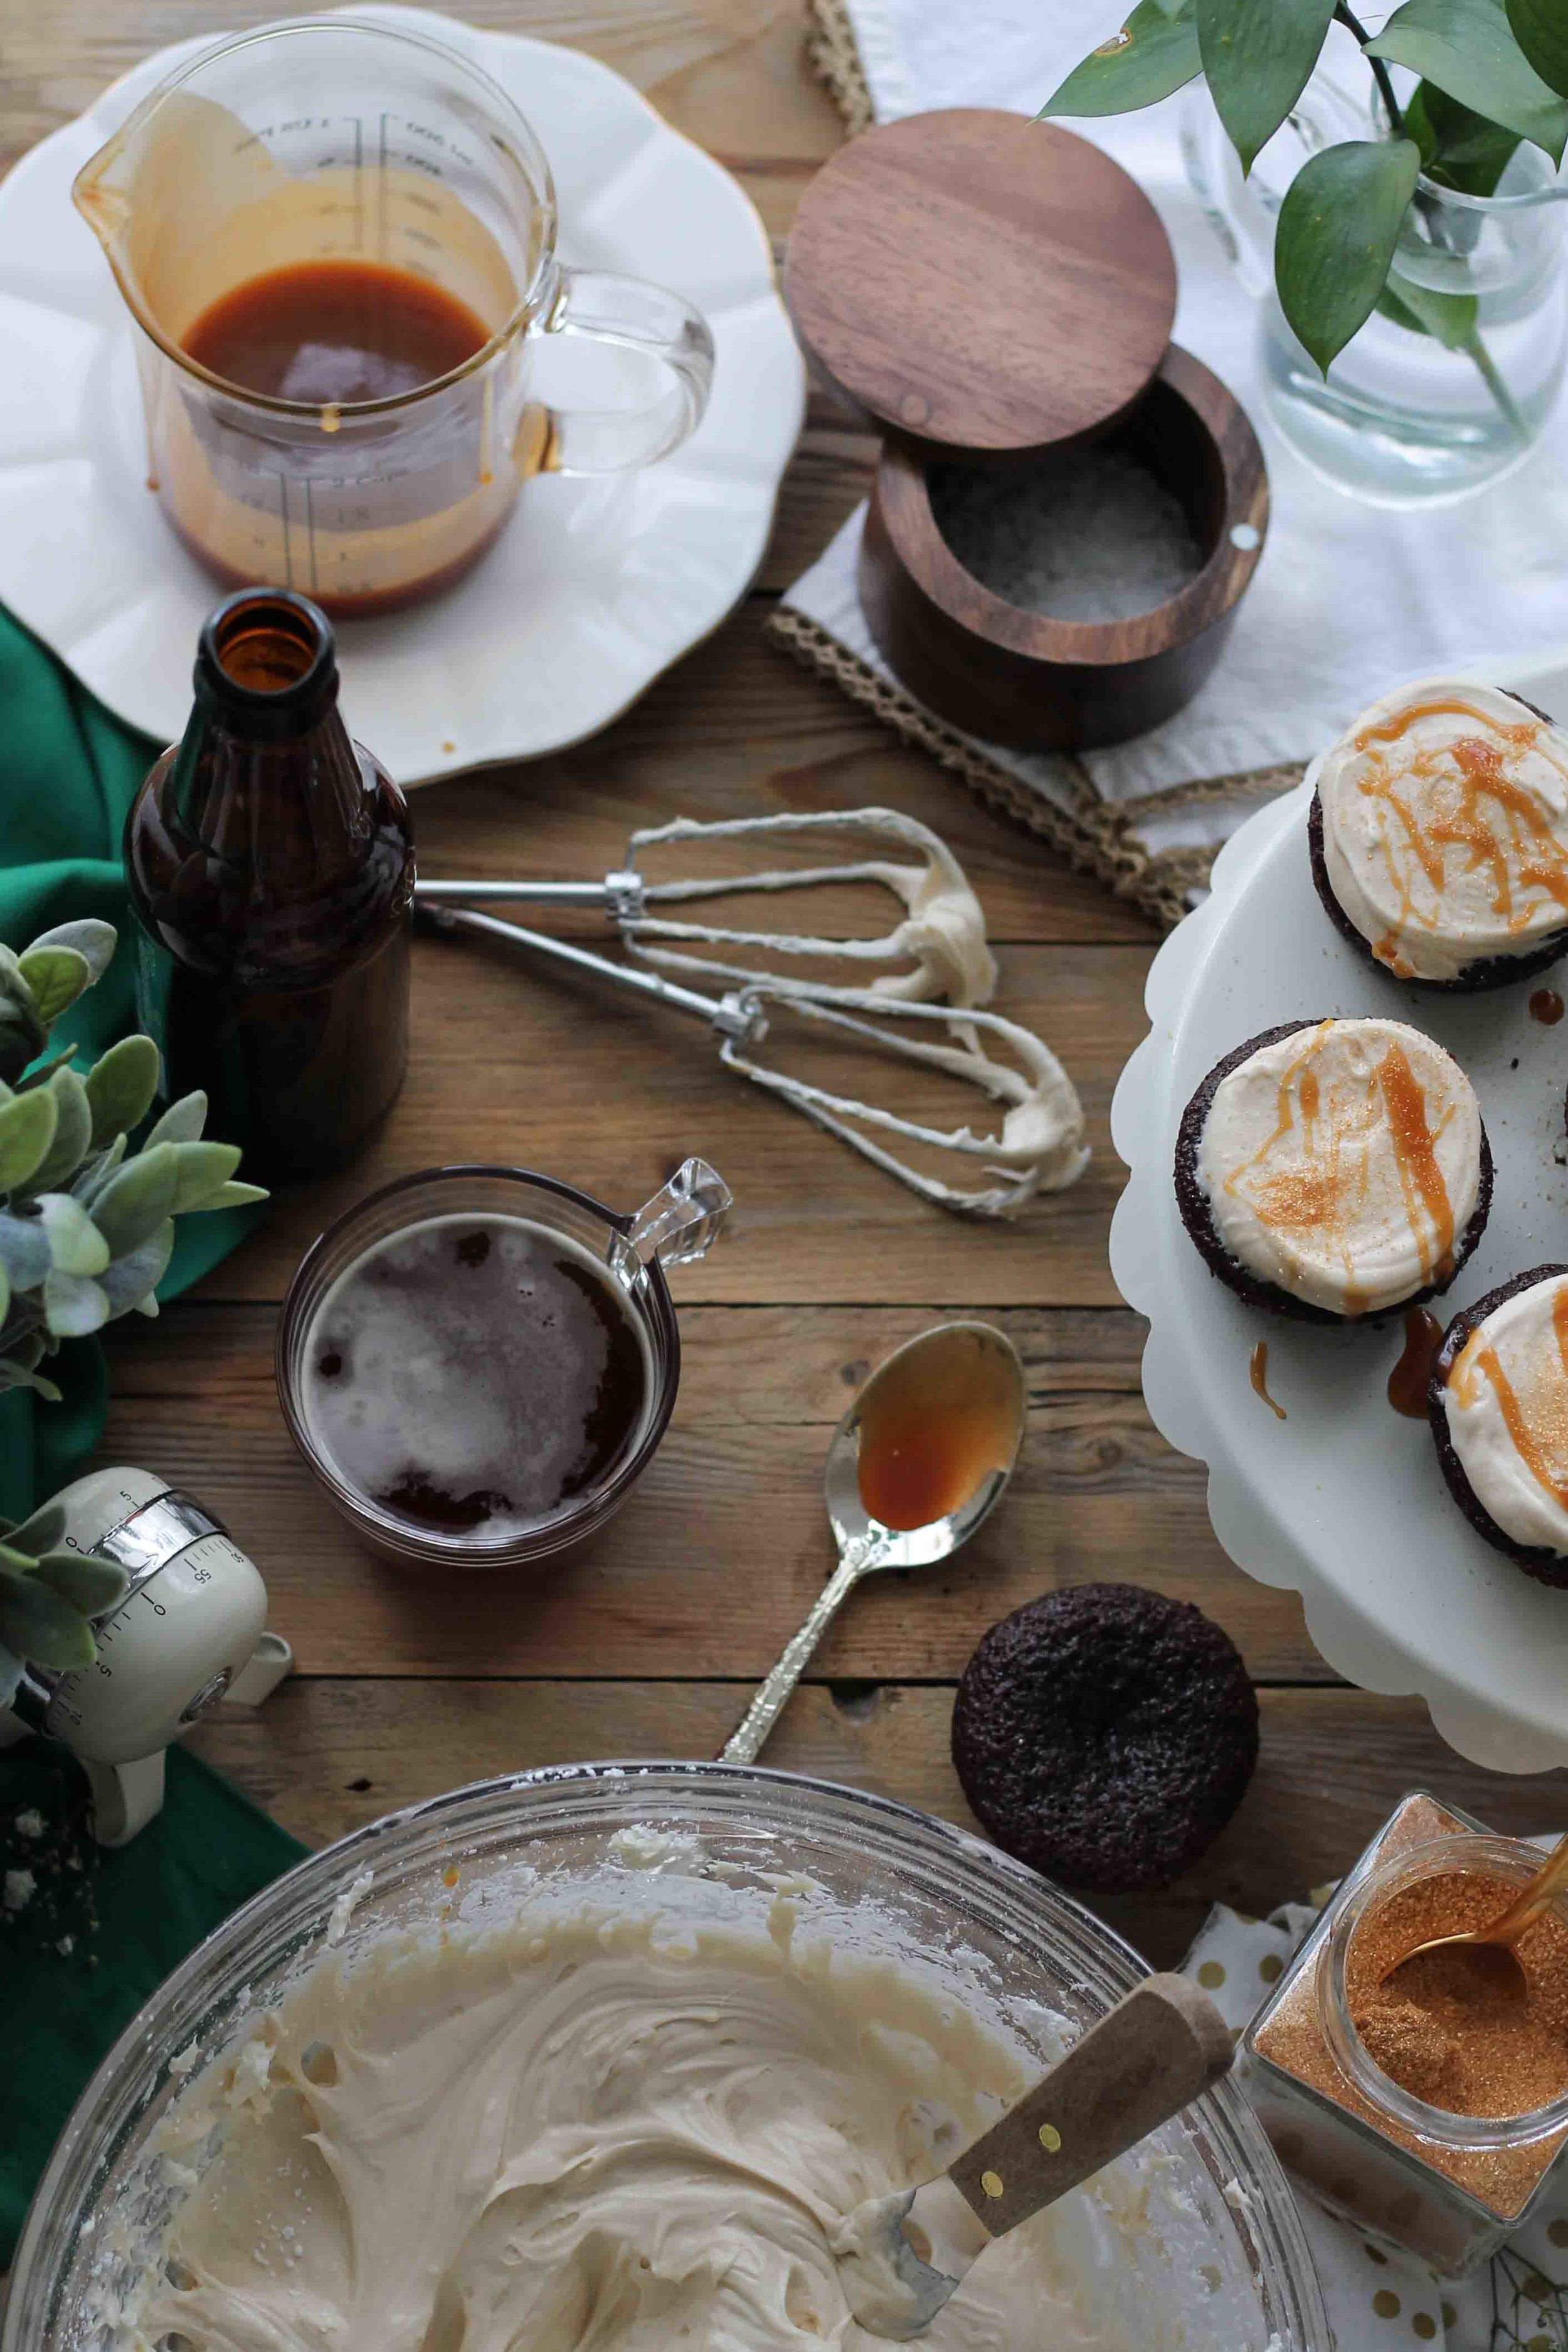
See how smooth that frosting is?  Doesn't it make your eyes so happy? 

The key to a super smooth frosting is soft cream cheese and butter.  If you try to use butter or cream cheese that is even slightly cold you will end up with little cold bits strew throughout the frosting. 

It's been pretty cold these days around Norwyk Manor so I placed my butter and cream cheese atop my stove while the cupcakes baked, flipping them every so often so that the warmth was evenly distributed.  Cheat code for the impatient. 

Chocolate & Ale Cupcakes with Salted Caramel Frosting {Pedantic Foodie}

A super simple homemade caramel goes into the frosting and the leftovers are used for drizzling. 

Chocolate & Ale Cupcakes with Salted Caramel Frosting {Pedantic Foodie}

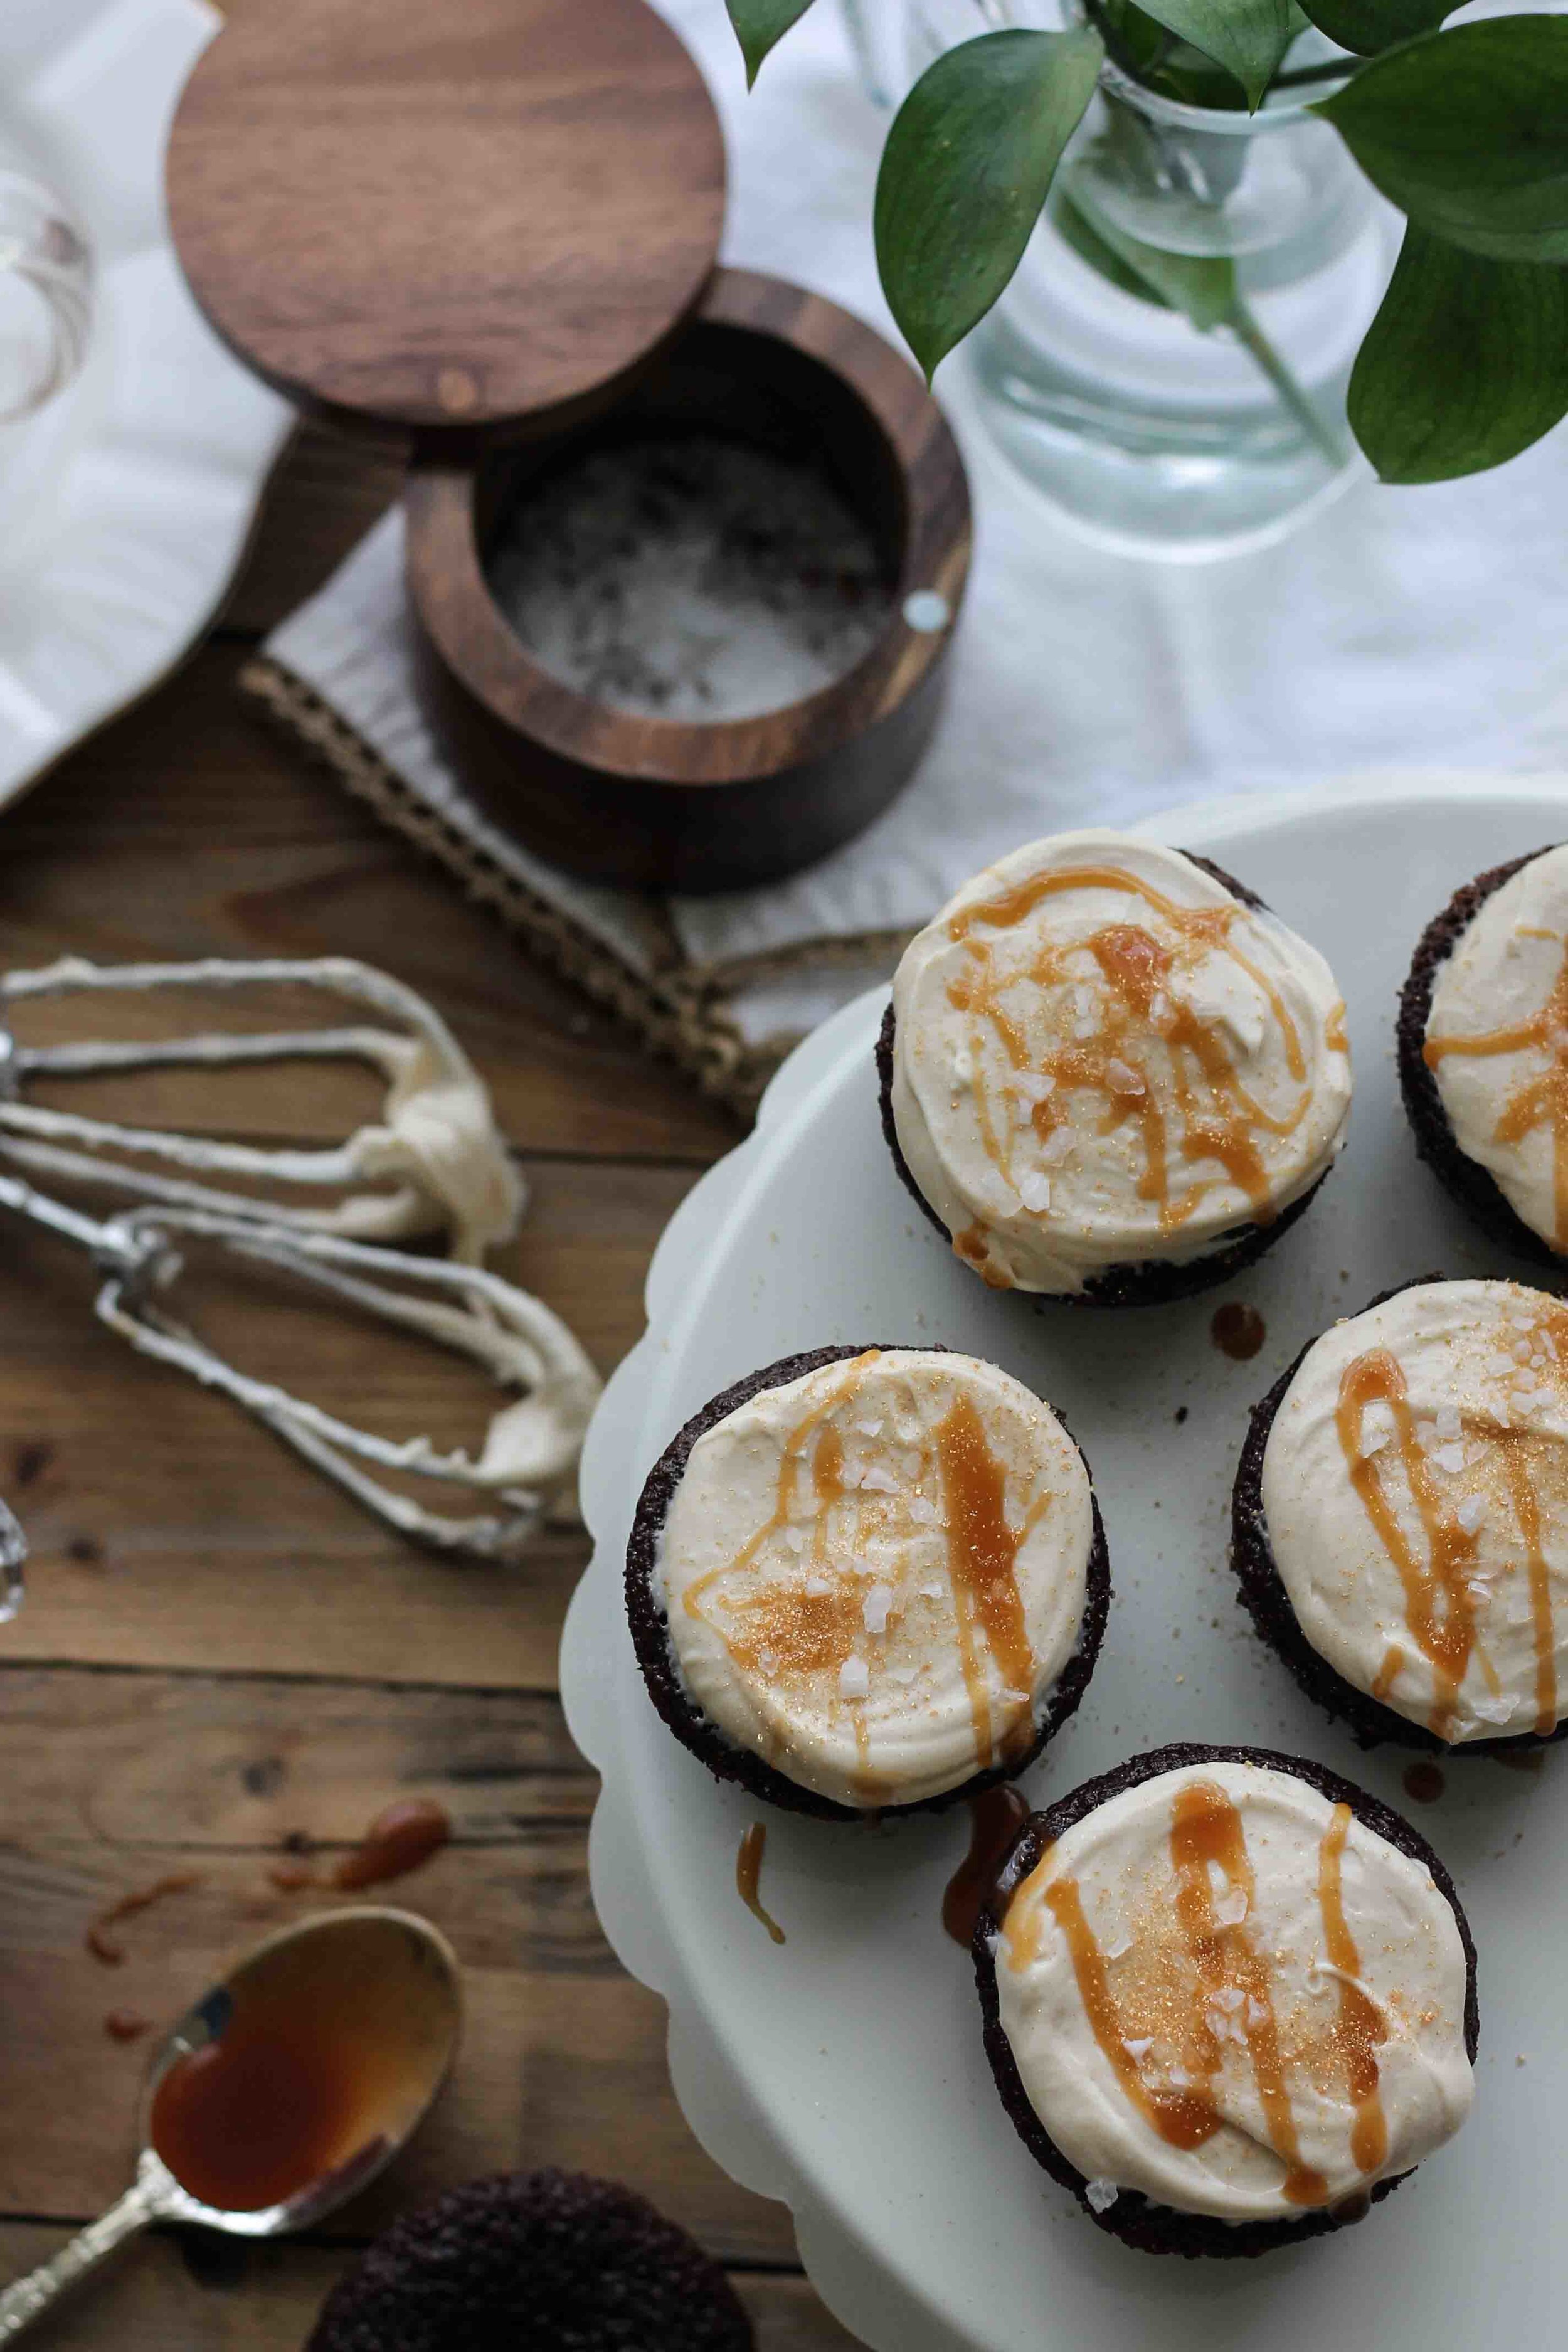
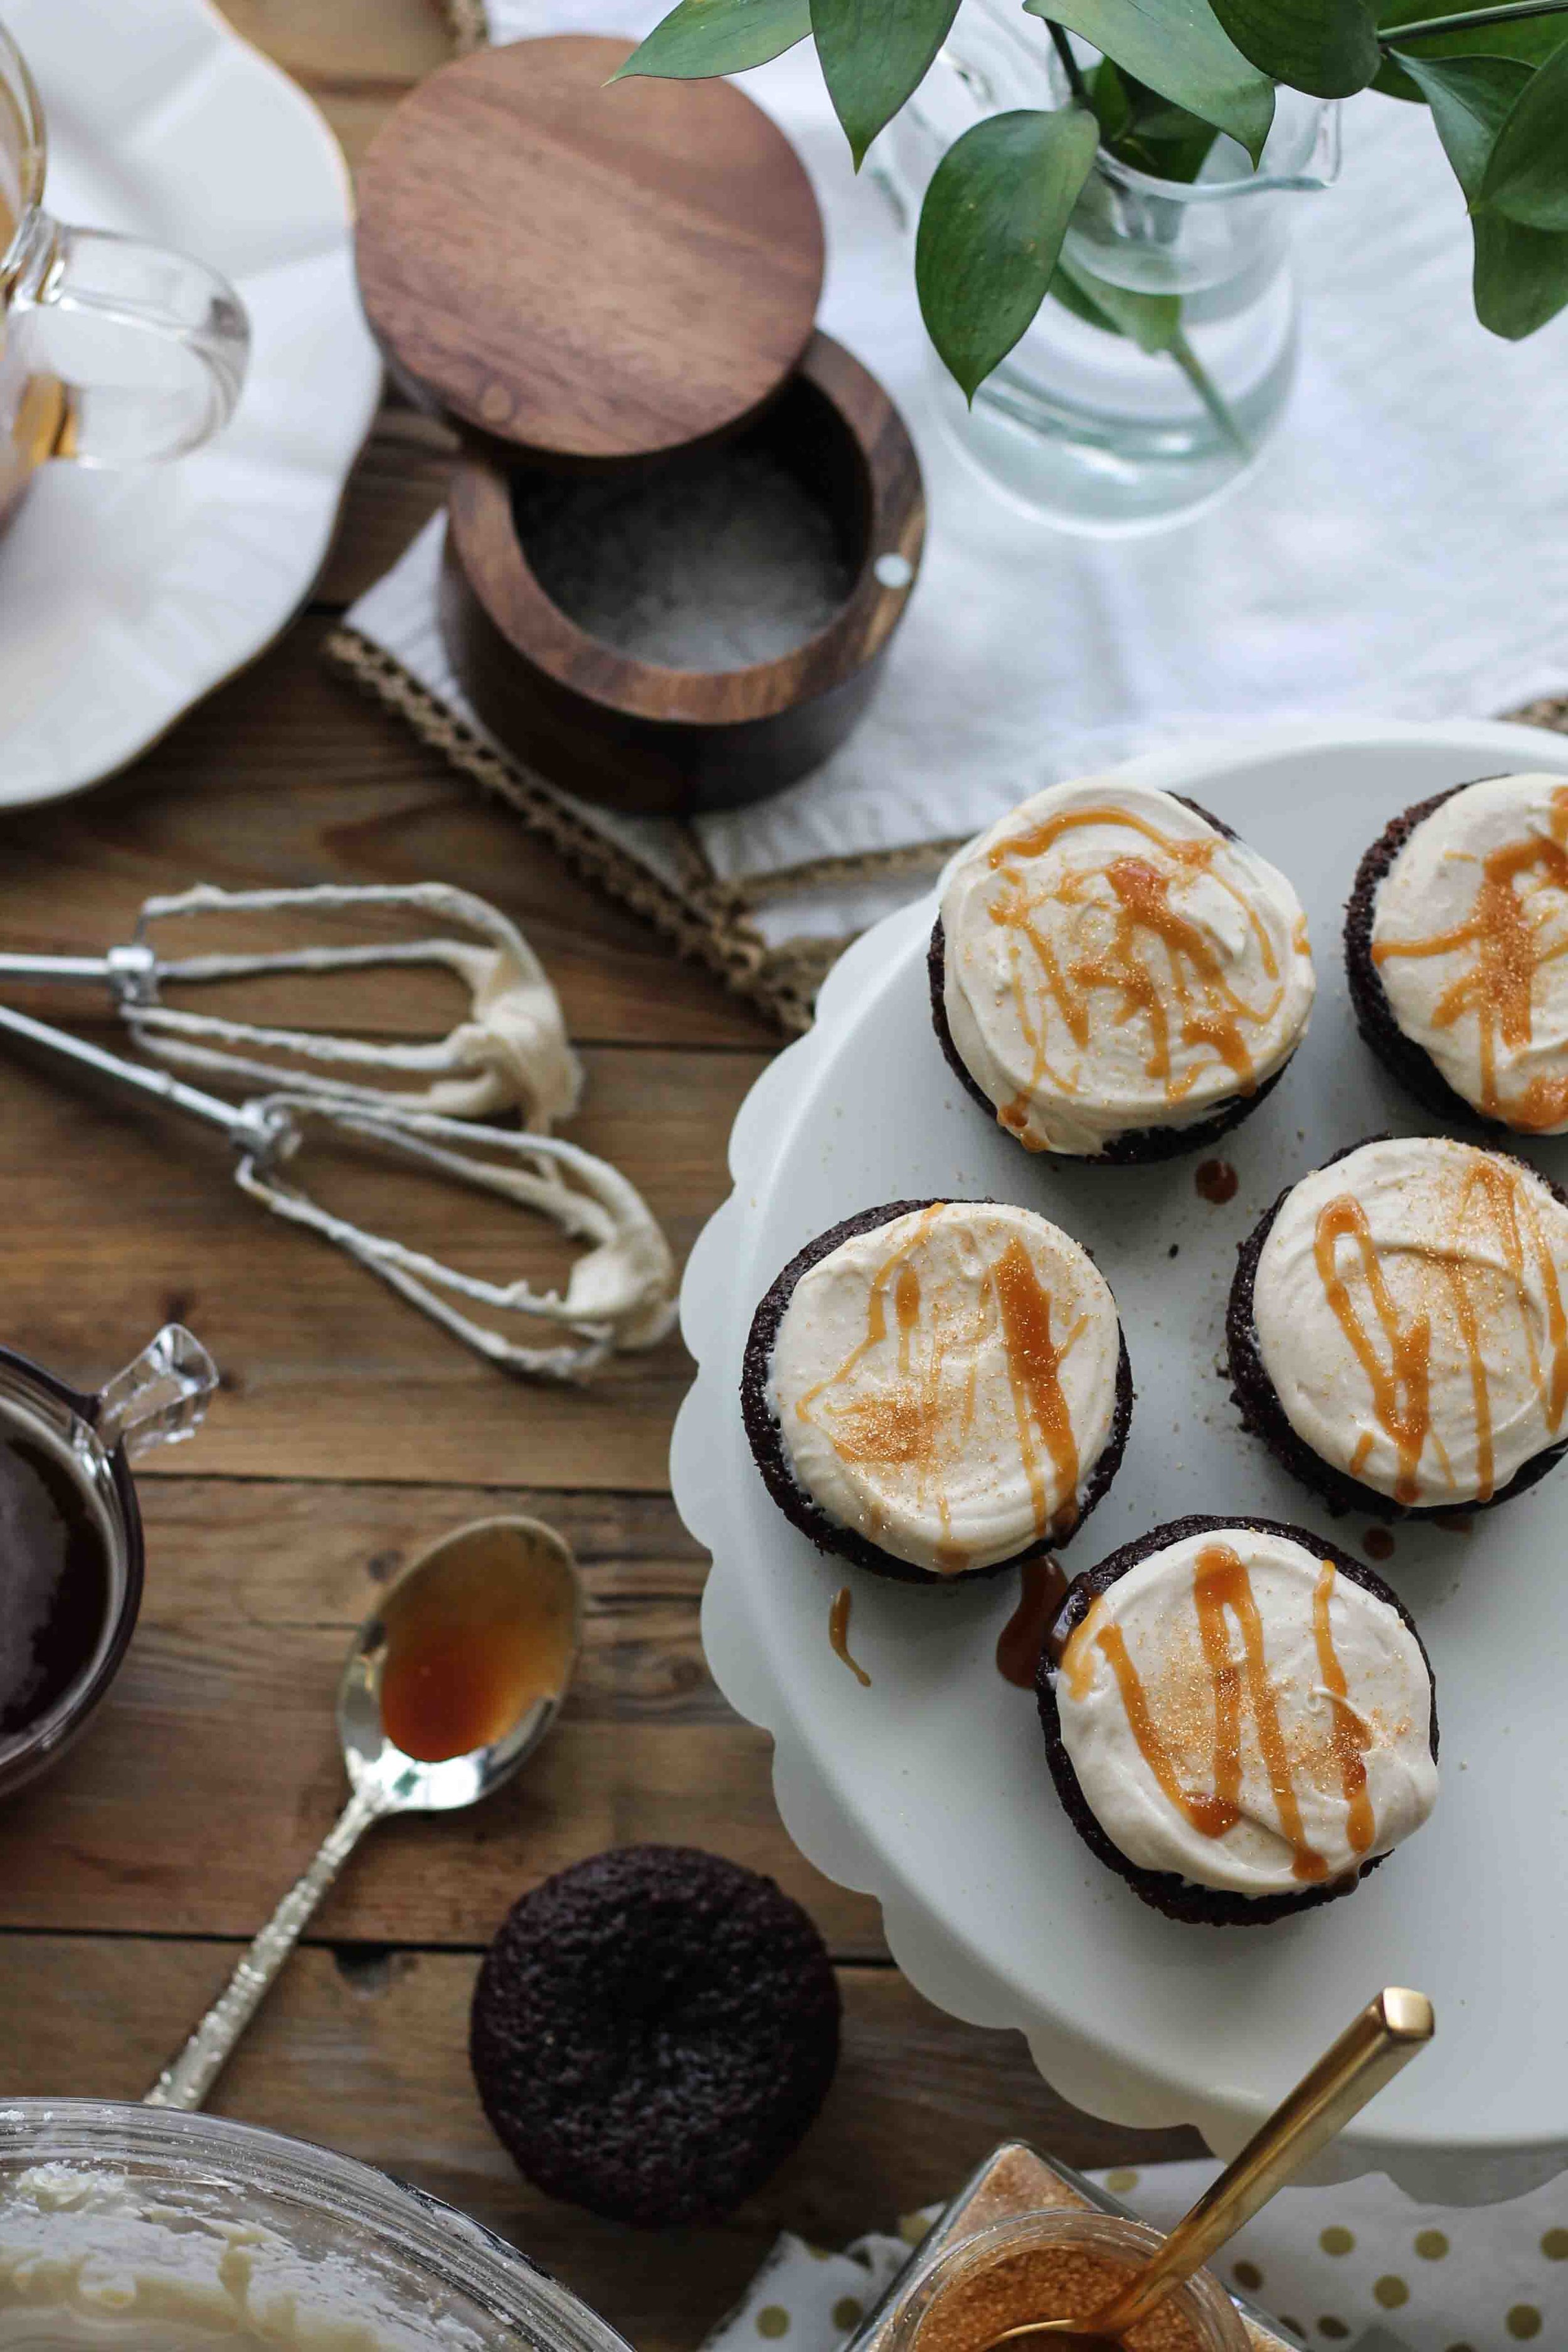
I also sprinkled a bit of edible gold sugar over these little cakes because the neighborhood leprechaun told me too. 

Chocolate & Ale Cupcakes with Salted Caramel Frosting {Pedantic Foodie}

Let's forgo the pinching and shamrock necklaces and just eat cupcakes.  Cool?  Cool. 

Sincerely, 

Pedantic Foodie


Chocolate and Ale Cupcakes with Salted Caramel Frosting

makes 2 1/2 dozen / cake recipe adapted from Food 52

for the cupcakes

2 cups pure cane sugar 

1 3/4 cups all-purpose 

3/4 cup cocoa 

1 1/2 teaspoons baking powder 

1 1/2 teaspoons baking soda 

1/2 teaspoon kosher salt 

2 eggs 

1/4 cup whole milk 

3/4 cup amber ale 

1/4 cup vegetable oil 

1 teaspoon vanilla extract 

1/4 cup boiling water 

Preheat oven to 350 degrees F.  Spray muffin tins with nonstick spray.

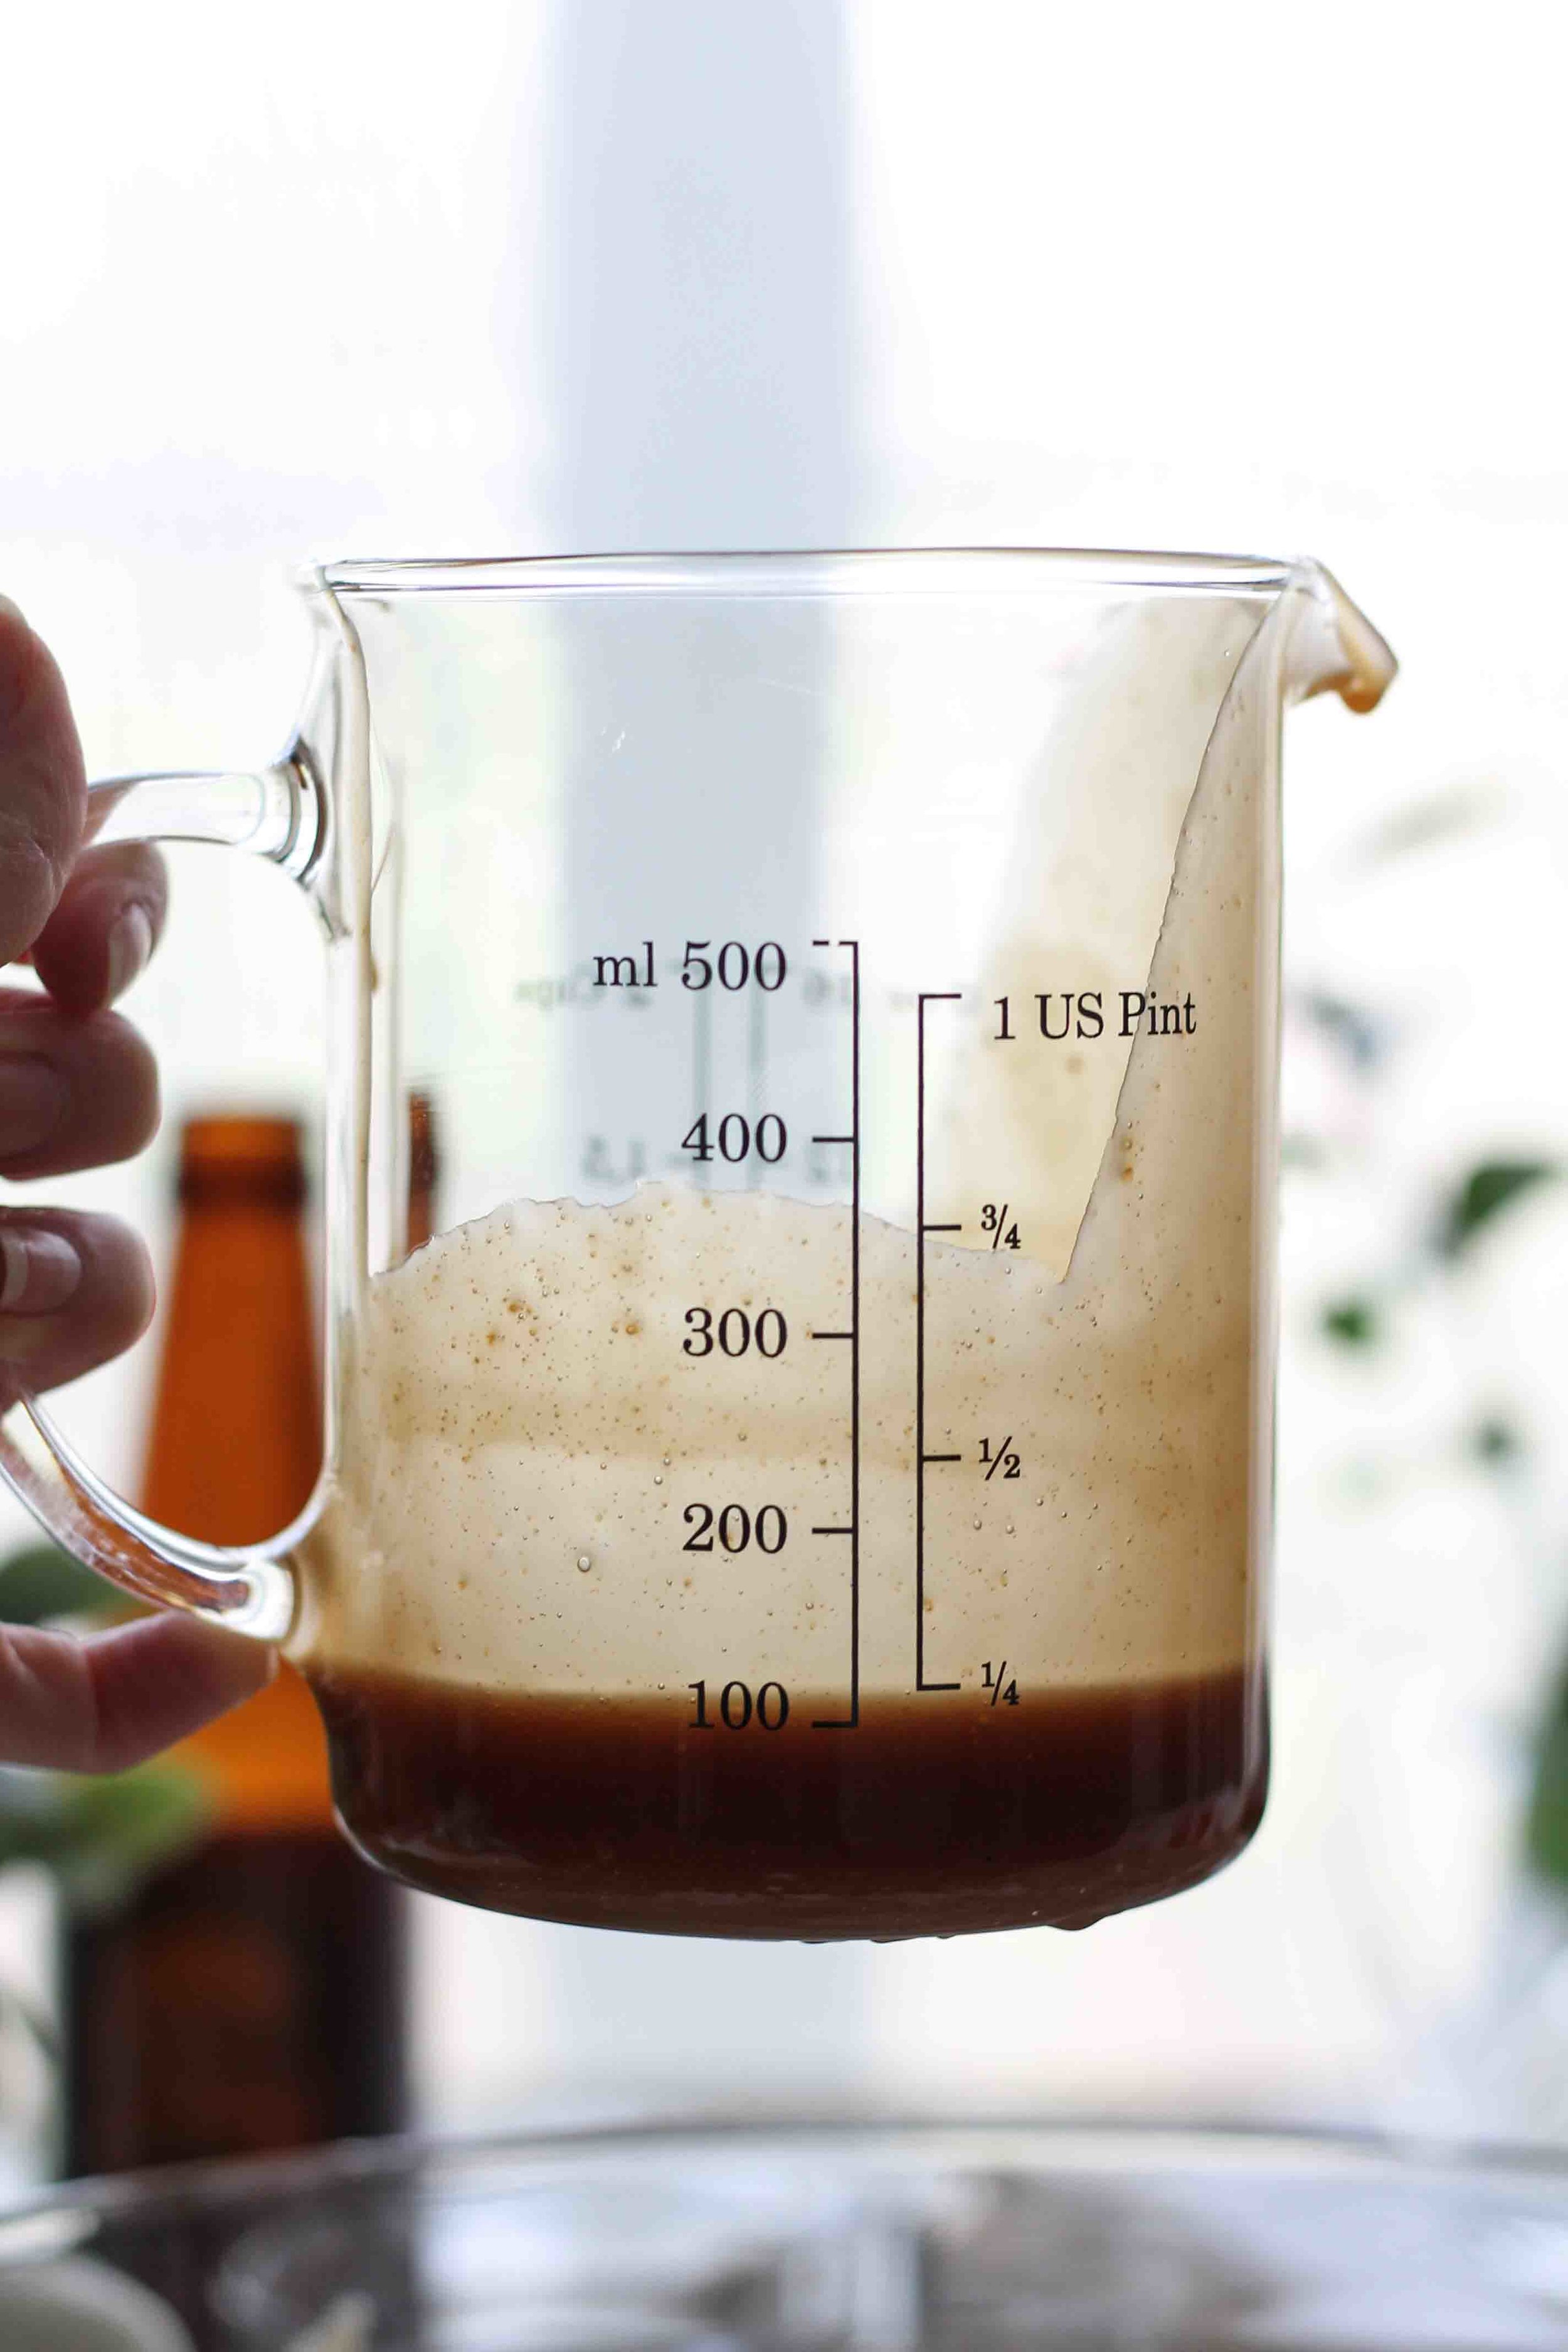
In a large mixing bowl, whisk to combine sugar, all-purpose flour, cocoa, baking powder, baking soda, and salt.  Add eggs, milk, ale, oil, and vanilla extract and whisk until smooth; about two minutes.  Then, whisk in boiling water.  The batter will be quite thin but do not worry! 

Divide the batter evenly amongst the 30 muffin cups, filling each only half way.  These cakes will rise significantly!

Bake for 18-20 minutes, until the cakes spring back when tapped lightly in the center.  Do not open the oven during the baking time else the cupcakes will fall. 

Place the cupcakes on cooling racks to cool while you prepare the frosting. 

for the caramel

3/4 cup sugar

1 tablespoon water

1 tablespoon unsalted butter

1/2 teaspoon vanilla 

2/3 cup heavy whipping cream

1/2 teaspoon kosher salt

In a small sauté pan combine sugar, butter and water.  Place over medium heat and stir until the butter melts and the sugar begins to dissolve.  

Once the sugar has dissolved, cease stirring, and boil for 5-7 minutes, or until amber in color.  Swirl the pan occasionally so that the caramel browns evenly, but do not stir or scape down the sides while the caramel is cooking.  Once the color is correct, remove from heat and add vanilla, heavy cream, and salt.  Be careful as the caramel will bubble and may splatter.  

Once the cream has been stirred in, return the pan to the burner and whisk until the caramel is smooth.

Allow the caramel to cool to room temperature.   

for the frosting

8 ounces cream cheese, room temperature 

1/2 cup unsalted butter, room temperature 

2 tablespoons heavy cream

2 cups confectioner’s sugar 

1/2 cup salted caramel, cooled 

1 teaspoon vanilla extract

In a large mixing bowl, combine cream cheese and butter.  Beat on medium speed with an electric hand-mixer until smooth.  Reduce the speed to low and beat in heavy cream. 

Continue mixing on the lowest speed while you gradually add confectioner’s sugar; scraping down the sides of the bowl between additions.  

When the frosting is smooth, slowly beat in caramel and vanilla extract.  

Spread the frosting on top of the cooled cupcakes and drizzle with the excess caramel.  Store in airtight containers and refrigerate until ready to serve.  Enjoy! 

Nutella-Stuffed Donut Holes with Vanilla Sugar

There is one story that has been far too long in coming. 

Back in November, Mr. Pedantic and I returned from our honeymoon with a great many stories and adventures to share, but none have elicited such laughter as the donut story.

Nutella-Stuffed Donut Holes with Vanilla Sugar {Pedantic Foodie}

THE SETTING: Borough Market and A Very Lovely Hotel Room 

THE CHARACTERS: The very newly married Mr. and Mrs. Pedantic

Exactly one week after our wedding day, we found ourselves in the bustling cornucopia that is Borough Market.  I ate so many things, but none of them impressed me more than what would become the goddess of all donuts.

The very best donut in the whole wide world. 

The very best donut in the whole wide world

A sugar-encrusted pillow filled with the lightest, creamiest creme filling I have ever tasted.  I handed over my two pounds, and within moments I sent Mr. Pedantic back with another four to acquire more of these utopian pastries.  I cannot even begin to describe how amazing these donuts really were.  

Nutella-Stuffed Donut Holes with Vanilla Sugar {Pedantic Foodie}

Obviously, the wonder of that tiny stall’s donuts was no secret, because within moments of buying our first, they had sold out and we had to bite our lips and hope with all our hearts that their bakery truck would return with sweet reinforcements before we bid the market a sad farewell. 

Nutella-Stuffed Donut Holes with Vanilla Sugar {Pedantic Foodie}

Thankfully, the delivery boy came through, and we hopped back on the tube with two donuts in tow.  This time, my paper bag concealed the same pillow-like donut, but filled with a thick, blackberry jam.  Mr. Pedantic stuck with the creme.  I devoured mine the moment we returned to our hotel (typical), but Mr. Pedantic took only a few small bites and then gave his over to me.  We were but moments away from leaving for our dinner reservation, so I decided to show some restraint and tuck the treat away for later. 

Nutella-Stuffed Donut Holes with Vanilla Sugar {Pedantic Foodie}

We did have a small refrigerator in the room, but it was packed full with $12 bottles of water, so I did the most logical thing I could think of, I wrapped my donut up in its paper bag, and gently placed it in the very empty trash can.  

Nutella-Stuffed Donut Holes with Vanilla Sugar {Pedantic Foodie}

Now before you judge, there was thought behind my choice.  I did not want to just leave a seemingly unimportant paper bag on the table or nightstand, because I knew that the maids would be coming into clean and turn down the bed while we were out, and I did not want to risk my precious midnight snack being thrown away.  So, I put it in the trash can for safe keeping.  Surely they would not empty a trash can with only one thing in it.

Nutella-Stuffed Donut Holes with Vanilla Sugar {Pedantic Foodie}

We darted off to dinner and had the best steak in all the world for the second time, and then returned to our beautiful room.  I ran to the trash can and shrieked in horror, “MY DONUT - IT’S GONE!!”  Mr. Pedantic looked concerned and confused as he inquired as to why I had left something I was intending to save in the trash can.  He did not appreciate my logic. 

Nutella-Stuffed Donut Holes with Vanilla Sugar {Pedantic Foodie}

The maids had carried off my last bites of heaven, and I am still slightly bitter about the whole ordeal.

Nutella-Stuffed Donut Holes with Vanilla Sugar {Pedantic Foodie}

Of course, the hilarity has yet to wear off for Mr. Pedantic, and whenever there are leftovers my wonderful husband kindly suggests that we find a trash can for safe keeping.  *insert eye-roll*

Nutella-Stuffed Donut Holes with Vanilla Sugar {Pedantic Foodie}

While the tragedy was a humorous one, in my mind, the best part of the story is remembering the wonder of that glorious donut.

Over the years, I had attempted donuts on multiple occasions, but with little success.  They just were not quite right - certainly not the puffy pillows of my London dreams.

Nutella-Stuffed Donut Holes with Vanilla Sugar {Pedantic Foodie}

It was not until last week that I discovered the secret - shortening.  In order to get that really light, airy dough, we have to kiss butter goodbye and give a nod to the one thing I really wish was not in my pantry. 

Nutella-Stuffed Donut Holes with Vanilla Sugar {Pedantic Foodie}

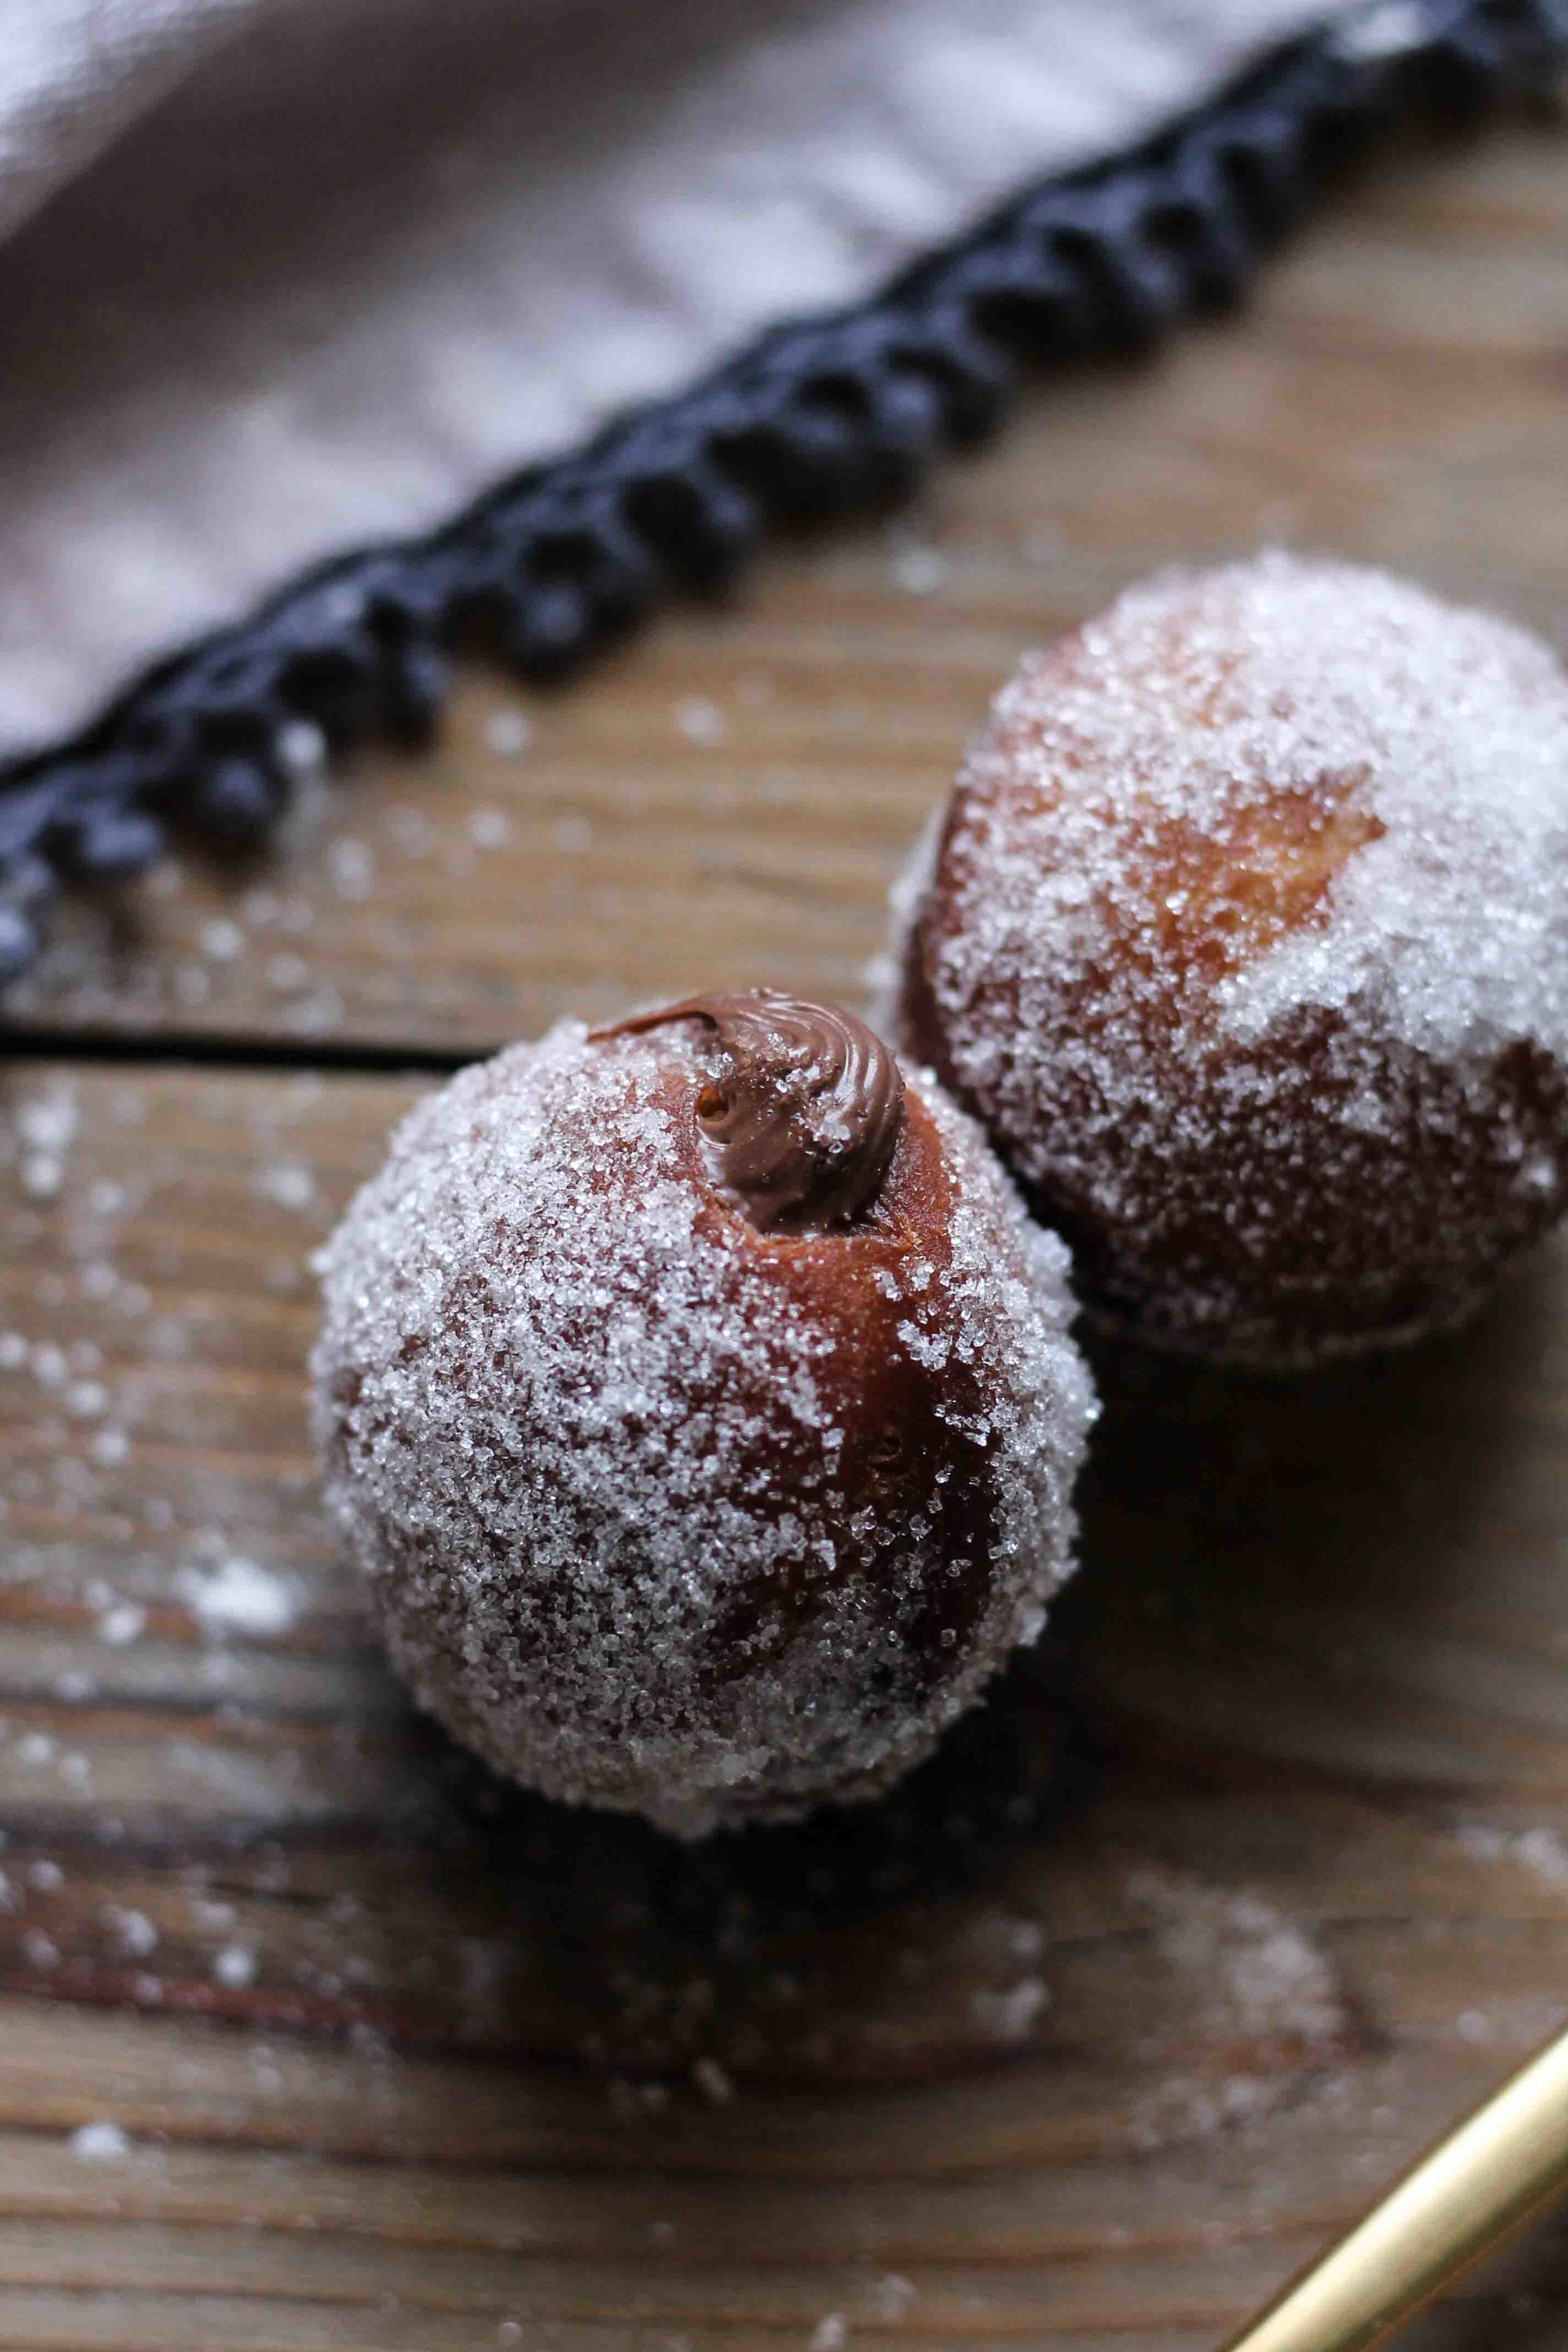
The result is a donut that is almost as wonderful as those angelic puffs of happiness.  I tossed mine in some vanilla sugar - which you should certainly start making if you do not already - and then filled them with Nutella.  I have not quite mastered the magical pastry creme so I used another pretty magical filling that never disappoints. 

Nutella-Stuffed Donut Holes with Vanilla Sugar {Pedantic Foodie}

Not a one of these will be left in the trashcan.  I’ve learned my lesson.

Sincerely, 

Pedantic Foodie


Nutella-Stuffed Donut Holes with Vanilla Sugar

makes about 60 / recipe adapted from Alton Brown

  • 1 1/2 cups whole milk 
  • 1/3 cup vegetable shortening 
  • 1/3 cup warm water (about 100 degrees F)
  • 1 tablespoon + 1 1/2 teaspoons instant yeast
  • 2 eggs, well beaten 
  • 1/4 cup granulated sugar
  • 1 teaspoon kosher salt 
  • 1 1/2 teaspoons vanilla extract 
  • 23 ounces all-purpose flour (plus extra for rolling out the dough) 
  • 2 cups vanilla sugar* 
  • 1/2 gallon vegetable oil 
  • 1 heaping cup Nutella

Heat milk in a microwave-safe bowl until warm (about 100 degrees); about 3 minutes.  Stir the shortening into the warm milk until melted.  Allow the mixture to cool until just warm. 

Pour warm water into the work bowl of your stand mixer and sprinkle the yeast on top.  Allow the yeast to sit for five minutes.  Add the lukewarm milk and shortening mixture, eggs, sugar, salt, vanilla extract, and half of the flour.  Using the paddle attachment, mix on low speed until the flour is just incorporated and then increase the speed to medium and beat until well combined.  Reduce the speed to low and add the remaining flour.  Beat on medium speed until well combined.  

Switch over to the dough hook attachment and knead the mixture for 3-4 minutes; until the dough is very smooth and has started to pull away from the sides of the bowl.  The dough will still be very sticky, but resist adding more flour.  

Coat a large bowl with nonstick spray and place the dough into the bowl.  Cover with plastic wrap and place in a warm, dry area (I usually go for the top of my refrigerator), until doubled in size; about one hour. 

Turn the dough out onto a well-floured surface and roll out into a rectangle about 3/4-inch in thickness.  The dough will still be very, very soft.  Use a 1-inch biscuit cutter to punch out the donut holes and place them on a floured baking sheet.  You may re-roll any dough scraps to make more donuts, but only do this once so that the donuts will still be very tender. 

Cover the baking sheet with a paper towel and allow to rise for 30 minutes.  While the donuts are resting, prepare a frying station and the filling.

Line two large baking sheets with paper towels and set cooling racks on top.  Fit a pastry bag with a 1/4-inch tip and fill with Nutella.  Place the vanilla sugar in a pie plate or shallow bowl. 

Fill your deep fryer with 3 inches of oil and heat until the oil has reached 365 degrees F.  Once the oil has come to temperature, drop the donuts into the oil gently, working with 3 to 4 at a time.  Cook the donuts for 1 minute, then flip, and cook on the opposite side for another minute.  

Transfer the donuts to the vanilla sugar and toss to coat.  Set them on the cooling racks to cool slightly before filling them.  To fill, I used the narrow end of a spoon to punch a small hole into the center of the donut, but you could easily use a chopstick instead.  Then, I stuck the end of my pastry bag into the hole and filled them with about 1 teaspoon of Nutella.  If you have one of those fancy cupcake injectors, you can use that instead, just make sure the tip is not overly large. 

These donuts are best served warm with many cups of coffee and good conversation.  Enjoy! 

*Vanilla sugar is very easy to make, and is a wonderful way to use up empty vanilla bean pods that we would typically discard!  Just stick two or three beans into 2 cups of sugar and store in an airtight container.  Allow the sugar to sit for about a month before using.  This will give the sugar plenty of time to soak up the delicate flavors of the beans.