Spring Onion Buttermilk Ranch Dip [ Farmer's Market Treasures ]

Last Saturday morning presented me with two options; unproductively thinking about wedding things I cannot fix, or moseying down to the Farmer's Market.  The choice was clear. 

Spring Onion Buttermilk Ranch Dip {Pedantic Foodie}

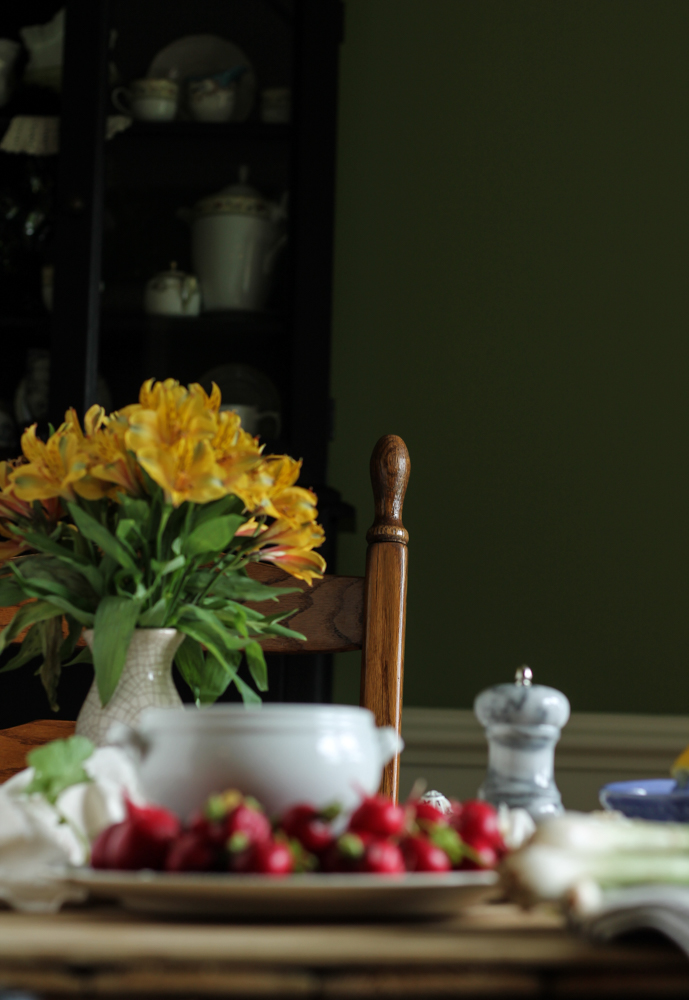
Amidst the stalls of fresh goat cheese, local honey, and over-priced asparagus, these jewel-like globes immediately captured my gaze. 

Spring Onion Buttermilk Ranch Dip {Pedantic Foodie}

Papa, my maternal grandfather, taught me how to eat radishes - quickly, with unreserved crunching and an ample sprinkling of salt.  

That is all. 

Spring Onion Buttermilk Ranch Dip {Pedantic Foodie}

While that simplistic and familiar option will always be satisfying, I am a very fickle lady, and this time, I really wanted something fresh and creamy, that would exquisitely accent my peppery red globes. 

Spring Onion Buttermilk Ranch Dip {Pedantic Foodie}

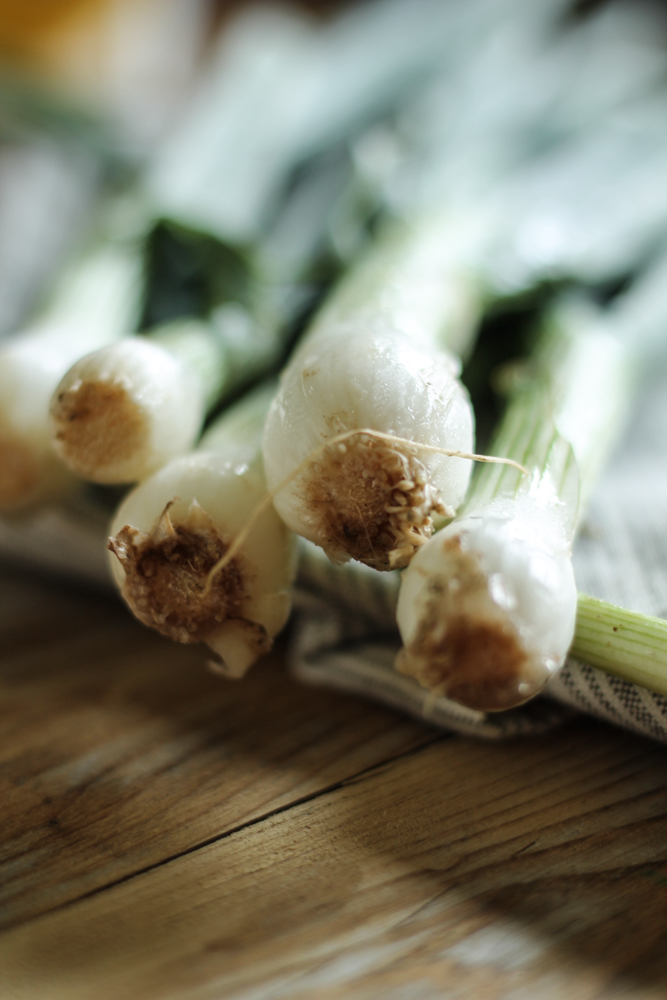
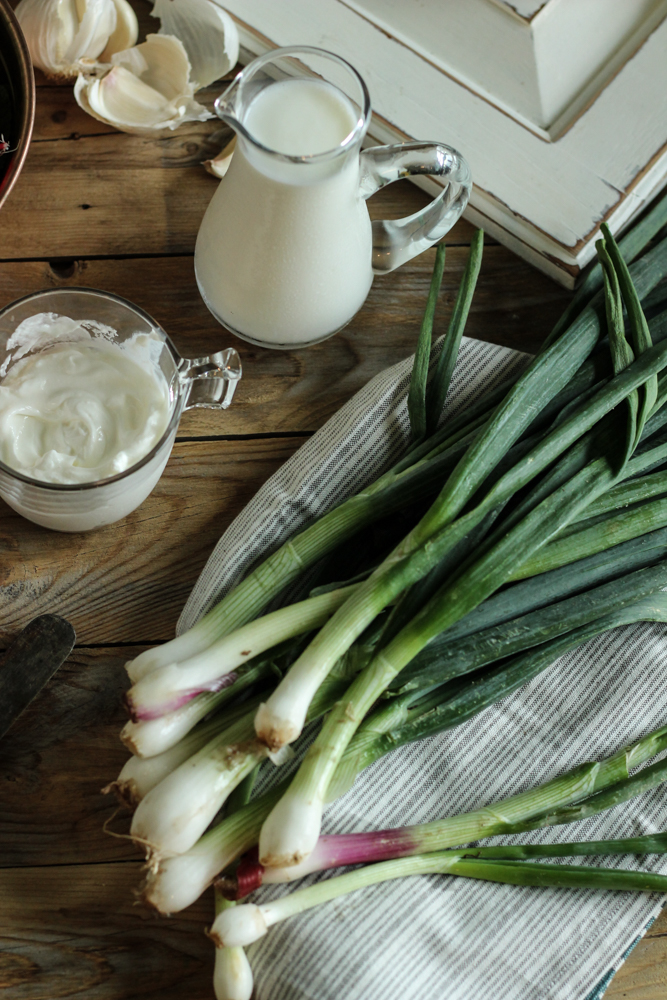
I also had a handful of spring onions that I simply could not resist, and they begged to be included in the fun.  

And by fun, I mean buttermilk.  

I get really, really excited about vegetables this time of year.  I love coming home from the market with a straw bag filled to the brim, and bursting with more color than the hardware store's paint department.

Spring onions are a particular favorite of mine.  Their resplendent ombre palette is almost as delicious as their subtle flavor. 

Spring Onion Buttermilk Ranch Dip {Pedantic Foodie}

Before preparing my dip, I trimmed and washed my radishes - those leaves tend to hold lots of sand and dirt that you certainly do not want to bite down on, and then I soaked them in cool, salted water for about thirty minutes.  

Spring Onion Buttermilk Ranch Dip {Pedantic Foodie}

Keeping the radishes cool, preserves their crisp, crunchy texture that my Papa and I so adore. 

While the radishes chill in the refrigerator, we can prepare the dip. 

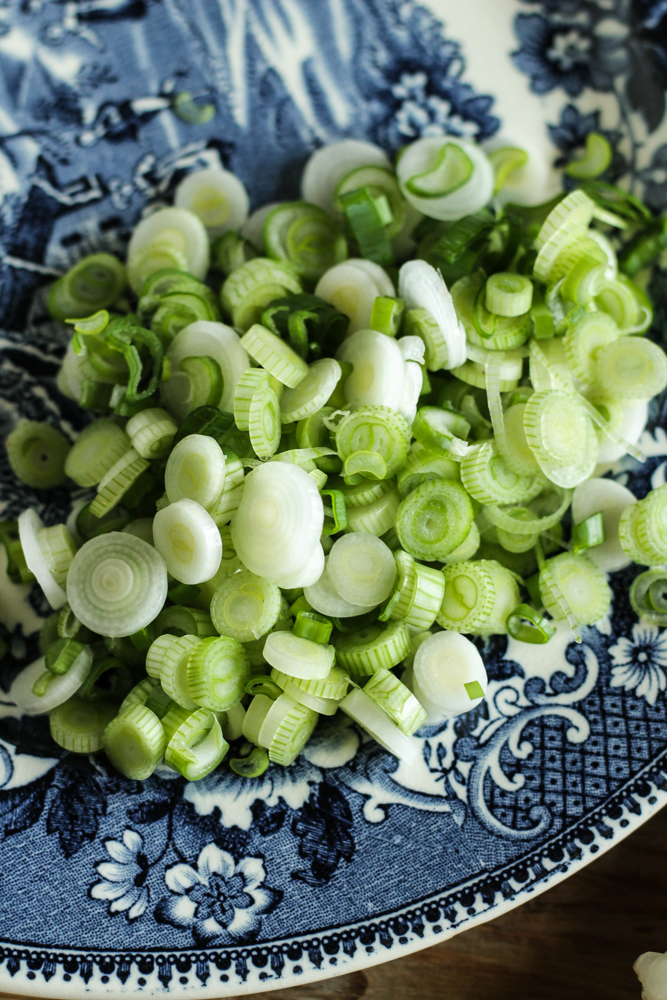
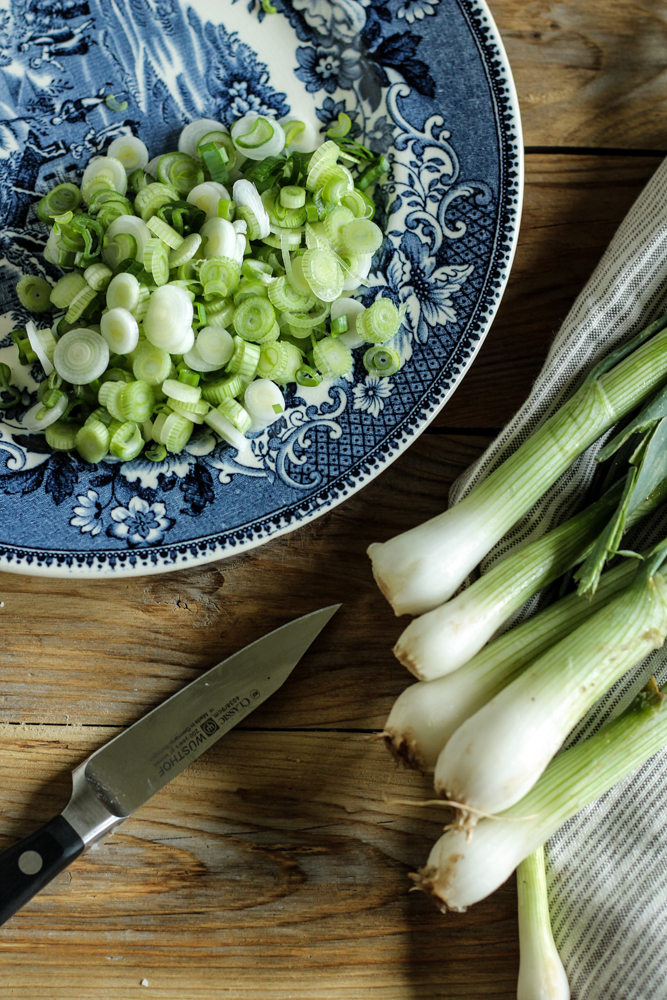
Onions are sliced thin, and everything is swiftly dumped into that magic blender of all things delicious - the food processor.  

Spring Onion Buttermilk Ranch Dip {Pedantic Foodie}

You will likely want to use smaller, young garlic cloves in this recipe, since it will not be cooked at all.  The larger cloves tend to be a bit spicier and can sometimes overwhelm the other flavors.  

Spring Onion Buttermilk Ranch Dip {Pedantic Foodie}

In about two minutes, we will have created a rich, creamy, onion-scented dressing, perfect for dipping.  

Spring Onion Buttermilk Ranch Dip {Pedantic Foodie}

While salt alone was always a good option, I think this may actually be a better one.

Spring Onion Buttermilk Ranch Dip {Pedantic Foodie}

I think Papa would approve. 

Spring Onion Buttermilk Ranch Dip {Pedantic Foodie}

If you're a mama, I hope your weekend is filled with all kinds of pampering.  If you are an offspring, then you better get your act together and buy some flowers.  Dip is extra credit, cupcakes are even better. 

Sincerely, 

Pedantic Foodie


Spring Onion Buttermilk Ranch Dip

makes about 1 1/2 cups

- 3/4 cup whole milk sour cream

- 3/4 cup buttermilk

- 2/3 cup finely sliced spring onion, about 4

- 1 1/2 tablespoons fresh lemon juice

- 2 cloves garlic, minced

- 1 1/2 teaspoons kosher salt

- freshly ground pepper, to taste

- 2-3 teaspoons of sugar, depending on your taste

Combine sour cream, buttermilk, onions, lemon juice, garlic, and salt in the work bowl of your food processor.  Pulse until smooth, about 1 minute. 

Add pepper and sugar to taste, and pulse until well combined. 

Refrigerate until ready to use.  Serve with fresh vegetables or over salad greens.  Enjoy! 


You may also like...

Savory Lemon & Chive Cheesecake

There’s a chill in the air - a promising, elusively familiar chill that somehow promises more warmth than the sunshine itself.  My red-lacquered toes clad in premature sandals turn purple, a light sweater would be better replaced by a legitimate jacket, but still we go on, wearing our linen dresses and flip-flops, because that morning chill is full of promise.  The promise of what we know is coming. 

The warmth of Spring is all but in reach and that lingering chill is not so bitter as it once was.

Savory Lemon & Chive Cheesecake {Pedantic Foodie}

Life is a lot about giving up one wonderful choice, for what we hope will be a slightly more wonderful choice.  Sometimes it’s voluntary.  Sometimes we are forced into it and we have to take a few deep breaths to realize that everything we dreamed of may no longer be the best course of action.  Sometimes it’s a bitter exchange, but one that we know is necessary. 

Savory Lemon & Chive Cheesecake {Pedantic Foodie}

During these Spring months, we bravely endure the cold toes and purple feet because we know that in several hours the Sun will peek her head through the budding trees and our fashion choices will once again seem reasonable.  Just as with life, April is full of cold toes that turn into beautiful days.  

Savory Lemon & Chive Cheesecake {Pedantic Foodie}

This cheesecake has nothing to do with hard choices, but it has a lot to do with Spring.  It’s radiant with the bright, fresh-from-the-garden flavors I so adore this time of year. 

Savory Lemon & Chive Cheesecake {Pedantic Foodie}

Though it is called a cheesecake, this is not a dish you would likely enjoy slicing and eating on its own.  This "cake" is more of a spread, best enjoyed with your favorite crackers.  

Savory Lemon & Chive Cheesecake {Pedantic Foodie}

Shall we take a moment to appreciate how adorable this 4-inch springform is?  It’s been in my cabinet forever and I finally found the perfect use. 

Savory Lemon & Chive Cheesecake {Pedantic Foodie}

Appetizers are one of my favorite things.  Eating before I actually eat has never lost its childlike appeal for me.

This cheesecake makes a lovely pre-meal snack and is a welcome revision of the ubiquitous cheeseball. 

Savory Lemon & Chive Cheesecake {Pedantic Foodie}

While I absolutely, positively hate doing this… I’m going to make you do the whole water bath thing.  I know it’s annoying, and I’m sorry, BUT, you will not enjoy this cheesecake half so much if you skip this step.  Believe me, I tested it both ways.  

Fortunately, a bit of sturdy tin foil will keep us from suffering too much heartache, and the seamlessly smooth texture is completely worth that extra effort.

Savory Lemon & Chive Cheesecake {Pedantic Foodie}

This creamy, gentle onion and slightly acidic melody is everything.  We are basically eating the farmer’s market on a cracker. 

Savory Lemon & Chive Cheesecake {Pedantic Foodie}

Life will keep giving us hard choices, but in the kitchen we are not called to compromise.  

Savory Lemon & Chive Cheesecake {Pedantic Foodie}

Spring is calling, purple toes and all.  Let’s live it. 

Sincerely, 

Pedantic Foodie


Savory Lemon & Chive Cheesecake

serves 4-6 / recipe adapted from Giada De Laurentiis

- 1/4 cup ricotta cheese 

- 2 ounces cream cheese, at room temperature

- 3 tablespoons goat cheese

- 1 tablespoon pecorino romano 

- 1/2 tablespoon granulated sugar 

- 1/4 cup chives, finely chopped

- 1 tablespoon freshly squeezed lemon juice

- 1 teaspoon lemon zest 

- 1 egg yolk 

- olive oil, for greasing 

- 1/4 cup toasted pistachios, finely chopped

Preheat oven to 350 degrees. 

Combine all ingredients in the work bowl of your food processor and pulse until smooth.  

Grease a 4-inch springform pan with olive oil and pour in the cheesecake mixture.  Wrap the outside of the pan tightly with a sturdy piece of aluminum foil.  

Place the pan in the center of a pie plate and fill the plate with warm water, until it comes half-way up the sides of the springform pan. 

Bake for 30-35 minutes, or until the edges are golden and the center of the cake still moves slightly when the pan is gently shaken.  Turn off the oven and keep the oven door ajar.  Allow the cake to cool for one hour, then remove from the water bath.  Remove the aluminum foil and cover with plastic wrap.  Refrigerate for 2-3 hours, or until cool.  

When the cake has cooled, run a butter knife along the edges to loosen the cake and then remove from the springform pan.  The edges will be soft and somewhat sticky.  Gently press the finely chopped pistachios against the sides of the cake to form a rough crust.  This cake is best when served cool, but not cold, so set it out 15-20 minutes before you plan on serving it.   Enjoy! 

Baked Potatoes with Roasted Broccoli, Gouda Cream Sauce & Panko

This is about as St. Patrick-y as I get.  It’s not covered in Guinness and there is no green food coloring in sight, but there are potatoes and roasted broccoli to keeps things festive.  Can that be enough?  Pinterest is shaking it’s head in disapproval, but I’ll set my potatoes up against your shamrock cupcakes any day. 

Baked Potatoes with Roasted Broccoli, Gouda Cream Sauce & Panko {Pedantic Foodie}

For as long as I can remember, I have HATED baked potato bars.  Zero appeal.  Poorly baked (or worse - microwaved), russets with soggy skins, masked in dizzying amounts of sour cream, unmelted, pre-shredded cheese, chives, and…precooked bacon. 

My fingers had trouble typing that.  Precooked bacon is the stuff of my nightmares. 

Baked Potatoes with Roasted Broccoli, Gouda Cream Sauce & Panko {Pedantic Foodie}

As the years have past, I have come to appreciate a baked potato now and then.  A sweet yukon gold with crispy skin that has been doused with olive oil and a sprinkling (read: handful) of crunchy, kosher salt.  A generous spoonful of butter and some freshly cracked pepper and I am satisfied.  It’s comforting, albeit, a bit colorless. 

Baked Potatoes with Roasted Broccoli, Gouda Cream Sauce & Panko {Pedantic Foodie}

Recently, I was inspired to give the “loaded” baked potato a second chance.  Without the awful, waxy cheese and horrifying bacon. 

Baked Potatoes with Roasted Broccoli, Gouda Cream Sauce & Panko {Pedantic Foodie}

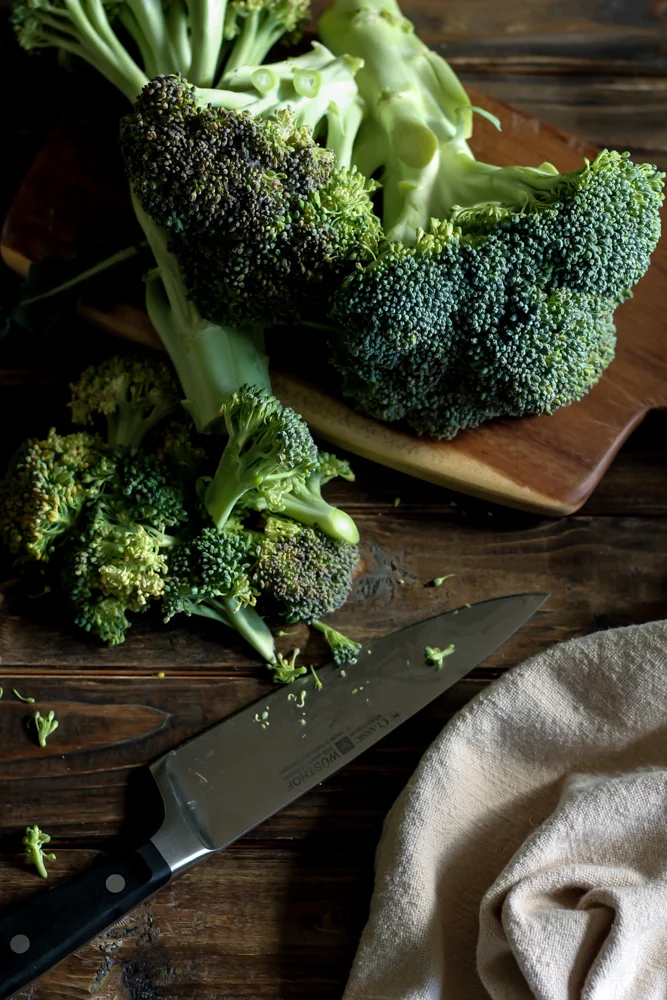
I will roast anything.  Asparagus, fennel, grapes - all are transformed with a bit of olive oil and some quality time in the oven.  So, roasting my broccoli seemed an obvious choice.  

Especially since I absolutely, positively detest raw broccoli.  Nope, not going there. 

Baked Potatoes with Roasted Broccoli, Gouda Cream Sauce & Panko {Pedantic Foodie}

I roasted my broccoli with olive oil and kosher salt, AND for fear of becoming predictable, a little bit of red pepper flakes.  

While the broccoli was doing it’s thing, I made a cheese sauce.  

Goodness, I really am predictable, aren't I?  Ugh.

Baked Potatoes with Roasted Broccoli, Gouda Cream Sauce & Panko {Pedantic Foodie}

Potatoes baked and buttered, stuffed with our slightly crispy broccoli, covered in creamy, melted gouda, and topped with toasted panko for crunch.  

Baked Potatoes with Roasted Broccoli, Gouda Cream Sauce & Panko {Pedantic Foodie}

Step aside sour cream, we have gouda. 

Sincerely, 

Pedantic Foodie


Baked Potatoes with Roasted Broccoli, Gouda Cream Sauce & Panko 

makes 6

for the potatoes 

- 6 medium Yukon Gold potatoes 

- 3 tablespoons olive oil

- 2 teaspoons kosher salt

Preheat oven to 425 degrees.  

Use the tip of a sharp knife to punch several dozen holes in each potato and place in a large baking pan.  Drizzle with olive oil and kosher salt, and toss to coat.

Bake potatoes for 40-50 minutes, or until fork tender.  Allow to cool slightly while you prepare the other elements. 

for the broccoli

- 1 head of broccoli, stems removed 

- 2 tablespoons olive oil

- 1 teaspoon salt

- pinch red pepper flakes

Place broccoli on a baking sheet lined with parchment and drizzle with olive oil.  Sprinkle with salt and red pepper flakes. Bake at 425 for 10-15 minutes, or until the edges are golden and slightly crispy. 

While the broccoli is roasting, prepare the cream sauce.

for the gouda cream sauce

- 2 tablespoons unsalted butter

- 3 tablespoons all-purpose flour

- 1/2 teaspoon kosher salt

- 2 cups whole milk, at room temperature

- freshly ground black pepper

- pinch freshly grated nutmeg 

- 2 cups gouda, grated

Melt butter in a small saucepan over medium heat.  Whisk in flour and salt and cook for 1-2 minutes.

Whisk in milk, slowly, and cook until thickened; 3-5 minutes.  Remove from heat and stir in black pepper, nutmeg, and gouda. 

panko and assembly

- 8 tablespoons unsalted butter, divided 

- 1/2 cup panko bread crumbs

Place a small frying pan over medium high heat and melt two tablespoons butter.  Add panko and cook, stirring often, until golden brown and crisp.  Remove from heat. 

Use a sharp knife to cut slit through the center of each potato and tuck one tablespoon of butter into the center of each.  

Place a small amount of broccoli into each potato and cover with the cheese sauce.  Sprinkle with panko and serve immediately.  Enjoy!