White Chocolate Macadamia Nut Lime Bars

I remember my mother making a pan of sticky, tart, yellow squares one afternoon in our tiny kitchen.  I remember my Aunt Meredith making the very best white chocolate macadamia nut cookies.

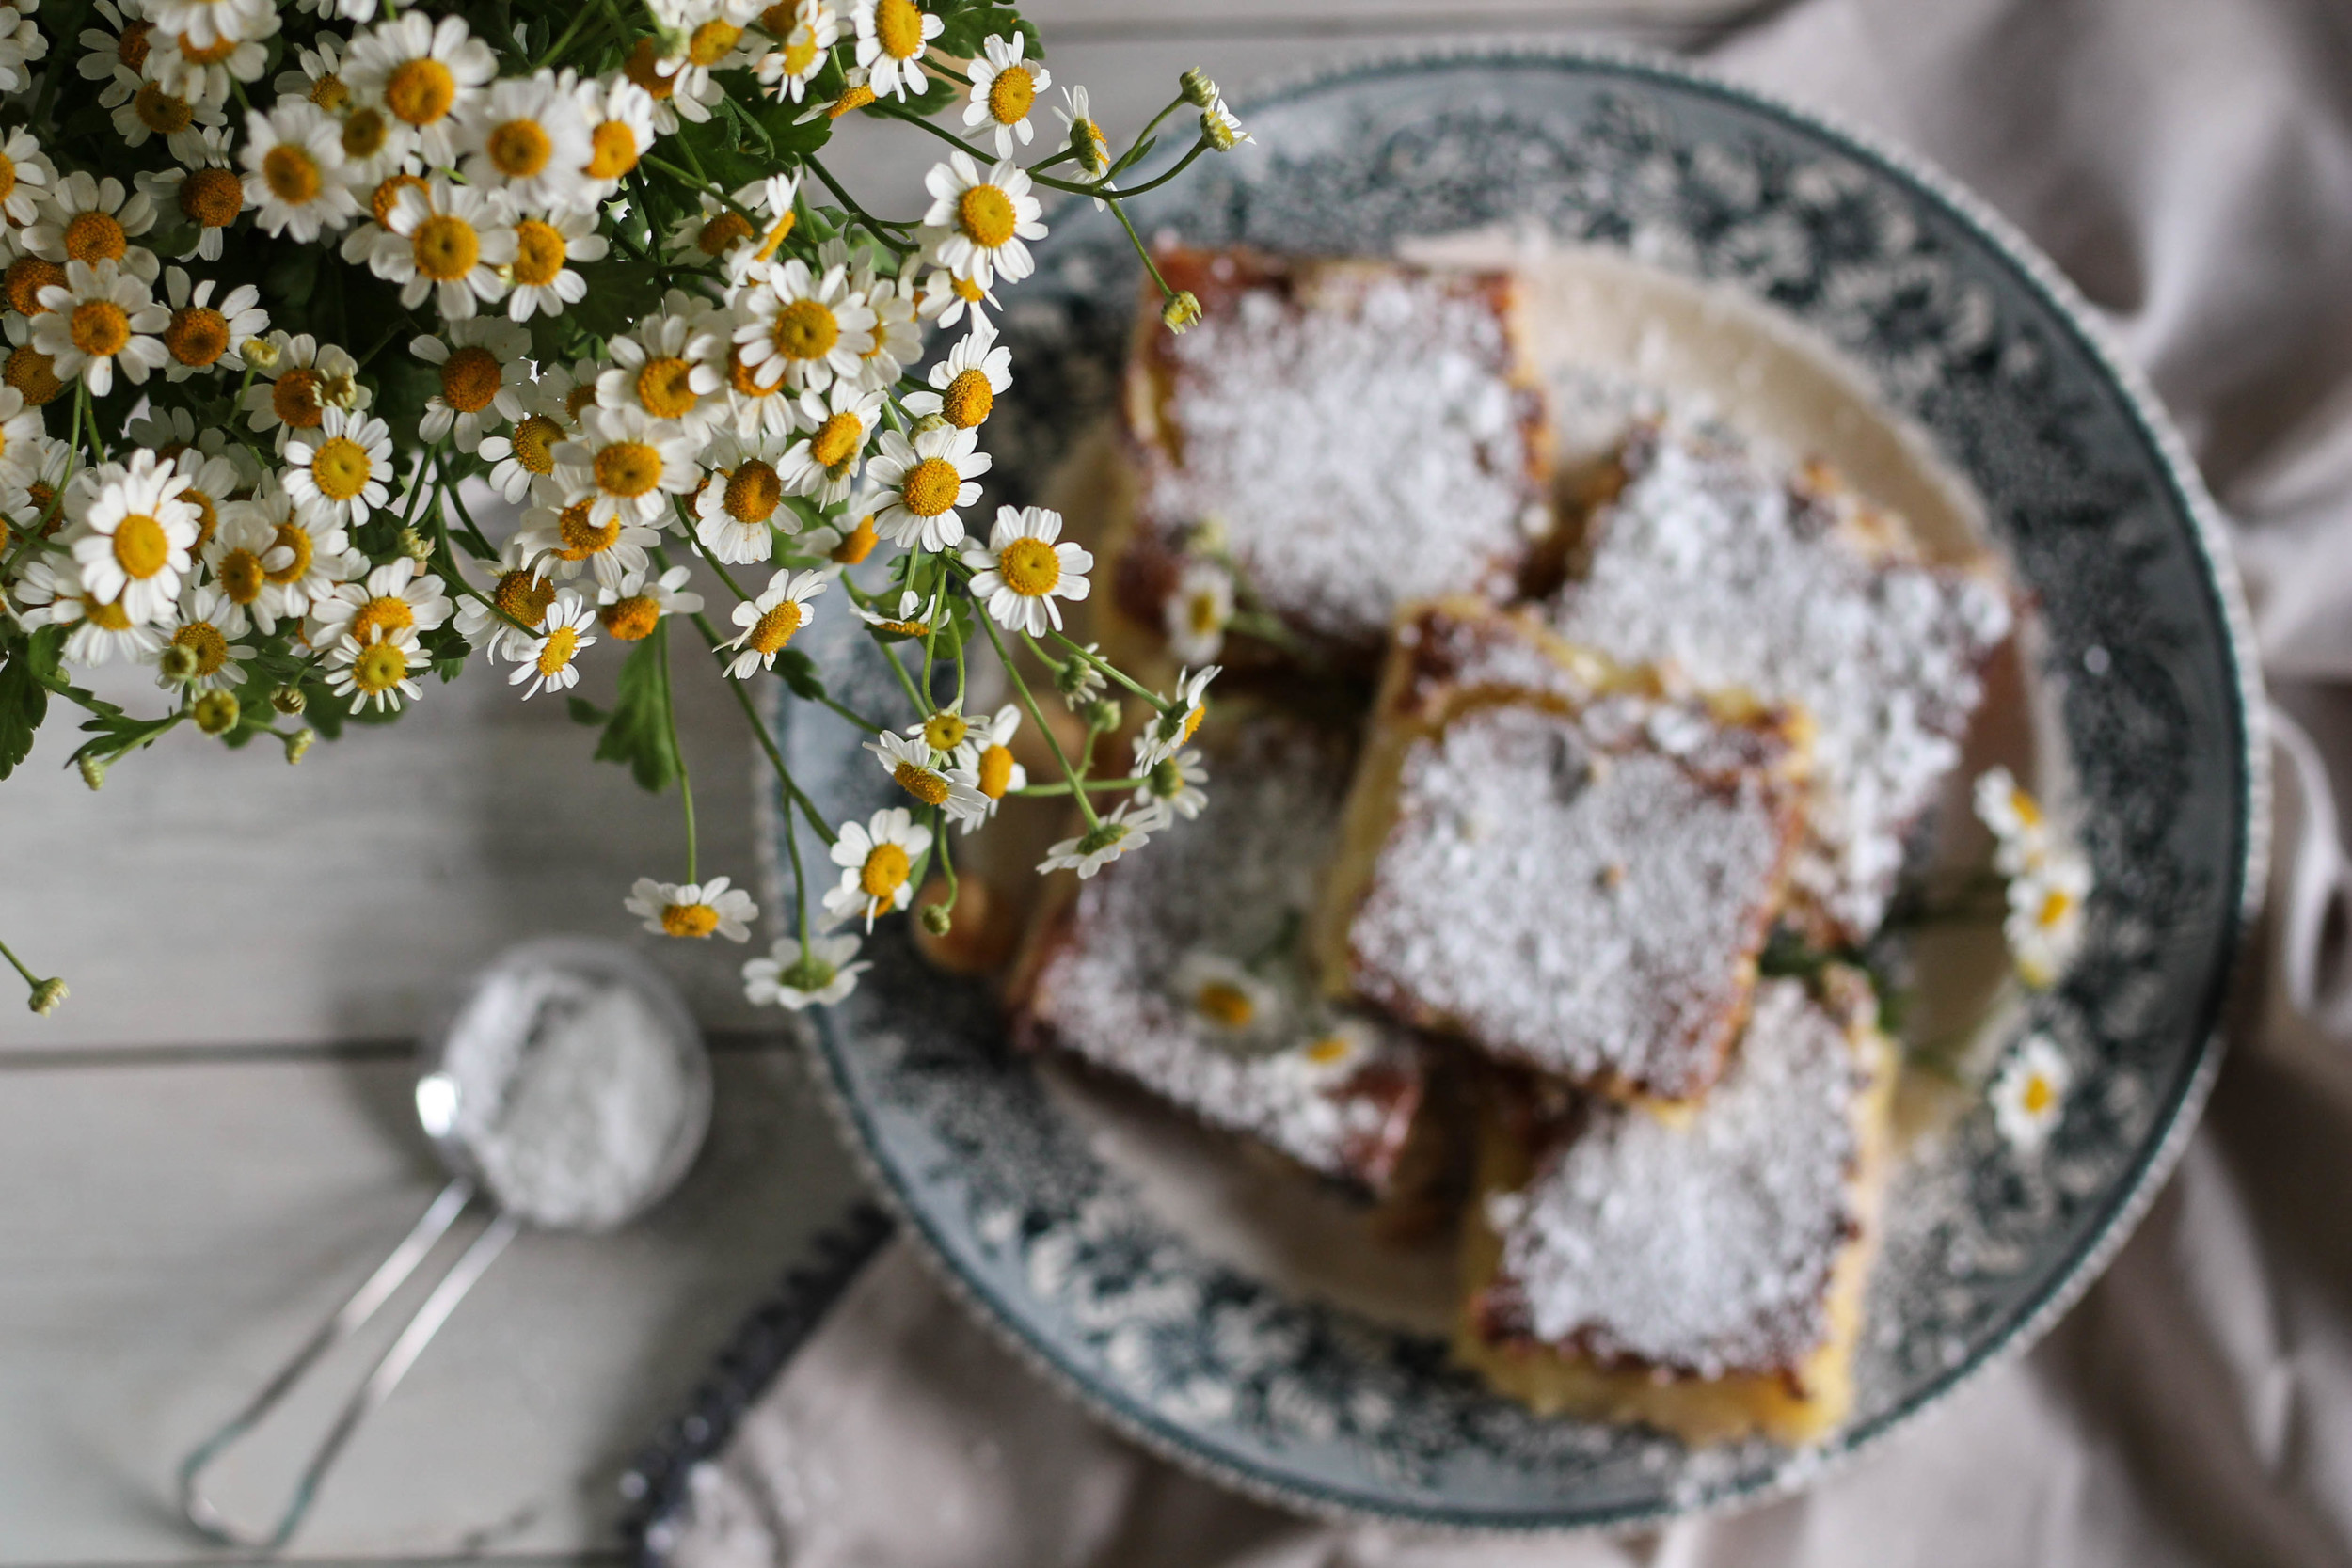
White Chocolate Macadamia Nut Lime Bars {Pedantic Foodie}

Last week, memories collided and danced around a bit in my head, and these lovely little bars were born.  

White Chocolate Macadamia Nut Lime Bars {Pedantic Foodie}

All of our dreams have finally come true, we can now eat white chocolate macadamia nut cookies and lemon (lime, actually) bars at the same time.  Why is that better than enjoying them separately in their pure, unadulterated states, you ask?  Well, it’s not better, it’s just different.  A wonderful kind of different.

It’s kind of like going shopping with two best friends instead of one.  Except these bars would never team up and break your heart by telling you that the dress you adore actually makes your hips look like Jennifer Lopez in a funhouse mirror.  Ouch. 

Let’s make some bars!  

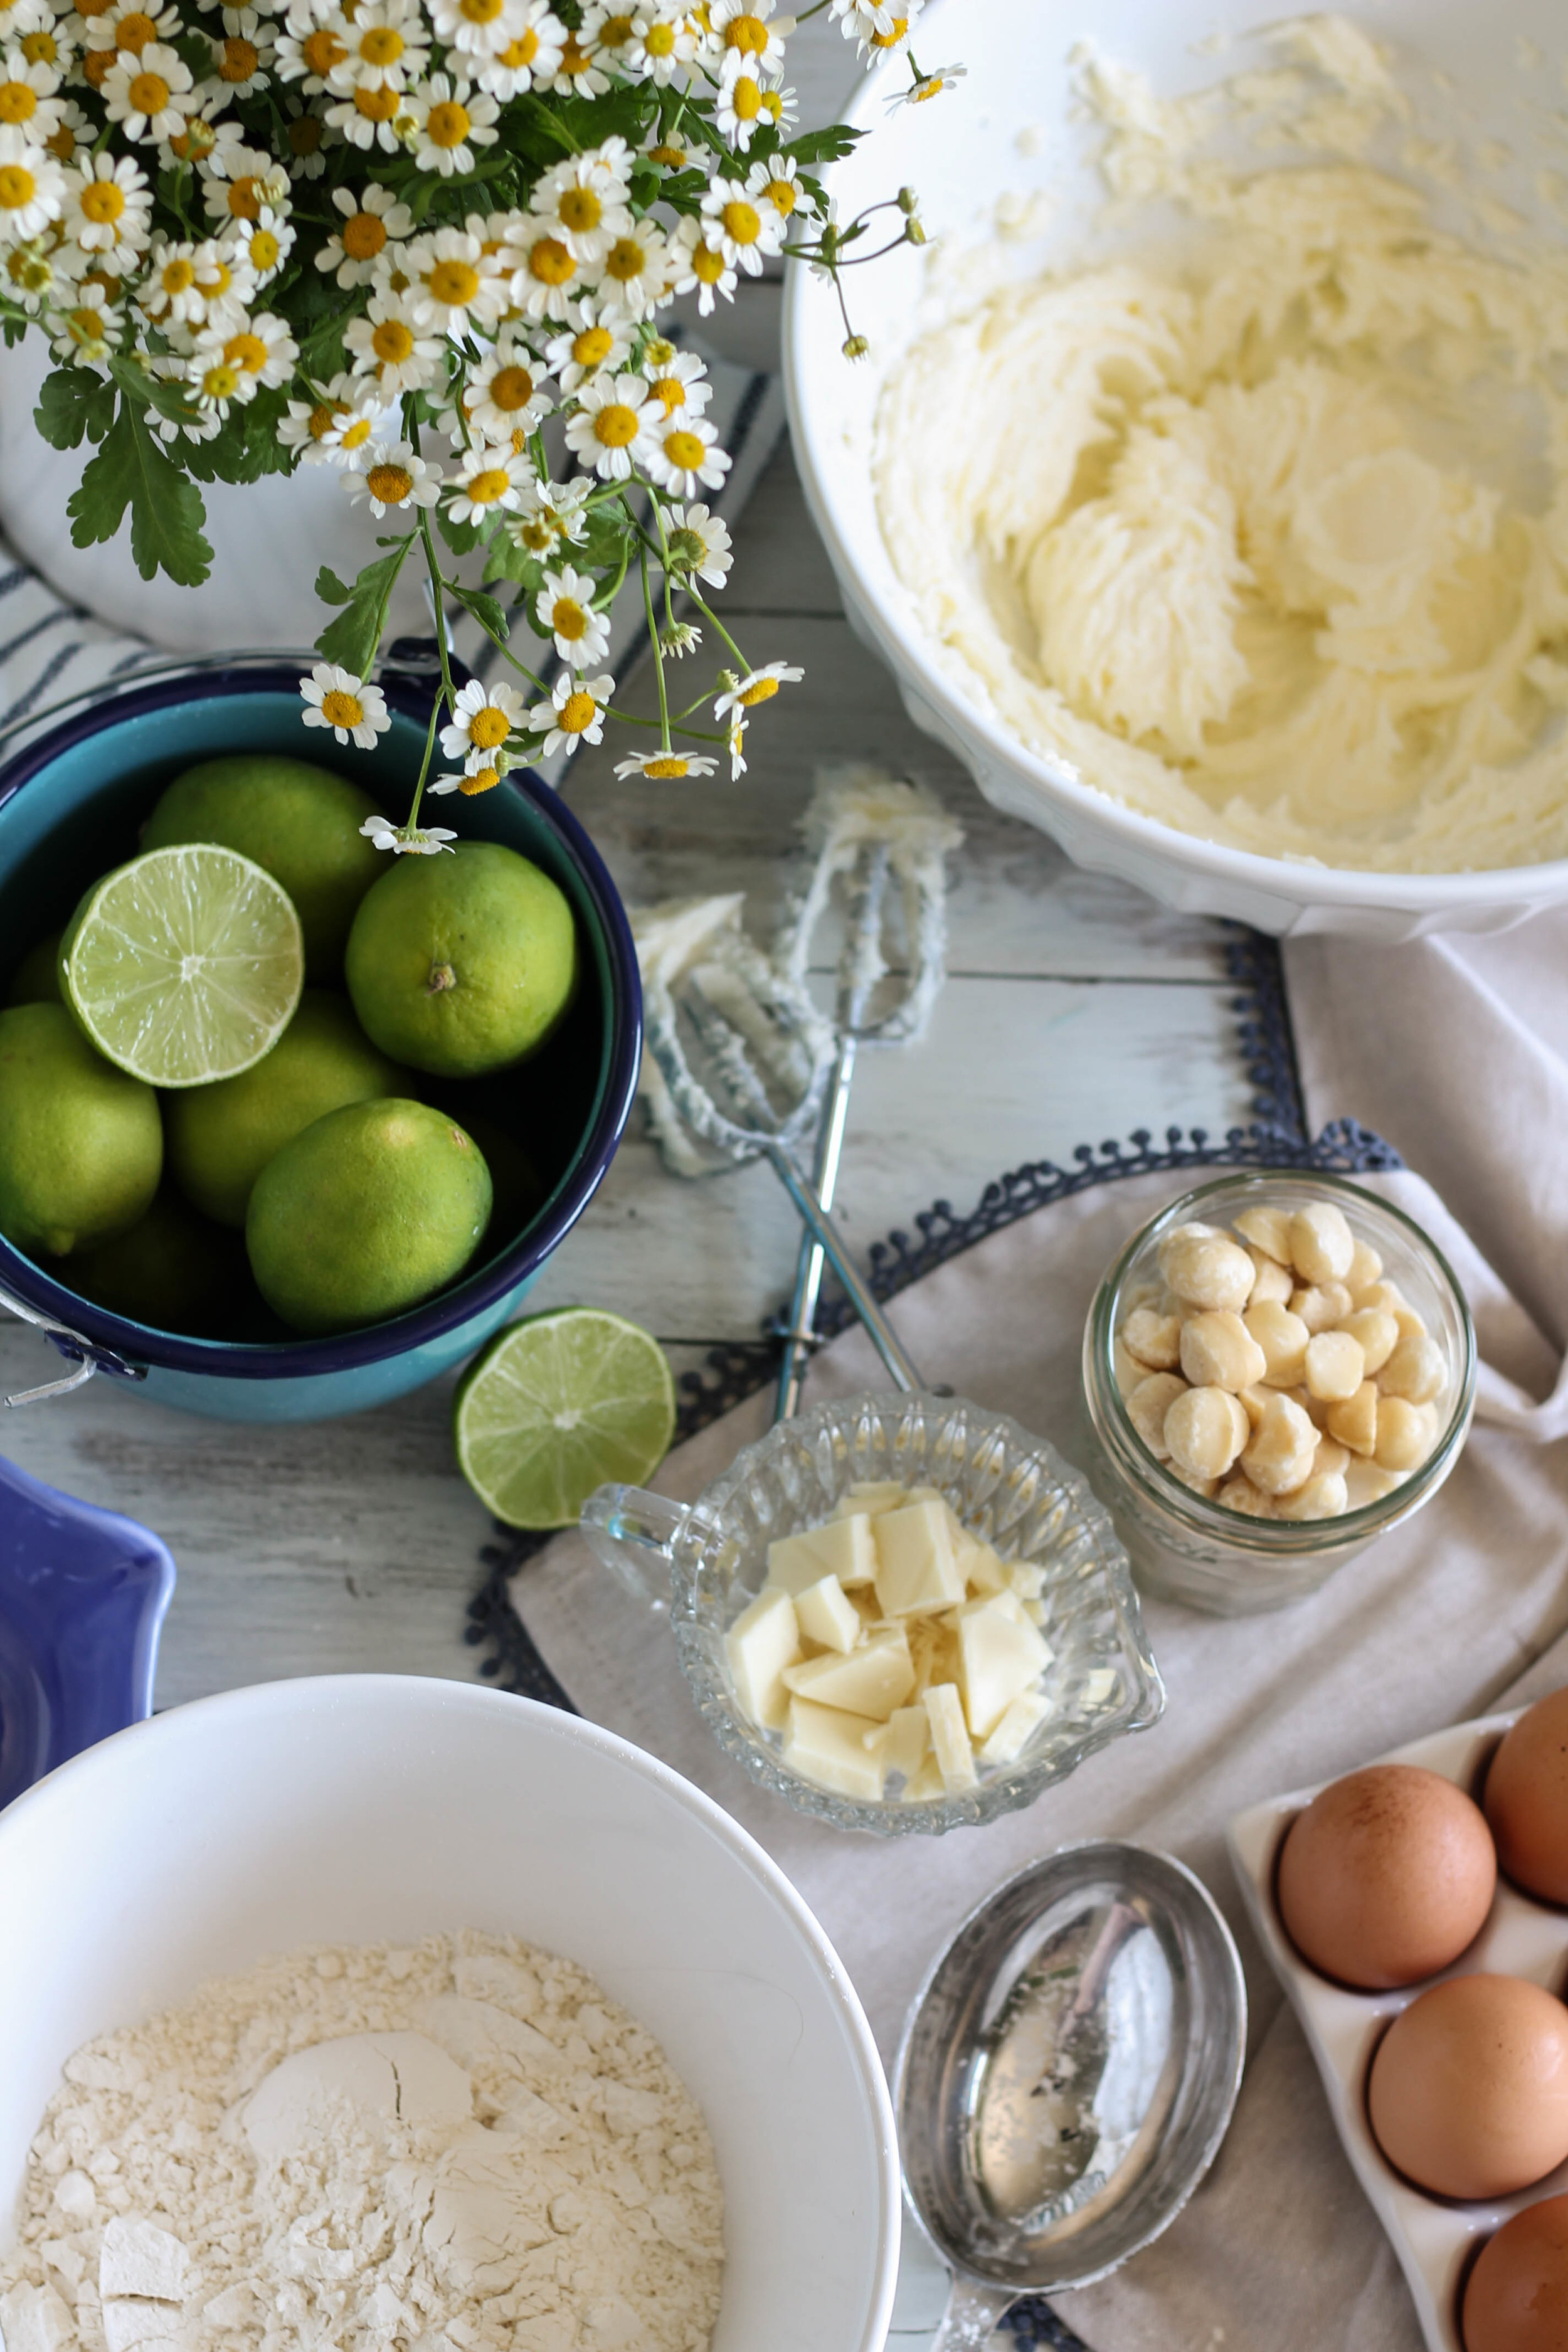
White Chocolate Macadamia Nut Lime Bars {Pedantic Foodie}

We begin with a buttery, shortbread-like cookie crust.  Butter, sugar, flour, and a pinch of salt form the base of our dough. 

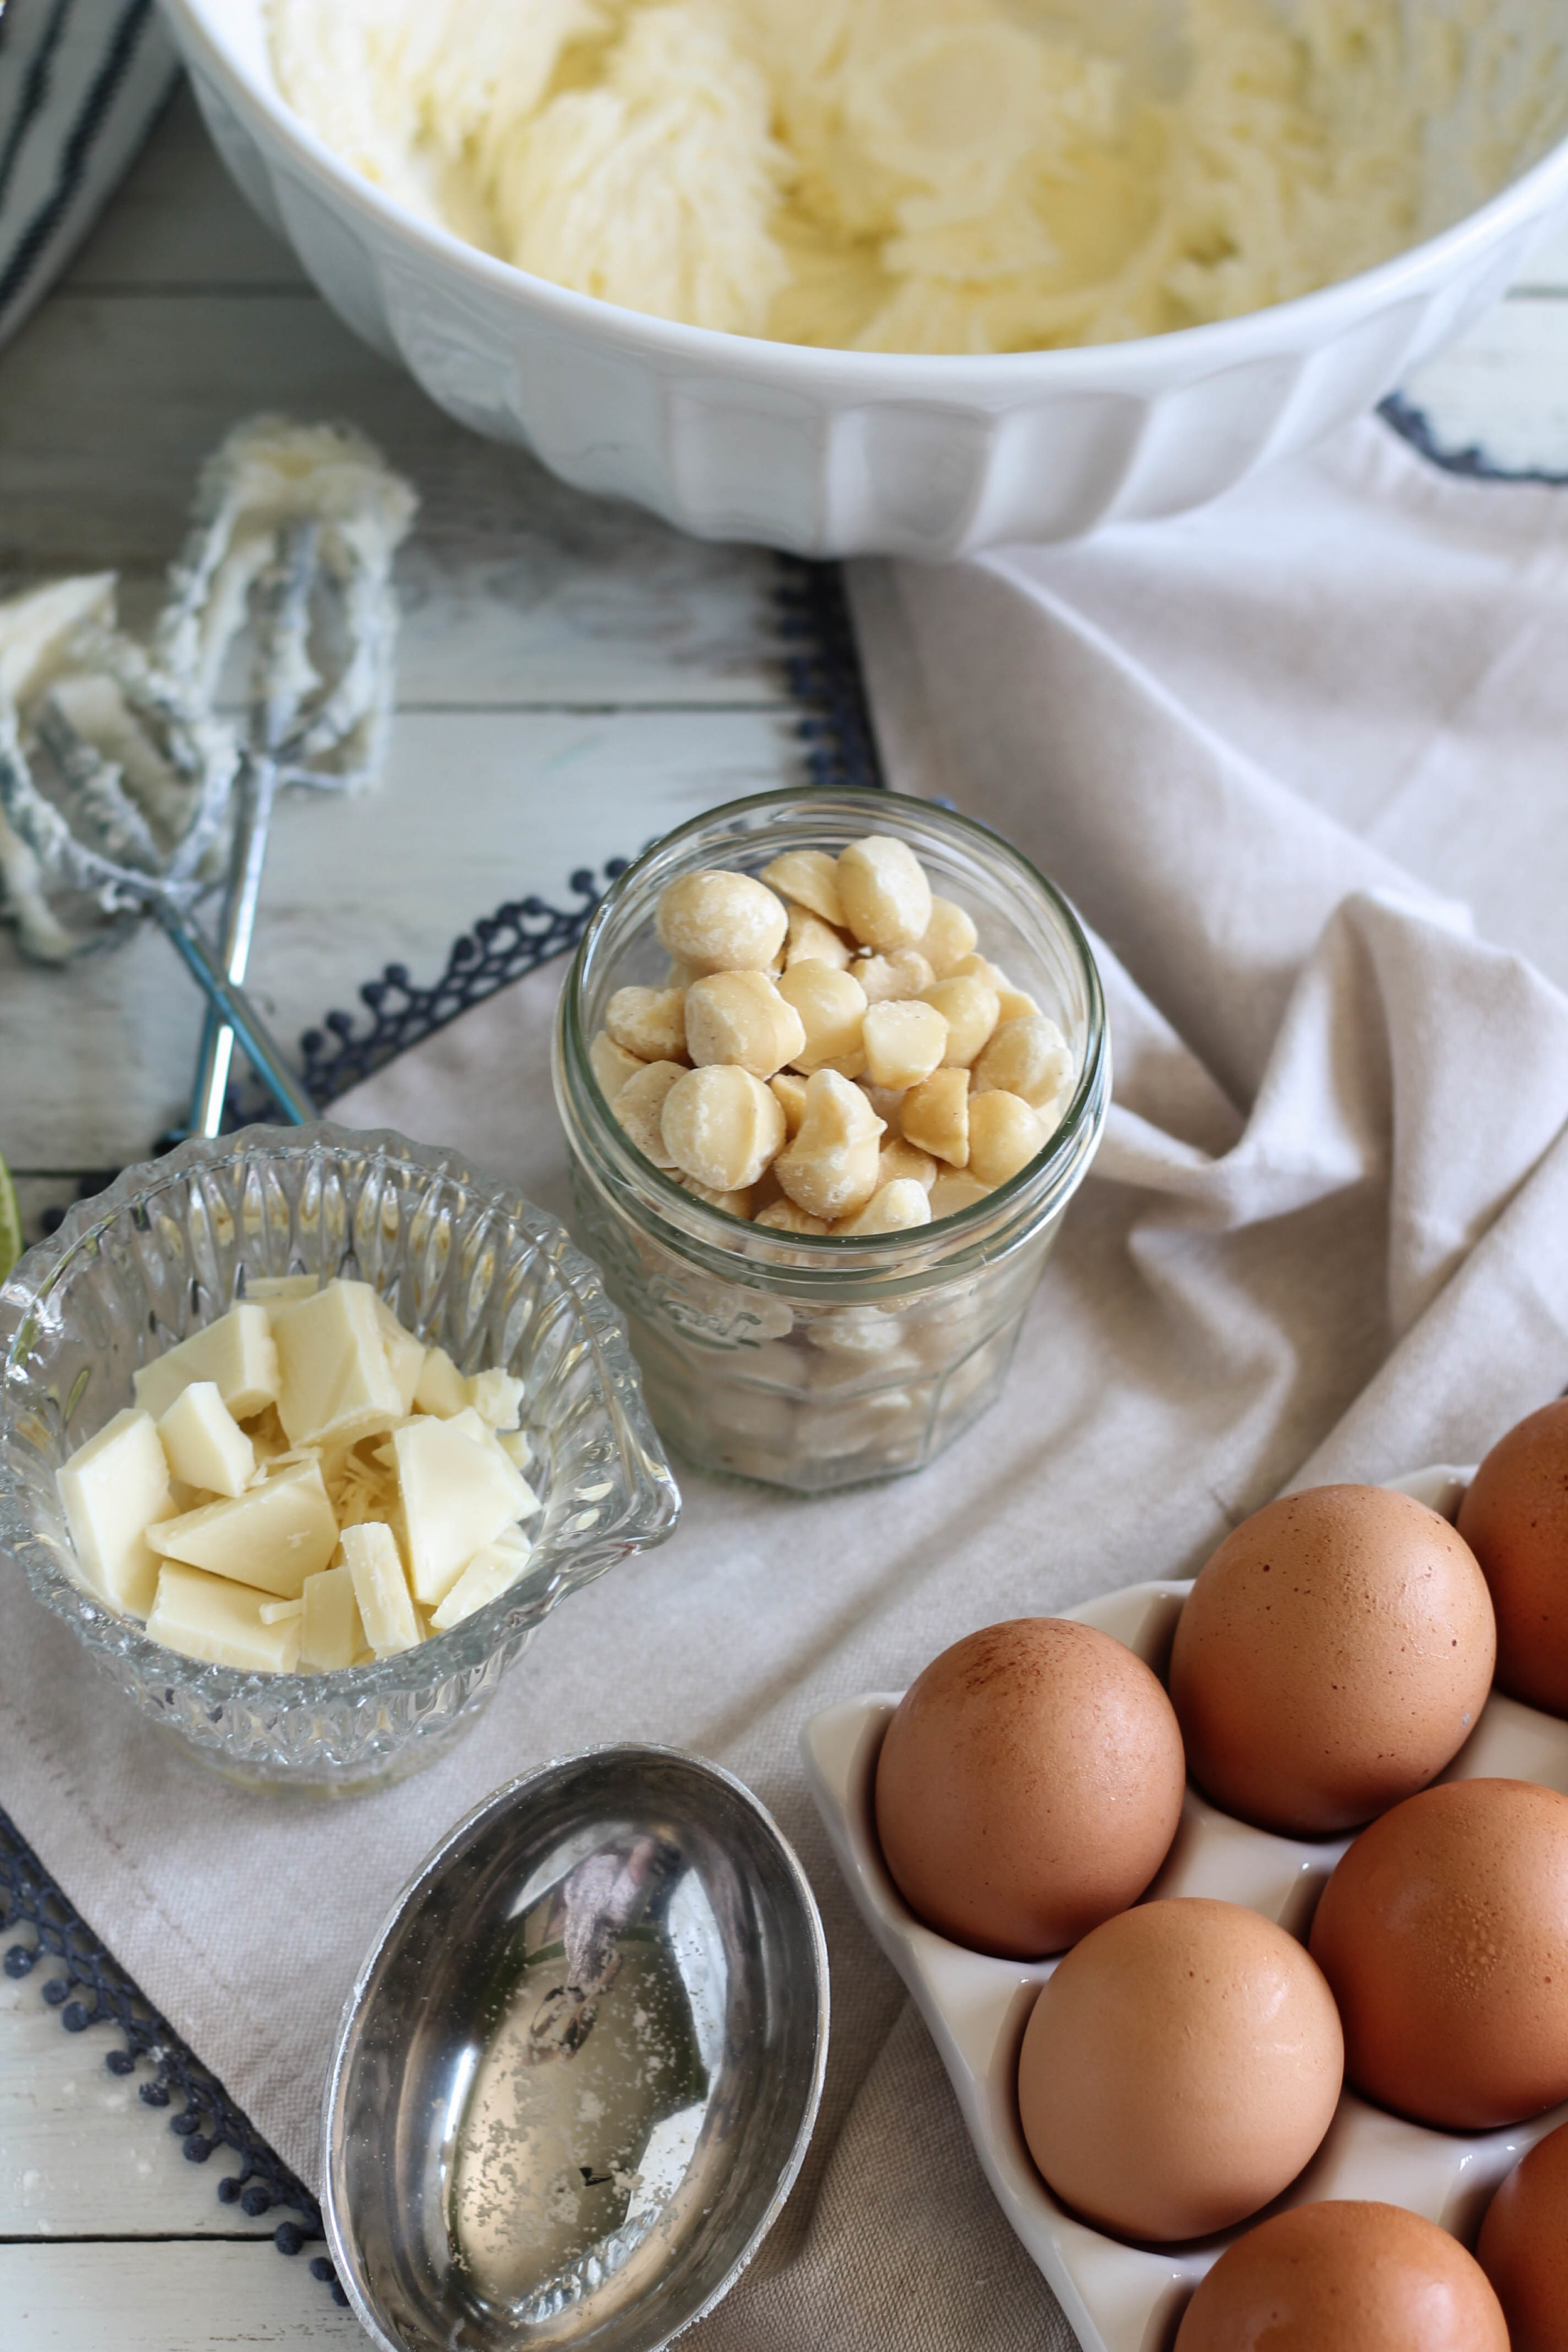
White Chocolate Macadamia Nut Lime Bars {Pedantic Foodie}

After the dough has come together, chopped macadamia nuts and white chocolate are folded in.  I ate at least 1/4 cup of macadamia nuts while I was chopping away.  I cannot get enough, they are just SO buttery.

White Chocolate Macadamia Nut Lime Bars {Pedantic Foodie}

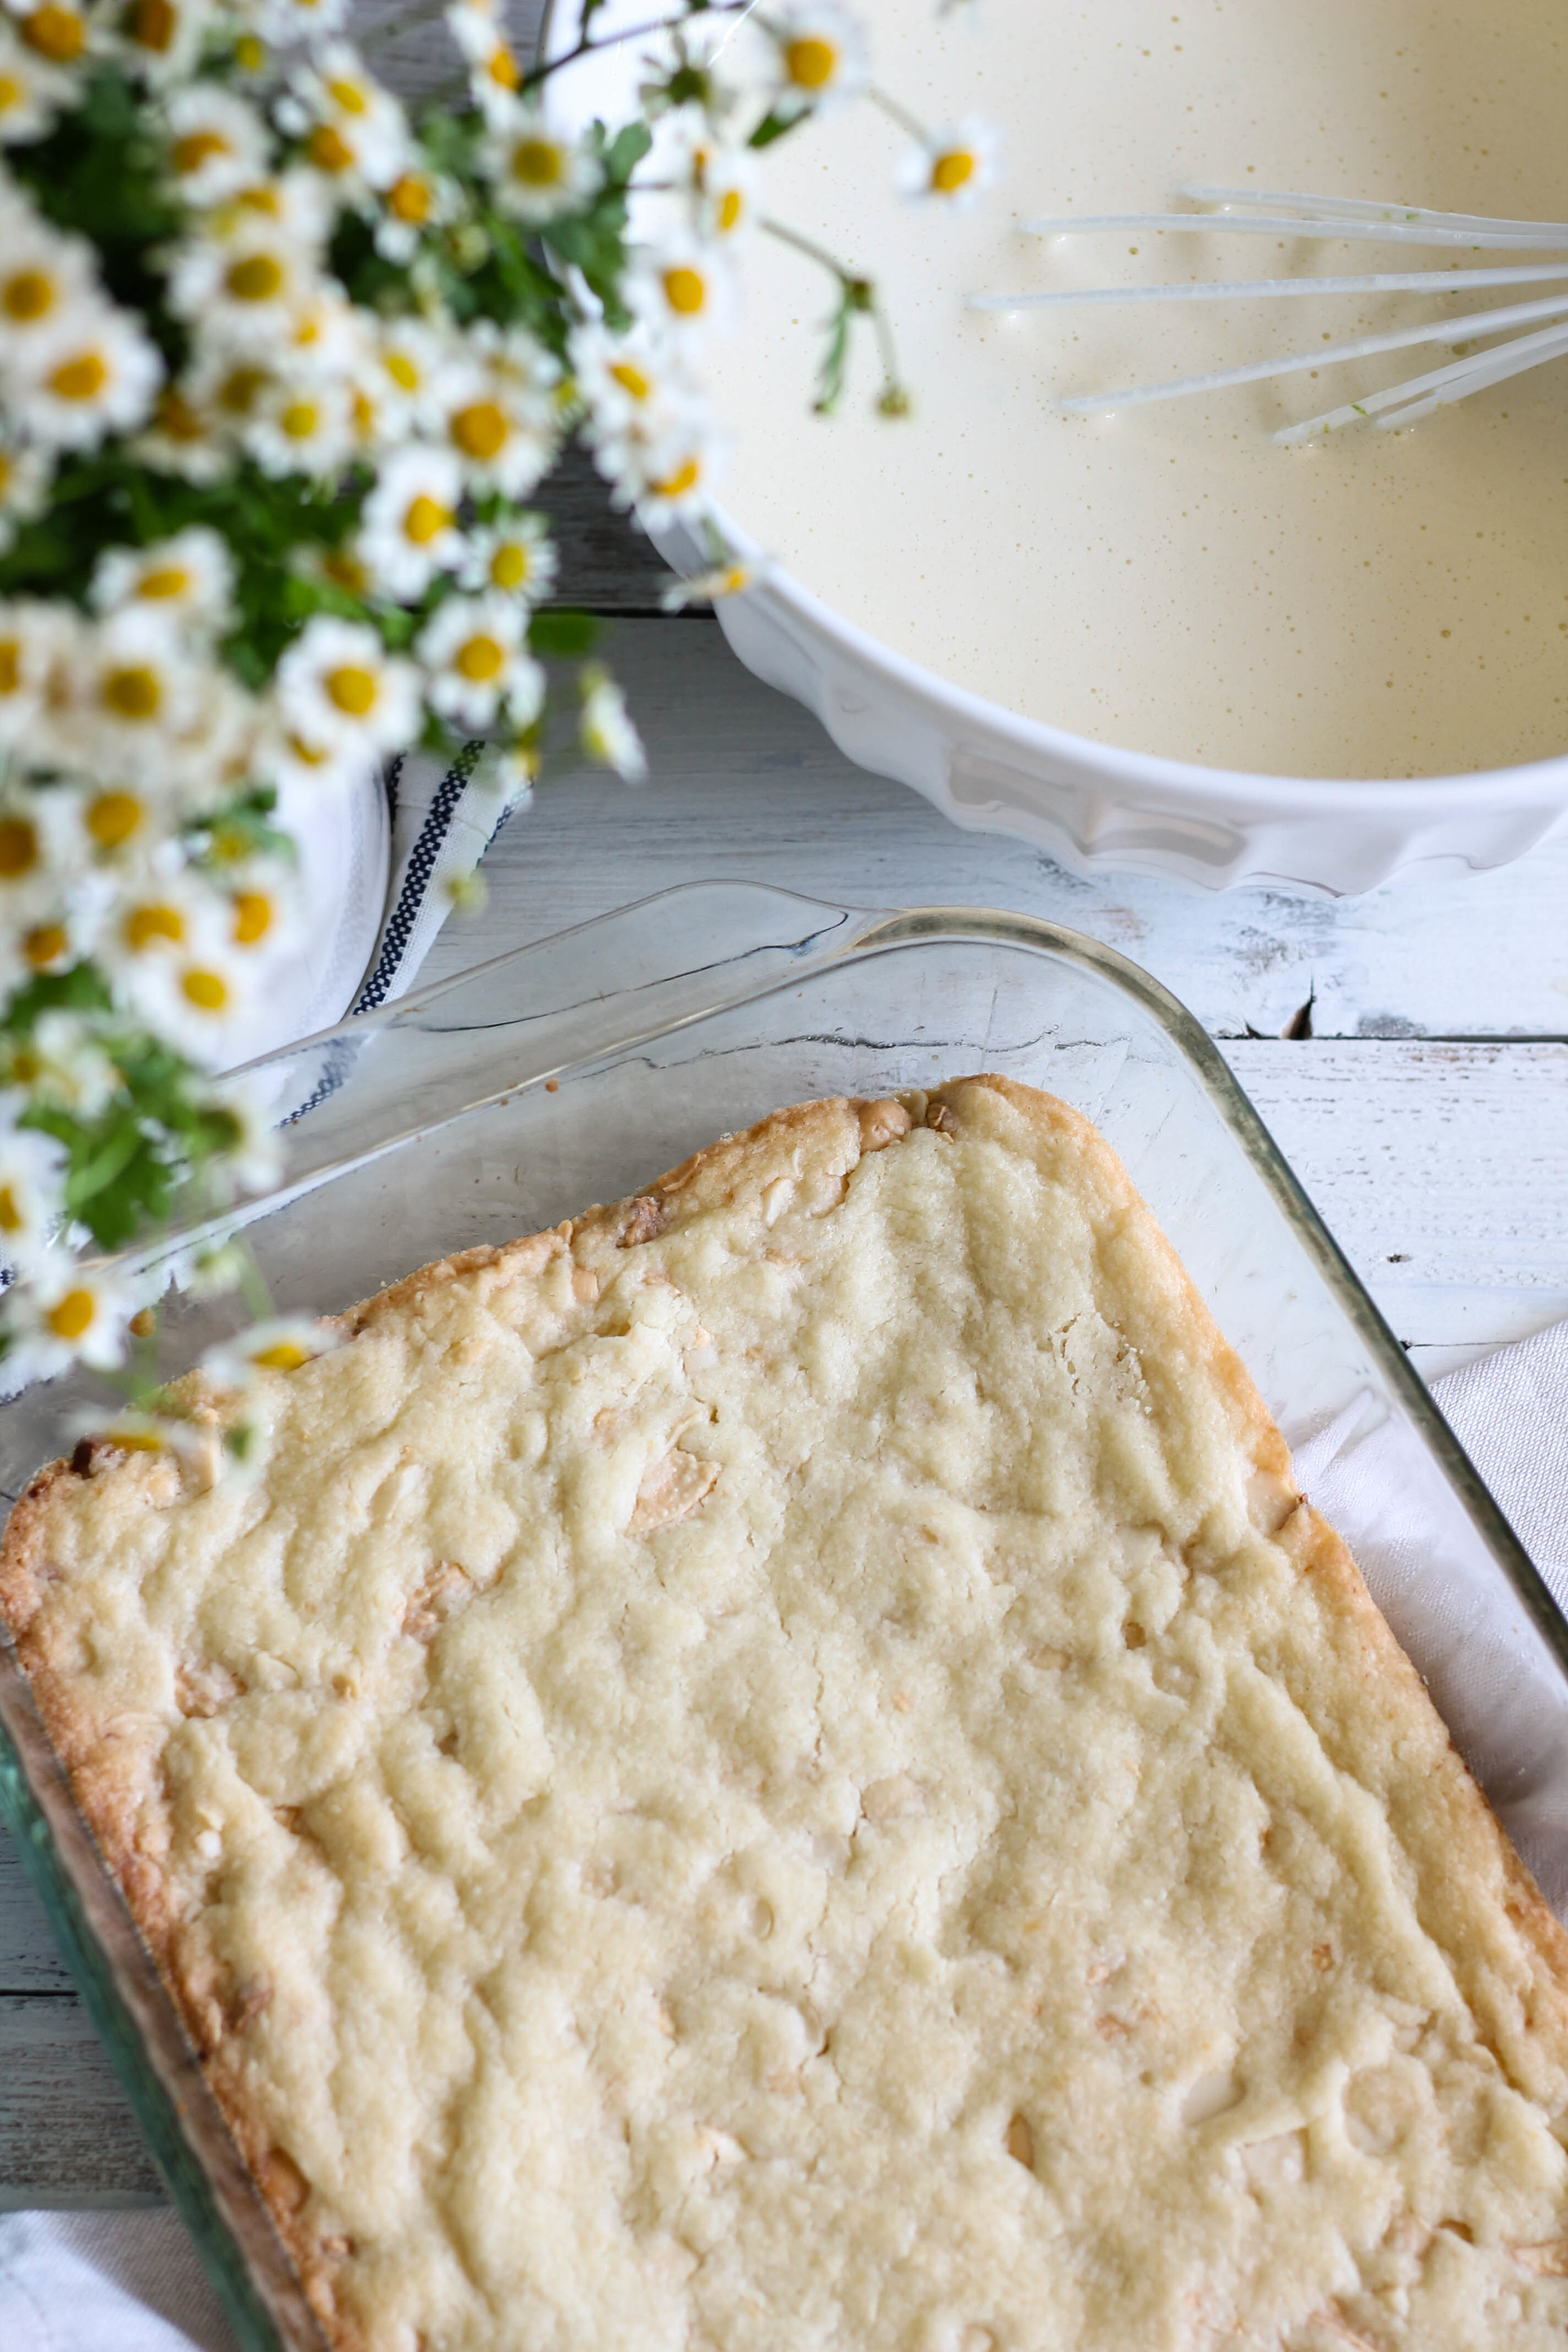
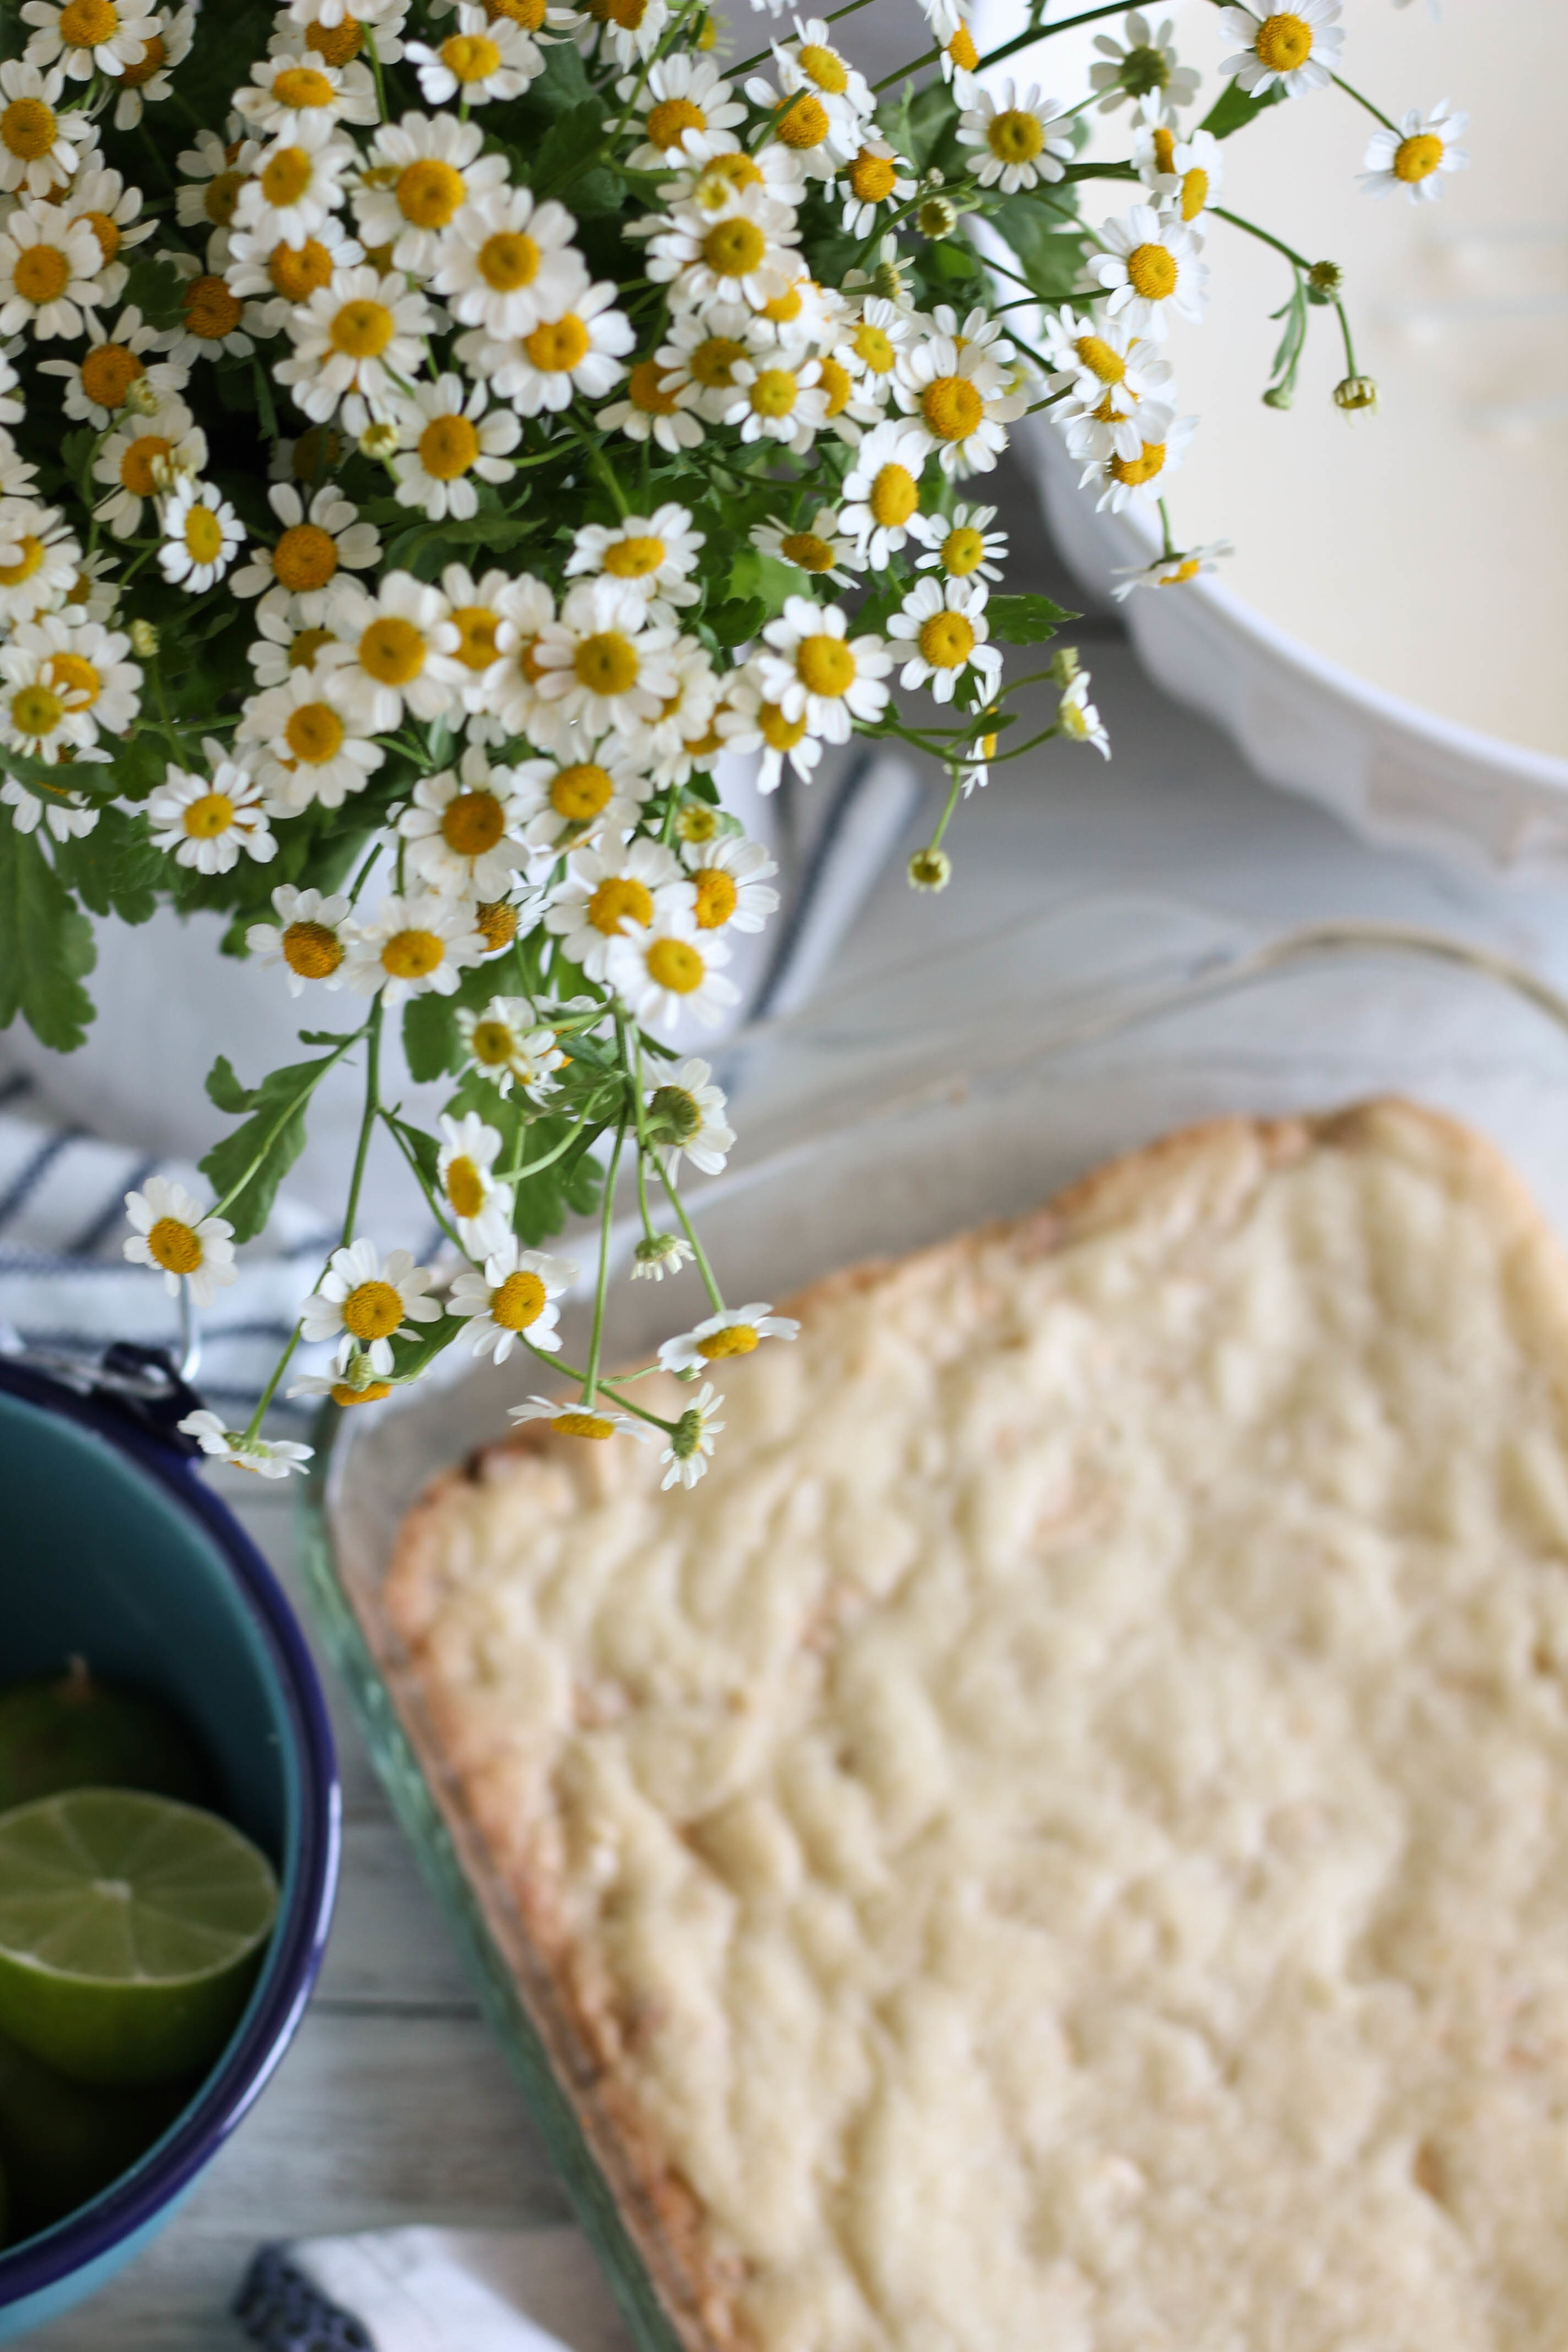
The dough is pressed into a greased, 9x13 pan and then baked until just barely golden.  Those oven-kissed edges will be your favorite if you are a cookie/brownie corner-loving kind of person.  

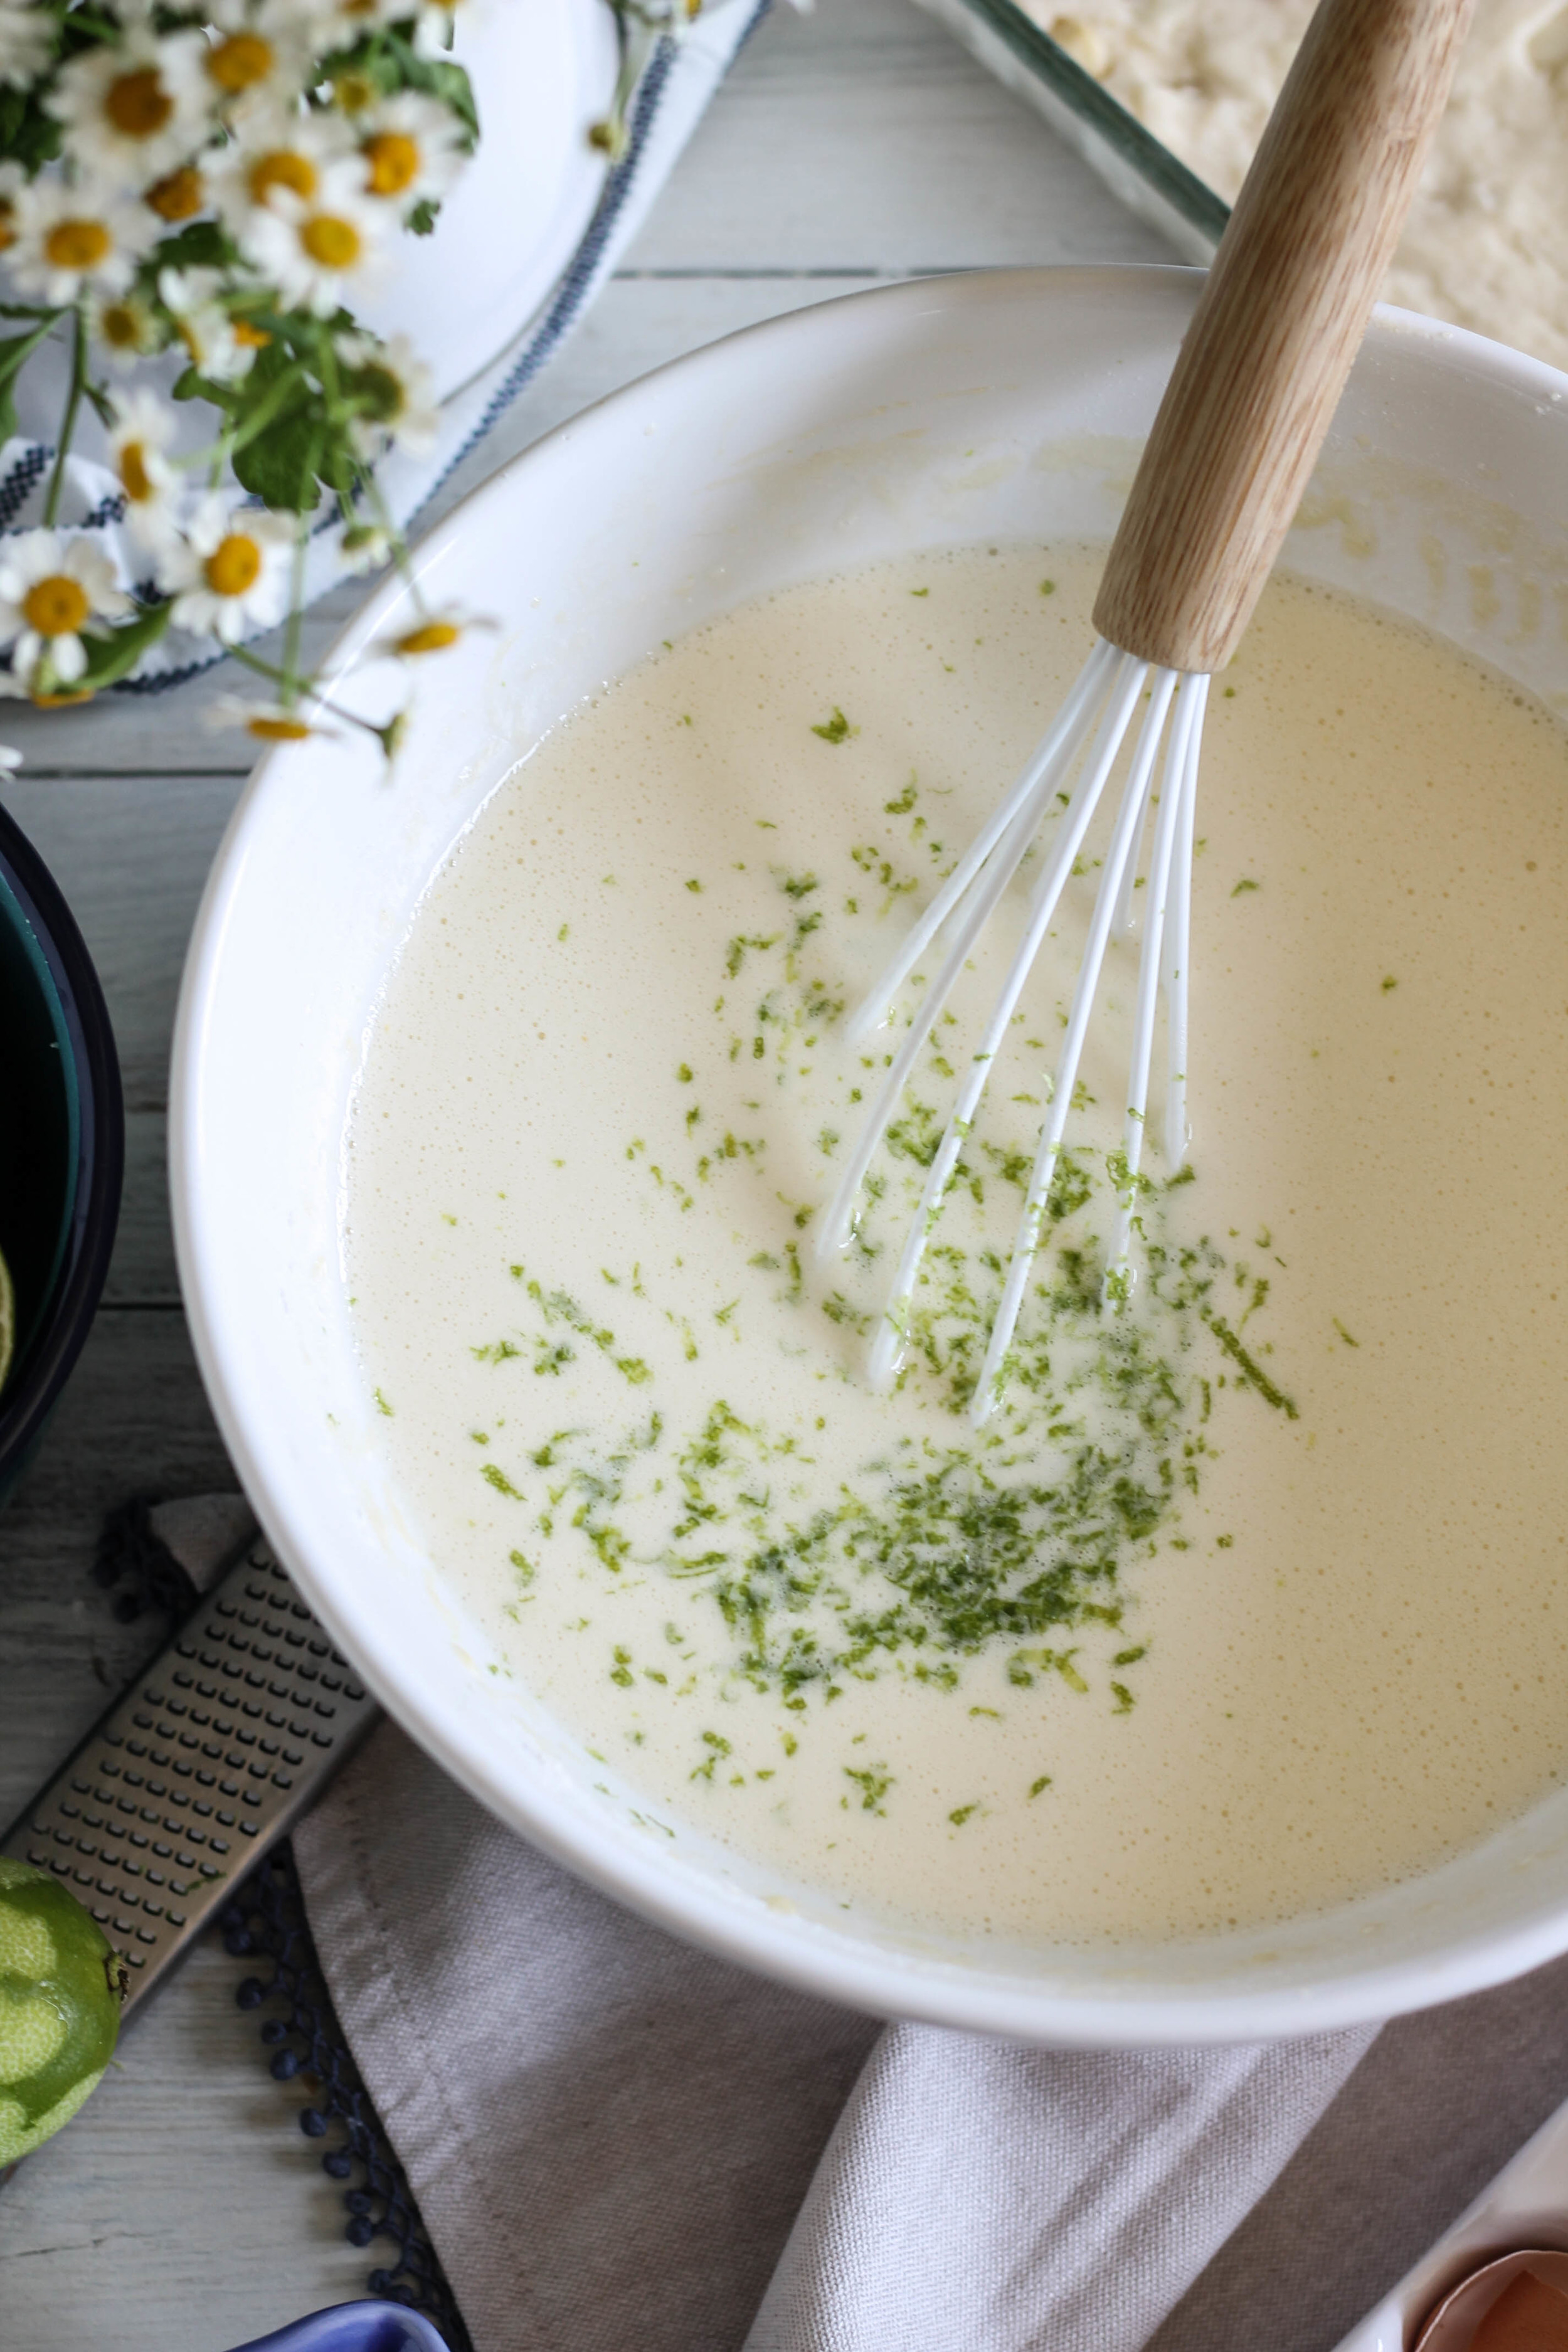
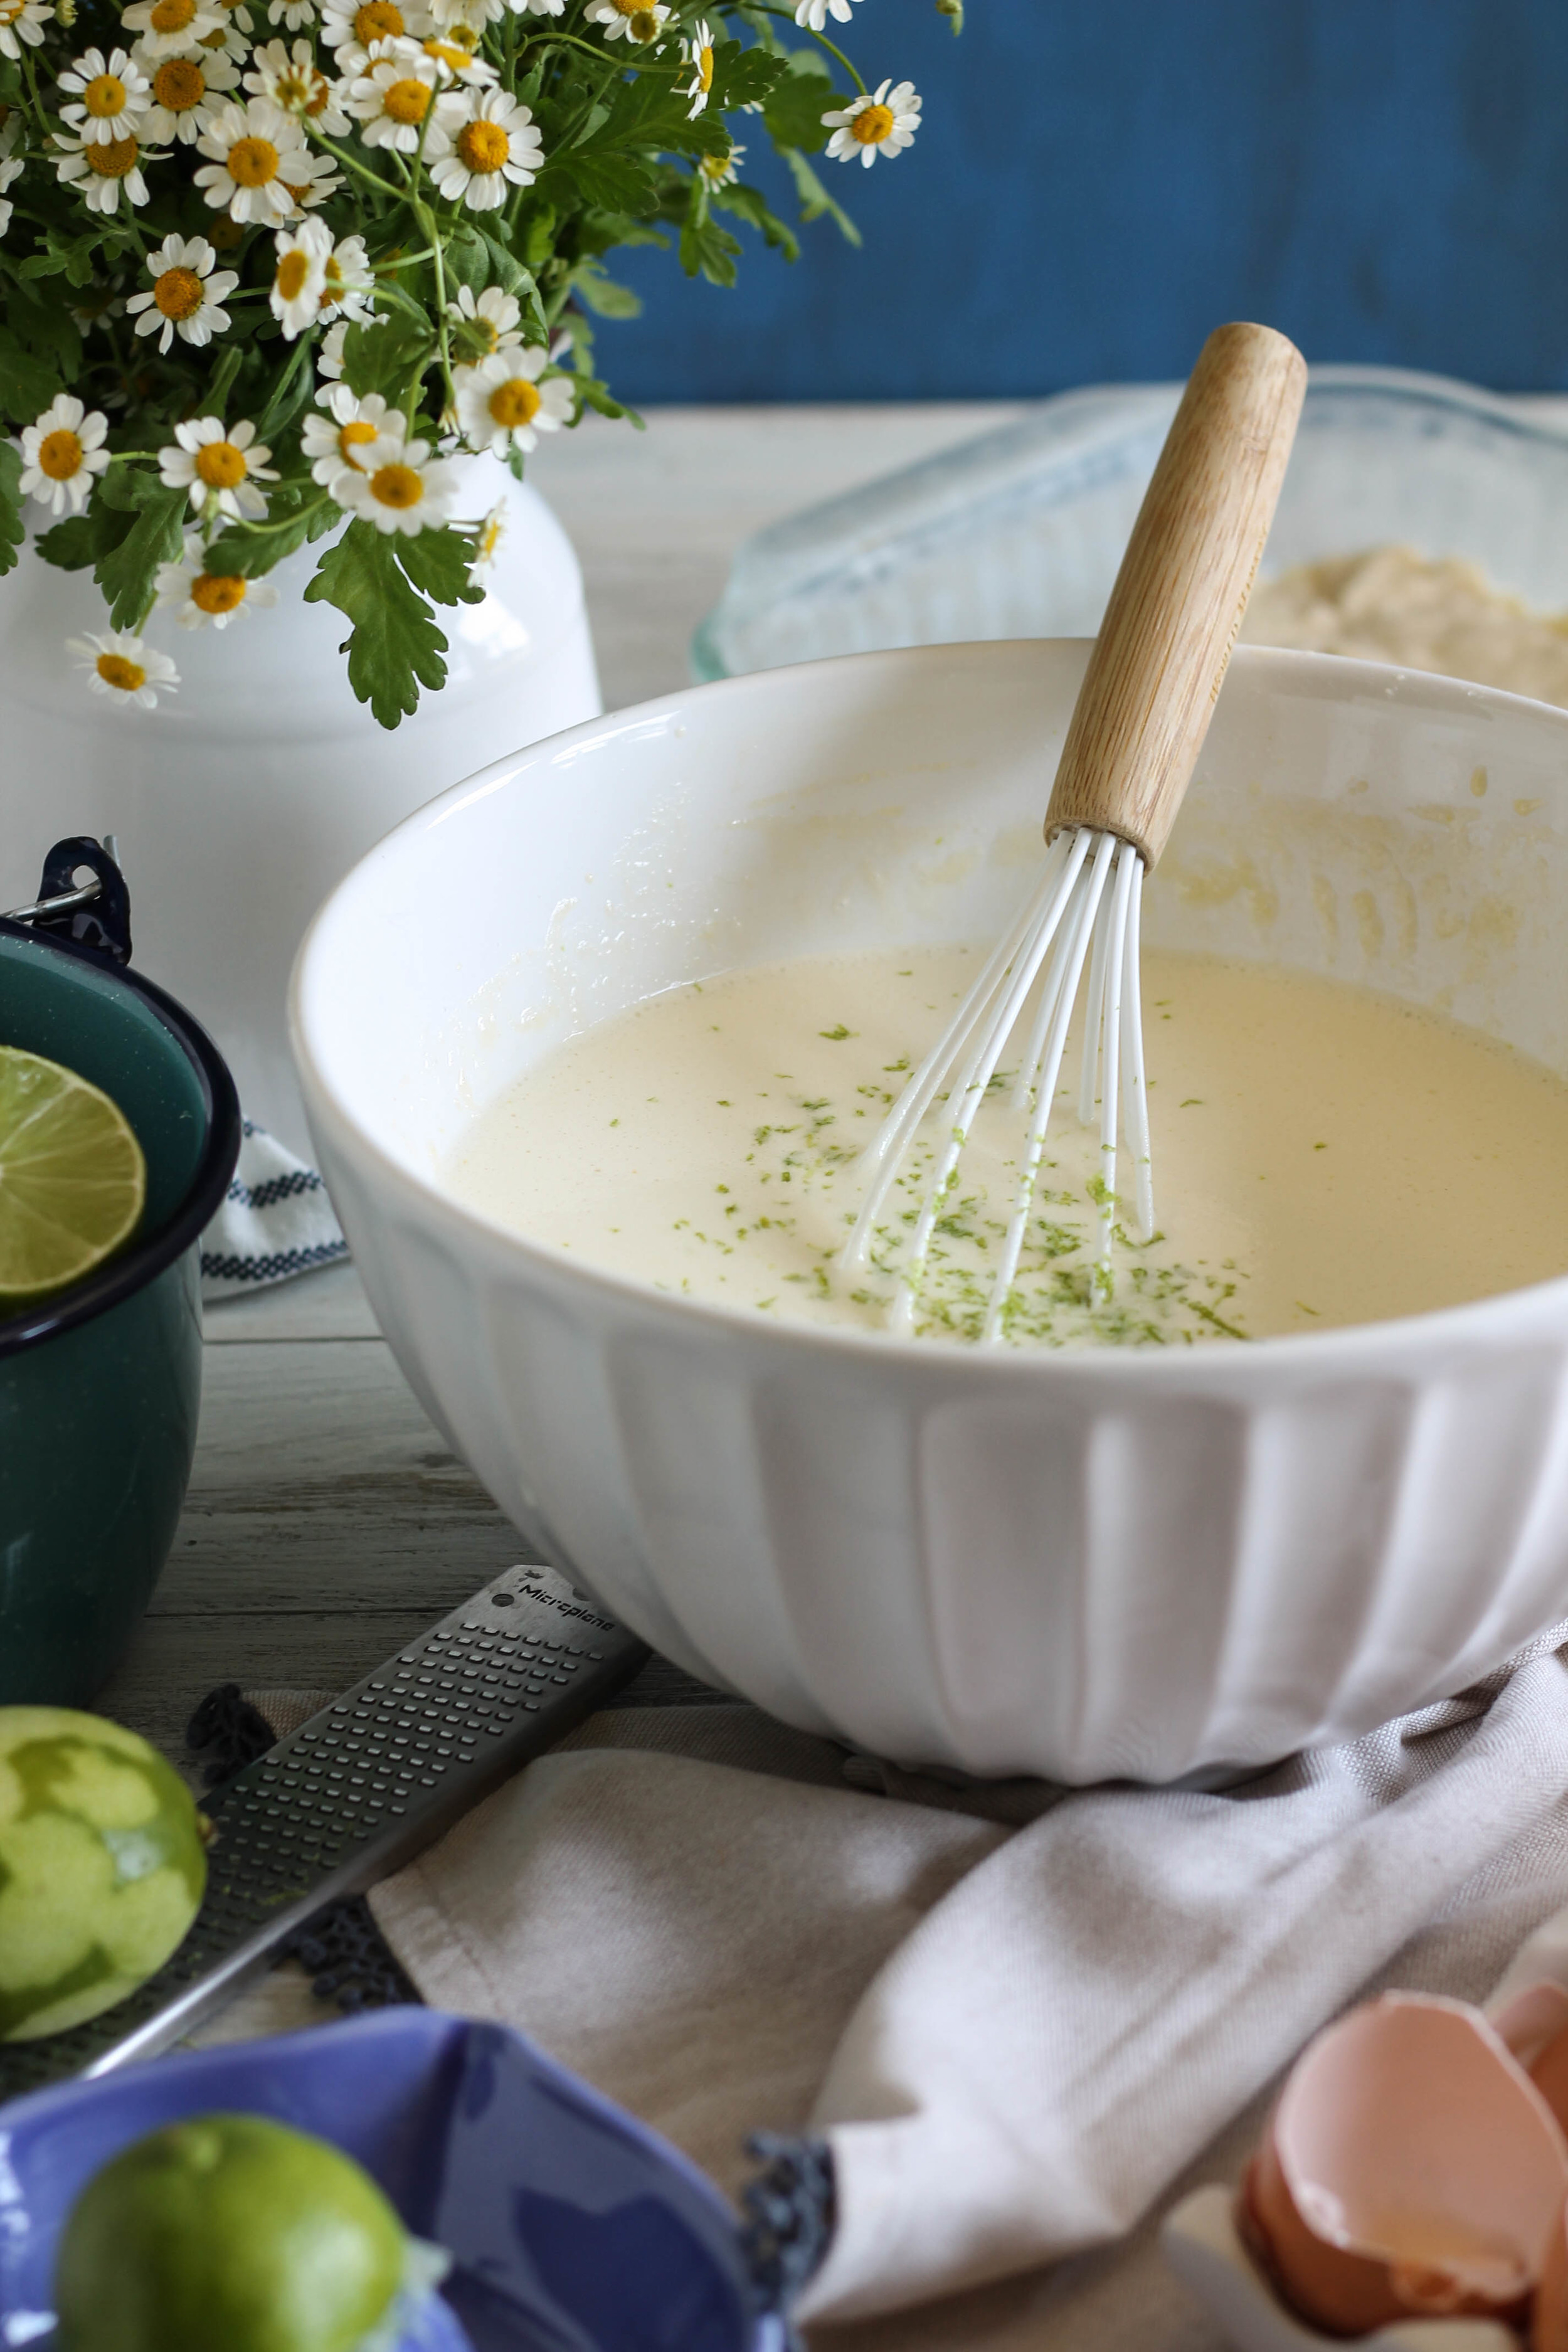
Now for the filling.  This filling is going to look way too thin, but don't panic.  After the bars have baked and cooled, the filling will be the consistency of lemon curd - thick but gooey (I hate that word - new synonyms, please!). 

White Chocolate Macadamia Nut Lime Bars {Pedantic Foodie}

A whole lot of lime zest goes into this filling.  If you prefer your bars on the sweeter side, you may want to reduce the amount.  I like them nice and tart myself. 

I like the kind of tart where you can feel it in the back of your mouth.  Do you know that twinge I'm talking about?  I know you understand, you get me. 

White Chocolate Macadamia Nut Lime Bars {Pedantic Foodie}

Now, while these are fairly tart, they are not sour.  The three cups of sugar makes sure of that. Yes, I said three cups, memories in bar form are not fat free.  

Now for the oven!  These bars bake until the top is deep golden and the filling has set.

White Chocolate Macadamia Nut Lime Bars {Pedantic Foodie}

Then you have to wait for what feels like a lifetime to let them cool.  It's the necessary evil of bar-making. 

White Chocolate Macadamia Nut Lime Bars {Pedantic Foodie}

These are a "with coffee" kind of bar.  Their tart flavor pairs perfectly with a strong, smooth brew. 

White Chocolate Macadamia Nut Lime Bars {Pedantic Foodie}

This reminds me of early morning breakfast dates with my mama. 

White Chocolate Macadamia Nut Lime Bars {Pedantic Foodie}

I like when one memory leads to another. 

Sincerely,

Pedantic Foodie


White Chocolate Macadamia Nut Lime Bars

makes one, 9x13 pan (about 21 bars) / recipe loosely adapted from Ina Garten

for the crust

- 1 cup unsalted butter, softened 

- 1/2 cup granulated sugar 

- 2 cups all-purpose flour 

- 1/4 teaspoon salt

- 1/2 cup white chocolate, roughly chopped

- 1 cup dry roasted, unsalted macadamia nuts, roughly chopped 

Preheat oven to 350 degrees. 

In a large bowl, combine butter and sugar.  Beat with an electric mixer on medium high speed for 1-2 minutes, until the mixture is light and fluffy.  Sift in flour and salt and beat until well combined. Use a spatula to fold in the white chocolate and macadamia nuts.

Press the dough into a greased, 9x13 baking pan.  Cover with plastic wrap and chill in the freezer for 15 minutes.  

Bake the chilled cookie for 15-20 minutes, until the edges are just golden and the cookie has set.  

Place on a cooling rack while you prepare the filling.  Leave the oven set to 350. 

for the filling

- 6 large eggs, room temperature

- 3 cups granulated sugar 

- 1 cup fresh lime juice 

- 1 cup all-purpose flour

- zest of 2-3 limes (mine were small so I used 3)

- 1/2 cup confectioner’s sugar, for dusting 

In a large bowl, whisk eggs and sugar.  Whisk in lime juice, flour, and lime zest.  

Pour the filling over the cooled cookie crust and bake at 350 for 30-35 minutes, until the top is deep golden brown and the filling is set.  Place the pan on a cooling rack and allow to cool to room temperature.  Cover with plastic wrap and place in the refrigerator until cool.  

Cut into 21 even bars and dust liberally with confectioner's sugar.  Store in airtight containers for up to 3 days!  Enjoy! 


You may also like... 

Mexican S'mores // Summer of S'mores Pt. 3

It is Monday, and I am sure we could all use a little chocolate.  Let's get into this!   

Mexican S'mores {Pedantic Foodie}

These s’mores were supposed to come to you last Friday, in time for your weekend… I'm sorry. 

I would like to tell you that I always have my recipes tested on time, photographed perfectly on the first try, and my posts scheduled, but that is just not the case some weeks.  

Mexican S'mores {Pedantic Foodie}

I staged and restaged these s’mores until I finally gave up for the day and set them aside until morning.  Usually such a failure would have ended in tears of defeat and discouragement, but last Thursday, I exchanged the tears for some deep breaths and reminded myself that nothing good could come out of my striving against the Sun. 

Thankfully, Friday morning's light was much more congenial, and s'mores happen to make a mighty fine breakfast. 

Mexican S'mores {Pedantic Foodie}

It is a challenge to let go of my minutely-organized schedule.  To release the fears of losing your gracious-given attention and interest, and to accept the fact that sometimes, no amount of preparation can save me from the occasional blunder. 

Mexican S'mores {Pedantic Foodie}

Though they are late, these s'mores are absolutely superb.  I may not make tacos, or enchiladas, but I do make a pretty fine Mexican s’more.  

Mexican S'mores {Pedantic Foodie}

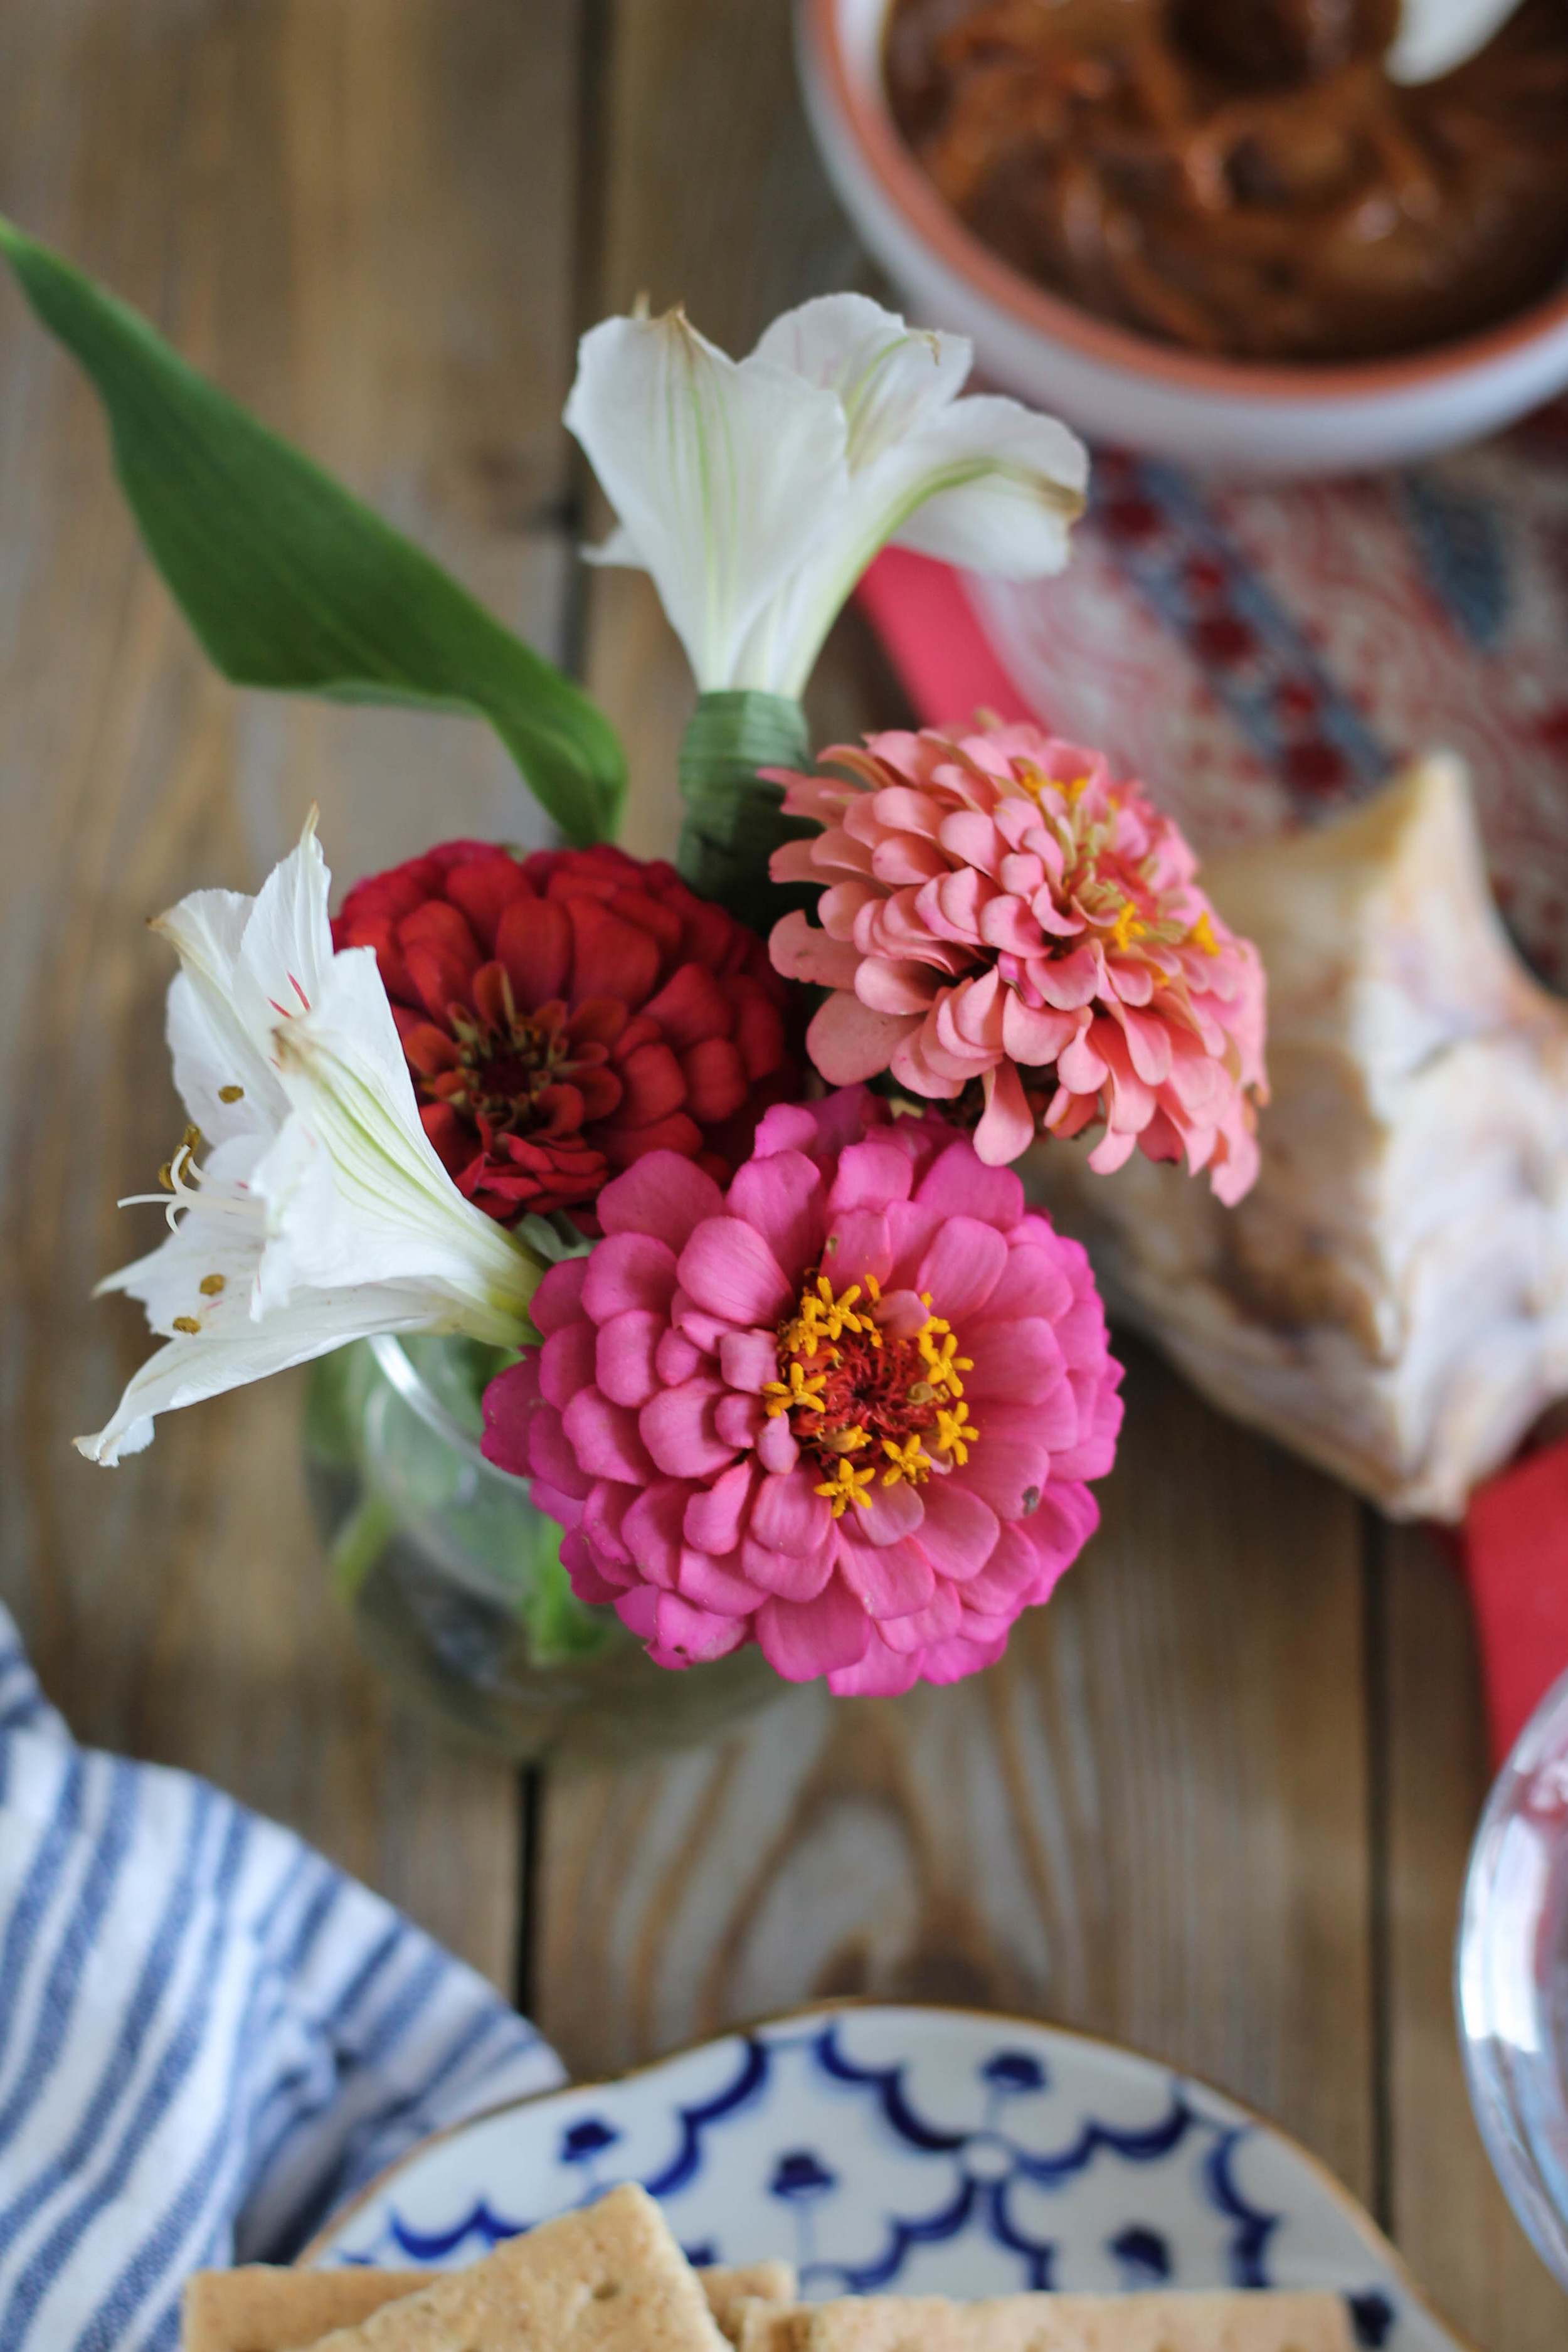
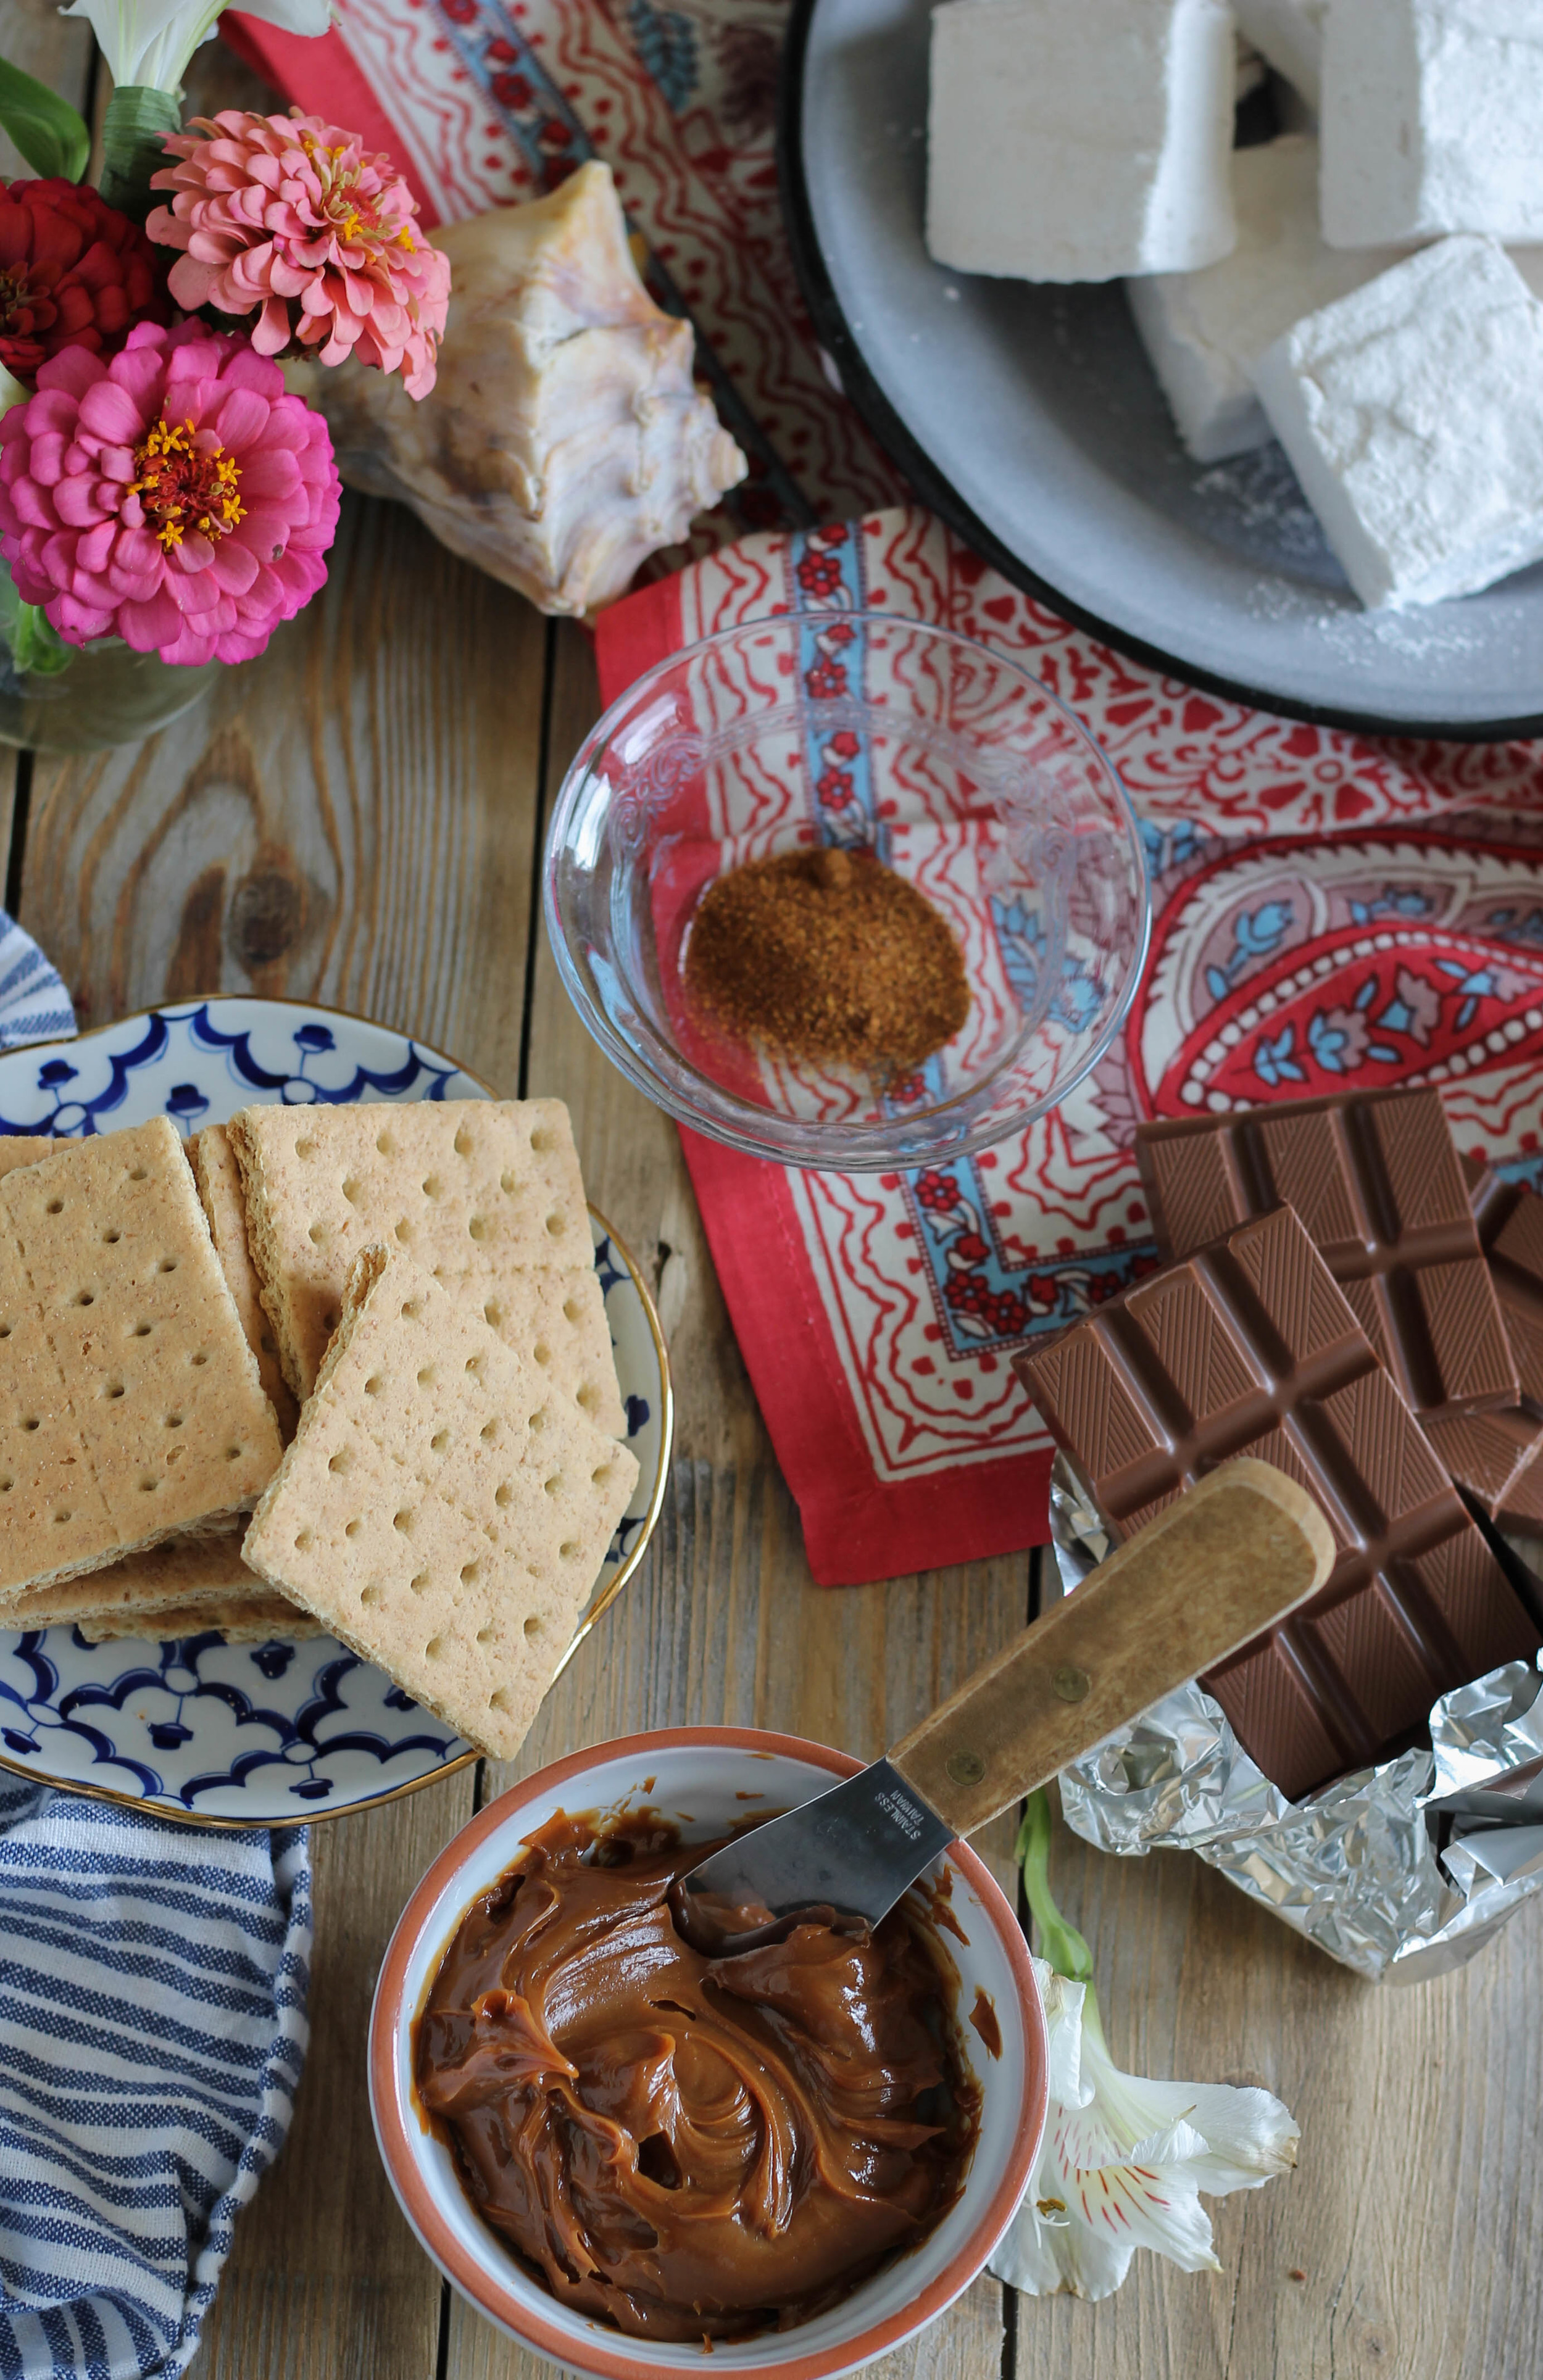
Let’s break this down.  Homemade cinnamon vanilla marshmallows, chocolate spiked with a pinch of cayenne and a hearty dose of ground cinnamon, smooth dulce de leche, and of course, graham crackers.  I really wish I had thought of using cinnamon sugar graham crackers for these s'mores.  Sadly, that little dose of genius just occurred to me two minutes ago, but it's not too late for you.  Go for the cinnamon, spice it up!     

Mexican S'mores {Pedantic Foodie}

Can a s’more be a s’more if you use a cookie in place of the graham crackers?  I don’t think so, but part of me really wants to make a s’more with a gooey, slightly underdone chocolate chip cookie… Let’s come back to that soon, okay?

Mexican S'mores {Pedantic Foodie}

These s’mores can have as much or as little heat as you like.  I like mine on the hotter side, but if you are making them for little ones you could forgo the cayenne altogether. 

Mexican S'mores {Pedantic Foodie}

These s'mores are not exactly mess-free, but I have never known a good s'more that was.  Happy Monday! 

Sincerely, 

Pedantic Foodie


Mexican S’mores

makes 12, but can easily be divided or multiplied

for the s’mores

- 6 ounces milk or dark chocolate, either is delicious 

- 1/4 teaspoon ground cayenne pepper 

- 3/4 teaspoon ground cinnamon

- 12 full graham crackers, broken in half

- 3/4 cup dulce de leche (you could make your own, but I took some help from my trusty friend Trader Joe)

- 12 cinnamon vanilla marshmallows (recipe below)

In a small, microwave-safe bowl, melt chocolate by microwaving at thirty second increments, stirring after each.  Stir in ground spices.  Refrigerate the chocolate for 15-25 minutes, until the chocolate has thickened to a spreadable consistency, but has not hardened. 

To assemble: Spread one tablespoon of dulce de leche on one half of your graham cracker.  Set a marshmallow on top and toast with a kitchen torch.*  Spread about one tablespoon of chocolate on the remaining graham cracker half and place on top of the marshmallow, with the chocolate facing down.  Yeah, you know how to do this. ;) Serve immediately.  Enjoy! 

*Cook’s note:  You can certainly go the traditional route and toast your marshmallows over a campfire, however, I have found that homemade marshmallows tend to melt quicker and more easily over an open flame.  While I would normally suggest popping these under the broiler if you are making them for a group, the high heat does not blend well with the dulce de leche, so I would highly recommend investing in a torch.  I found mine at the hardware store for about fifteen dollars.  You’ll thank yourself.  (It’s way fun to torch things.) 

cinnamon vanilla marshmallows

- 3 packages unflavored gelatin 

- 1 cup ice cold water, divided use

- 1 1/2 cups granulated sugar

- 1 cup light corn syrup

- 1/4 teaspoon kosher salt

- 2 teaspoon vanilla extract 

- 1 teaspoon ground cinnamon

- 1/2 cup confectioner's sugar

Prepare a 9x13 pan by greasing with nonstick spray and dusting liberally with powdered sugar.  

In the work bowl of your stand mixer, fitted with the whisk attachment, add 1/2 cup ice water and sprinkle with gelatin; allow to bloom while you prepare the syrup. 

In a small saucepan, combine remaining 1/2 cup ice water, granulated sugar, kosher salt, and corn syrup.  Place over medium high heat and cover.  Cook for 4 minutes, then uncover and attach a candy thermometer to the side of the pan.  Cook until the mixture reaches 240 degrees F; about 8 minutes.  When syrup has come to temperature remove from the heat immediately.  With the stand mixer on low speed, slowly stream in the syrup.  

When all the syrup has been added, increase the speed to high.  Whip for 13 minutes.  During the last minute of beating, add ground cinnamon and vanilla extract.  Fold the marshmallow into the prepared pan and dust the top liberally with powdered sugar.  Cover the pan and let it set for 4-8 hours, until firm.

Flip the marshmallow out of the pan and unto a surface dusted with confectioner's sugar.  Use a greased pizza cutter to cut into squares.  Toss the cut squares in your remaining powdered sugar and store in an airtight container until ready to use, or up to a week.  Enjoy!


You may also like...
Boston Cream S'mores Trifle // Summer of S'mores Pt. 2

This is one of those times where my cravings have driven me to do absurd and wonderful things. 

Boston Cream S'mores Trifle {Pedantic Foodie}

In the past two years I have gone from ambivalently ignoring doughnuts, to deeply and passionately adoring them.  My doughnut of choice?  The Boston Cream. 

Boston Cream S'mores Trifle {Pedantic Foodie}

A little shop opened near me not too long ago, and they make the most perfect Boston Cream doughnut I have ever had.  It is not overly sweet, the custard is evenly distributed, and the chocolate icing is simple, but rich.  I love, love, love this doughnut.  

Oh, if only I did not have a fancy and expensive white dress to fit into in 98 days...

Boston Cream S'mores Trifle {Pedantic Foodie}

I think about that doughnut often.  In fact, this entire Summer of S'mores series began as a single scribbling in my notebook - "Boston Cream S'more." 

Boston Cream S'mores Trifle {Pedantic Foodie}

I wanted (read: needed) to find a way to incorporate the flavors of that prized pastry into another one of my favorite things: the s'more.

Boston Cream S'mores Trifle {Pedantic Foodie}

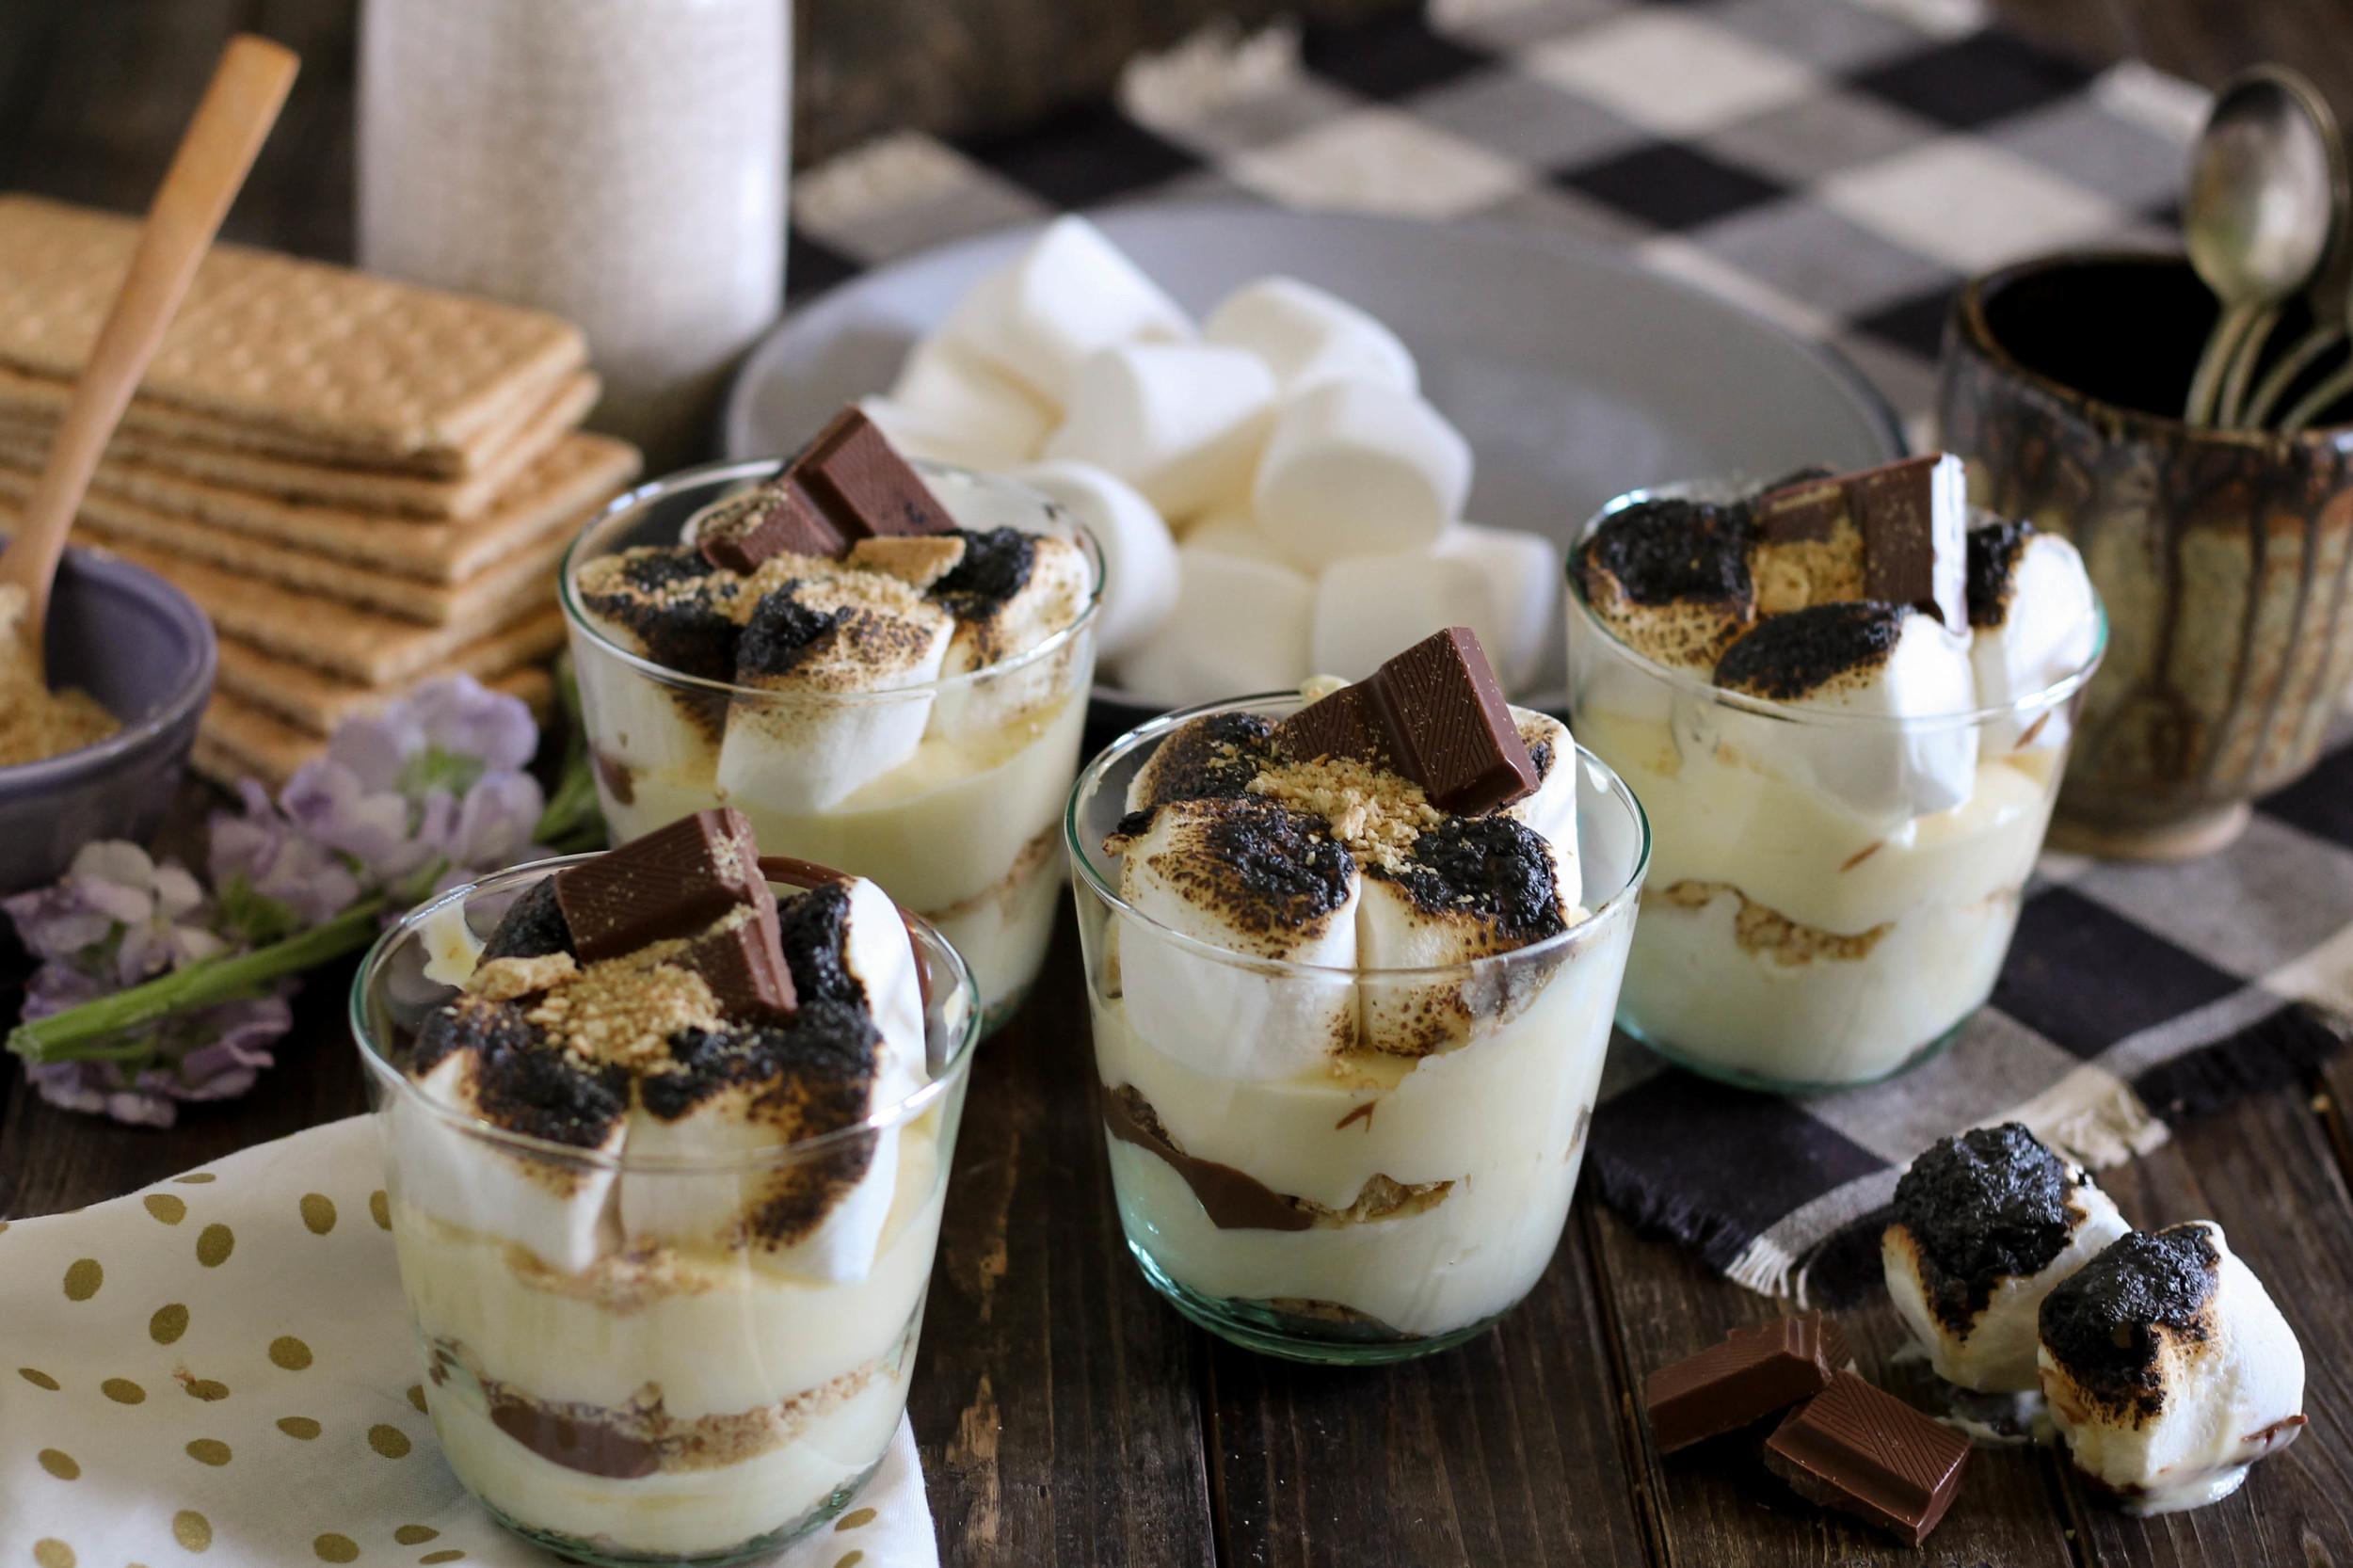
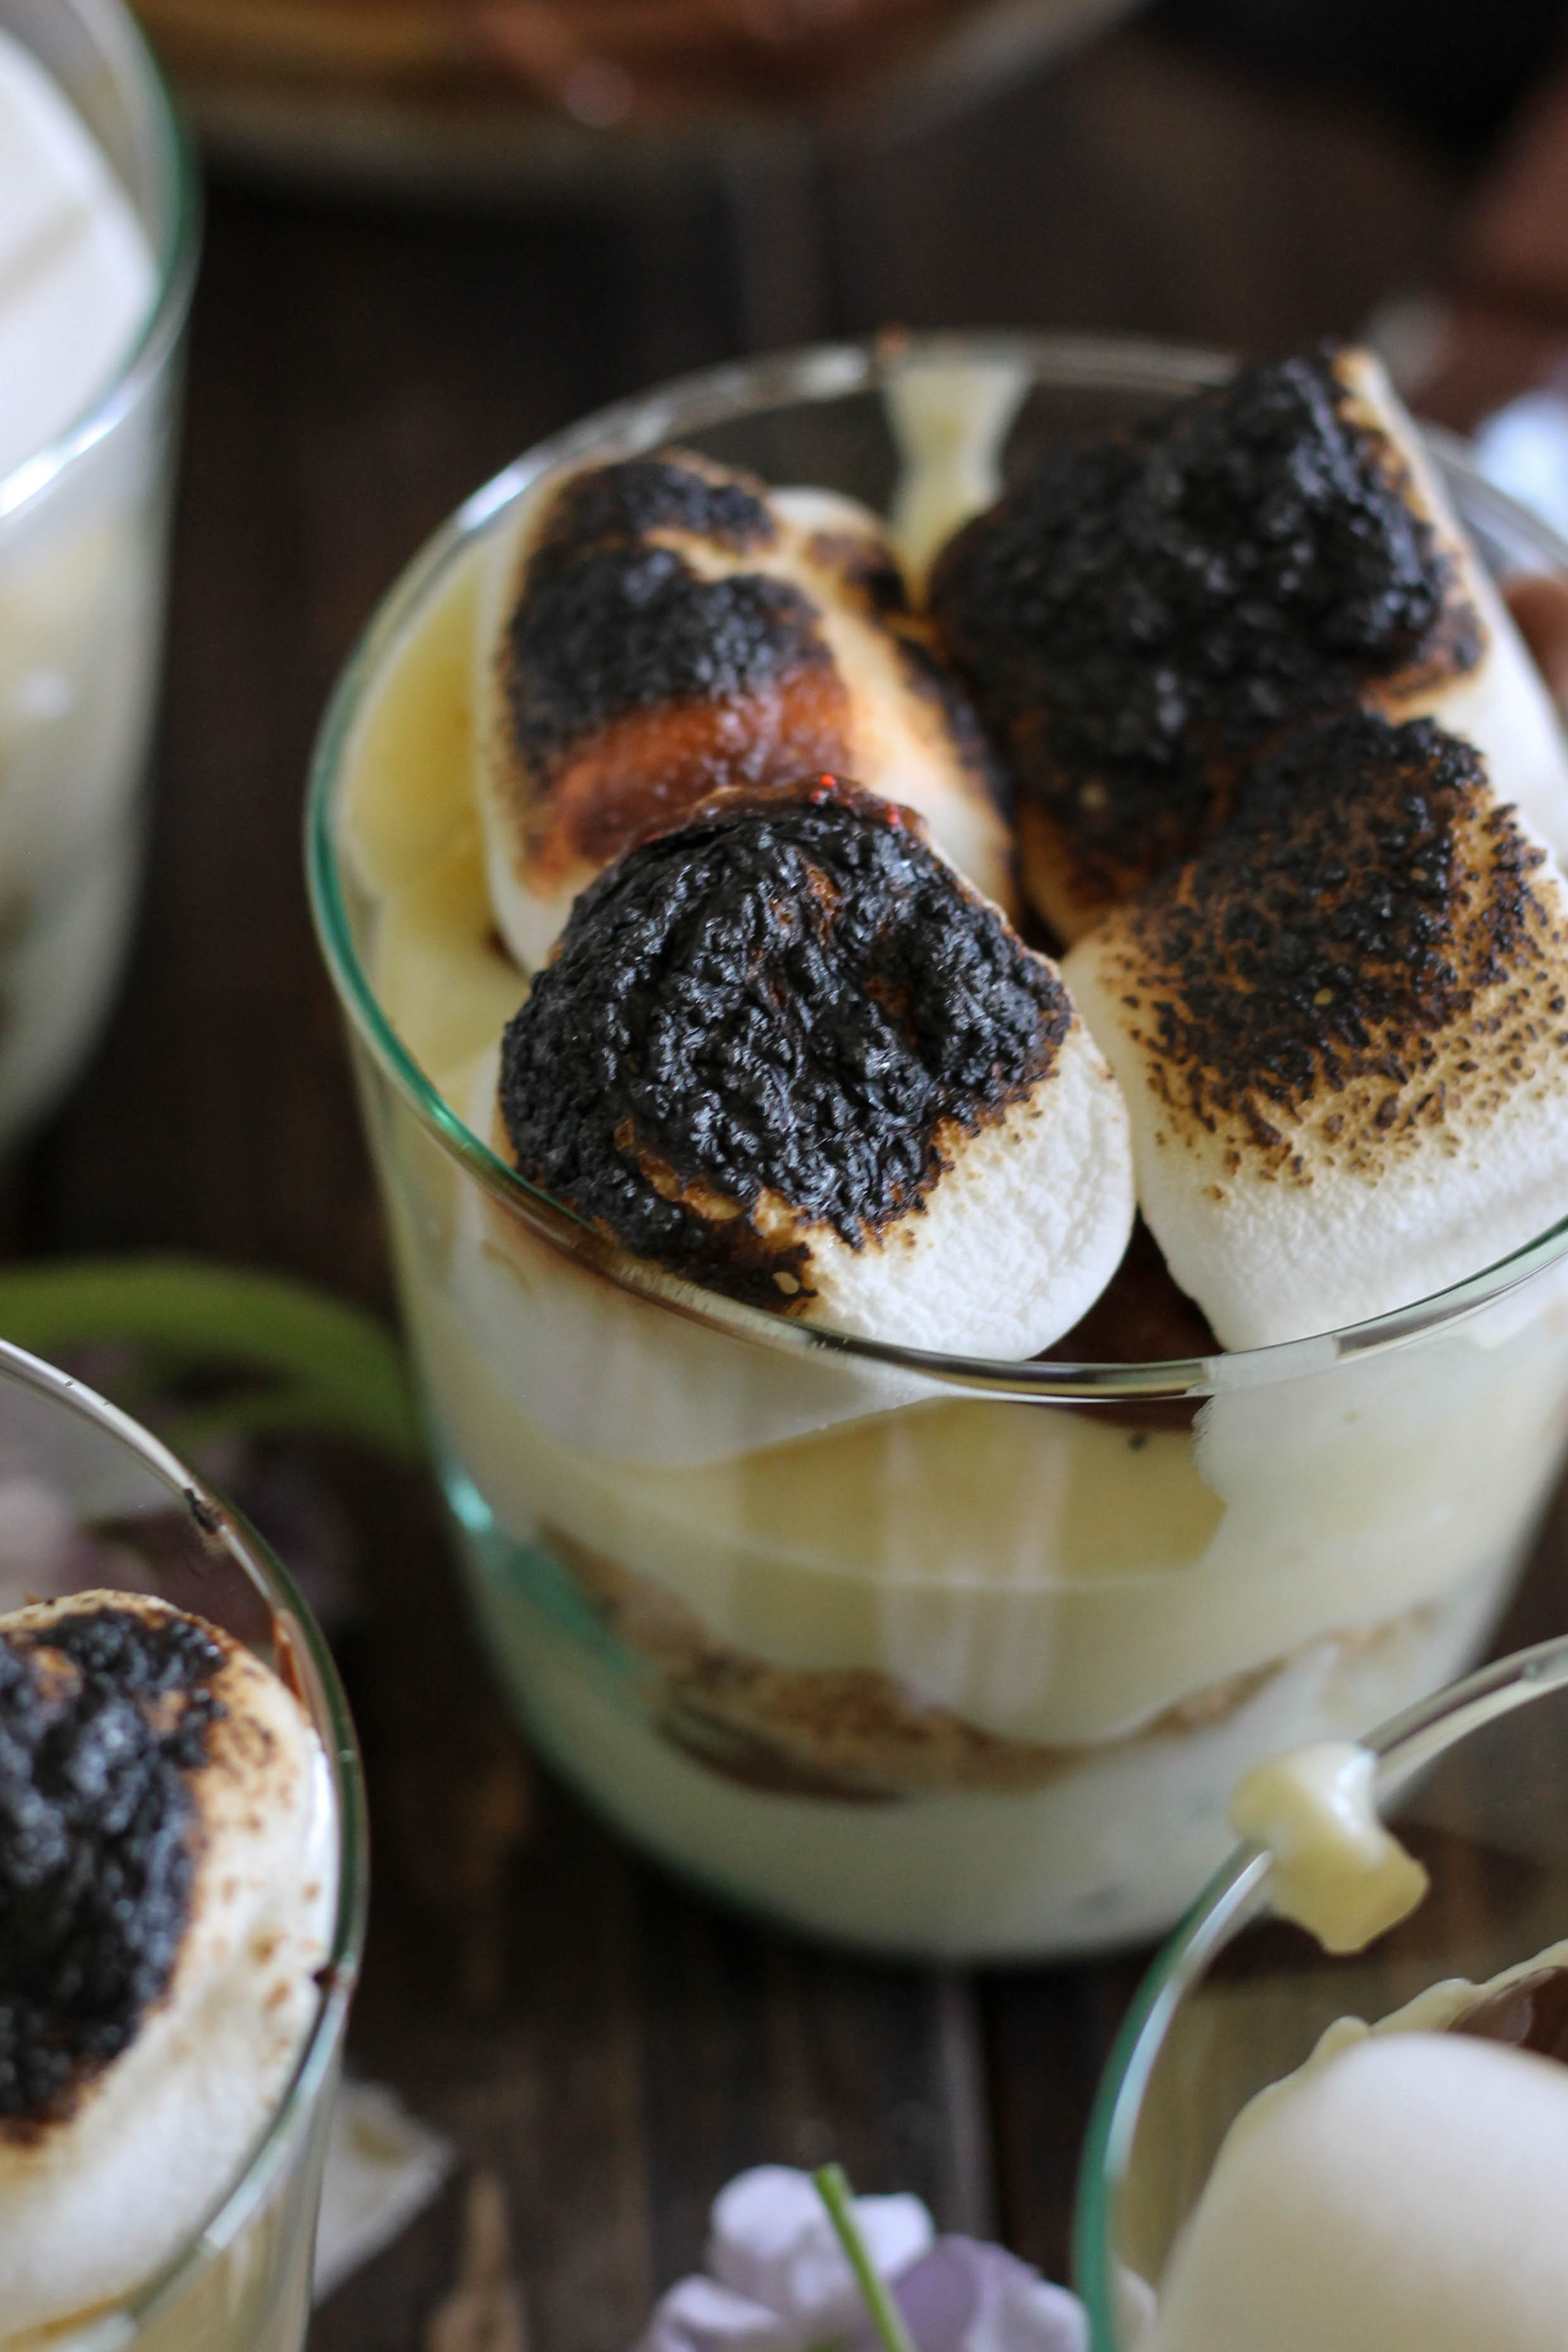
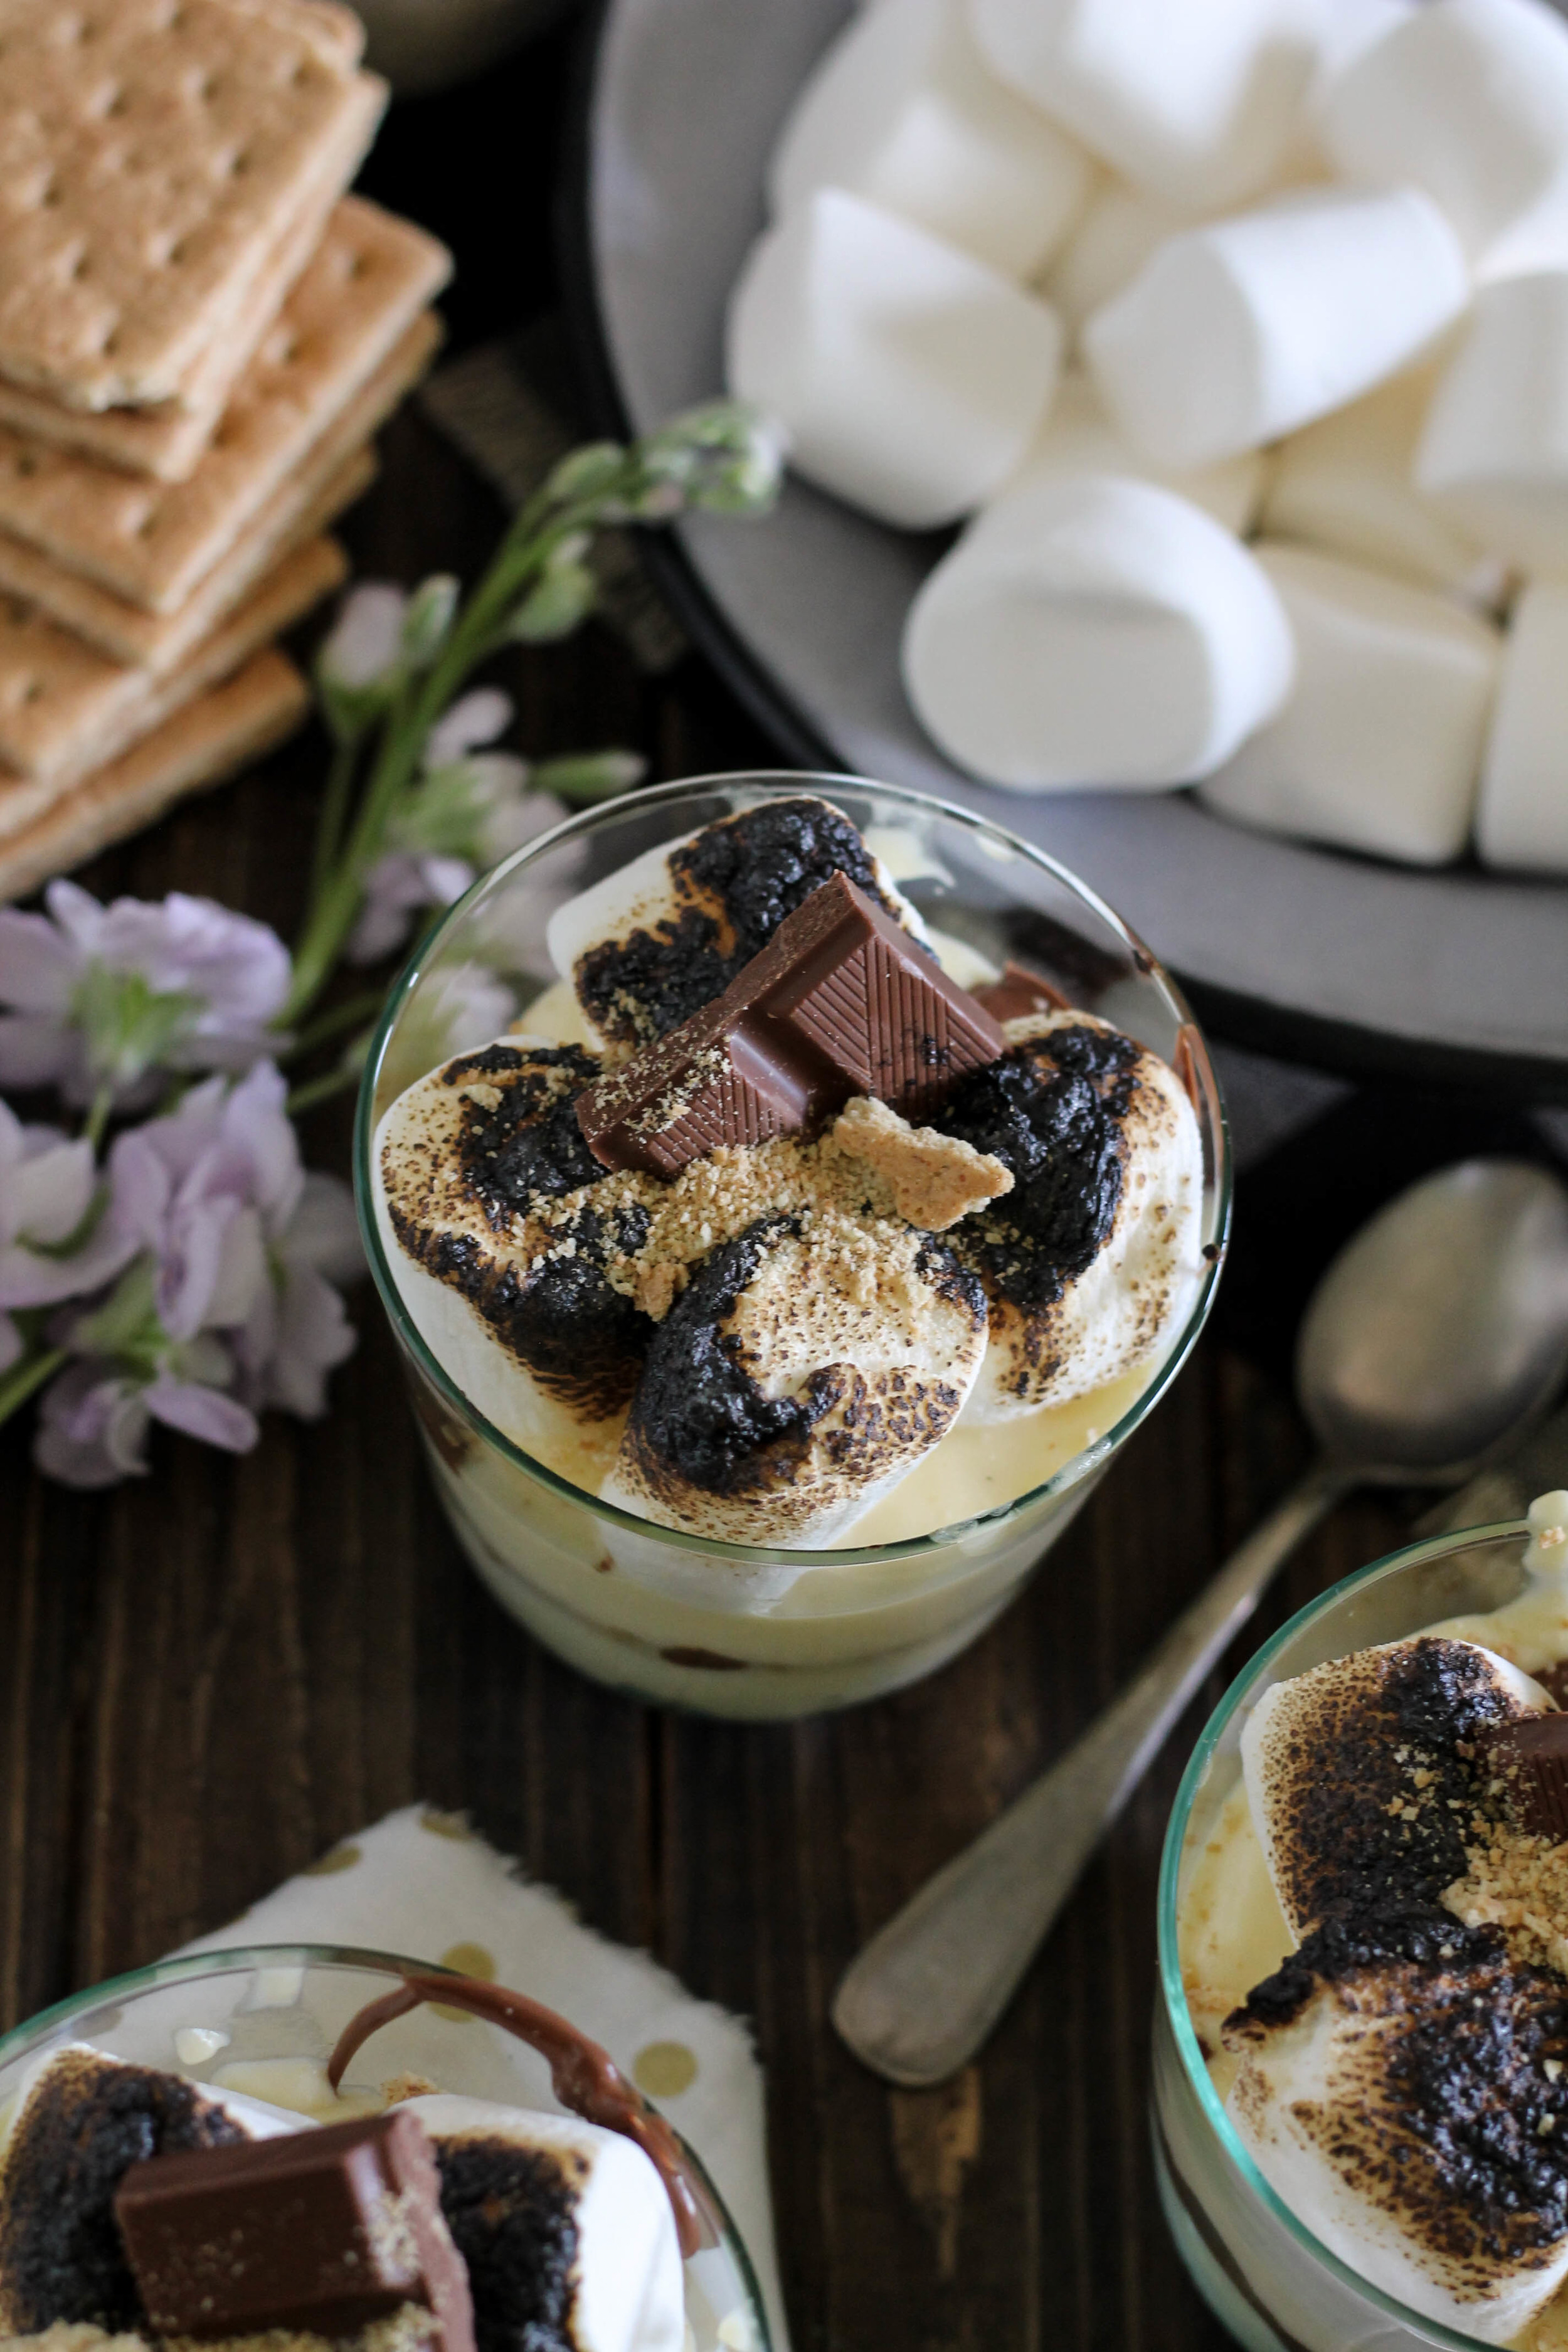
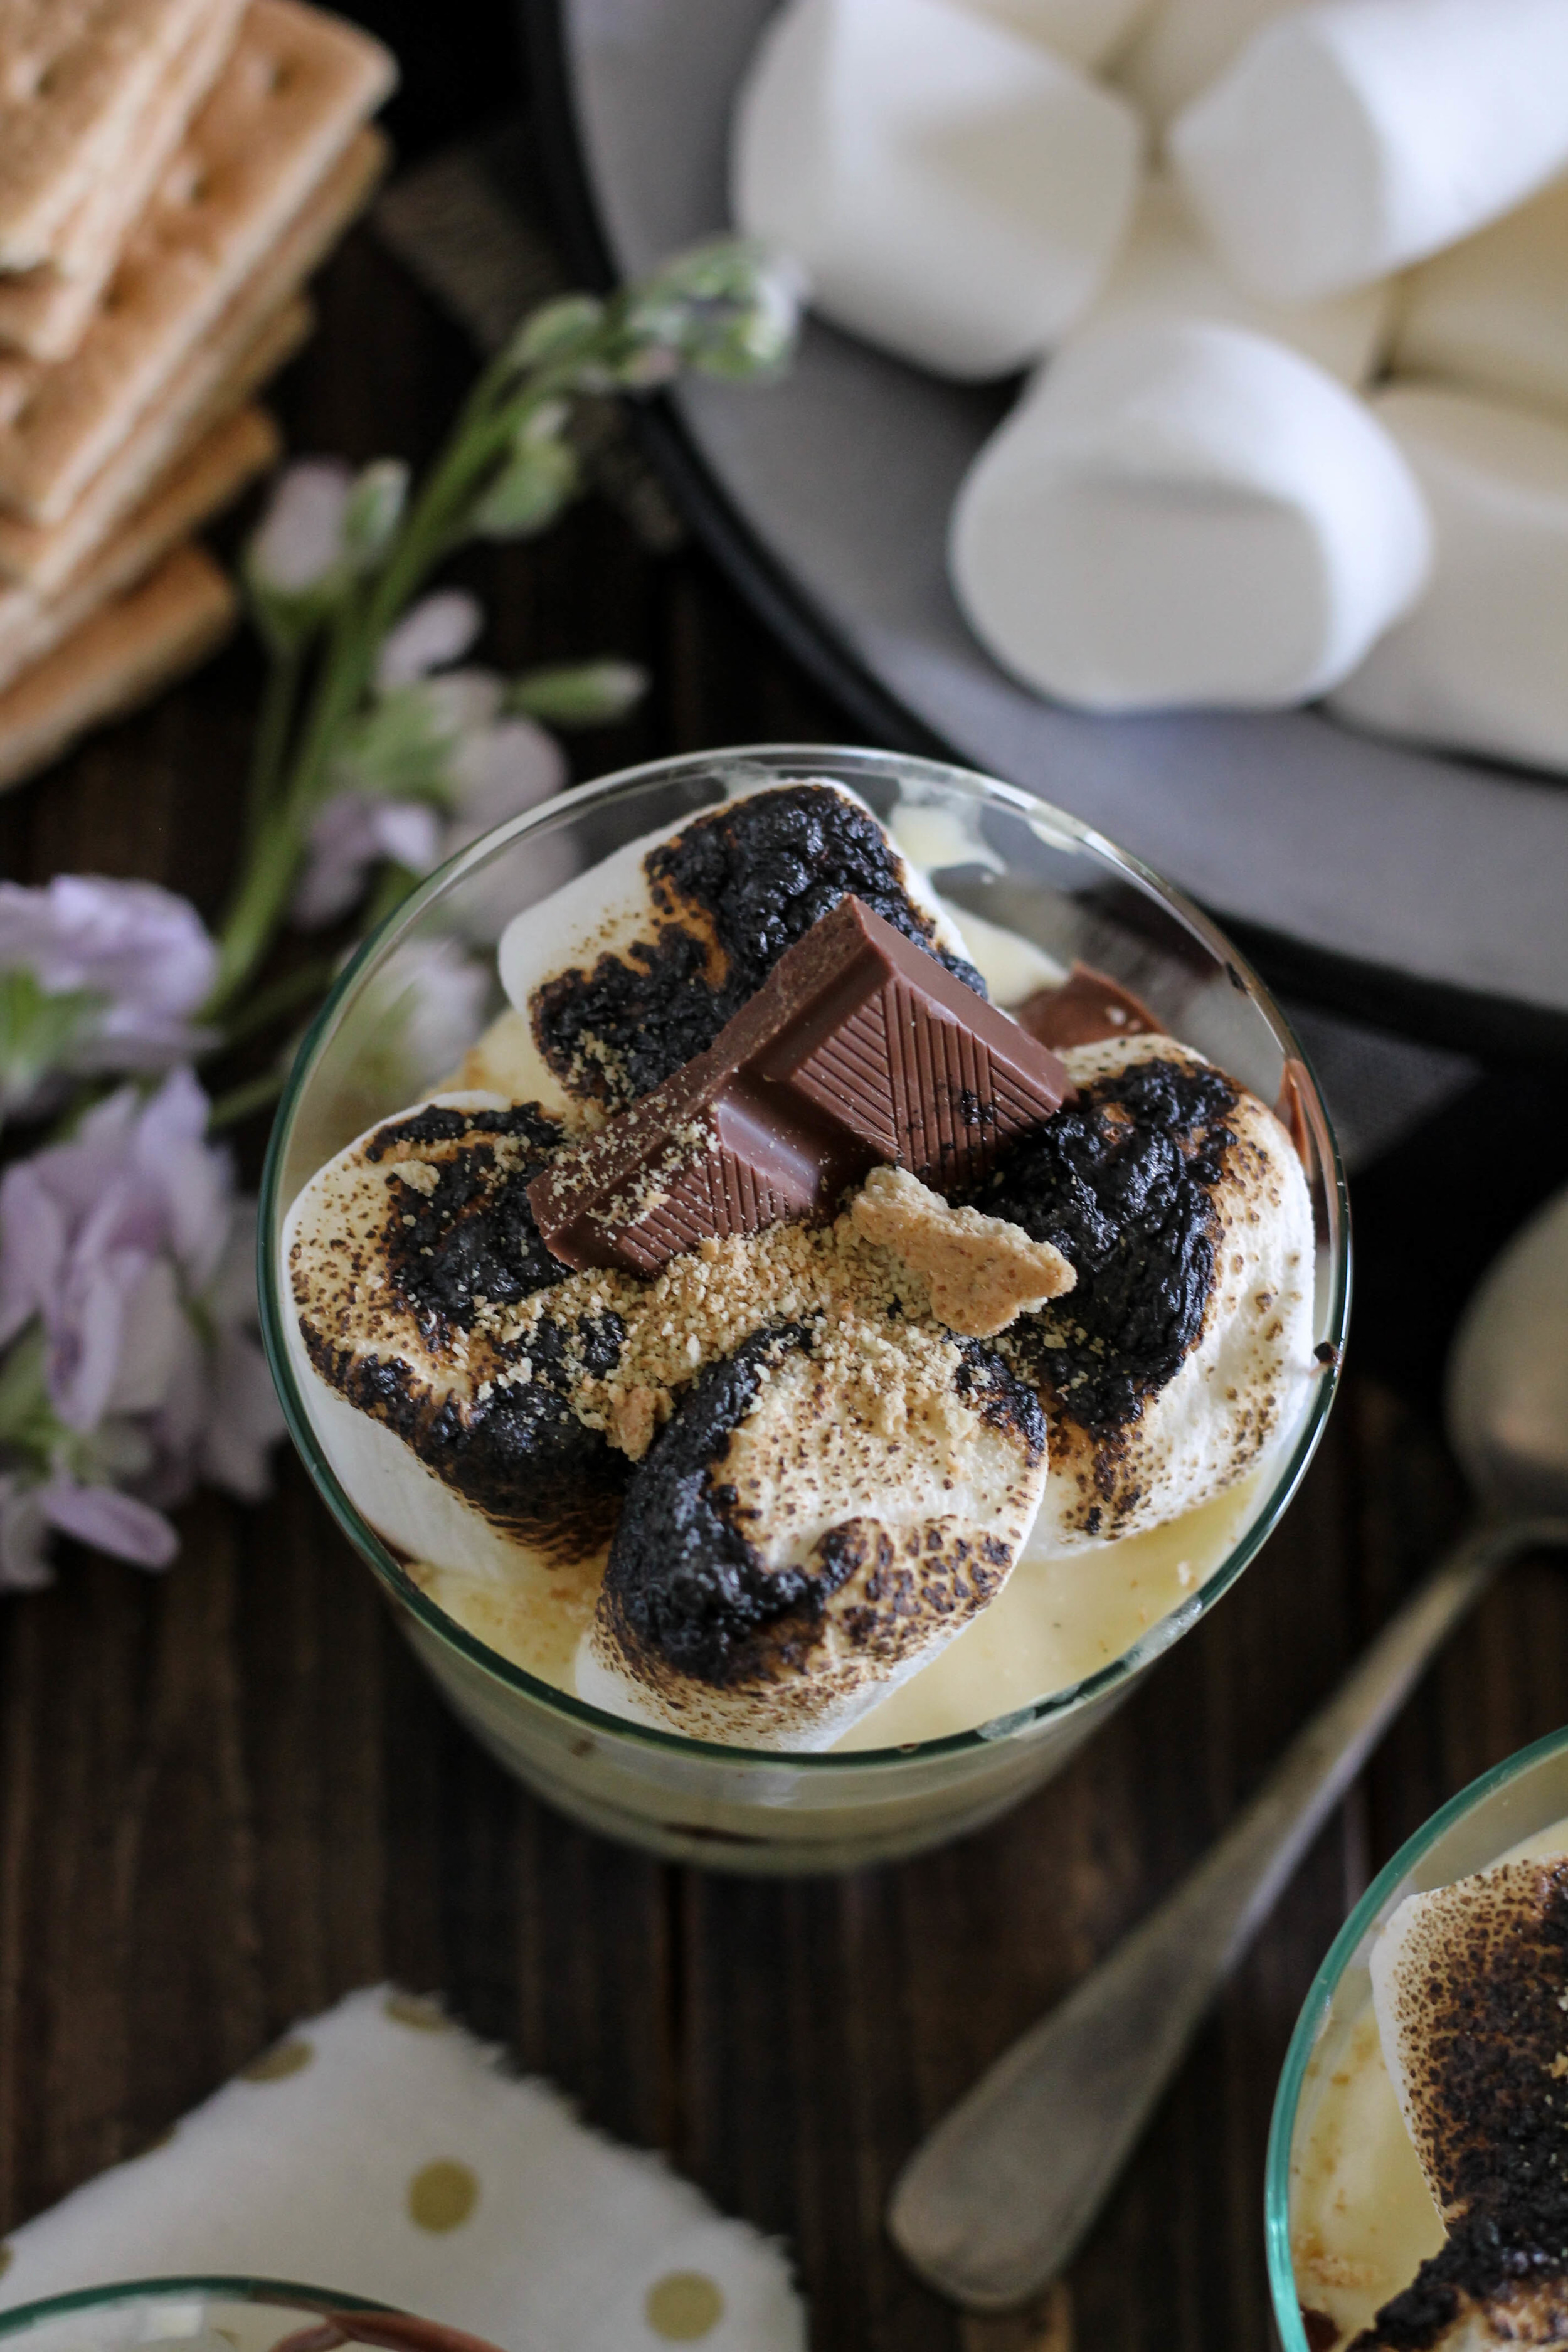
Now you might argue that this is not technically a s'more, and I would agree, but the Summer of S'mores is a celebration of flavors.  All of the attributes of a classic s'more are present in this idyllic stratification, along with one very special guest.  Welcome, vanilla custard.  Also known as, the best part of any truly good Boston Cream Doughnut. 

Boston Cream S'mores Trifle {Pedantic Foodie}

I can see that I have already lost you because I am asking you to make custard for s'mores.  But, wait!  Custard is easy, I promise.  And just think about how much fun you're going to have licking the spoon when you are done. 

Whew.  I'm glad you came back. 

Boston Cream S'mores Trifle {Pedantic Foodie}

Oh yeah...I also decided my custard needed more fat and sugar, so I folded in some whipped cream.  My "oops" = a little extra happiness. 

Boston Cream S'mores Trifle {Pedantic Foodie}

At this point, you could just decide that you have worked hard enough for one day and eat this custard just as it is.  That would certainly not be a bad idea, but it would also not be the best either. 

Boston Cream S'mores Trifle {Pedantic Foodie}

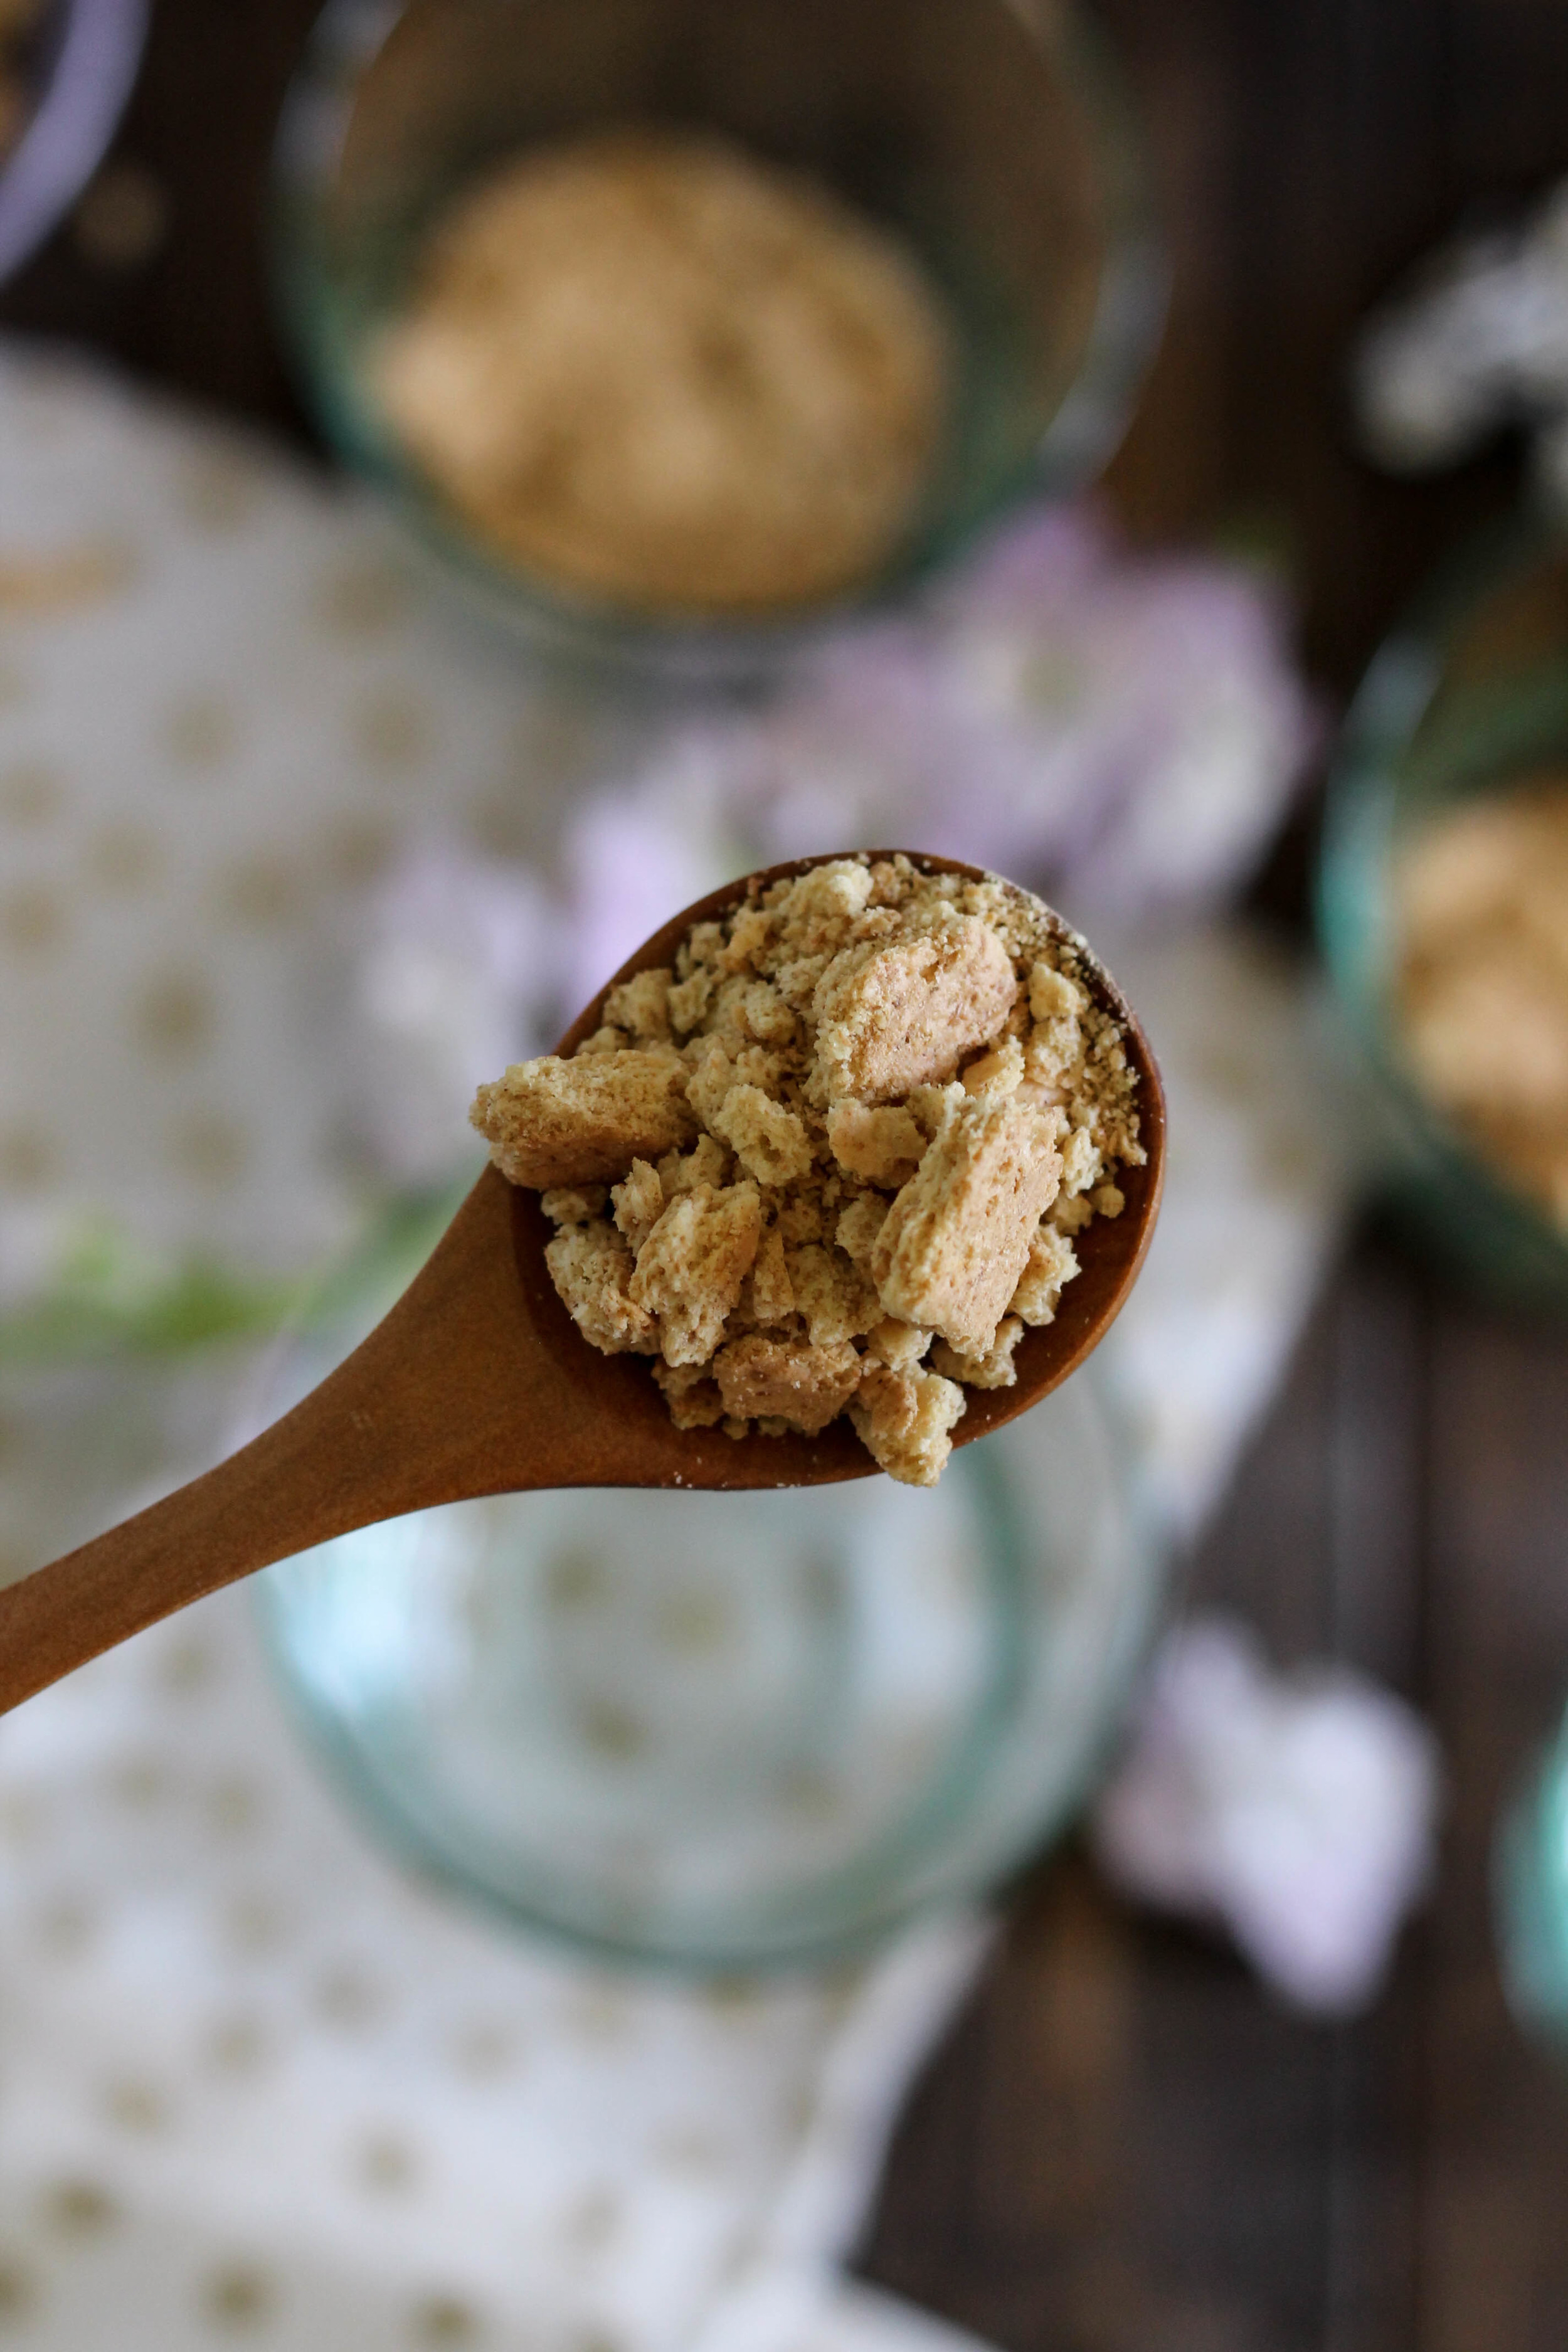
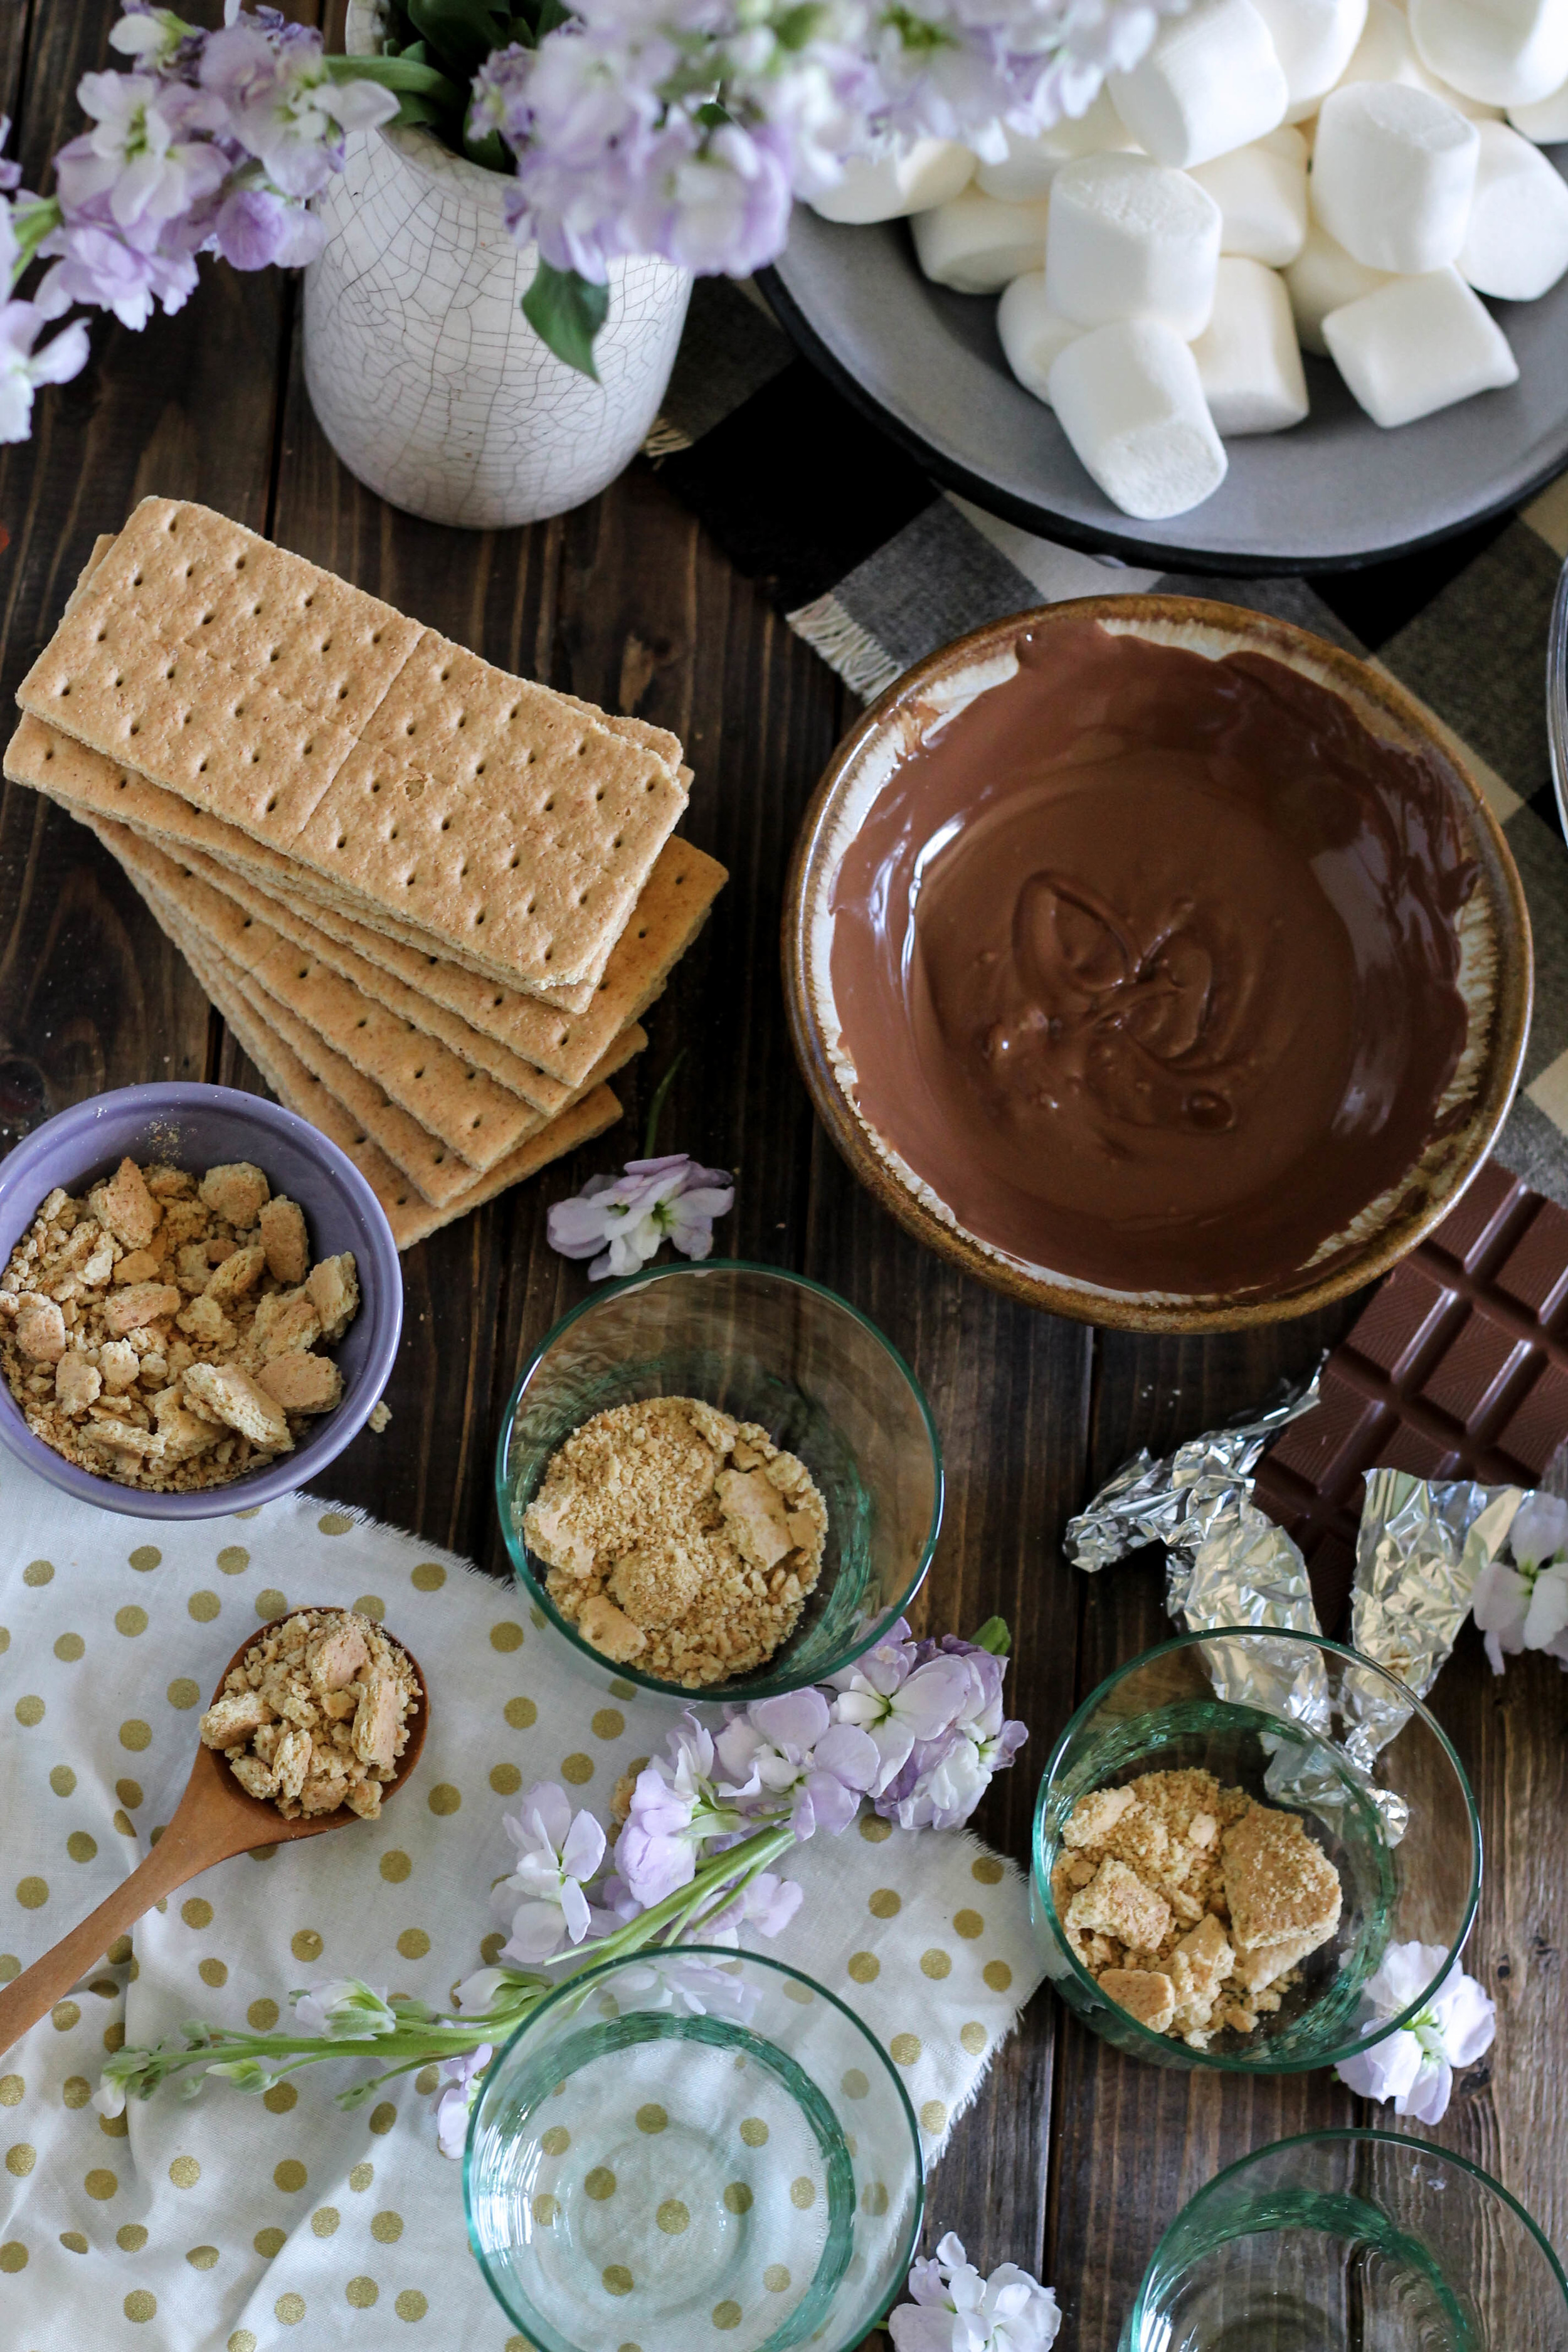
The best idea involves using all the internalized hostility you now have for me (because I made you stand over a hot stove and make custard in July), to demolish some graham crackers.  Hulk smash those things. 

Actually, be civilized and use the handle of a butterknife.  The first option sounds fun until you start finding graham cracker crumbs in random places days later. 

Boston Cream S'mores Trifle {Pedantic Foodie}

Now we get to make everything look pretty.  Yay for edible stripes! 

Graham crackers + custard + chocolate.  Repeat.  

Boston Cream S'mores Trifle {Pedantic Foodie}

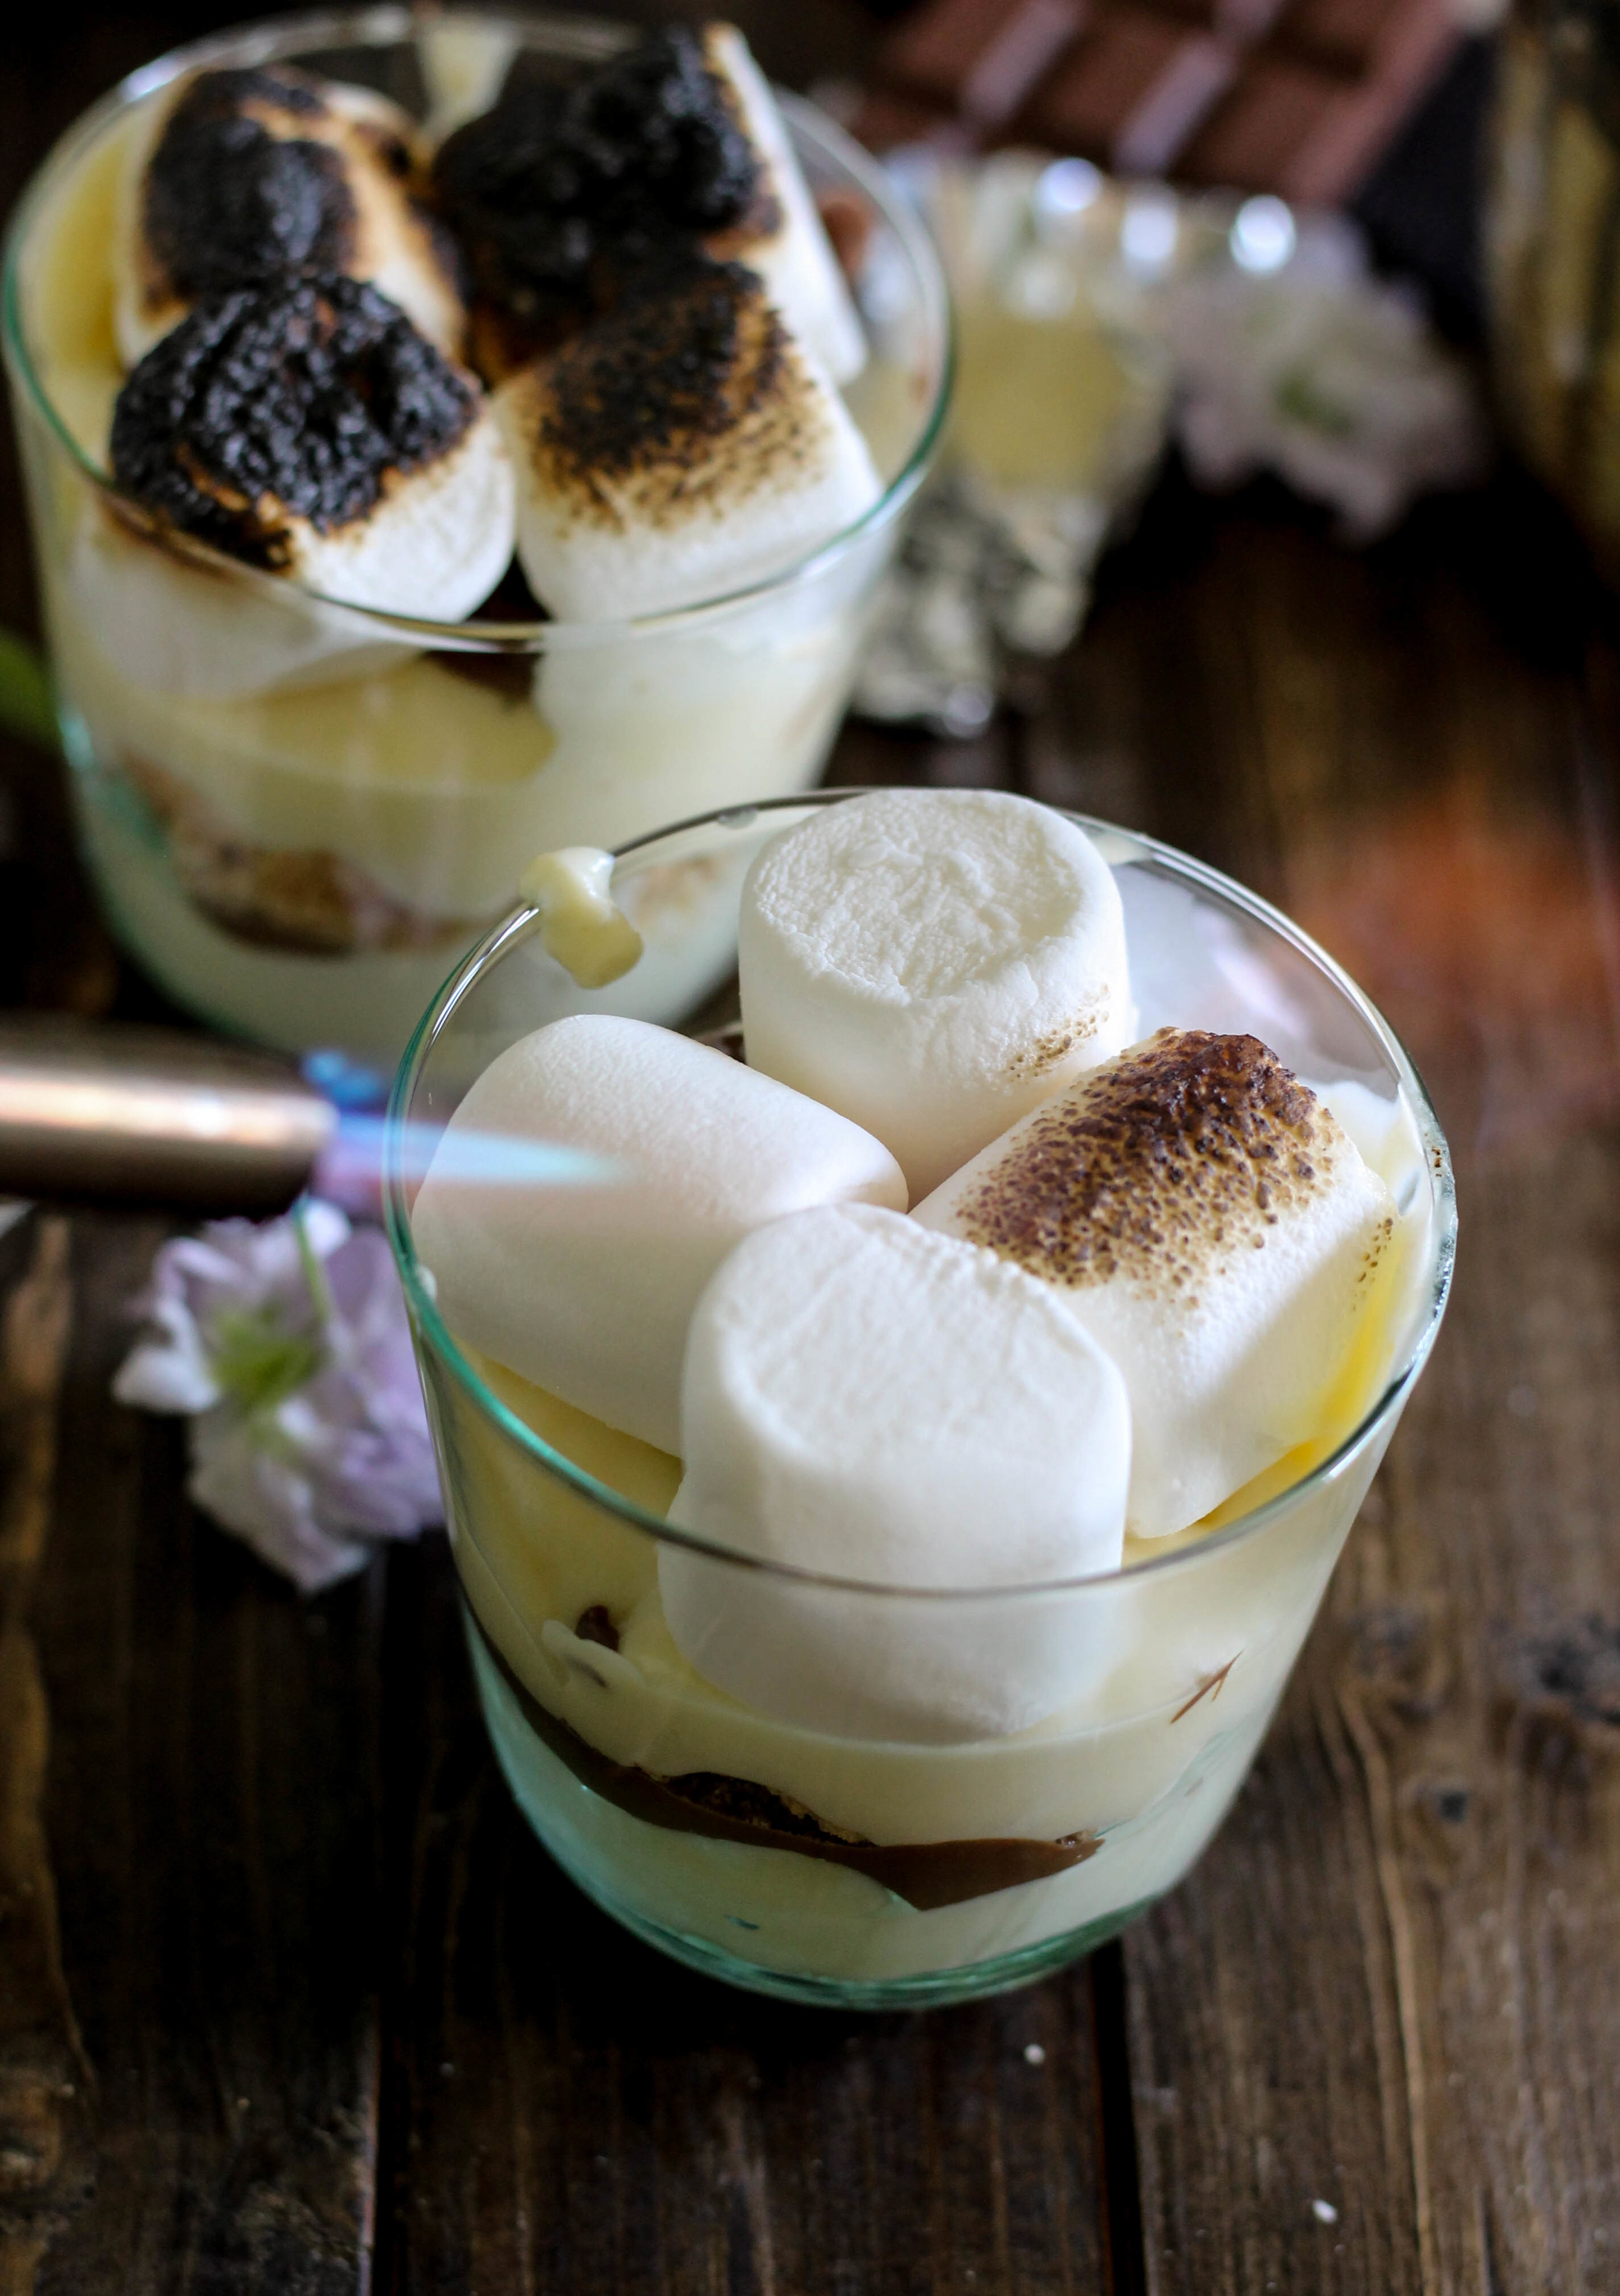
Do you have a blow torch?  I hope so, because this is a really fun way to use it! 

I plopped a couple of marshmallows atop my trifles and then torched them with my kitchen torch. This kept the custard cool, while still achieving that melted-mashmallowy layer that I love so much in a classic s'more. 

Boston Cream S'mores Trifle {Pedantic Foodie}

While these trifles are definitely indulgent, they are not overly rich.  Not in the sense that you instantly regret eating one - I hate that.  

Boston Cream S'mores Trifle {Pedantic Foodie}

Because the custard is not overly sweet, it brings balance to the more sugary chocolate and marshmallow elements. 

Oh, and if, for some strange reason, you do not end up devouring every single one of these immediately, they will need to be refrigerated.  Unfortunately, this will cause the chocolate to harden and the marshmallows to stiffen, BUT, they are actually very good reheated for a quick 20-30 seconds in the microwave.  The goal is to re-melt the marshmallow and chocolate, without heating up the entire trifle.  

Boston Cream S'mores Trifle {Pedantic Foodie}

Then again, who in their right mind is leaving leftovers here?

Sincerely, 

Pedantic Foodie


Boston Cream S’mores Trifle

makes 4 / custard recipe slightly adapted from Food Network

for the custard

- 1 1/2 cups whole milk

- 4 egg yolks

- 6 tablespoons granulated sugar 

- 3 tablespoons cornstarch 

- 1 tablespoon unsalted butter

- 1 teaspoon vanilla extract 

- 1/2 cup heavy whipping cream 

- 1/8 cup confectioner’s sugar

In a medium bowl, combine egg yolks and sugar.  Whisk vigorously, until the yolks have greatly lightened in color and have reached the ribbon stage.*  Whisk in cornstarch.

*The ribbon stage is signified by the behavior of the mixture.  If you dip the whisk into the batter and hold it above the bowl, the mixture should fall like ribbons and should hold its shape for a minute or two. 

Pour the milk into a medium, heavy-bottomed saucepan and place over medium-high heat.  Scald the milk by cooking until it reaches 210 degrees, or just below the boiling point.  Remove from heat. 

Quickly whisk one-third of the scalded milk into the egg yolk mixture.  Pour the tempered egg yolks into the saucepan and place over medium heat.  While whisking constantly, bring the mixture to a boil.  Reduce heat, and allow to boil for thirty seconds, while continuing to whisk constantly.  Remove from heat and stir in the butter and vanilla extract. 

Pour the custard into a glass bowl and lay a sheet of plastic wrap over the surface.  This will prevent a film from forming. 

Place in the refrigerator and allow to chill until cool, about 2 hours, or up to two days.  

In a small bowl, combine heavy cream and confectioner’s sugar.  Beat on high speed with an electric mixer until soft peaks form.

Gently fold the whipped cream into the chilled custard.  Prepare the trifles.  

assembly

- 1 recipe pastry cream

- 6 ounces milk chocolate, roughly chopped

- 9 whole graham crackers, roughly crushed 

- 16 marshmallows 

- 4, 6-ounce glasses

Place milk chocolate in a small, microwave-safe bowl and microwave for thirty seconds.  Stir and then microwave for an additional thirty seconds.  Repeat until the chocolate is smooth and completely melted. 

Fill the bottom of four glasses with 1 1/2 tablespoons of crushed graham crackers.  Cover with 1/4 cup of pastry cream.  Spoon several tablespoons of the melted chocolate over the cream.  Repeat until you have two layers of each element and then top with marshmallows. 

Use a kitchen torch to toast the marshmallows and serve immediately.*  Enjoy!  

*You can prepare the custard 1-2 days in advance, but I do not recommend assembling the trifles until just before you want to serve them as the chocolate and marshmallows will be come hard in the refrigerator. 


You may also like...