My Favorite Bread & Butter Pickles from Food in Jars

My family moved to the house they live in now when I was ten.  On one action-packed day in May we went from a small house with a backyard that was parallel to a major road in bustling suburbia, to a home with no streetlights in sight and a yard that seemed to go on for ages, at least in the eyes of a ten-year-old. 

My Favorite Bread & Butter Pickles {Pedantic Foodie}

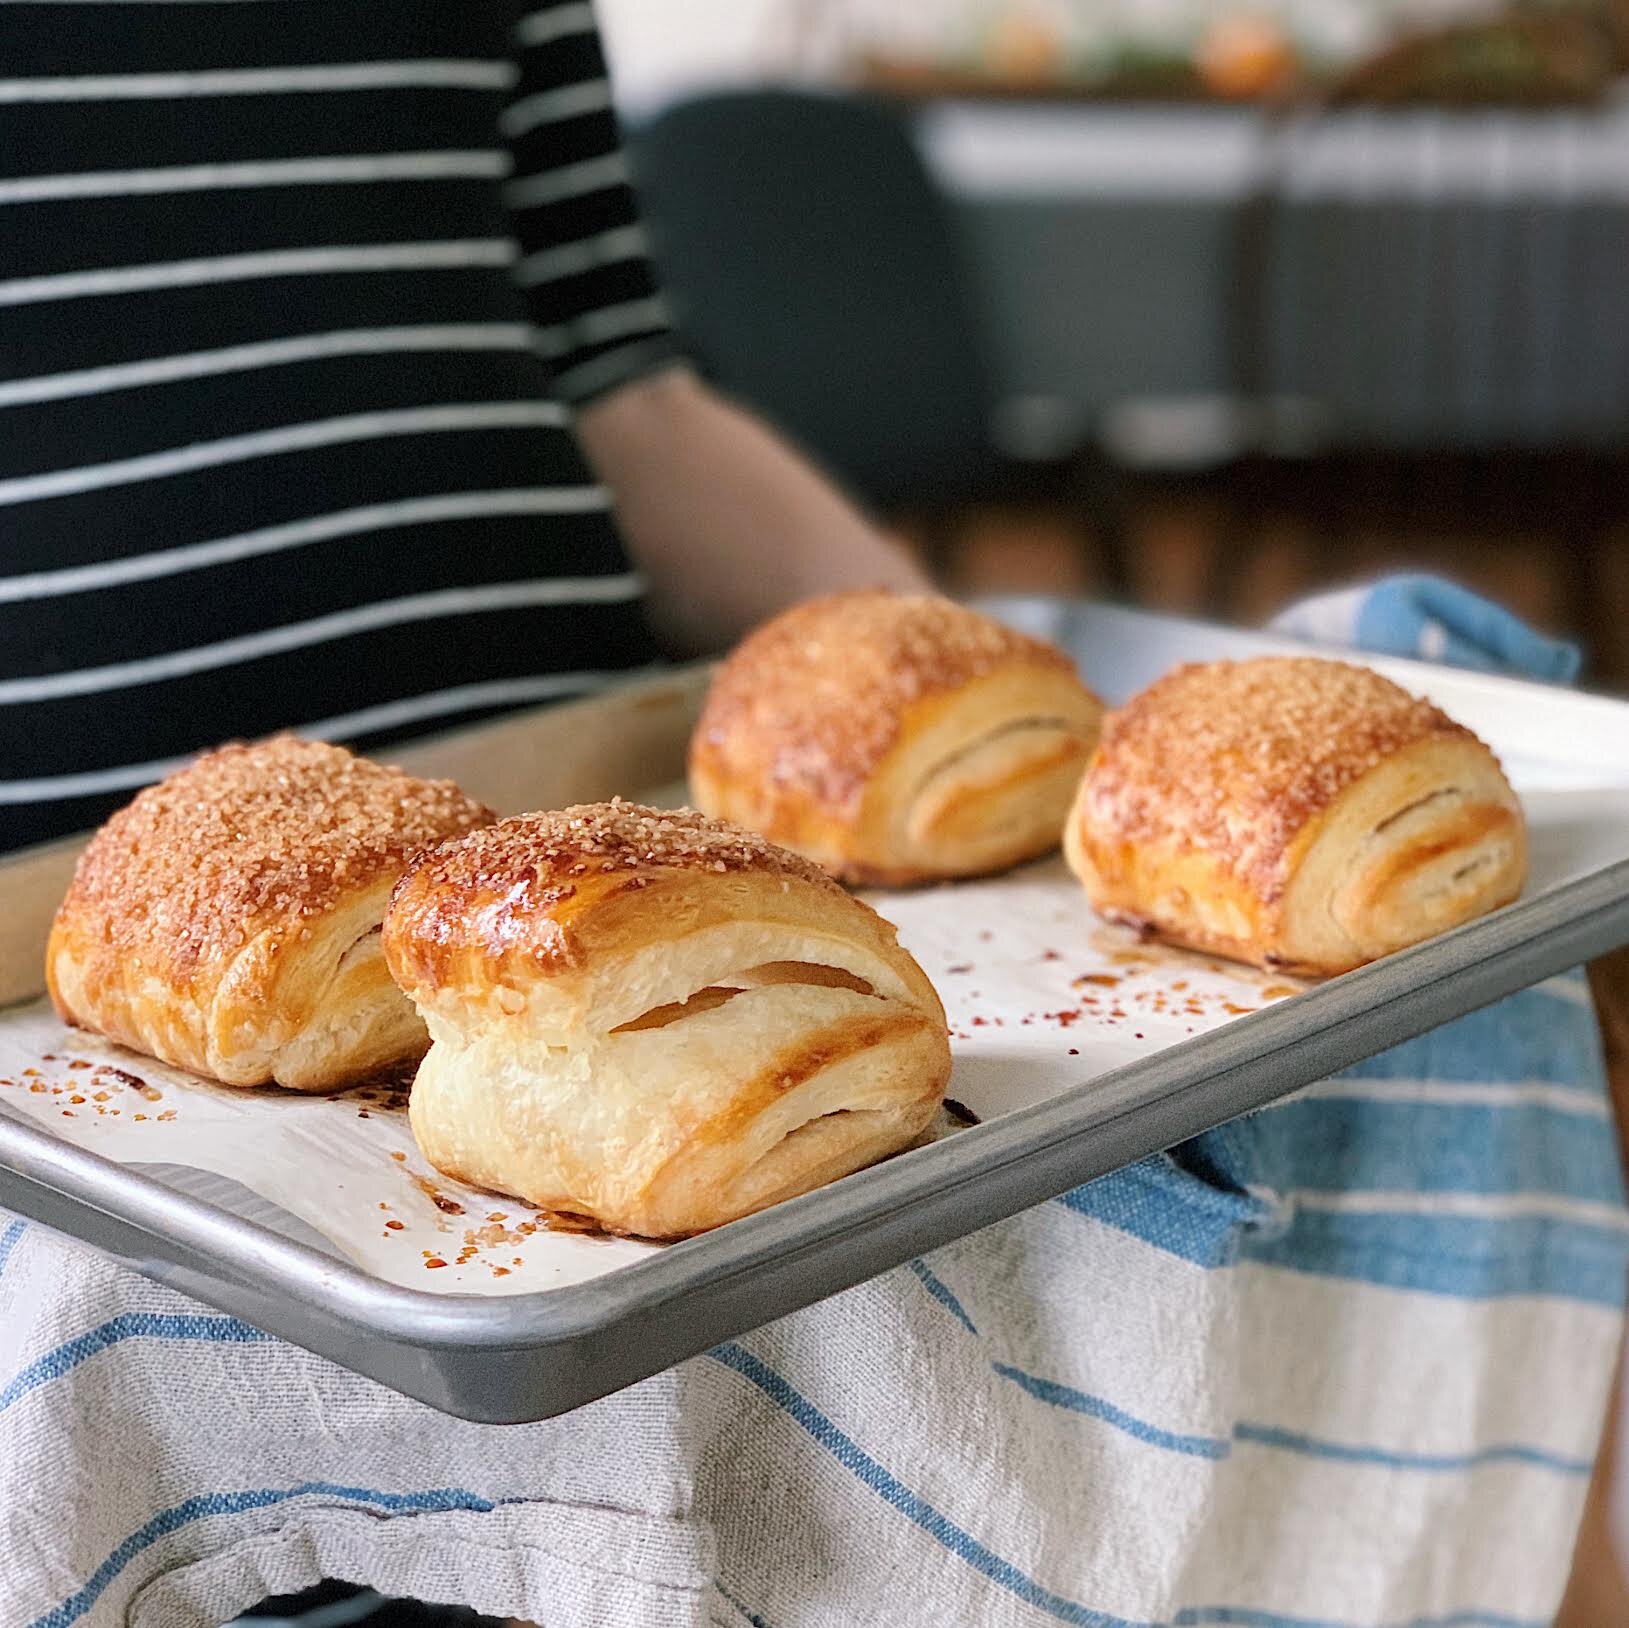
The following summer we planted a garden, with no comprehension of just how prolific cucumber plants could be.  When we reached the point of having one-hundred cucumbers in our refrigerator at one time, my mother decided that it was time for intervention.  My grandmother came up to rescue us and our over plentiful garden, and that day I sliced cucumbers for what felt like forever.  Together, we three ladies made jar after jar of sweet, bread and butter pickles. 

Since that warm, summer afternoon, I have loved bread and butter pickles piled high on hot dogs - my personal favorite, or stacked atop sandwiches. Their flavors are so familiar and comforting.

My Favorite Bread and Butter Pickles {Pedantic Foodie}

 My fiancé brought me a dozen cucumbers several weeks ago and I knew exactly what I wanted to do with them. 

My Favorite Bread & Butter Pickles {Pedantic Foodie}

I had made Marisa's bread and butter pickles two summer’s ago and they were without a doubt the very best I had ever tasted.  Sadly, they did not last as long as I had hoped, so this year I made a double batch. 

My Favorite Bread and Butter Pickles {Pedantic Foodie}

If you are going to attempt pickle-making, which you definitely should, you are going to want a mandoline slicer.  Unless of course you would like to slice twelve cucumbers by hand…but I would not recommend it.  

My Favorite Bread and Butter Pickles {Pedantic Foodie}

Just be very careful using the mandoline.  My mom lost a finger tip once… Everyone at church the next day thought she destroyed her finger playing an instrument.  Why do they call them mandolines anyways?  Her children (including myself) still wonder if it was all a devious ploy to escape dishes for several weeks.

My Favorite Bread & Butter Pickles {Pedantic Foodie}

But back to the pickles!  The pickling process begins with salt.  A lot of salt. 

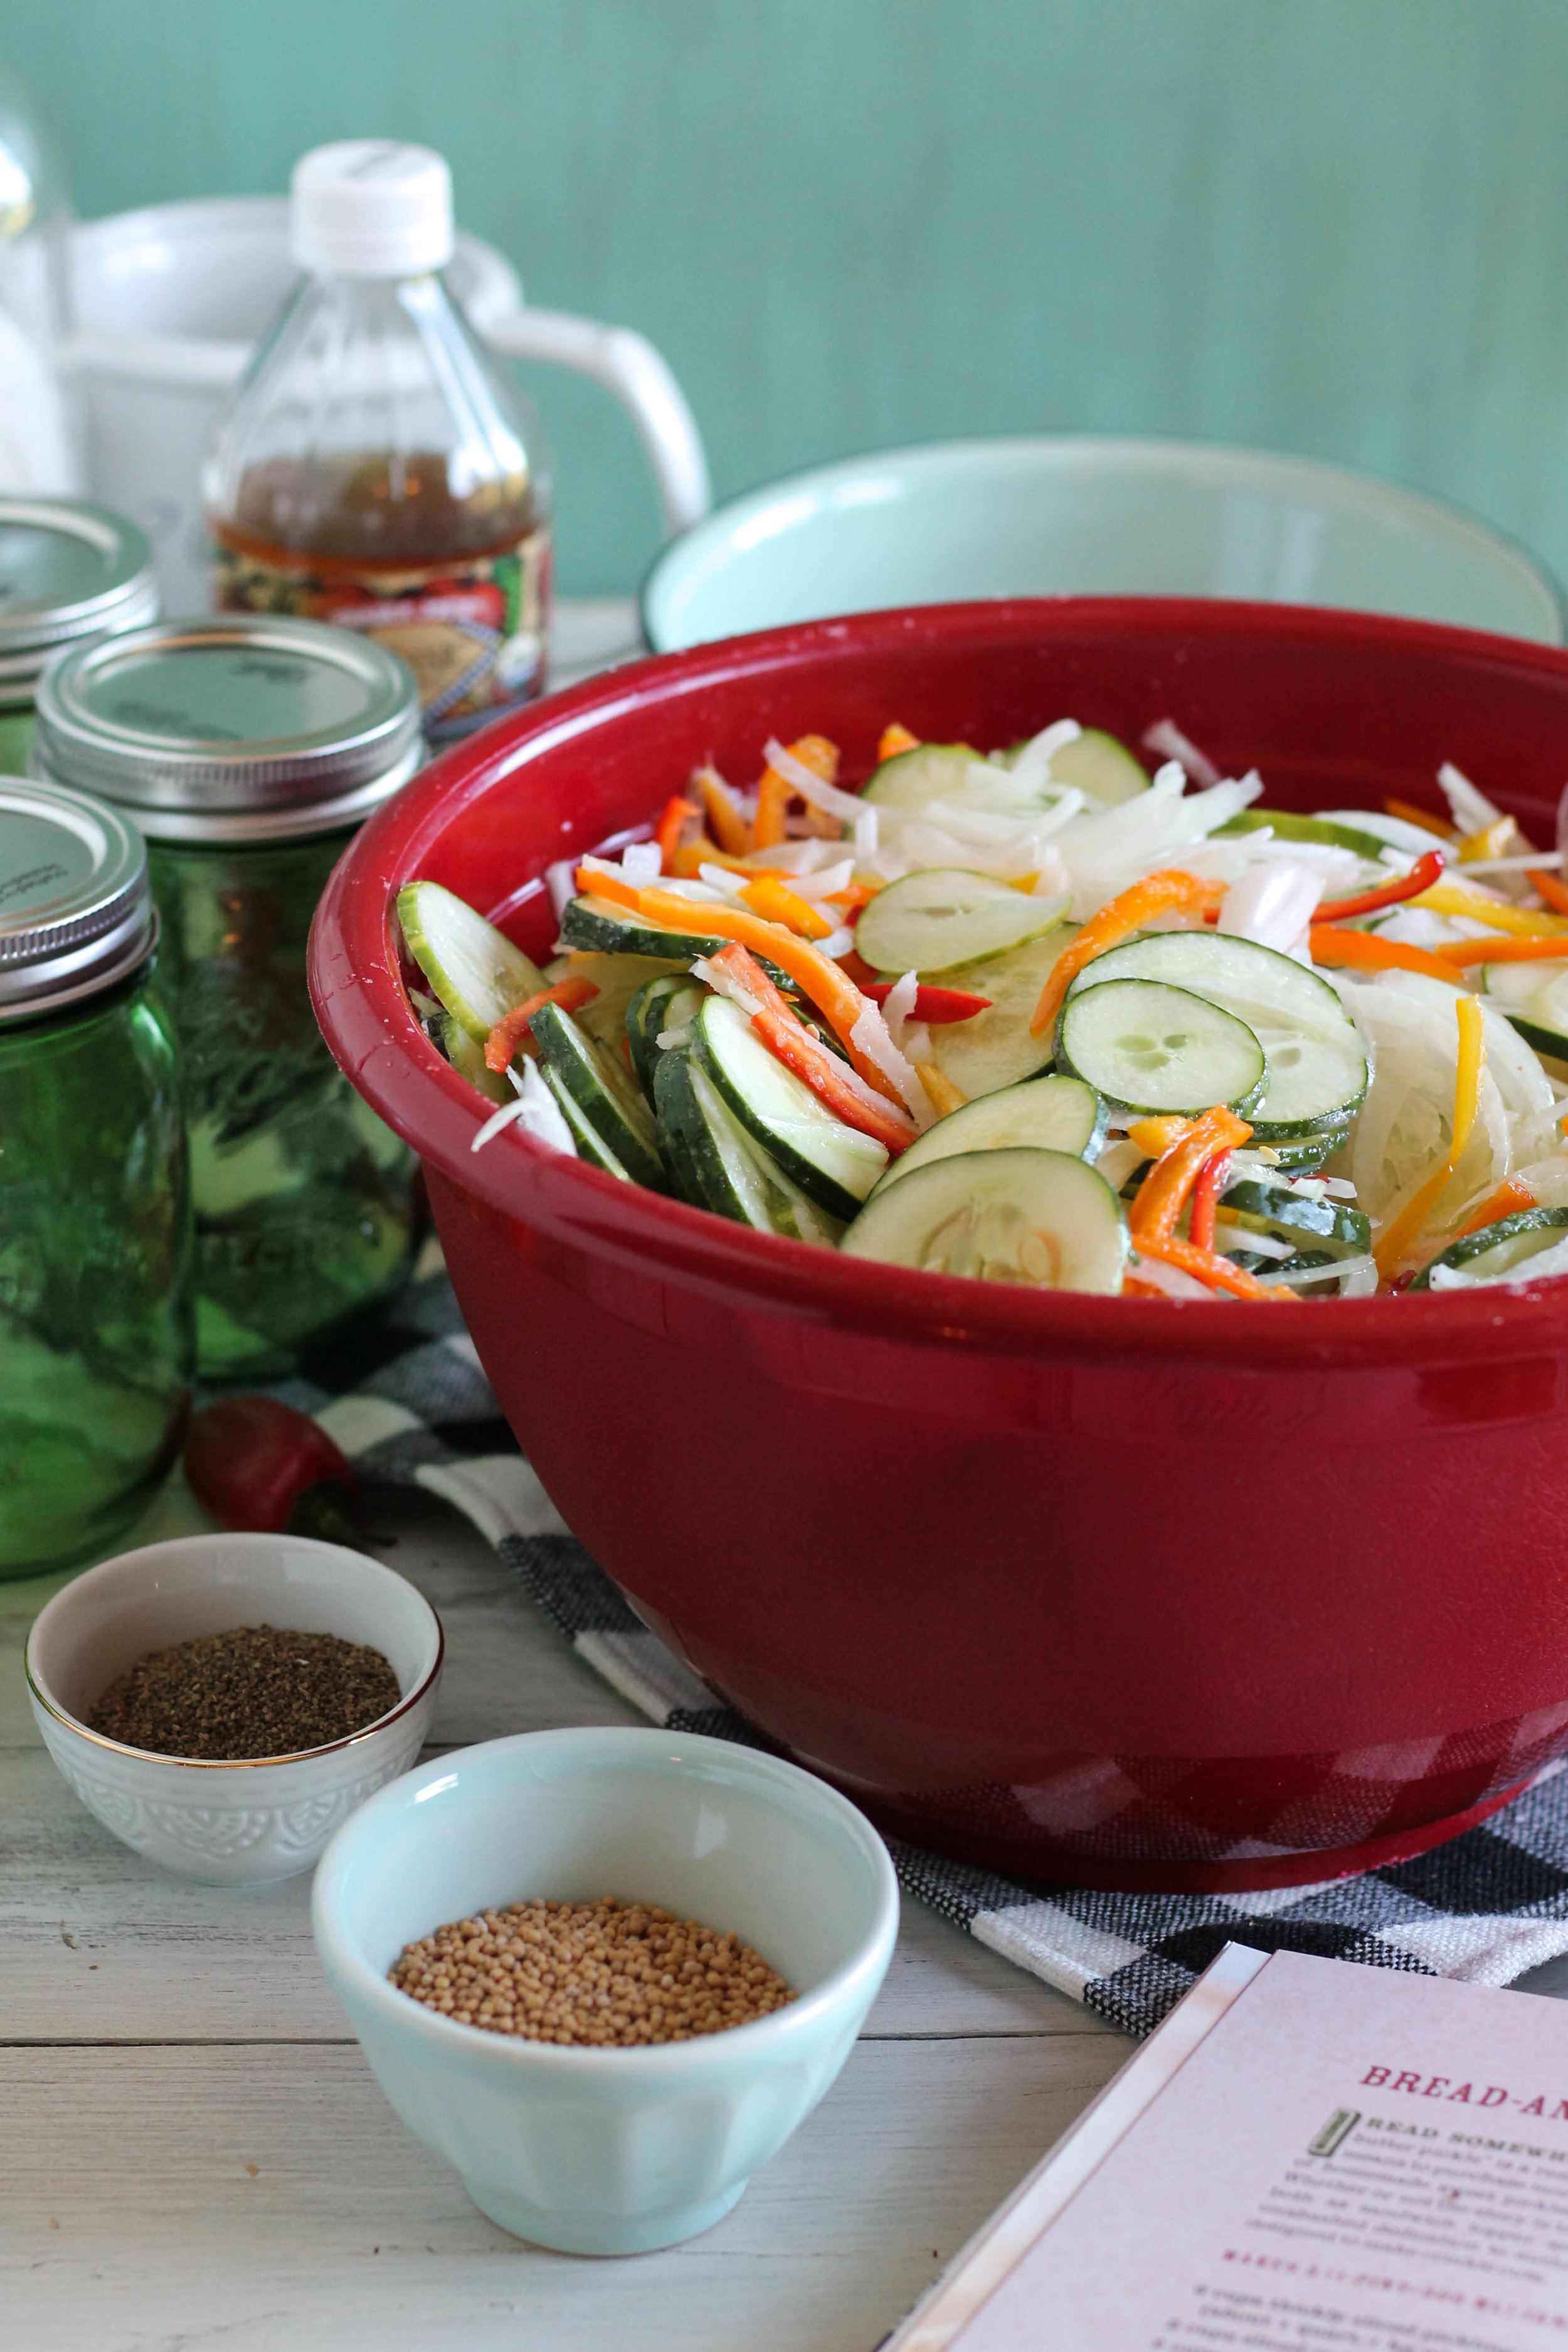
The cucumbers, onions, and peppers are sprinkled generously with pickling salt and then allowed to sit in the refrigerator overnight.  The salt will draw much of the water out of the vegetables to make room for the delicious brine that we are going to soak them in. 

My Favorite Bread & Butter Pickles {Pedantic Foodie}

The pickling liquid is made with a combination of apple cider vinegar, sugar, mustard seed, celery seed, red pepper flakes, and ground cloves.

Now here is when you have to have your grandmother on standby and your fingers ready to be burnt, because that’s just part of the process. 

My Favorite Bread & Butter Pickles {Pedantic Foodie}

Place all your jars in a large pot and cover with water.  The jars need to be sterilized before we can fill them with our pretty pickles. 

The lids and rings will need to simmer in a smaller pot.  The key is to keep everything hot in order to avoid any icky bacteria from creeping into our sterilized jars. 

My Favorite Bread & Butter Pickles {Pedantic Foodie}

As soon as the pickles have finished steeping in the brine, you can fill the jars.  You’ll need a wide-mouthed funnel, a pair of jar tongs, and some paper towels for this process.  It sounds scary and complicated, but the more you do it, the easier and less intimidating it gets.  Believe me.  

My Favorite Bread & Butter Pickles {Pedantic Foodie}

I still have to mentally prepare myself for a day of canning, but it’s so worth it. 

My Favorite Bread & Butter Pickles {Pedantic Foodie}

We might have just begun our diy Christmas gifts! 

Sincerely, 

Pedantic Foodie


My Favorite Bread and Butter Pickles

makes six 1-pint jars / recipe adapted from Food in Jars

- 12 cups cucumbers in 1/8-inch slices (pickling cucumbers are best, if you can find them)

- 4 cups sliced sweet peppers (I like the mini peppers but bell peppers work great too)

- 4 cups sliced sweet onion (about 2 large onions)

- 1/2 cup pickling salt

- 4 cups apple cider vinegar 

- 3 cups granulated sugar

 - 1/4 cup mustard seed 

- 4 teaspoons celery seed

- 2 teaspoons red pepper flakes

- 1 teaspoon ground cloves 

Slice cucumbers, using a sharp mandoline and combine with sliced peppers, onions.  Sprinkle with pickling sauce and toss to coat.  Cover with plastic wrap and refrigerate for four hours, or overnight.  This will draw much of the water out of the cucumbers so that they can soak up all of the delicious pickling liquid later on! 

Rinse and drain the vegetables thoroughly, then prepare the brine. 

Place your jars in a very large pot and cover with water.  Bring to a boil and allow to boil until you have finished the pickles.  Place the lids and rings in a small saucepan of water and simmer over low heat.

Prepare the pickling liquid by combining the vinegar and sugar in a large pot.  Place over medium heat and stir until the liquid has heated through and all the sugar has dissolved.  Add spices and increase the heat to bring the mixture to a boil.  

Add the drained vegetables to the boiling brine and stir to combine.  Cook for 5-10 minutes, until all the vegetables are fully heated through and have begun to soften. 

Line your countertop with a heavy dish towel.  Remove the jars from the boiling water (jar tongs are very helpful for this), one at a time and fit with a wide-mouthed funnel.  Use tongs to fill the jars with the pickles.  Ladle in the brine until the jar has only 1/2-inch of headspace.  Gently tap the jars on the towel to remove any air pockets.  Dip a paper towel into the boiling water and carefully clean the edges of the jar before fitting with the lids and rings.  Repeat with each jar until all the jars are filled.  Then, return to the pot of boiling water and boil for ten minutes.  Remove from water and return to the dish towel to cure for at least two days before opening and enjoying.  The pickles will get better and better the longer they sit.

Enjoy, and be proud, you just made your own pickles! 


Blackberry Balsamic Vinaigrette

You guys...  Purple salad dressing!

Blackberry Balsamic Vinaigrette {Pedantic Foodie}

I made purple salad dressing and there’s not a beet in sight.  This is cause for celebration. 

Blackberry Balsamic Vinaigrette {Pedantic Foodie}

I was assembling a meal for a dear friend who had a sweet little human exit her body last week, and as I stood amidst the salad greens, all of my go-to dressings suddenly seemed very boring.  

Blackberry Balsamic Vinaigrette {Pedantic Foodie}

I wanted to make my own dressing, with pretty berries and fragrant mint - a dressing that could make me want to eat salad. 

I love blackberries.  They have a lot of critics, but I adore them - bitter centers and all!  They also turn a lovely shade of magenta when you blend them up! 

Blackberry Balsamic Vinaigrette {Pedantic Foodie}

The sweetness of these berries pairs so well with the rich, molasses-like flavor of balsamic. 

Blackberry Balsamic Vinaigrette {Pedantic Foodie}

I added several leaves of fresh mint as well as lemon juice, salt, and a bit of sugar to the berries before I drizzled in my olive oil.

Blackberry Balsamic Vinaigrette {Pedantic Foodie}

If you prefer a sweeter dressing, or your berries are on the tart side, you can add a little extra sugar.  If you are not a huge fan of mint, you might start off with just 2-3 leaves.  It's all up to your own taste!

Blackberry Balsamic Vinaigrette {Pedantic Foodie}

Your food processor is your best friend when it comes to emulsifying. 

Blackberry Balsamic Vinaigrette {Pedantic Foodie}

The final dressing is sweet and tangy and so full of Summer flavor!

Blackberry Balsamic Vinaigrette {Pedantic Foodie}

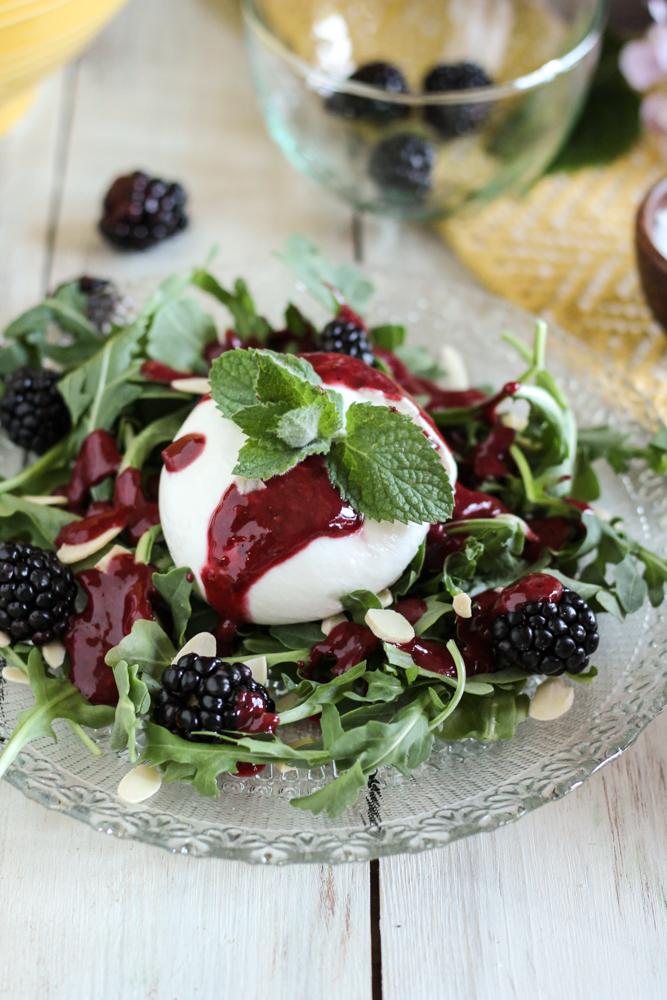
After delivering a simple salad of arugula and almonds to my friend, and snuggling her sweet baby, I realized that this salad could only be improved by a hearty serving of my love - burrata.

There is always a place for more cheese.

Blackberry Balsamic Vinaigrette {Pedantic Foodie}

I am thinking of trying it drizzled over grilled peaches... 

Blackberry Balsamic Vinaigrette {Pedantic Foodie}

I just really love this color. 

Blackberry Balsamic Vinaigrette {Pedantic Foodie}

This makes me want to eat salad almost as much as I want to eat cookies. 

Blackberry Balsamic Vinaigrette {Pedantic Foodie}

Sincerely, 

Pedantic Foodie


Blackberry Balsamic Vinaigrette

makes about 1 1/2 cups

- 1 cup fresh blackberries 

- 2 tablespoons balsamic vinegar 

- 4-6 mint medium leaves 

- 2 teaspoons granulated sugar

- 1 teaspoon fine salt

- 1 tablespoon lemon juice 

- 1/2 cup extra virgin olive oil

In the work bowl of your food processor combine blackberries, balsamic, mint, sugar, salt, and lemon juice.  Pulse until smooth. 

With the food processor running, slowly stream in the olive oil, forming an emulsion.  When all the oil has been incorporated, transfer the dressing to a jar and store until ready to use.  Enjoy! 

Serving suggestion: Serve the dressing over fresh arugula, sliced almonds, whole blackberries, and burrata.  

The Bestest Grilled Sweet Corn with Sun-Dried Tomato Butter

I do not think I have ever been so excited about a vegetable.  Except maybe my grandmother's lima beans, they are pretty stupendous.  But this corn, (insert the really, really happy emoji with the squinty eyes) is my new favorite Summer side dish.  If I had to pick something to eat from now until September I'd ask for this corn and a bucket of steamed shrimp... Okay, maybe this pasta too; it's my favorite.  And watermelon, but that is all. 

Actually, I'd also like some hot dogs...  I don't like this choosing game after all. 

The Bestest Grilled Sweet Corn with Sun-Dried Tomato Butter {Pedantic Foodie}

The point I'm really failing to make here is that this corn is one of the best and easiest things you will make and eat this Summer.  It's really, really, REALLY good.  

The Bestest Grilled Sweet Corn with Sun-Dried Tomato Butter {Pedantic Foodie}

Does that sound braggadocious?  I always hesitate slightly before claiming that something my crazy, carb-driven brain came up with is great, because, well, I made it up.  But, I will happily give all credit to the ingredients here.  With extra special thanks going to corn.

Corn, you’re pretty and I like you because you are sweet and starchy, but still pass as a vegetable, and because we both have unruly hair (except mine could never be called "silk") that ends up all over the floor.  Ew.  Moving on. 

Do you like puns?  I really like corn puns.  You would be surprised hominy I can come up with. Heehee. 

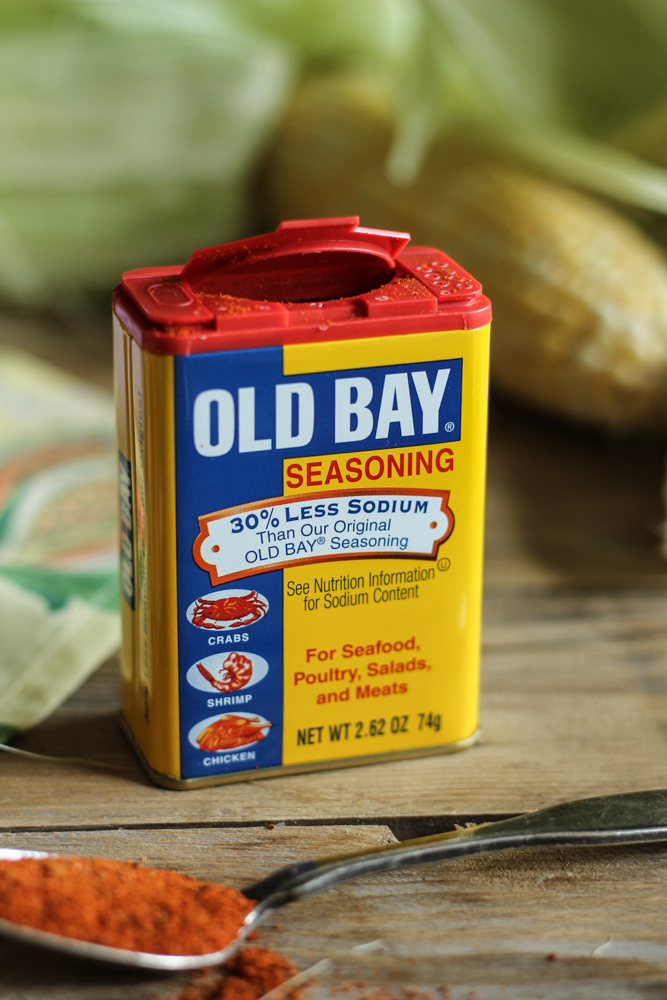
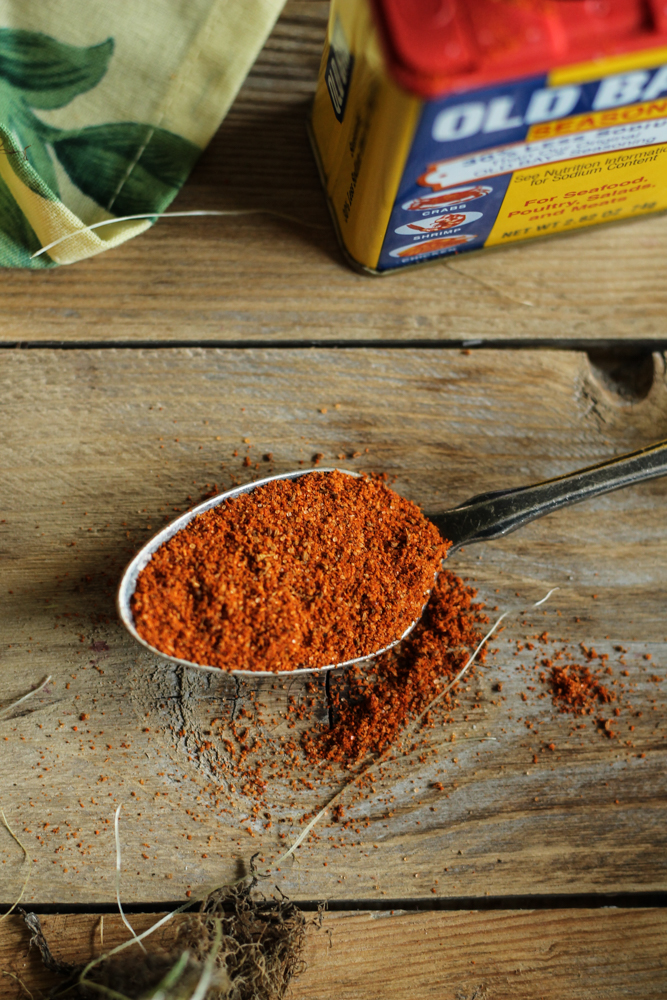
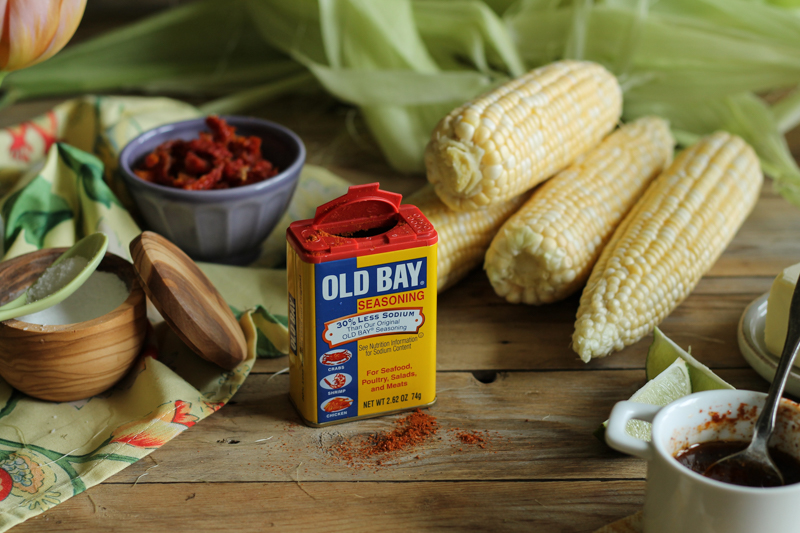
This corn has two surprises, the first of which comes in the form of Old Bay.  That pungent orange powder is essentially fairy dust for Summer foods. 

The Bestest Grilled Sweet Corn with Sun-Dried Tomato Butter {Pedantic Foodie}

The smell of Old Bay transports me to warm July afternoons spent shelling boiled shrimp and spraying them with “butter” that came out of a bottle.  When I was four that was the coolest thing ever, but now, well… it’s still kind of cool but I’m far too sophisticated to admit it. 

The Bestest Grilled Sweet Corn with Sun-Dried Tomato Butter {Pedantic Foodie}

A generous dose of Old Bay is mixed with a bit of olive oil and then slathered onto fresh sweet corn.  

The Bestest Grilled Sweet Corn with Sun-Dried Tomato Butter {Pedantic Foodie}

I like to coat the corn before I place it on the grill, and then give it several more coats as it’s cooking.  If the cob is orangey after you take your first bite, you will know that you did enough. It's science.  

The Bestest Grilled Sweet Corn with Sun-Dried Tomato Butter {Pedantic Foodie}

While the corn cooks, run inside the kitchen and make some sun-dried tomato butter.  Oh yes, that is the second surprise.  

I will warn you now that this butter is my new favorite thing and it will likely be popping up in A LOT of Summer recipes around here.  I would apologize, but after you taste it you really won’t mind one little bit.  

The Bestest Grilled Sweet Corn with Sun-Dried Tomato Butter {Pedantic Foodie}

I bought the olive-oil-packed sun-dried tomatoes for this recipe, and I found that I greatly prefer their flavor and texture to the dry ones.  They also have that tomato-saturated oil which adds a little extra flavor to this savory butter. 

Tomatoes, along with a little oil, butter, and kosher salt go into the food processor to spin around, forming a smooth, fluffy butter. 

The Bestest Grilled Sweet Corn with Sun-Dried Tomato Butter {Pedantic Foodie}

This lovely orange butter has a very rich tomato flavor that couples impeccably well with the Old Bay-suffused corn.  

The Bestest Grilled Sweet Corn with Sun-Dried Tomato Butter {Pedantic Foodie}

I’m really excited about this.

The Bestest Grilled Sweet Corn with Sun-Dried Tomato ButterThe Bestest Grilled Sweet Corn with Sun-Dried Tomato Butter {Pedantic Foodie}

I made this corn for Mother’s Day and my brother compared my mouth to a lawnmower after seeing how quickly I devoured these cobs of wonder.  It was no time to be leisurely, the butter was melting off the sides.  

The Bestest Grilled Sweet Corn with Sun-Dried Tomato Butter {Pedantic Foodie}

This is, by far, my new favorite Summer side dish.  I think I may love it even more than watermelon.  

The Bestest Grilled Sweet Corn with Sun-Dried Tomato Butter {Pedantic Foodie}

Now would likely be a good time to break out those floss picks.  

Sincerely, 

Pedantic Foodie


The Bestest Grilled Corn with Sun-Dried Tomato Butter

serves 4

for the butter

- 1/2 cup unsalted butter, softened  

- 1/4 cup sun-dried tomatoes packed in olive oil 

- 2 teaspoons oil (taken from the jar of tomatoes) 

- 1/2 teaspoon kosher salt

Place butter in the work bowl of your food processor and pulse until smooth.  Add sun-dried tomatoes, oil, and kosher salt and pulse until well combined.   

Place the butter in a small dish and cover with plastic.  Refrigerate for 5-10 minutes, or until just set, but not hard.*

While the butter is refrigerating, prepare the corn.  

*The butter will remain in prime condition in the refrigerator for about a week.  Or, you can wrap it in parchment paper and freeze for up to a month. 

for the corn

- 4 ears fresh sweet corn

- 1.5 ounces extra virgin olive oil

- 2 teaspoons Old Bay seasoning 

Set grill on high heat.

In a small bowl, whisk to combine olive oil and Old Bay seasoning.  Use a basting brush to coat the corn evenly with the spice and oil mixture.

Place the corn directly onto the hot grill and cook, turning every few minutes, for 7-9 minutes, until the corn is slightly charred. Continue brushing the corn with the olive oil mixture as it cooks.  

Once the corn has cooked, remove from heat and allow to cool just slightly before serving with prepared butter.  

Serve with (very) generous helpings of sun-dried tomato butter.  Enjoy!